


We may receive a commission when you use our affiliate links. However, this does not impact our recommendations.
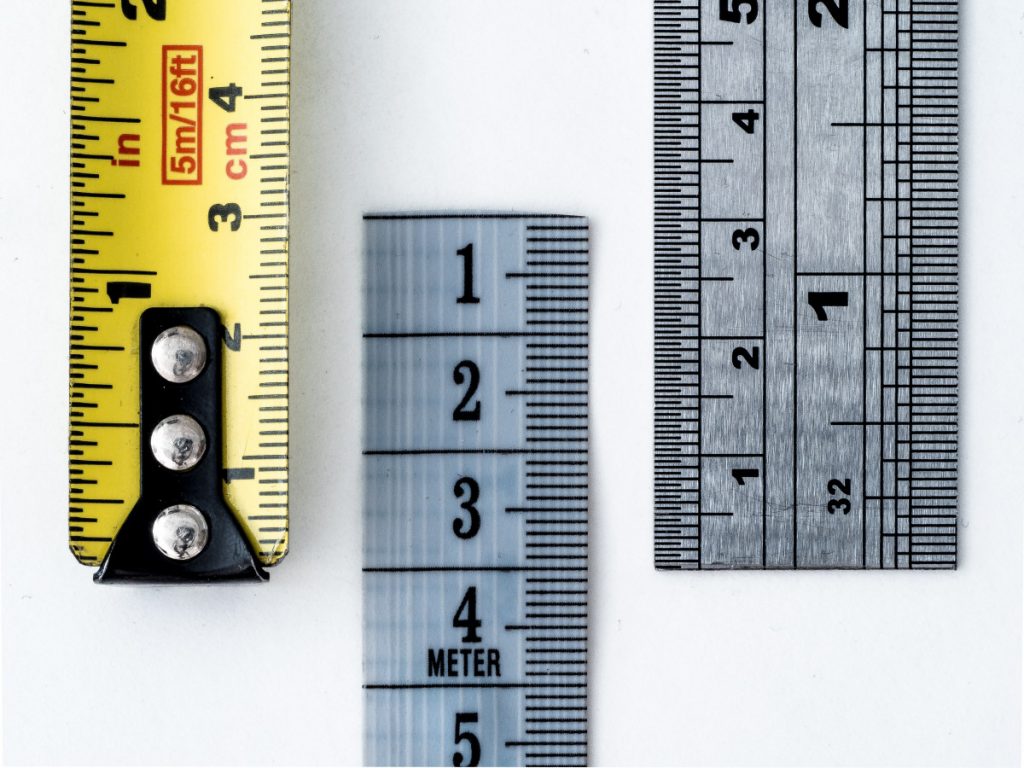
Photo by William Warby on Unsplash
Check out these 11 methods to make layout easier. 
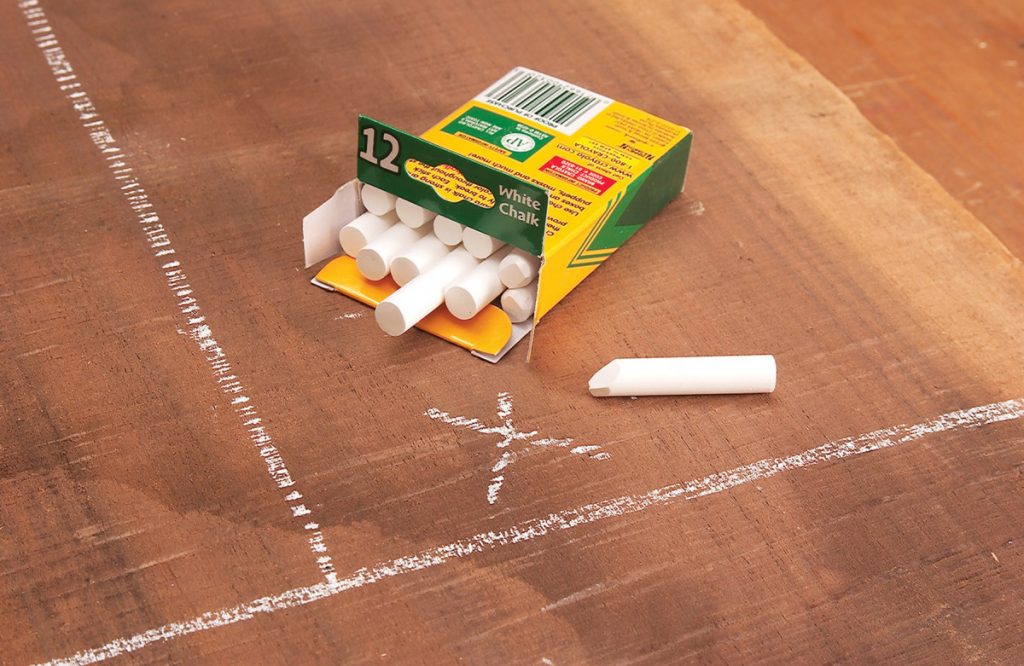
- Write With Chalk
Lay out “cut here” marks on rough lumber with chalk. Chalk marks are easy to read, even on the scruffiest surface. Unlike ink, pencil or crayon, chalk marks are easy to erase if you change your mind. (I often do!) Just scrub the marks with a stiff wire or bristle brush.
- Circle Template
Setting a compass to draw small arcs or circles can be a royal pain, so I cheat and use a plastic template instead. You can generally find one at an office supply store. [Shop for circle templates on Amazon]

- Shop-made Straightedge
Every shop should have a long wooden straightedge. It’s got a hundred and one uses, but I primarily use mine for checking jointed and sawn edges, and for guiding my router.
This 4′ one is pretty fancy, I admit, but there are good reasons for going to the extra trouble. Most of it is pine, so it’s lightweight. It’s laminated from strips, so it will stay straight for years. I added a hardwood strip to the bottom to prevent dings. The holes are hanging this beautiful tool to my wall. - Frame Your Wood
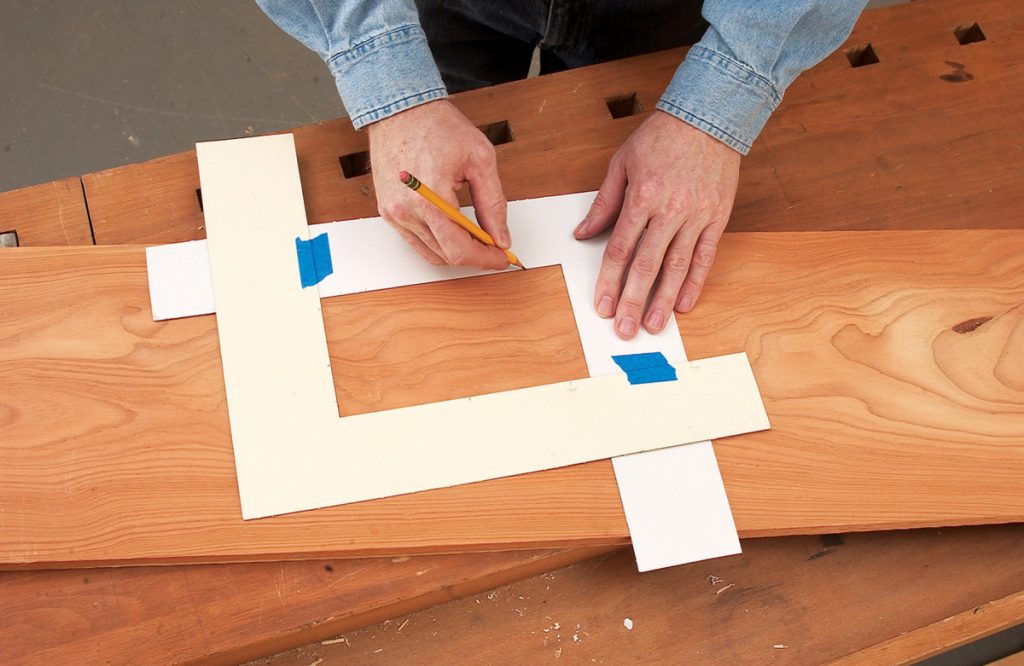
When I lay out door panels, drawer fronts, or other highly visible parts, I want to see what they’ll look like before I cut. I make a window from two L-shaped pieces of cardboard taped together to find the perfect grain pattern. It’s easy to re-adjust for different-sized pieces.
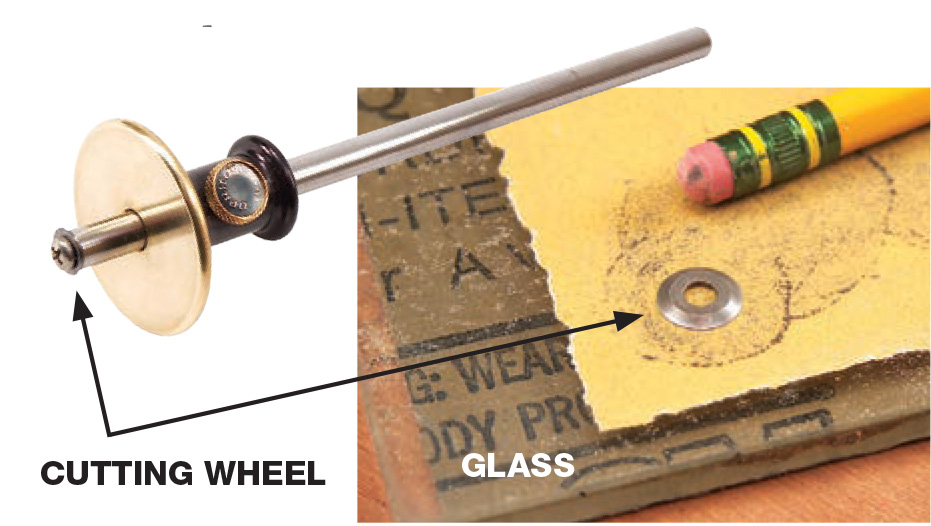
- Make Crisper Gauge Lines
I love a wheel-type marking gauge for laying out tenons and dovetails. Its round cutting wheel must be super-sharp to make fine lines across the grain. Sharpening this tiny object looks nearly impossible, but it’s really quite easy.
First, unscrew the cutter from the gauge. Place a piece of 320-grit or finer sandpaper on a flat surface, such as 1/4″ thick glass. Place the cutter on the sandpaper, flat side down, and push it around in circles. This is hard to do with your finger, but it’s a cinch when you use the eraser end of a pencil. Don’t mess with the cutter’s bevel side. Install the cutter in the gauge and make a line across the grain. It should be as crisp as one made by a razor-sharp knife or chisel.
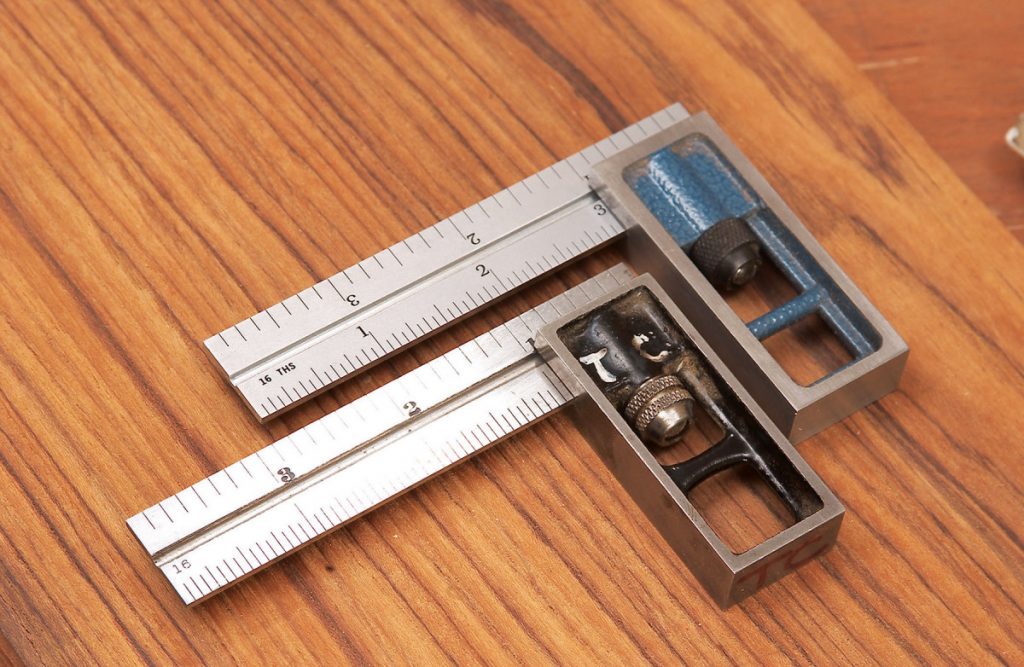
- Satin Rules are Easier to Read
If you’re thinking about buying a precision rule or square, check its luster first. Tools with a satin or matte finish are much easier to read under all light conditions, especially their teeny-tiny 1/64″ divisions. Glare is a big problem with brightly-finished rules. The light must be just right to easily read them. - Mark With a Chisel
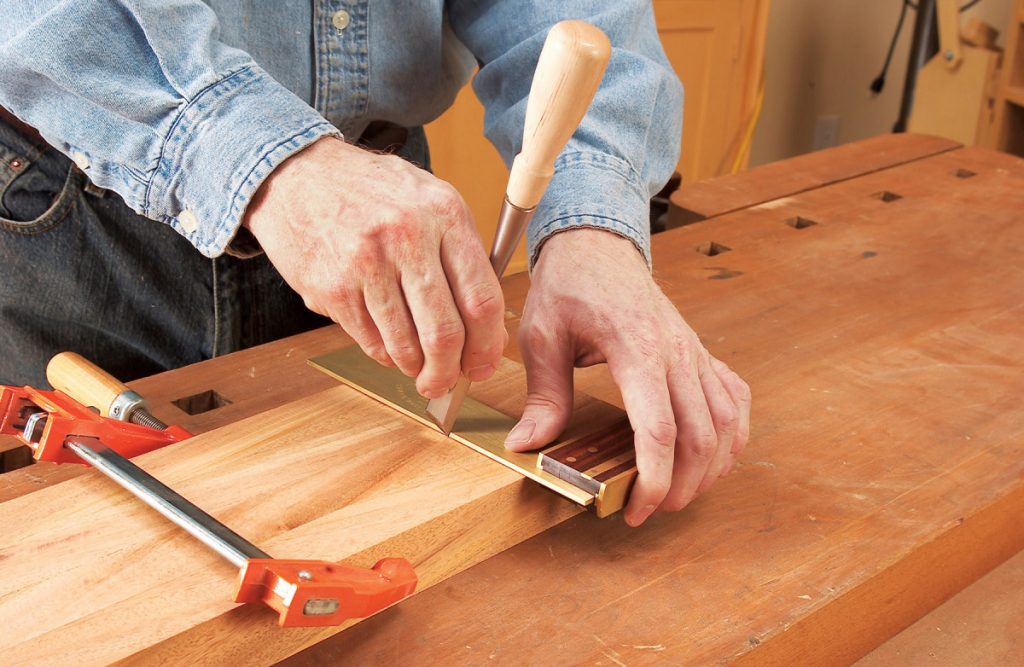
A sharp chisel makes an excellent marking knife because it has a single bevel. Double-
beveled knives have to be held just so in order for one bevel to snug up against a square. A chisel has to be handled the right way, though. Pull the chisel towards you, with the handle leaning away. If the handle leans toward you, you’ll get a ragged line.
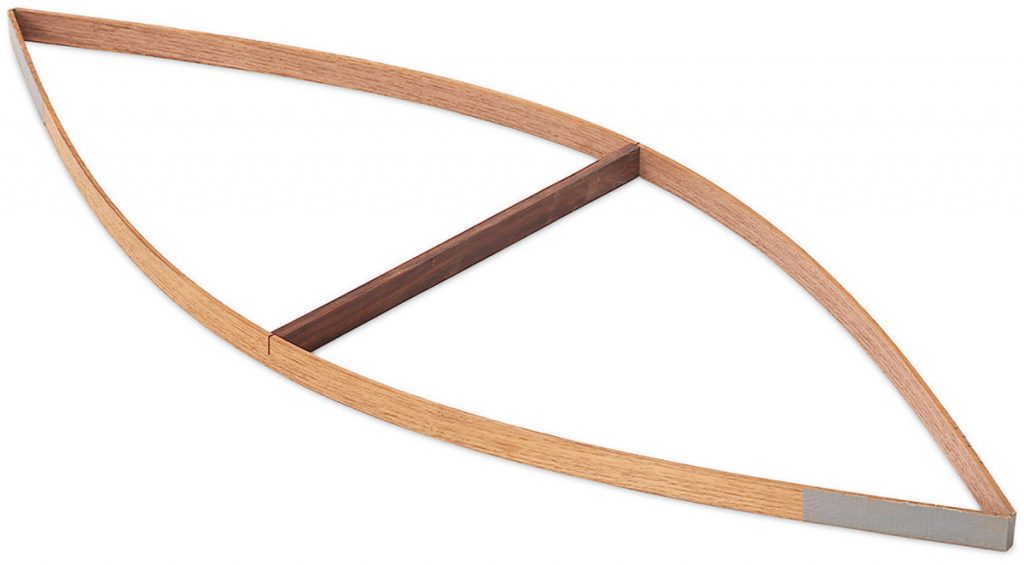
- Bent-Stick Arcs
Bending a thin stick is a quick way to lay out an arc. Trouble is, takes two hands to bend the stick. How are you going to draw a line around it? The answer is two thin sticks, taped together at the ends. (My sticks are 1/8″ thick and 3/4″ wide.) Place a spacer of any length between the sticks at their centerpoints. Now your hands are free to draw the arc. Adjust the space’s length to make arcs of different curvature. Shifting the spacer off the centerpoints creates asymmetrical arcs. - Use a Pen on Dark Wood
Use a blue ballpoint pen to mark dark woods, such as walnut. Its ink is far easier to read than a pencil line. - No-Math Saw Setup
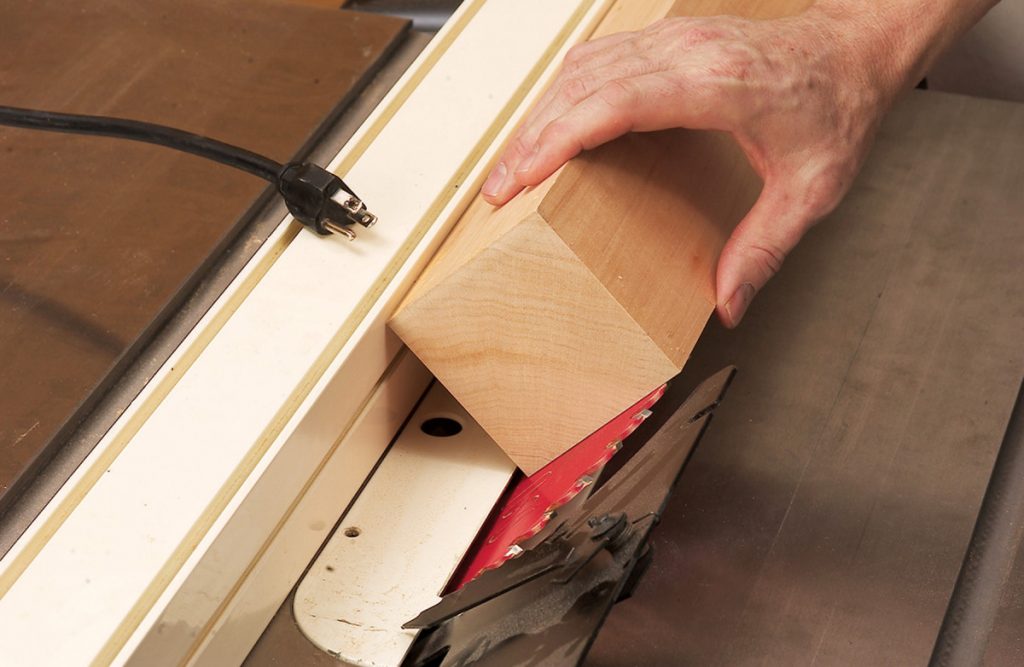
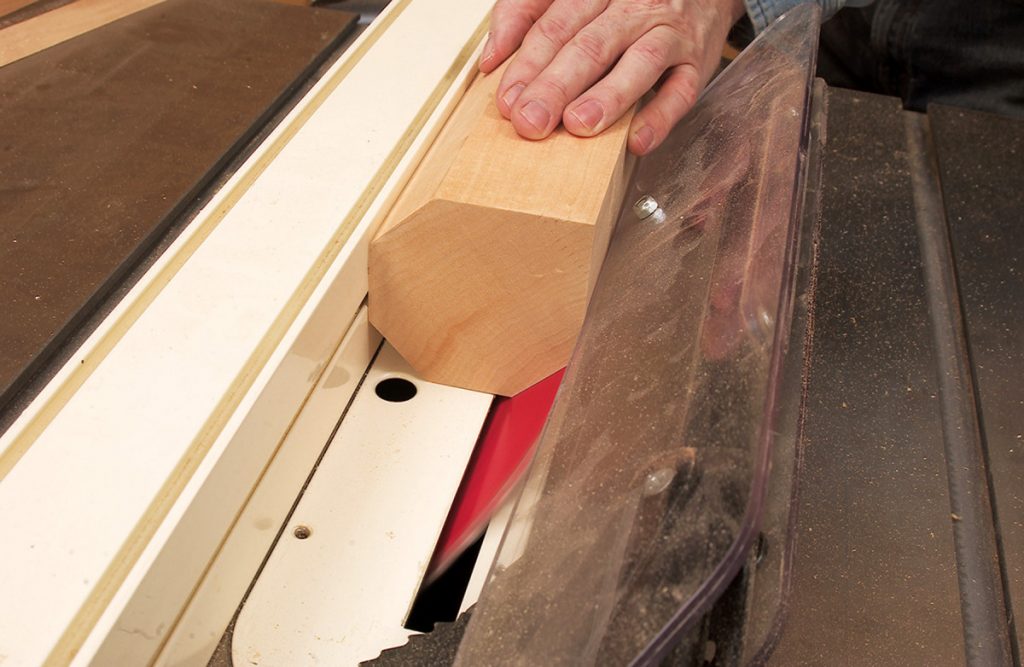
So, you’ve got a big square hunk of wood that you want to turn on the lathe. You figure sawing off the corners first will save a lot of work. How do you correctly position the saw’s fence?
It’s simple. Unplug the saw and tilt the blade 45°. On a left-tilt saw, move the fence well to the right, away from the blade. On a right-tilt saw, remove the fence and put it on the left side of the blade.
Next, lean the blank against the blade. Move the fence to touch the blank’s opposite corner (top).
Plug in the saw, place the blank flat on the table and rip each corner (bottom). - Flatten Your Marking Gauge
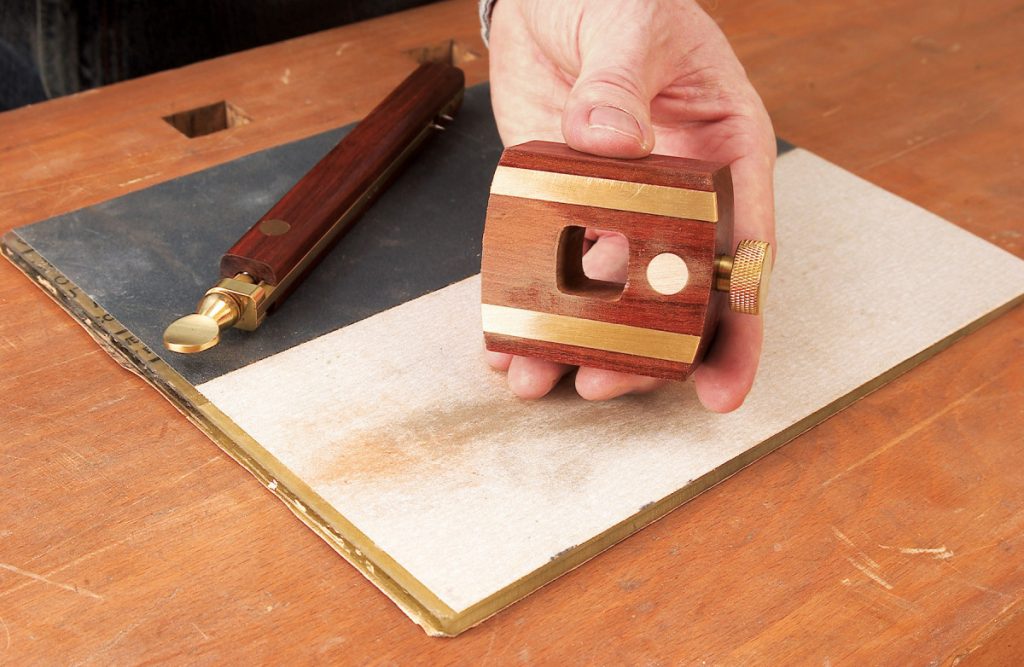
A marking gauge is a very precise tool to lay out mortises. To work well, the tool’s head must be flat. The brass wear strips on many new gauges are proud of the wood (presumably because the wood has dried and shrunk since the tool was manufactured), and should be leveled.
To do the leveling, I use a 1/4″ glass lapping plate and sandpaper affixed with a spray adhesive. This gauge needs a lot of work, as you can see from the shiny high spots, so I started with 150-grit paper and continued up to 320-grit. [Shop for spray adhesive on Amazon]


Product Recommendations
Here are some supplies and tools we find essential in our everyday work around the shop. We may receive a commission from sales referred by our links; however, we have carefully selected these products for their usefulness and quality.


Recommended Posts

Comments


Great tips that I can use today.