


We may receive a commission when you use our affiliate links. However, this does not impact our recommendations.
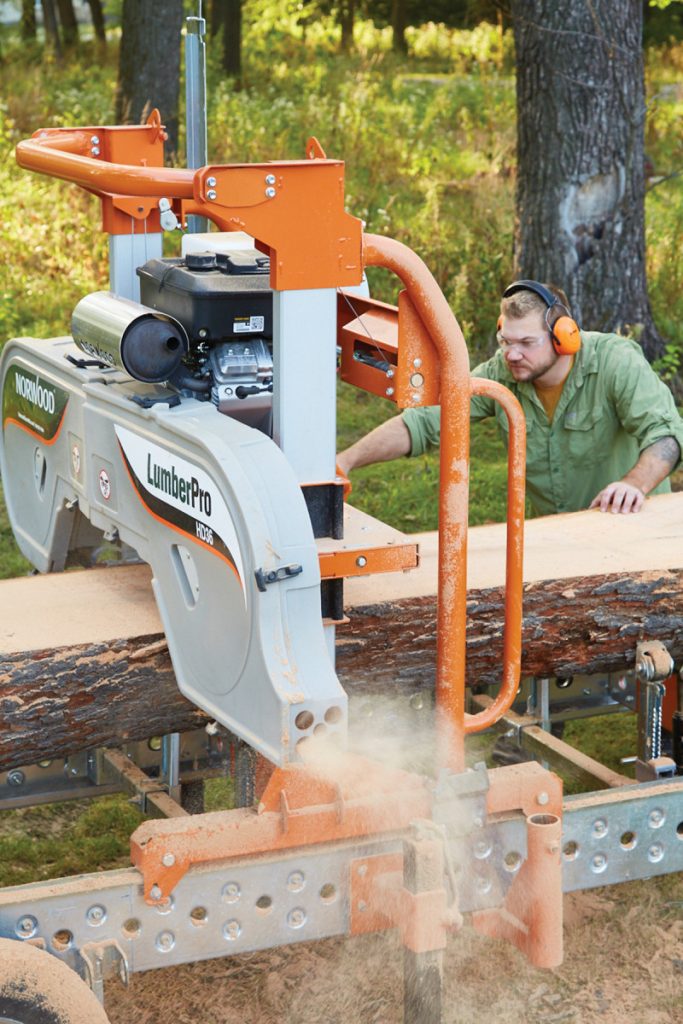
As a sawyer, I always have a few questions for a client as I prepare to saw their logs into lumber. The first is: “How do you want this cut…live edge or boards?”. My second question is always “How thick do you want it?”. More often than not, I get asked for my opinion. And my response is always the same: “If you don’t have plans for it, cut it thicker than you think. It’s easy to make it thinner down the road, but harder to make it thicker.”
And often, the reply is “Well, I don’t want to plane all that material away, that’s a waste!”. For some reason, most of us woodworkers immediately bring a piece of stock to the planer to bring it to thickness. In reality, thicker material (such as 8/4 stock … my preferred thickness to saw lumber) can quickly and easily be resawn at the bandsaw. Instead of being left with one board and a garbage can full of planer shavings, you’ll be left with a pair of beautiful, book-matched boards with hardly any waste. However, resawing with your bandsaw does take a little bit of know-how and fine-tuning your bandsaw.
What is Resawing?
Before we get into the nitty-gritty, let’s take a look at what exactly the term “resawing” means. Resawing is cutting a board into several thinner boards. This is done through the thickness of the stock, which is different than making a standard rip cut. While you may have seen (or done so yourself) people resaw with a table saw, this is an unsafe practice due to the wider kerf and potential for kickback. Instead, the bandsaw is the ideal tool for this task. The thin blade kerf is low-waste and efficient. The vertical action of the saw makes resawing on a bandsaw quick and impossible to get kickback. All you need to do is make a straight cut, which comes from some basic tuning, appropriate blade tension, stock control, and the correct blade selection.
Choose Your Blade
Choosing the correct blade is, in my opinion, the most important factor in getting good results when resawing. To perform well, a good resaw blade needs to meet a few different criteria.
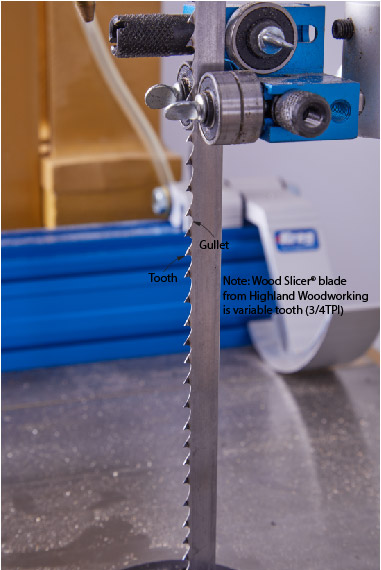
- A good resaw blade needs to be able to carry away the sawdust during the cut. Even sawing through moderately thick stock, each tooth is removing a large amount of wood. This sawdust gets carried through the cut in the gullet or the small “swoop” between each tooth. The gullet needs to be large enough to carry away the sawdust being generated by each tooth during the cut. If the gullet is too small, it will get packed with sawdust and cause the tooth to not cut until it’s exited the wood, freeing it of sawdust. This can lead to slow resawing and excess heat buildup. In general, blades with fewer teeth per inch (TPI) will have larger gullets. 3TPI usually has a large enough gullet for most resawing.
- A good resaw blade will have a minimal amount of set. The set is the amount that each tooth is bent “out” from the line of the blade. When you look at a bandsaw blade, you’ll notice each tooth is bent in opposing ways. This set allows the teeth to cut without the spine of the blade binding within the cut. As a rule of thumb, blades for cutting curves should have more set, thus allowing the blade the freedom to move within the kerf. For resawing, where we want straight cuts, we want the least amount of set possible. Quality resawing blades, such as the Wood Slicer® from Highland Woodworking, have a minimal amount of set, leaving a kerf of just 1/32″. Note that, because of the minimal set amount, most manufacturers don’t suggest cutting green (wet) wood with resaw blades.
- Finally, a good resaw blade needs to be strong. Many manufacturers suggest going with the widest blade available for your bandsaw. The wider the blade, the higher the beam strength. This allows the blade to remain straight during the cut and gives you a good, clean result when cutting. Many resaw blades are available in widths from 1/2″-3/4″. One of the most popular is the 1/2″ Wood Slicer®.
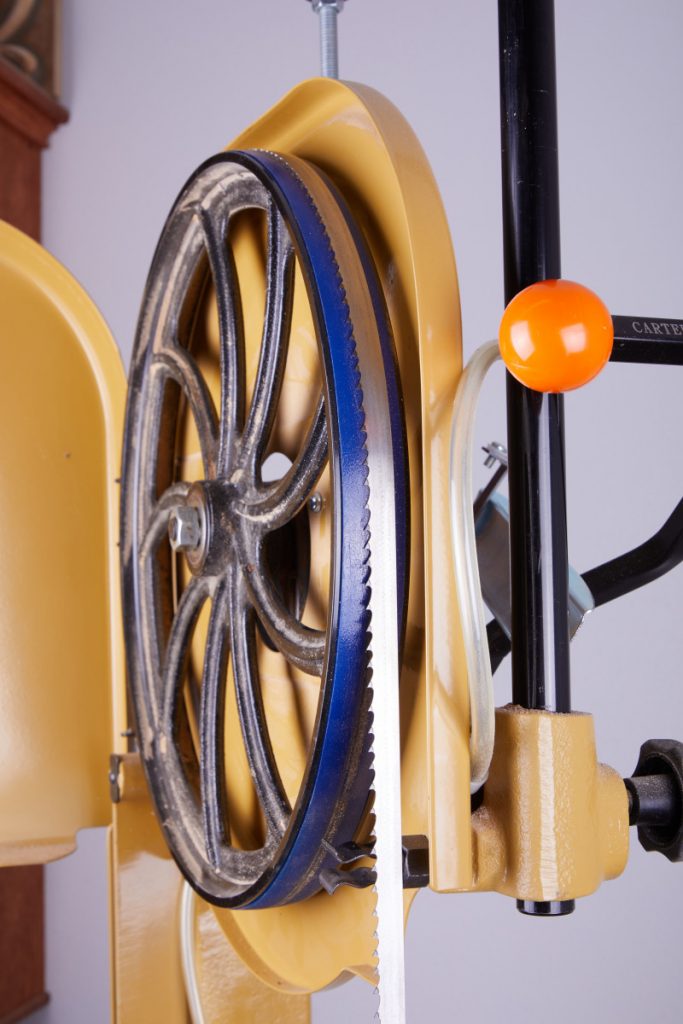
Dial-in the Tension and Tracking
After choosing the correct resaw blade, the next step is to set your bandsaw tension. After loading up the blade onto the wheels, I remove the guides completely out of the way. We’re going to set the tension by feel, and don’t want any of the bearings (guide or thrust) to interfere with our tension setting. Likewise, ignore the built-in tension gauges. These are usually less than accurate. Start applying tension to the blade. As you feel the blade get taut, push laterally (sideways) on the blade. You’ll see the blade deflect. As you push harder, you’ll notice the blade hits a “wall” where it doesn’t deflect anymore without excess pressure. That’s what we’re looking for. Apply tension until that “wall” is deflecting the blade no more than 5/16″ with a 6″ depth-of-cut saw, or 3/8″ with a 12″ depth-of-cut saw. Now, you can take a look at your tension gauge and see where it’s reading and use it as a “guide” as you set tension down the road.
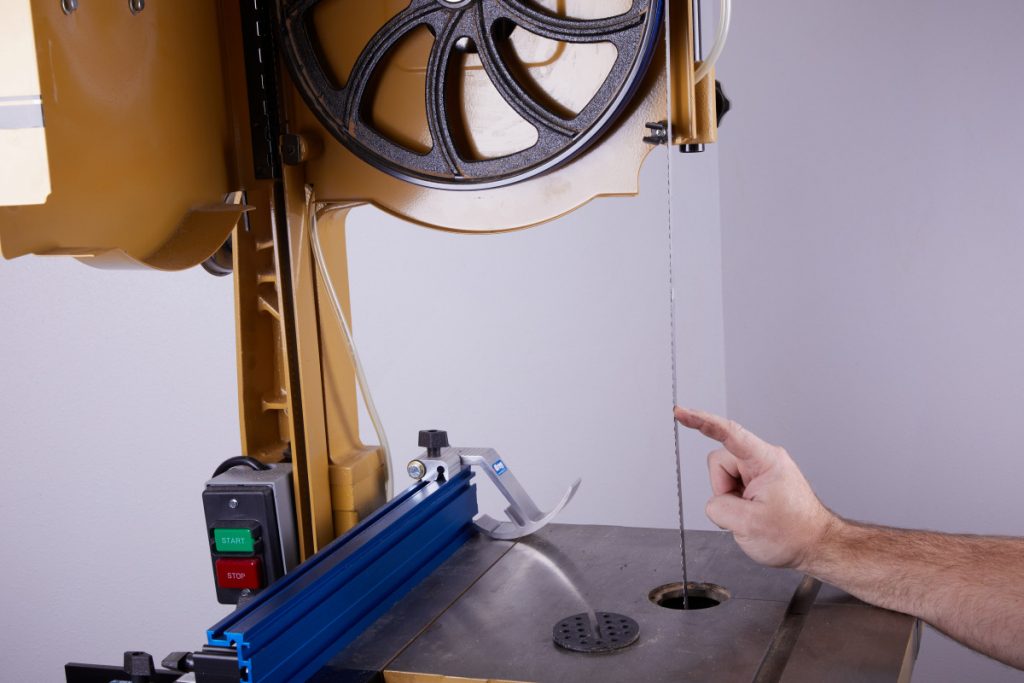
Finally, with the guides still out of the way, set the tracking of the blade. The tracking is where the blade rides on the bandsaw wheels and tires. Personally, I set my tracking so that the gullet of the blade is centered on the tire. I know many people set their blade centered on the tire, but I want the crown (the hump in the rubber tire) to be supporting the blade right behind the cutting edge. So, I track the gullet centered.
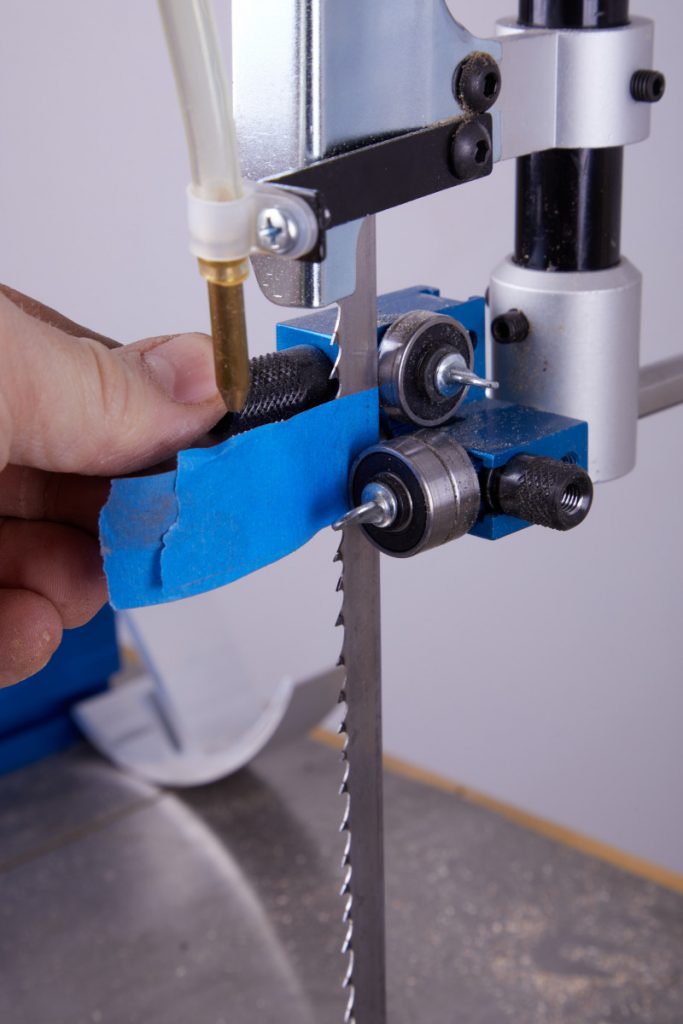
Setting the Guides
Now you can bring your guides back in towards the blade. There are a million tricks you can use to get your guides set. I’ve seen everything from business cards to plane shavings being used as spacers. however, the best and most fool-proof way I’ve found is to use a layer of painter’s tape wrapped around the blade. Position the tape between the guides and bring them in so they’re touching the tape and tighten them down. After removing the tape, the guides should not move as you spin the bandsaw by hand. However, as soon as any pressure is applied to the blade, the guides should engage and keep the blade on the correct path. Remember: The guides are there to “bump” the blade back into its place. Not to hold the blade as it cuts.
Now Cut a Straight Line
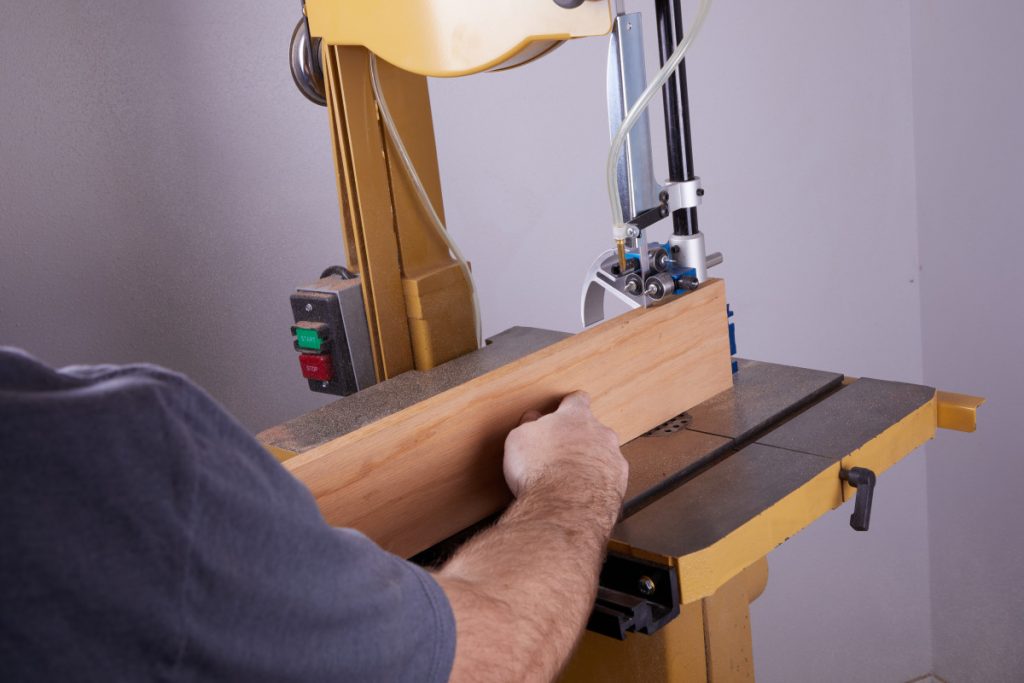
When it comes to cutting straight lines with your bandsaw … find out how the saw wants to cut straight and let it cut. What I mean by that is that the blade is the only thing that matters, so we’ll set the fence to cut in line with the blade. Start by taking a piece of stock (the thicker, the better) and joint a straight edge on it. Now, draw a straight line parallel to that edge. Turn the saw on and carefully follow that line with your saw. When you’re several inches through your cut, stop the saw and take a look at the angle your stock is setting at in relation to the blade and fence. You might notice that it looks cockeyed a bit. This is often referred to as Drift.
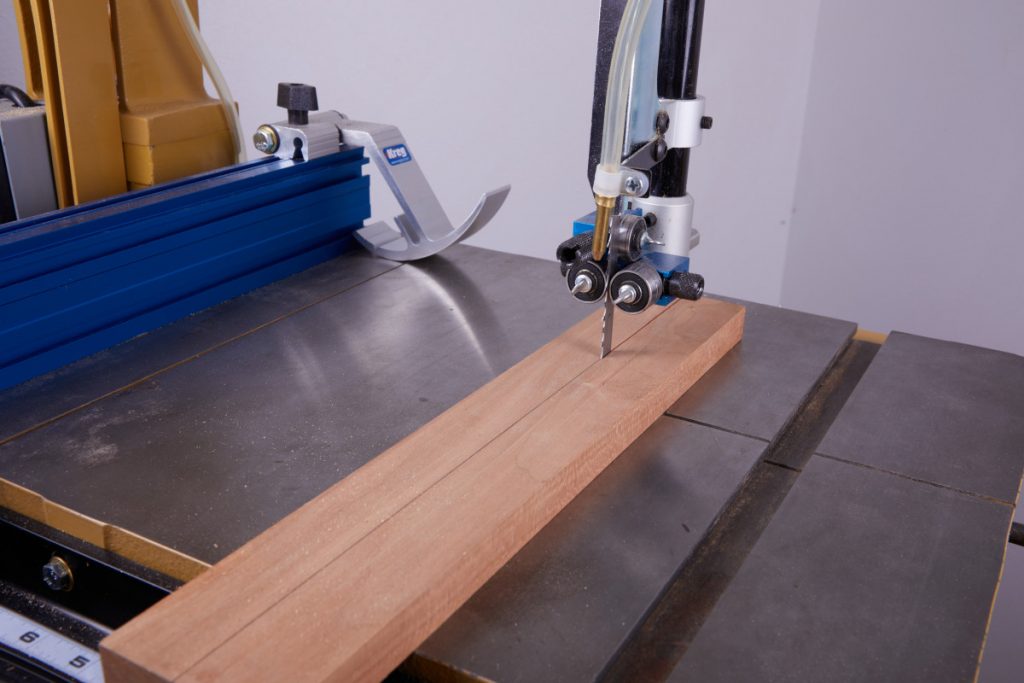
Now, you can either hold the workpiece in place (grab a helper if you do this), or mark the jointed edge of your stock on your bandsaw table with a pencil. The goal now is to adjust the fence so that it matches the angle of the stock. If your fence doesn’t have the ability to adjust, I suggest looking at an after-market fence, such as the Kreg Fence that I use. You can see how I’ve set the angle of my fence, below.
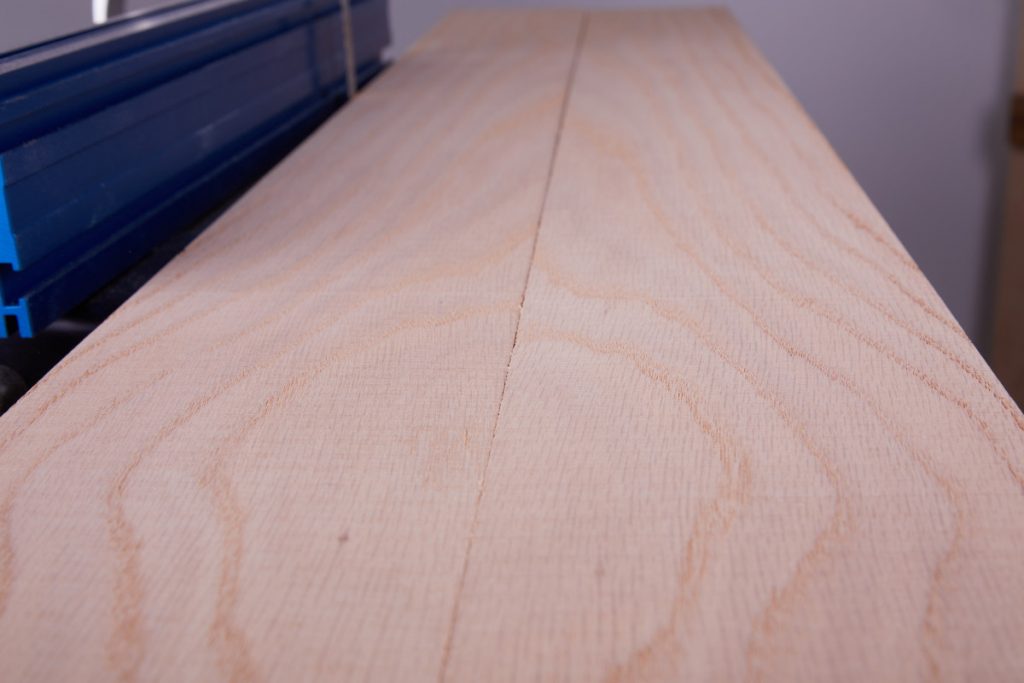
Now, make a test cut. Resaw a piece of scrap. It doesn’t have to be super long, just something that’s similar to our test piece. Here, I re-sawed a piece of walnut.
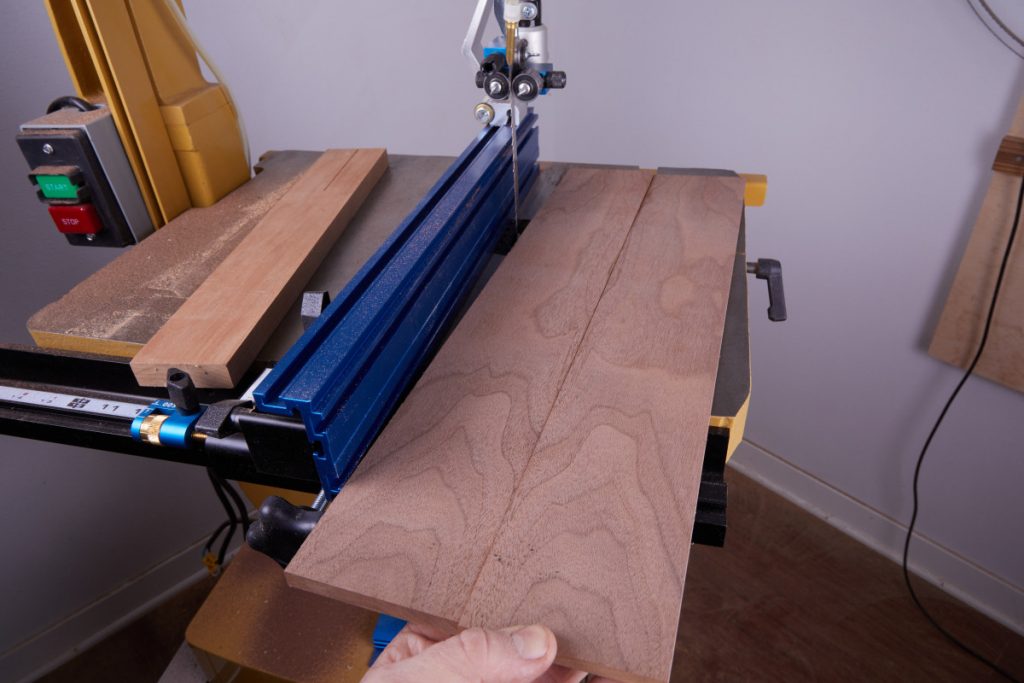
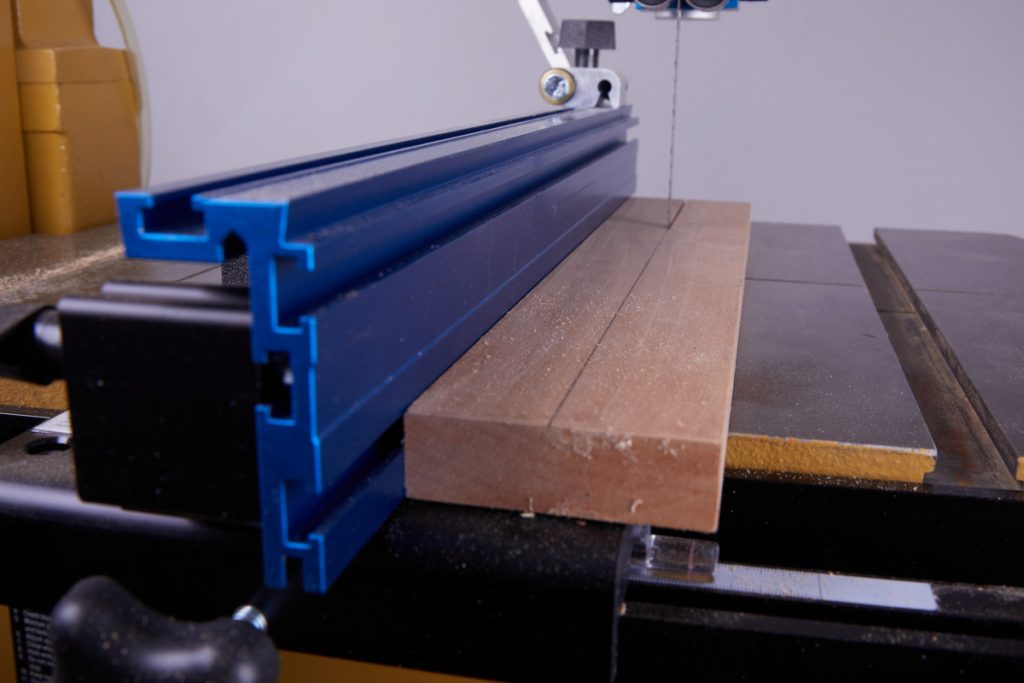
With your test cut made, lay a flat edge across the freshly sawn board. You’ll probably notice that the blade bowed left or right within the stock. The way the blade bowed tells you how to fine-tune your fence for very precise resawing. You know that the solid body of a blade can’t simply move sideways through solid wood. To create a bowed cut, the teeth must lead to one side or another within the wood (where they’re free of the guides). This leads to the blade twisting and making it saw its way out of vertical. To keep the cut vertical, adjust your fence to match the way the blade twisted. If the blade bowed to the left, adjust the rear of your fence slightly to the right: if the blade bowed to the right, adjust the rear of your fence slightly to the left.
Sawing Tips
After fine-tuning your fence, guides, and tension, the only thing that’s left to do is saw boards. However, there are a few things you can do to get the best results.
- First, don’t feed the stock too slow, or too fast. Too slow and the blade will heat up and gather gunk around the teeth. Too fast and the gullets will pack with sawdust.
- Keep the blade clean. Even dry wood contains pitch and resin. Depending on the species you’re sawing, you might notice your blade gets dirty quickly. You’ll want to clean off the blade using a ScotchBrite pad. For stubborn pitch buildup, mineral spirits or blade cleaner can help break free excess gunk.
- Saw with even pressure. Even pressure will allow the blade to cut cleanly and leave you with a smoother surface.
And finally, stay safe. Even though resawing is safest at the bandsaw, it’s still a cutting tool. Even with the blade buried in the wood, keep your fingers clear of the blade.
Here are some supplies and tools we find essential in our everyday work around the shop. We may receive a commission from sales referred by our links; however, we have carefully selected these products for their usefulness and quality.


Now you’re ready to bring your lateral blade guides and rear thrust bearings close to the blade. By the way, does your saw use traditional steel blade guides, or the more modern roller guides?
What’s that air assist unit you have installed? I’ve never seen that on a bandsaw before. Is it a DIY thing, or did you purchase a kit somewhere?