We may receive a commission when you use our affiliate links. However, this does not impact our recommendations.
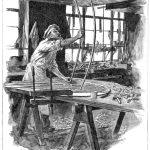
As we continue to explore customized storage solutions from the workshop, a fun way to make an interesting container is to turn one. If you have (or have access to) a lathe and a little bit of turning experience you can quickly turn a nice lidded box.
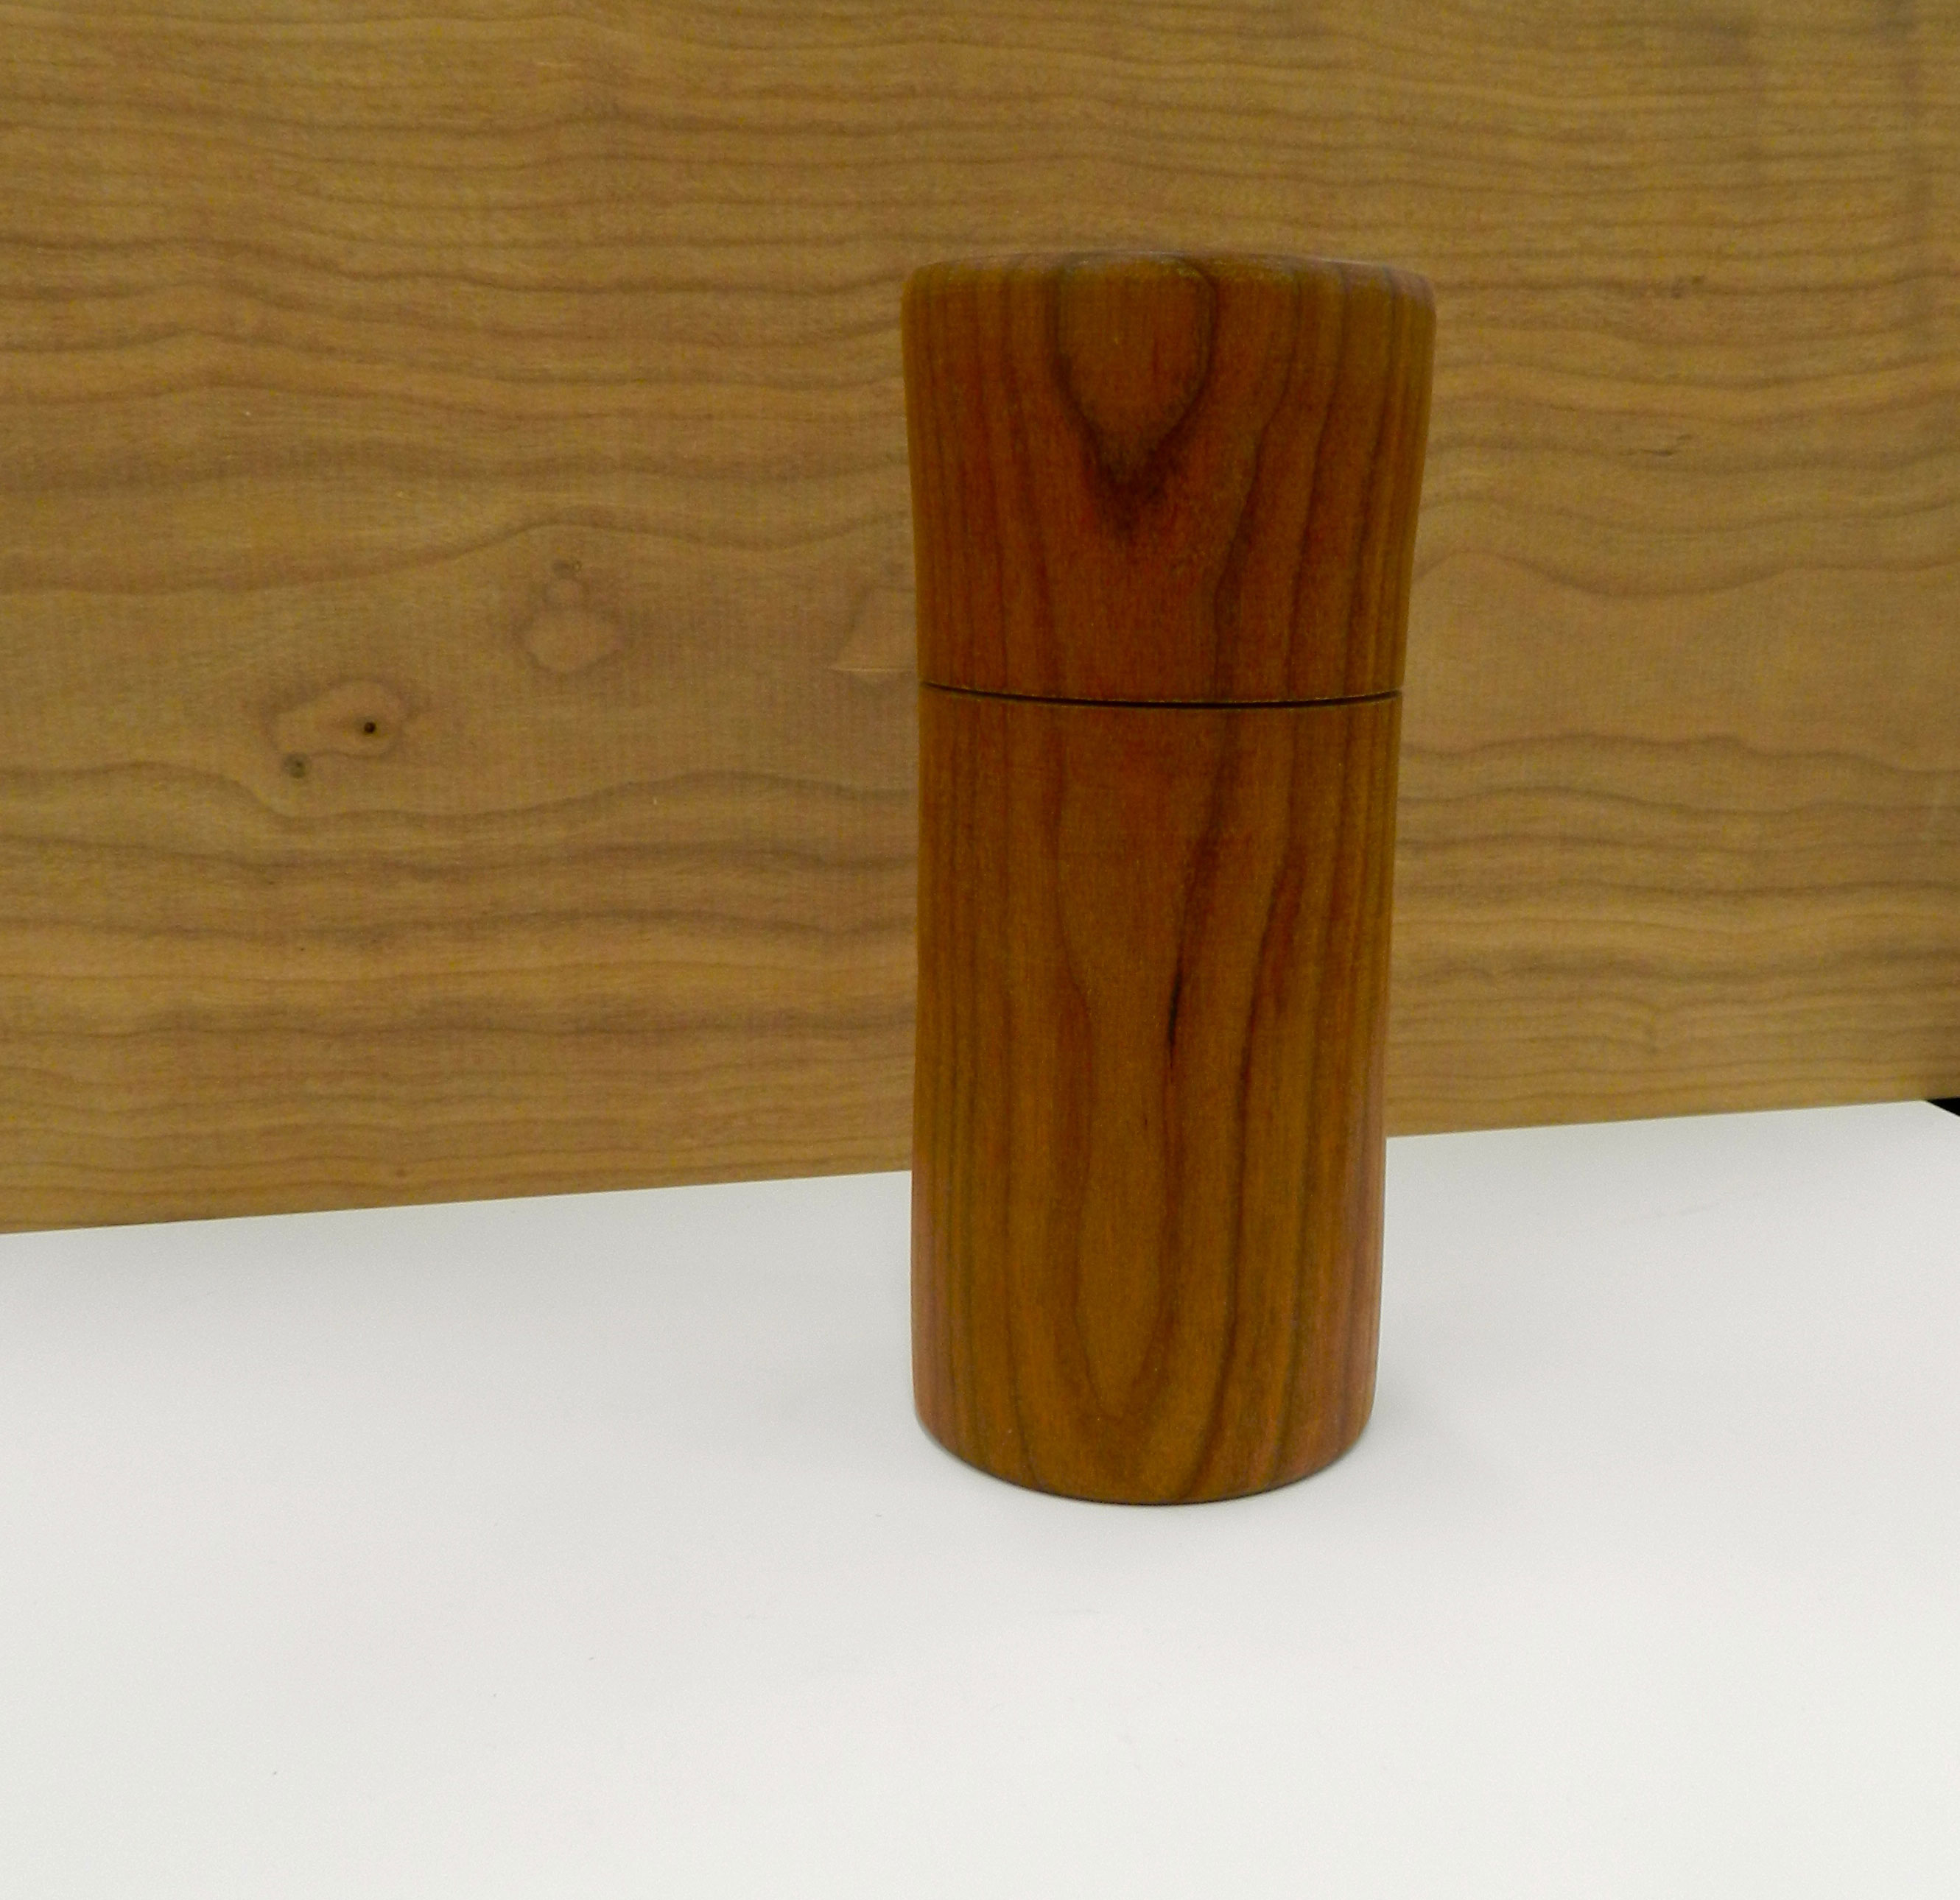
Turned Cherry Box
A round box?
I’m a fan of form following function. If you know what you want to store you can design around that need. In this case I wanted to make a nice desktop container for my wife to keep paper-clips or similar small items in. There is a gentle taper flowing towards the intersection of the lid and the body of the box and draws your eye and your hands to this location. The top and bottom of the box are also slightly depressed for visual interest and so the box sits flat on a surface.
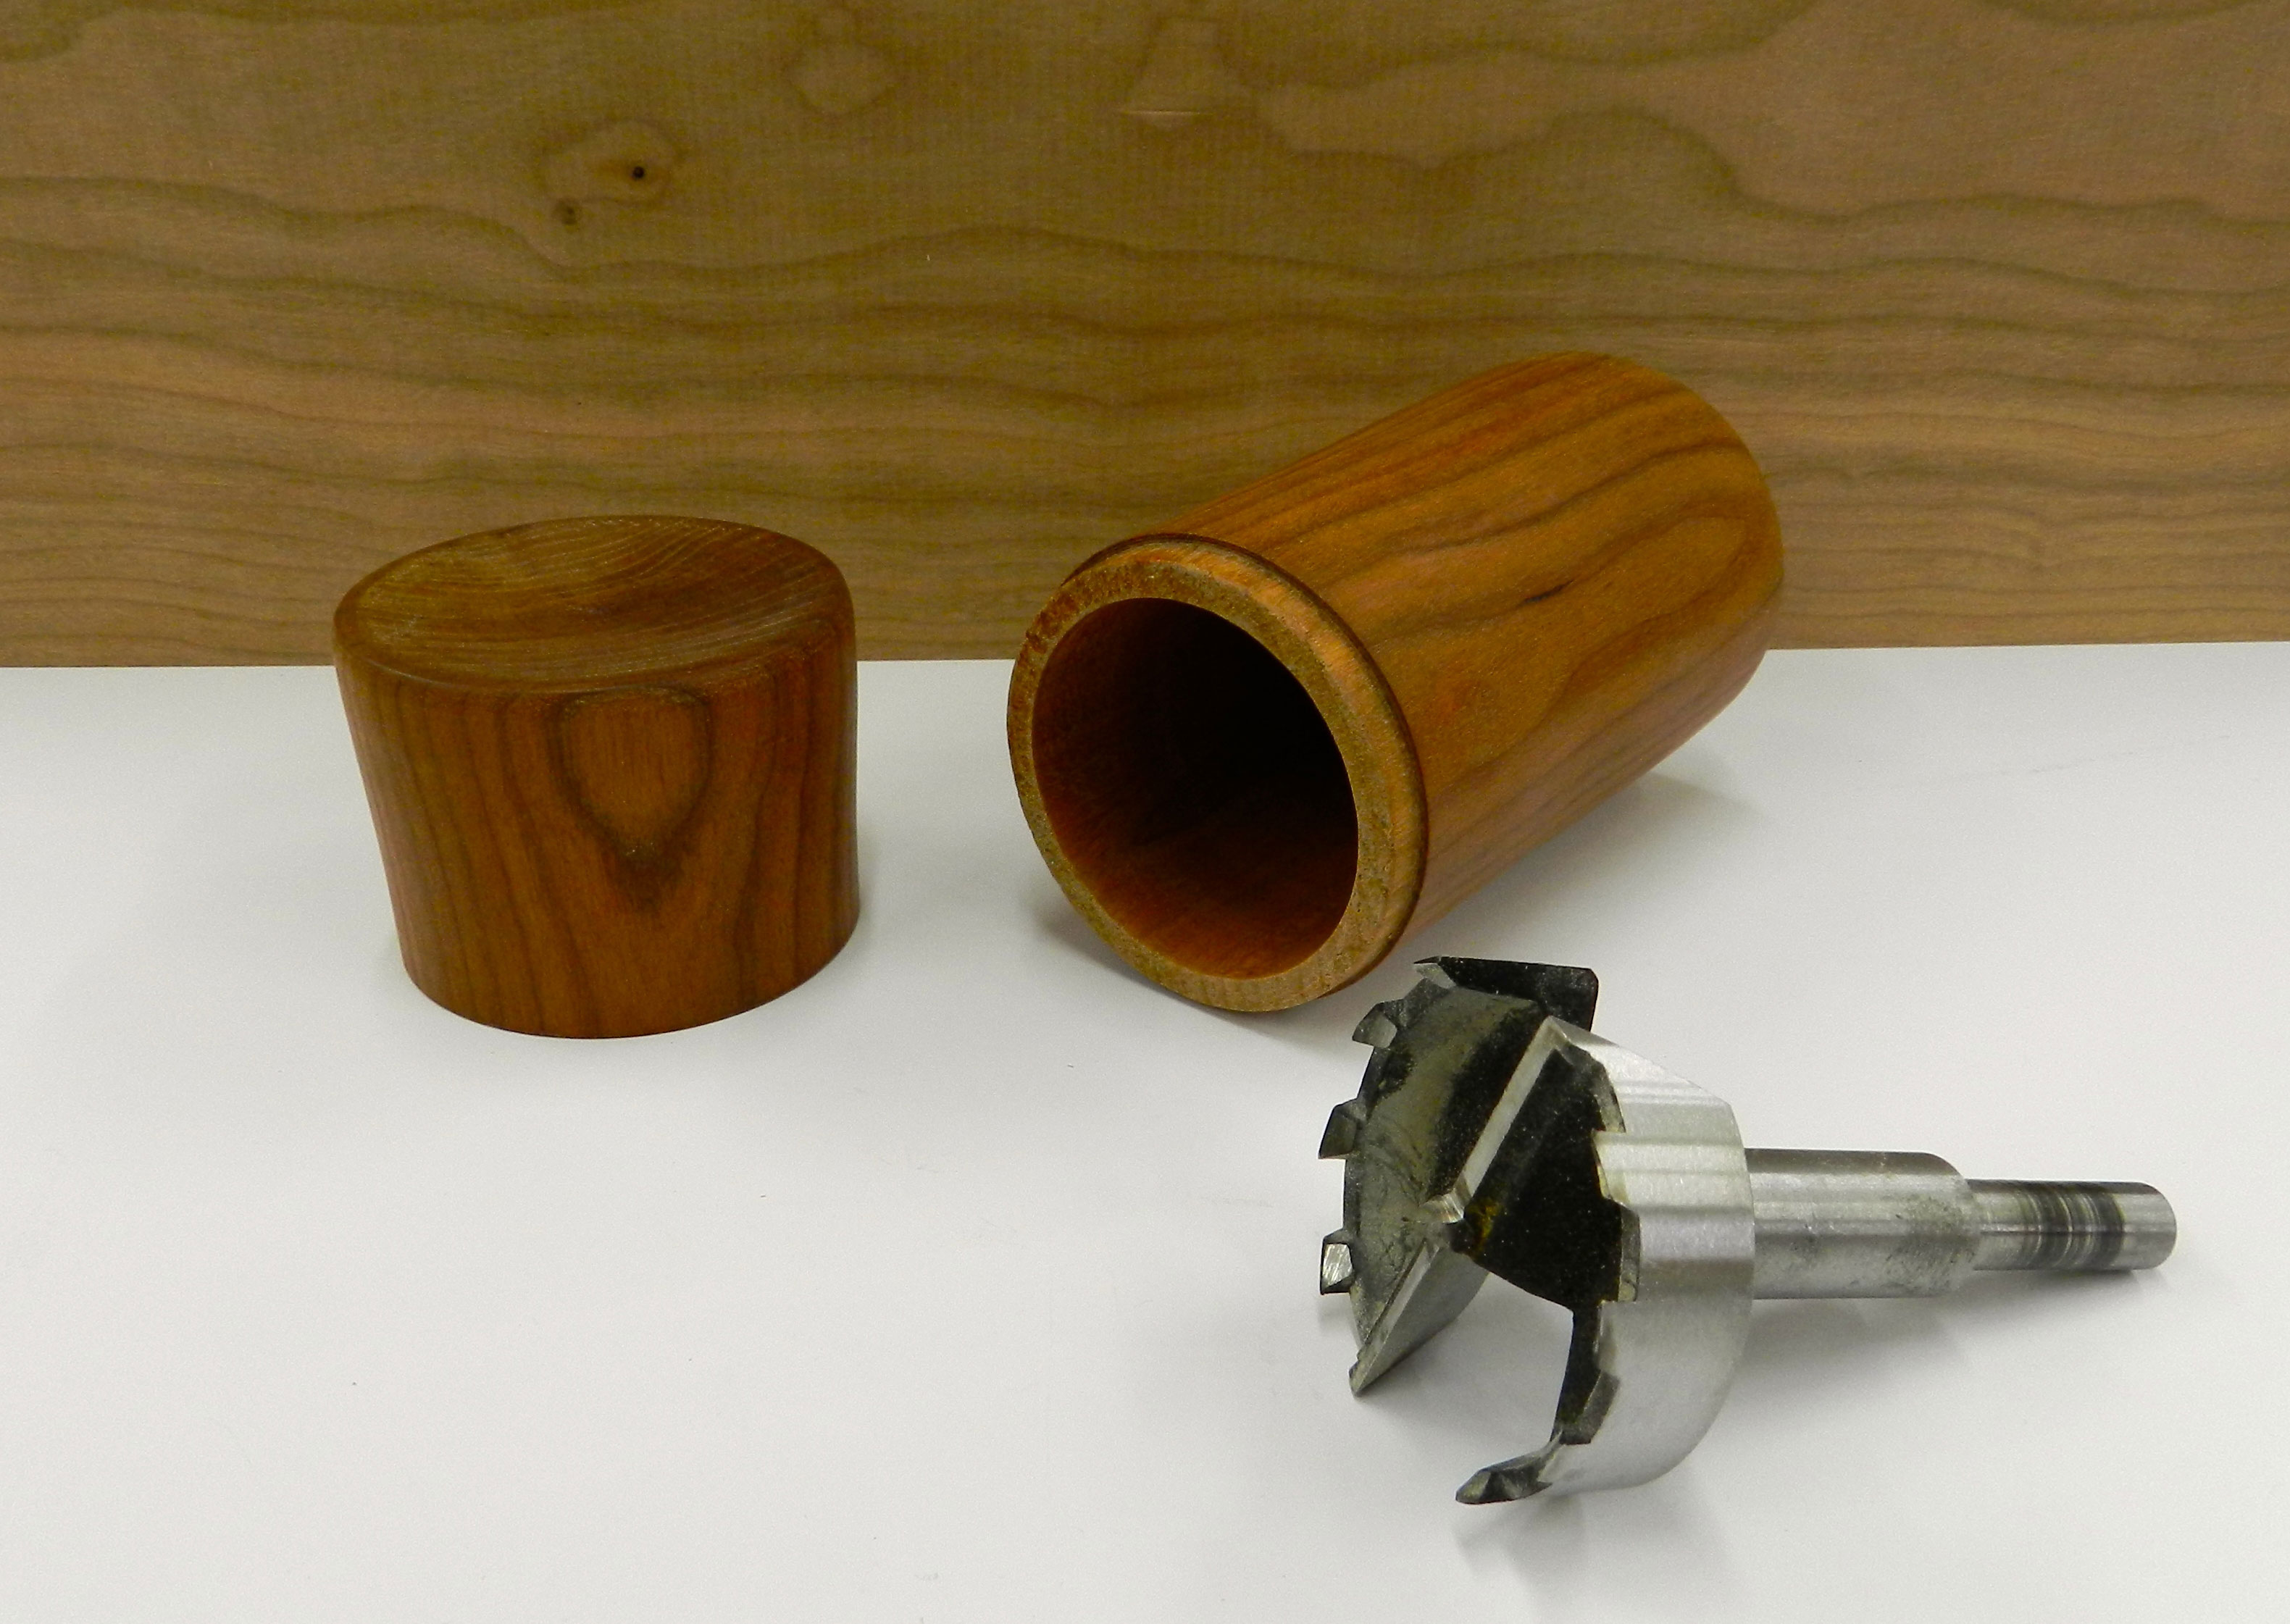
Using a Forstner bit to hollow a turned box
Using a Forstner bit to hollow out
Some folks may shy away from this sort of project for fear of hollowing out a deep vessel, but if you have a Jacobs chuck for your lathe you can quickly hollow out a box using a Forstner bit. With half of your box mounted to the drive head via a stout tenon clamped into your bowl chuck and the Forstner bit in the Jacobs chuck in the tail stock you’d slowly advance the tail stock thus efficiently hollowing out the box. Advance slowly, watch the speed on the lathe and stop to clean out the chips and reposition the tail stock as needed. The Forstner bit leaves a nice flat bottom and some folks like the central dot left by the center point of the bit — it’s an interesting surprise as you explore the inside of the box. If you don’t like this detail you can touch up the interior with a bowl scraper.
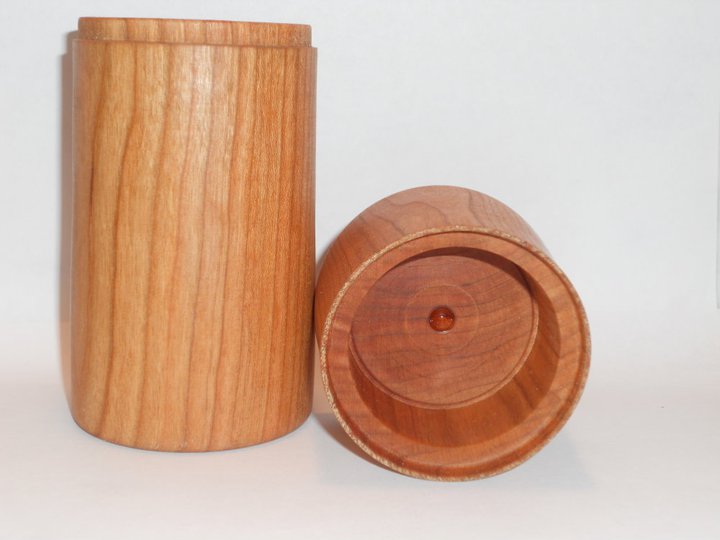
Forstner marks inside of top – these add visual interest or can be scraped away

Two hours of expert instruction from Bill Rainford on hand drafting. Click the picture to learn more about what’s covered and watch an excerpted video.
Very Brief Guide To Turning a Lidded Box
- Mount the blank (in this case a nice piece of cherry) between centers as you would mount any spindle project.
- Using a roughing gouge get the blank into the round.
- Using whatever tool you are most comfortable with, start shaping the box. Note that you want to make it a little longer than the final size as some length will be lost when parting off the lid.
- As you define the top and bottom leave a thick tenon on the waste ends of the blank as you’ll need this later.
- Using a skew or parting tool, part in for the lip on the bottom half of the box (a round tenon that the top will mate to) and then part off the lid. Separate the two halves of the box.
- Use the waste wood tenon from step 4 to mount the top into a bowl chuck or wood jam chuck then turn lip inside the lid. Test fit this against the tenon your parted in on the body of the box. The fit should be tight enough to make a suction pop but not so tight it’s hard to open.
- Using the setup from step 6, mount a large size Forstner bit in a Jacob’s chuck in your tail-stock. Before starting up the lathe the bit should be in contact with the box half. With the lathe running slowly advance the bit into the top. Stop as needed to check the depth, clear out chips and reposition/advance the tail-stock as needed.
- Repeat steps 6 and 7 to hollow out the bottom half of the box.
- Re-assemble the box between centers on the lathe and clean up the turning with your skew chisel and/or sandpaper/turners tape. You may also want to apply your finish while still on the lathe. I like to use shellac and wax as it builds quickly and produces a nice finish.
- Now you can part off the tenons and clean up the ends with a chisel or gouge.
Now that you have a rough idea on how to make a turned box, it’s time to go out in the shop and see what sorts of designs you can come up with. I’d love to see some of your design explorations in the comments below.
Take care,
–Bill Rainford
http://rainfordrestorations.wordpress.com
Note to readers, from Dan: Speaking of turning, we are opening a brand new channel in our slate of streaming video resources for woodworkers. It is called “Popular Woodturning,” featuring the amazing Tim Yoder. Click here to read more about this new release!
Here are some supplies and tools we find essential in our everyday work around the shop. We may receive a commission from sales referred by our links; however, we have carefully selected these products for their usefulness and quality.


![Choosing Quality Turning Tools [Video]](http://www.popularwoodworking.com/wp-content/uploads/bfi_thumb/dummy-transparent-olcy6s63it1p9yp7uhusjas7c8kahafrhg9su7q9i0.png)