We may receive a commission when you use our affiliate links. However, this does not impact our recommendations.
I recently found myself with that most fortunate of situations – a whole day in the shop. I knew exactly what I wanted to do: get some furniture projects finished. I had three waiting for the right moment to apply the final touches.
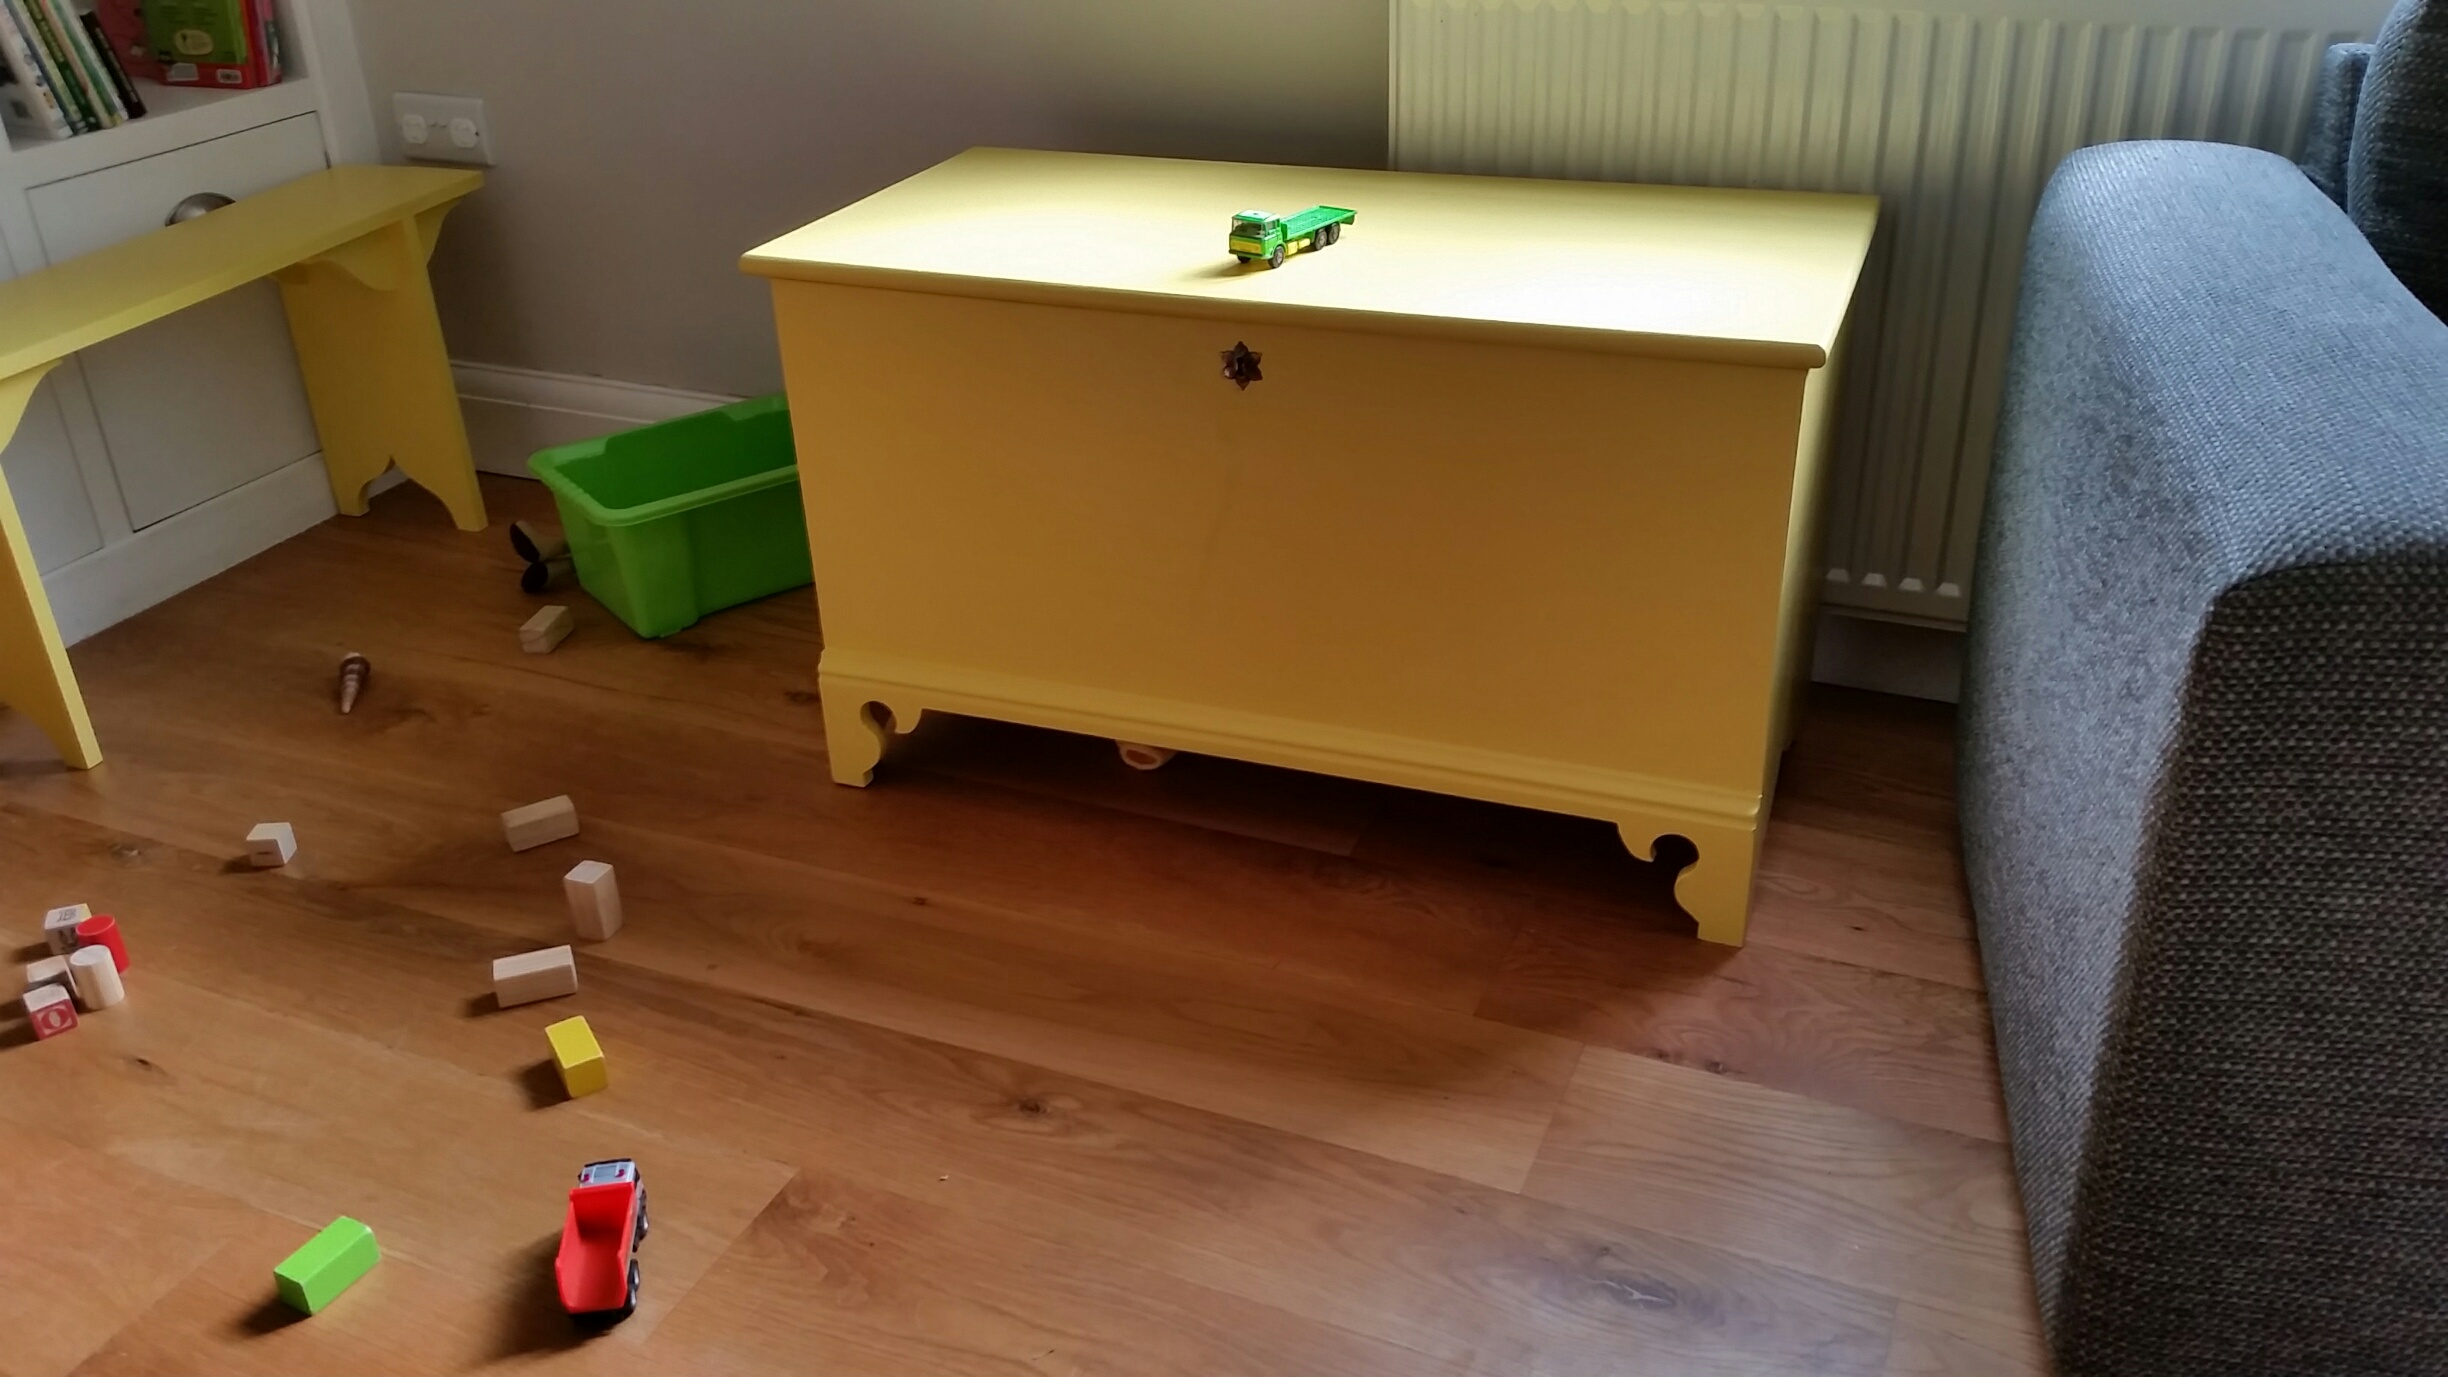
The first of them was a simple nailed board chest. I found inspiration for the design by browsing Pinterest. There, I discovered an 18th-century example I was attracted to. Pinterest can be an excellent way to discover styles of furniture. For instance, many of the pieces on there are linked to web site that has detailed photos for auction purposes. Looking at actual projects, even via the Internet, up close is hugely worthwhile. On this occasion, It was a hand tool-only project and I did begin to document the process…but soon discovered the commitment required to film and explain every detail is best left to experienced woodworking video makers and presenters. I’ve had much more fun with the fast-paced videos that allow me to progress things very quickly.

This was the project on which I experimented with making my own paints. As much as I enjoyed that process, I had to be pragmatic, therefore I purchased some water based eggshell finish paint and was able to get it all done within my allocated time. I really think these humble painted pieces are a worthy of consideration in any home. It’s the kinda piece that looks better the more beat-up it gets (I’m sure in my home that won’t take long!). It’s an easy project to dress as you see fit – just the accent of the shaped plinth or the mould applied to the top can make the design fit many different styles.
The second project to finish up was just application of paint to the Shaker Style Bench I made a while back. When I built the bench, I had the chest shown above in mind, and the ogee cut-out in both create an nice link up. That project was a reminder of just what can be done with some basic tools and store-bought lumber.

The final piece was a Craftsman-style table – you saw the bare bones of it when I discussed my experiences with a Ryoba. The brief I had in mind for this project was good value, generic and durable (how exciting). I had quite a few edge rips from oak boards and quite a few short ends, too. the colour variation and grain selection on the wood was a secondary concern because, given my available stock, I knew I’d be fighting a loosing battle. So I just accepted that fact and used two coats of a water-based “American Walnut” dye, with two coats of water-based polyurethane to protect it.
It had been a while since I used water-based dye, and I recalled preferring the spirit-based alternatives at the time. It seems, however, the water-based varieties have improves; it worked pretty well.
My big lesson learned on this table was to always think about the finishing before actually getting to the finishing. I simply glued up the many base pieces without giving proper thought to how tedious it would be to then apply dye and varnish. Had I been smart about it, I’d have done the finishing before glue-up – and in smaller batches when time allowed. Instead I was punished four times! It’s something I’ll think about much more carefully next time.
The pieces were well-received at home; however, after about three seconds of looking at the table with a big smile on his face, my son then moved straight into more important matters: “Dad, can you help me find my whoopee cushion?” (Clearly farts are better than Daddy’s furniture.)
More seriously, I’ve been getting some constructive comments on my videos regarding sound quality. I do take making the videos seriously and I aim to get better – it might just take a while and I’m sorry for that. I’m grateful for all feedback as well as all the comments on my posts here and on various social media – hugely appreciated. I also wanted to share better photos of the table (hopefully, you can get a feel for that in the video below). But I’ve also learned that should anyone fancy a shot at being a professional furniture maker, the equipment and knowledge to photograph finished work should be high on your list of business needs (or you should hire a good photographer). That’s also something I want to improve on.