


We may receive a commission when you use our affiliate links. However, this does not impact our recommendations.
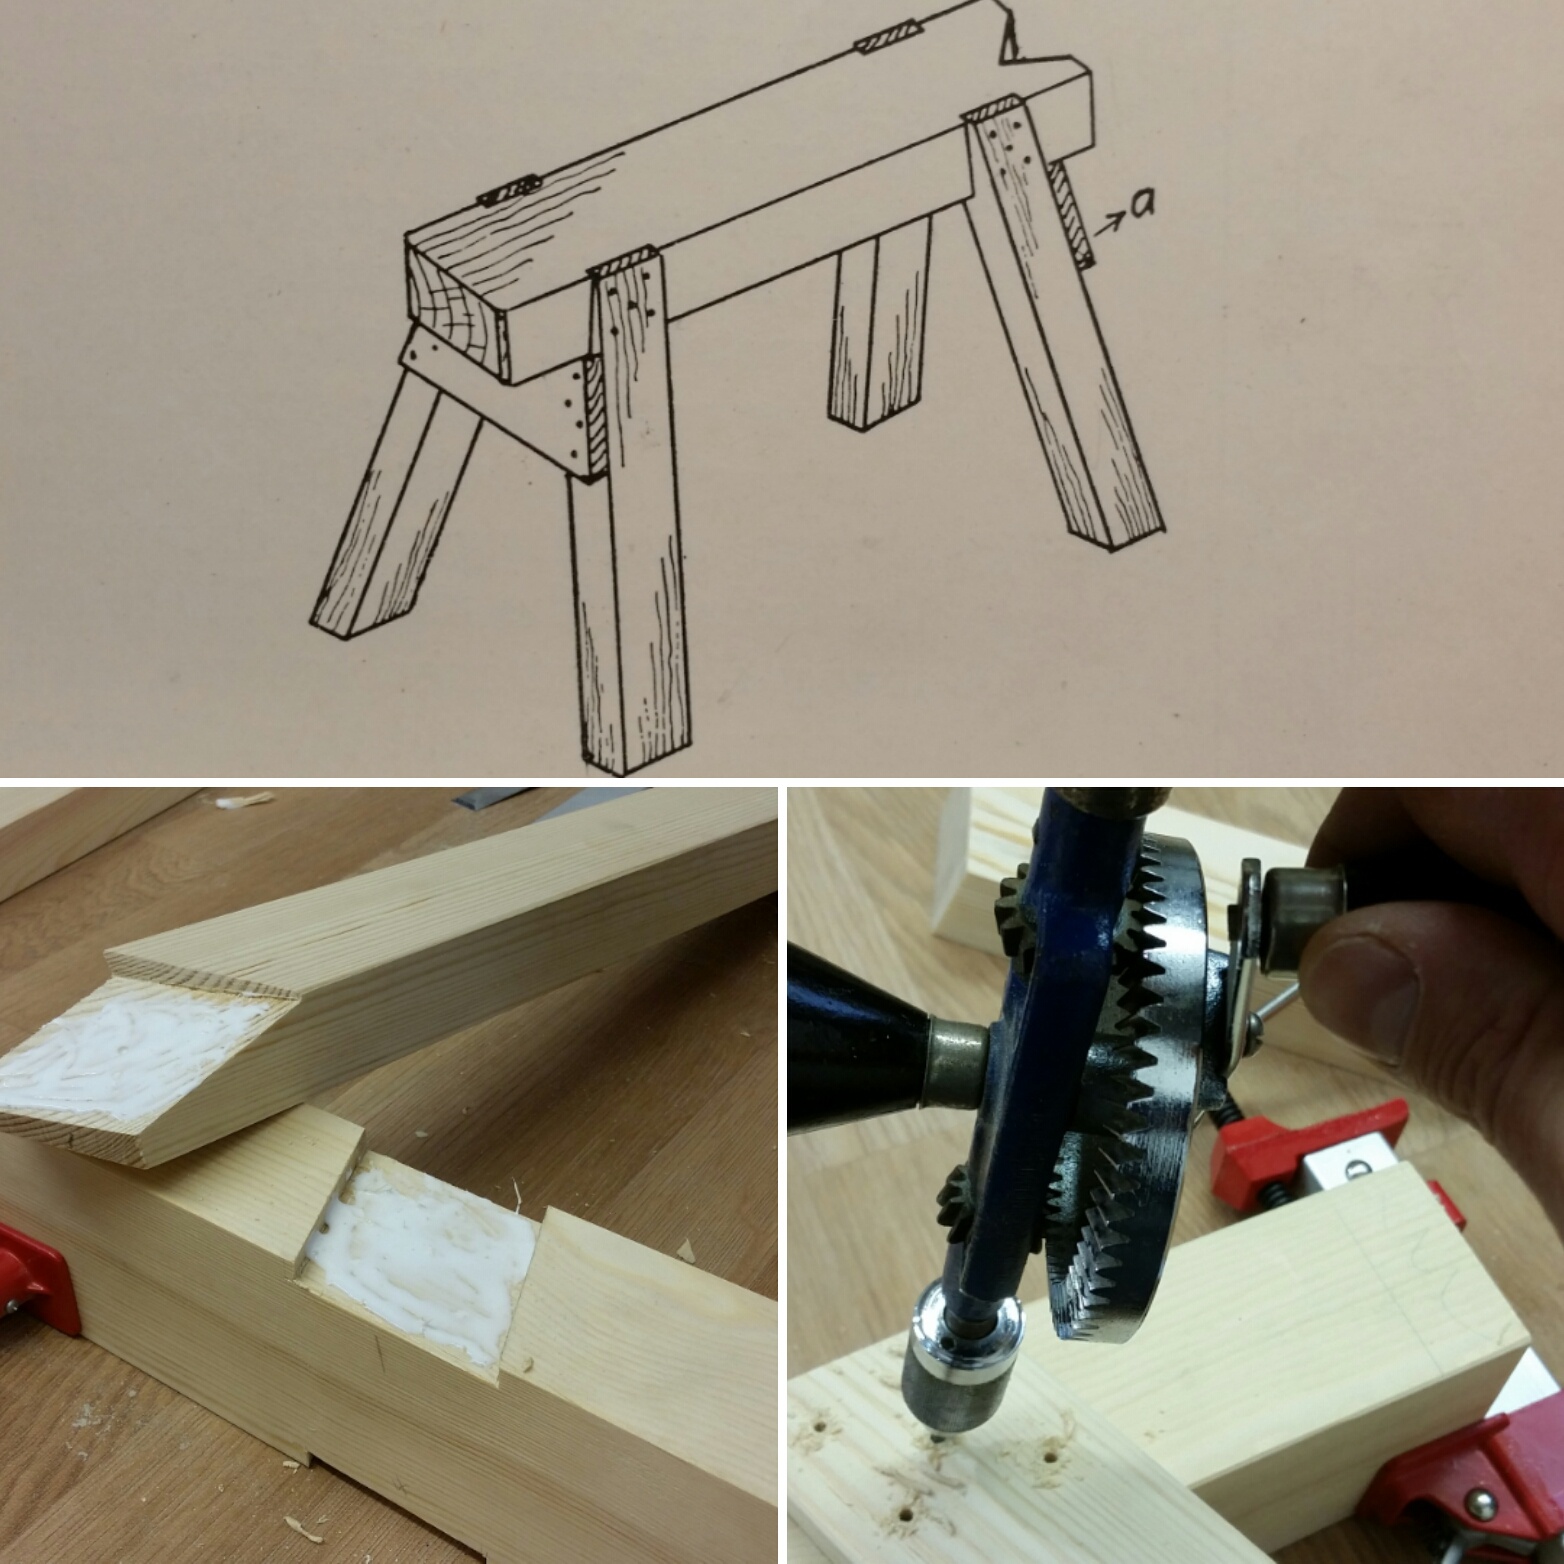
Picking up after my last post on sawhorses (or sawbenches, as you might call them), the housings were all formed and ready to go. Then it’s down to cutting the legs to length: 26 1/2″ will yield a finished height or around 24″ (if you want to work it out accurately with a bit of math, proceed with my blessing – but I did a bit of guesstimating). I cut the compound angles at the top and bottom straight away. You can leave them all long from trimming after glue-up, but I’ve found that even if the sawhorse does not sit quite right after glue-up, with the glue still fresh, a few aggressive bumps normally level it off before the braces are nailed on.

A tip on compound cuts and even simple angles: It can prove very useful to orientate the cut so the lines appear as a straight cut. With a single angle, this normally means just clamping the workpiece for a straight cut. On a compound cut, do this then move your body so the line of sight becomes square, then cut to the pencil lines.
A quick aside: This project has reminded me of the value off a good crosscut backsaw, something I grew up knowing only as a “tenon saw.” I sense that many have found value with rip profile teeth for this type of work, but I would not want to be without the precision of a crosscut saw in my arsenal.
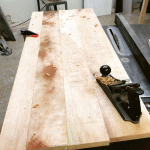
With the legs cut to length I use the templates (see part 1) to set out the cuts on the legs, then repeat the process of making the same cuts I made as I made the templates. Once all legs are cut, I use a block plane to cut a generous bevel on all then long-grain edges.

I test-fit each leg into its housing and number them to make glue-up easy. You may have noticed that even though I have a nice bench (and I’m about to start another), I decided to make these sawhorses using a dreadful version of the Workmate and nail the project together on the floor. Please use the best workholding solution you have; I just have a desire to make simple projects with basic stuff.
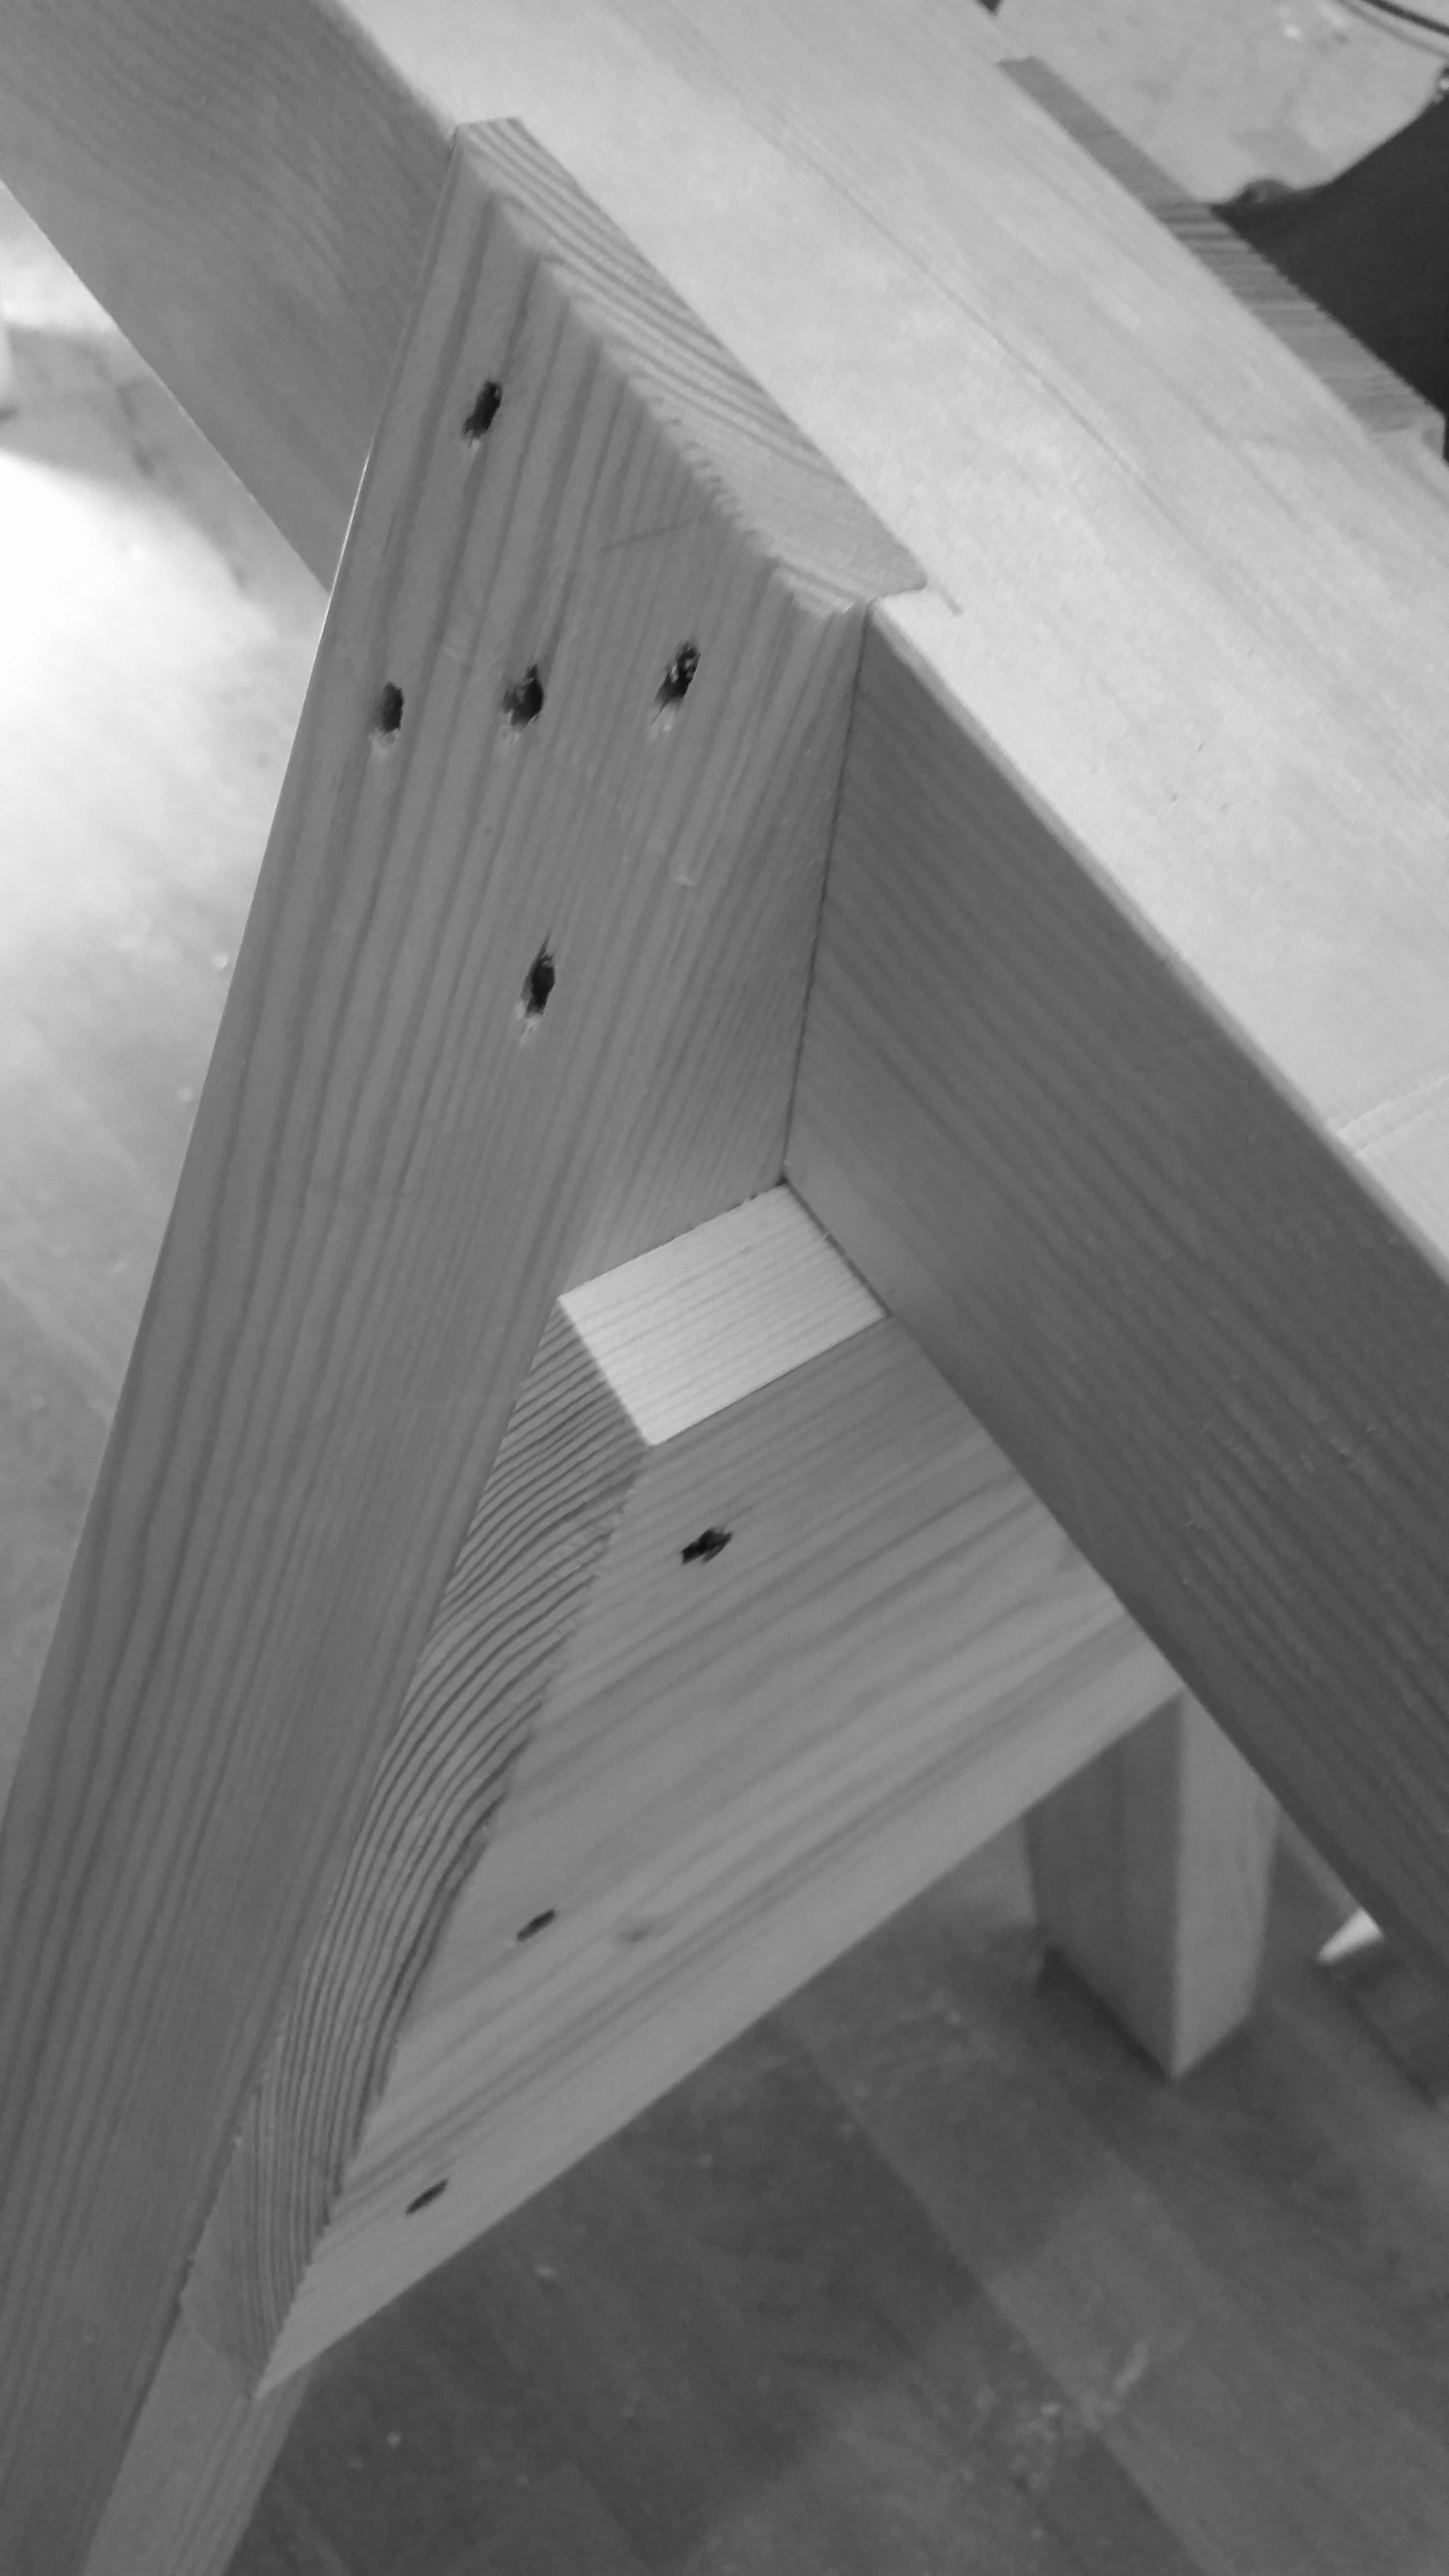
To secure the legs to the top I use nails in the configuration shown in the example, in this case wrought nails that have accumulated via three previous generations of Haydons. If I didn’t have them, I’d happily uses cut nails, ring shanks or screws. On my jobsite set of sawhorses I used nuts and bolts to connect the top joint. That requires a bit more work, but does provide a very secure fixing. I experimented with pilot holes to ensure no splitting but also strong holding. I use a healthy dose of PVA (too healthy on one joint as you’ll see in the vid) to aid joint strength.
With the joints nailed, I set it on upright to see how it sits. Again, a few bumps will normally level off any wobble. I also measure the spread of the legs, checking that they are the same, and I trust my eyes to ensure all housings are snug and no legs look crooked.
Fitting the braces is easy. Hold the board tight to the underside of the top and draw the line on. I take the time to apply an angle to the top of the brace to ensure the strongest support and a touch more glue area. You’ll notice that you can make your angle brace cuts to follow the outer leg or revert to square. I reverted to square because the angle provides no practical benefit. Then glue and nail into position.
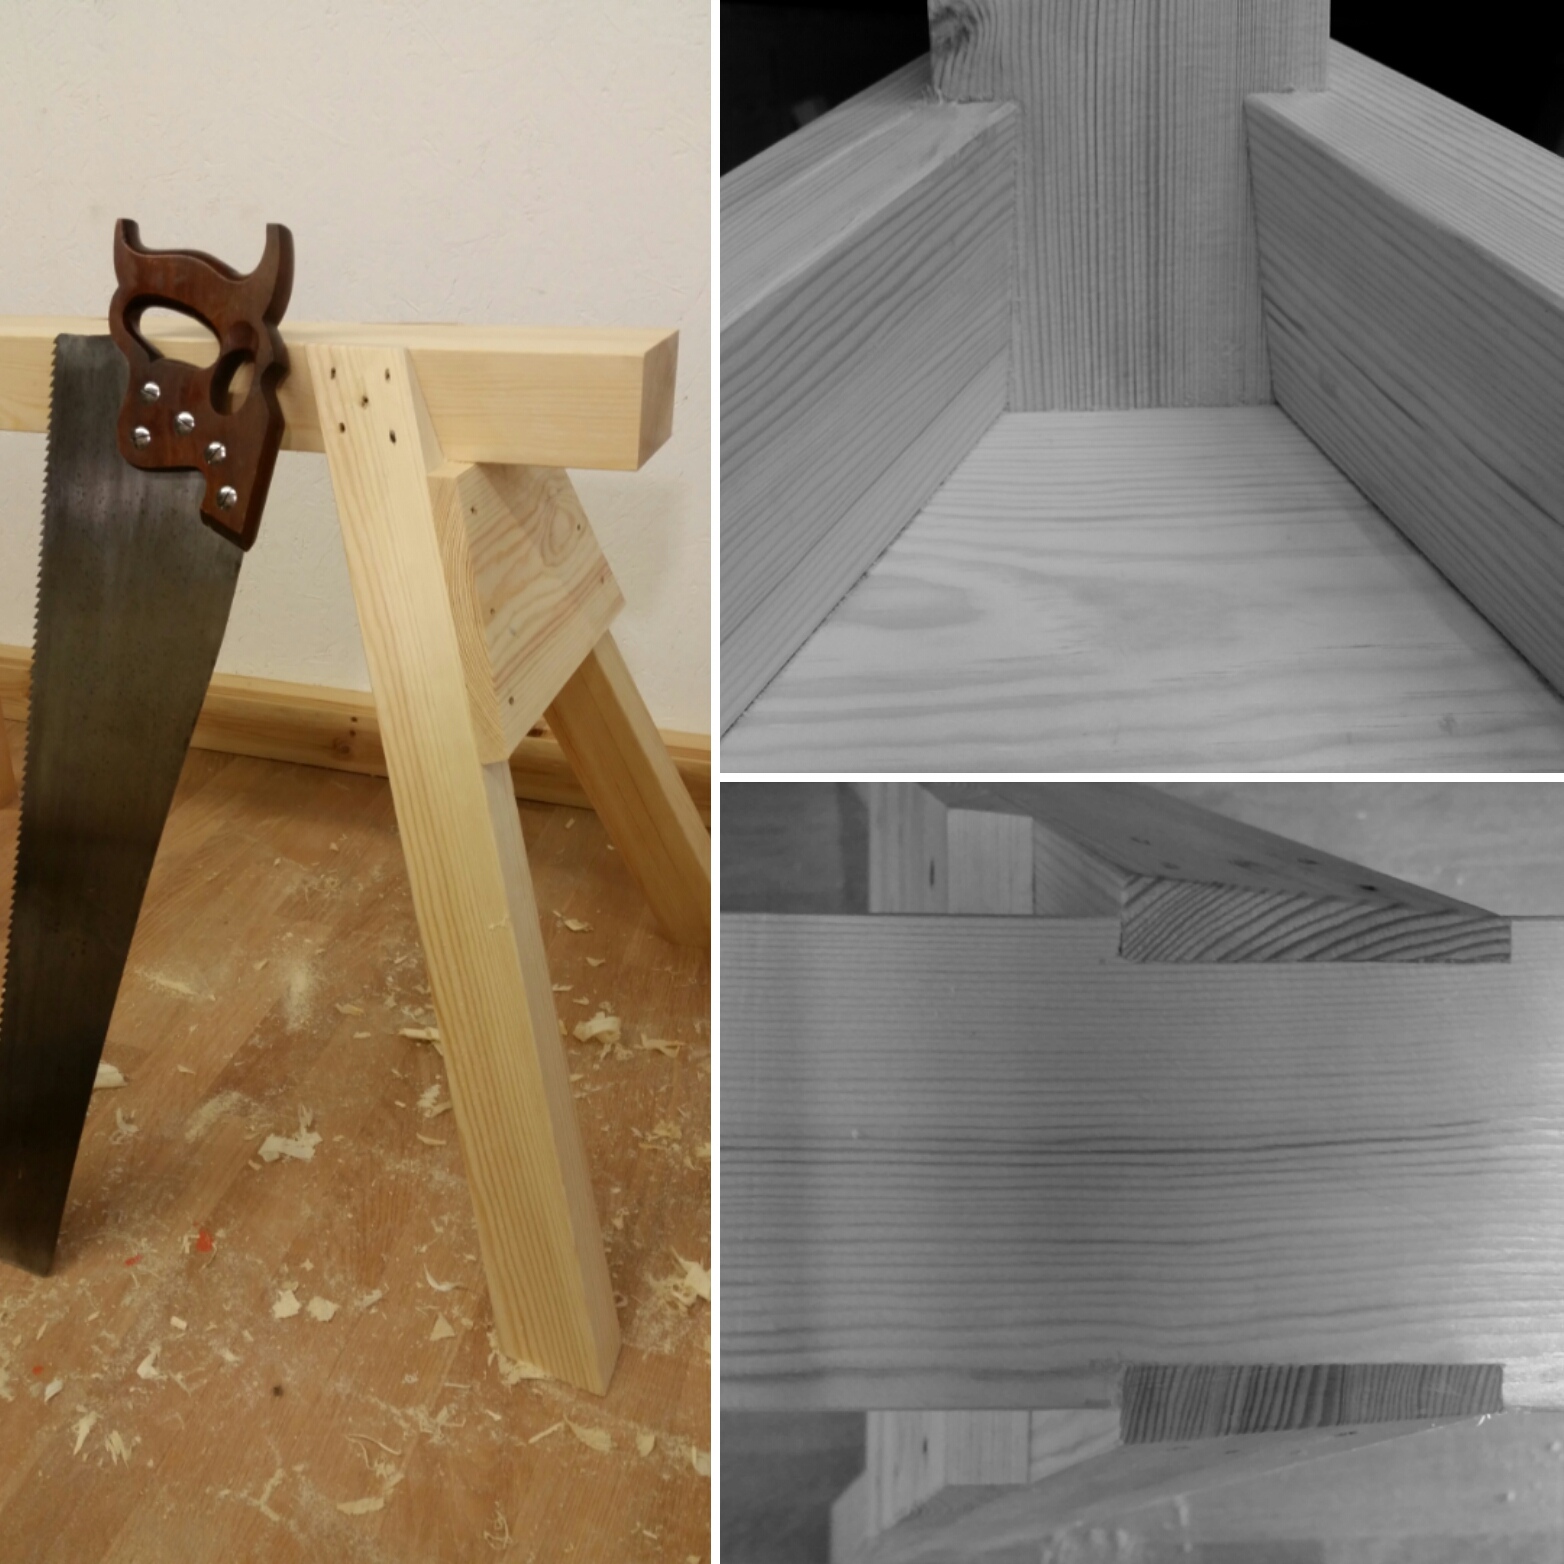
Once the glue is dry, level all joints and trim to length.
I now have a sturdy set of horses for that bench build!
Here are some supplies and tools we find essential in our everyday work around the shop. We may receive a commission from sales referred by our links; however, we have carefully selected these products for their usefulness and quality.


What a pleasure to see hand and eye joinery work executed with speed, confidence and accuracy.
I’m tempted to make one of these horses to match my sawyers bench as a support for longer pieces. I just wish I had Graham’s natural working rhythm.
Keep them coming please!
If you need a design tested to 16 kips (that’s 16,000 lbs) point load, the simple design in this photo has been tested to that limit.:
https://goo.gl/photos/uhbywVrHUfBbKRo29
Thank you for posting this. I will be making these soon. I am a fan of your YouTube videos, so I’ve registered here to show some support.
Any particular reason for your use of cut nails rather than common nails on these sawhorses?