We may receive a commission when you use our affiliate links. However, this does not impact our recommendations.
 Much has been written about the importance of a true and flat plane sole as a key to achieving optimal results during planning. Premium planes come with a very flat sole, do not need any interventions, and are ready for work straight out of the box. Unfortunately, this is not the case with second-hand tools such as planes bought in flea markets or on eBay, and new inexpensive planes. To make these tools worthwhile and effective, we have to flatten their soles by abrading their underside on a sandpaper or diamond media that is backed up by a flat surface. Over the past twenty-five years, I have flattened dozens of planes. Most were my own, many belonged to the woodworking programs I taught in, and a few were owned by friends or my students. I trued cast-iron planes made by Stanley, Record, Miller Falls, Sargent, and more. Some of these planes were short and narrow, while others were long, heavy, and wide. The longest plane I worked on was a #8 Record jointer plane, and the shortest was a small luthier plane by an unknown maker.
In this entry and those that will follow, I will demonstrate my technique of flattening plane soles. I will begin the tutorials showing how to reform a block plane over a diamond stone and conclude this series by indicating how I flatten a # 8 record jointer plane.
Truing and Flattening Principles For All Abrasive Media
Our goal throughout the truing process is to remove material from the high points of the sole until we even out the high and the low areas into one true and flat plane (surface). Some planes will have concave, convex, twisted, or a combination of all the above and it is up to us to attempt to get them to be as flat as possible.
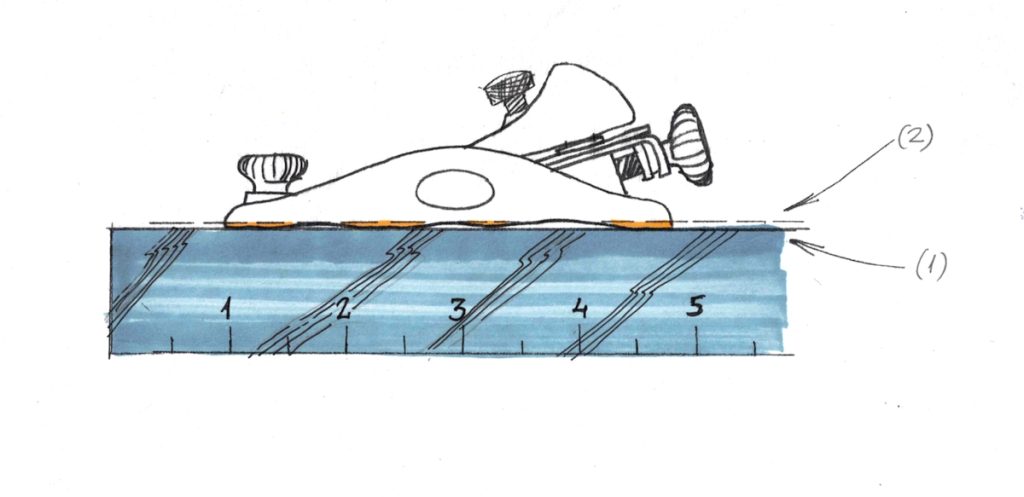
Most inexpensive and second-hand planes do not have a flat sole. A plane sole is flattened when all the high surfaces of the sole are reduced to one continuous flat plane. By placing a straight edge against the bottom of your plane, you will be able to notice the unique train of your tool with all its valleys and high points (1). The plane’s sole will be flattened via a careful process of abrading the high areas (yellow) until you’ll establish a trued surface (2).
On top of using a good quality straight edge to check our progress, we need a system of visual indications to inform us of the progress we make, how much material has been removed and where precisely the abrasion takes place. Many use a sharpie pen and crisscross the sole with lines, while others “paint” the sole with marking blue (a thin, alcoholic based stain). The sole’s highest points will abrade first as we begin passing the plane back and forth on the abrasion media, and instead of the black sharpie lines, we will notice the shiny surface of the freshly exposed cast iron. As we progress, the areas of polished cast iron will increase their size and gradually take over the entire sole. Once the sharpie lines (or the marking blue) are no longer visible, we can confidently conclude that the sole is flat. At this point, we should introduce a straight edge to the sole and check for flatness along and across the newly exposed surface. We check for flatness against a lited background and see if any light can penetrate between the edge of the ruler and the sole of the plane.
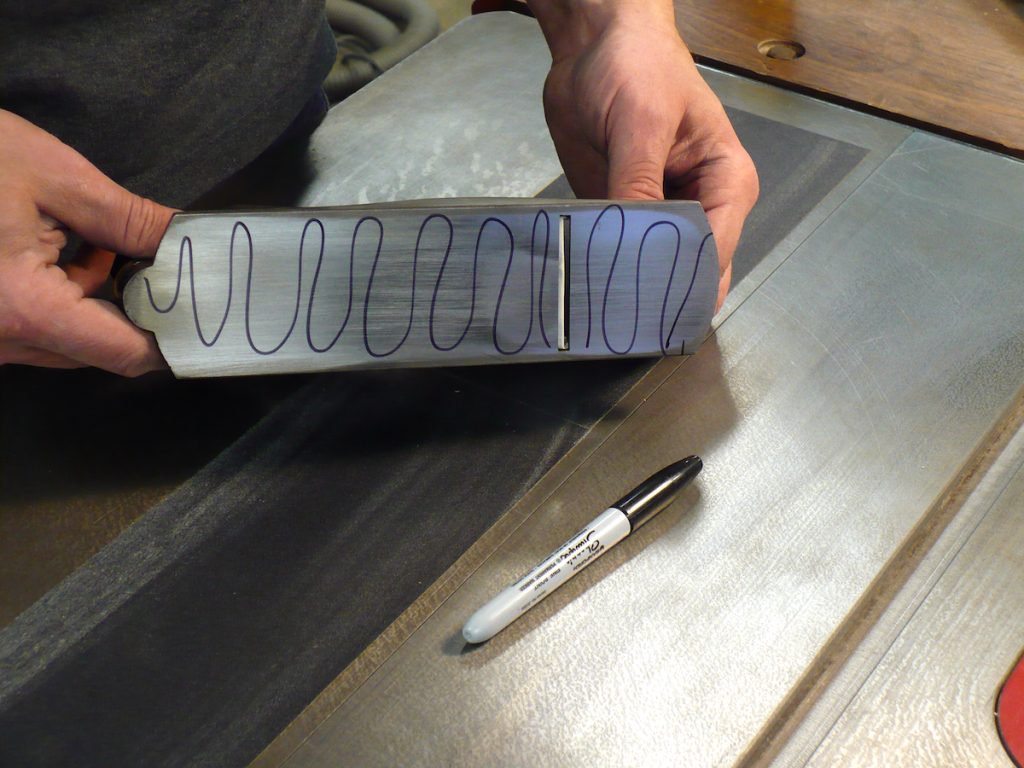
A serpentine line helps us indicate the high surfaces that need to go down.
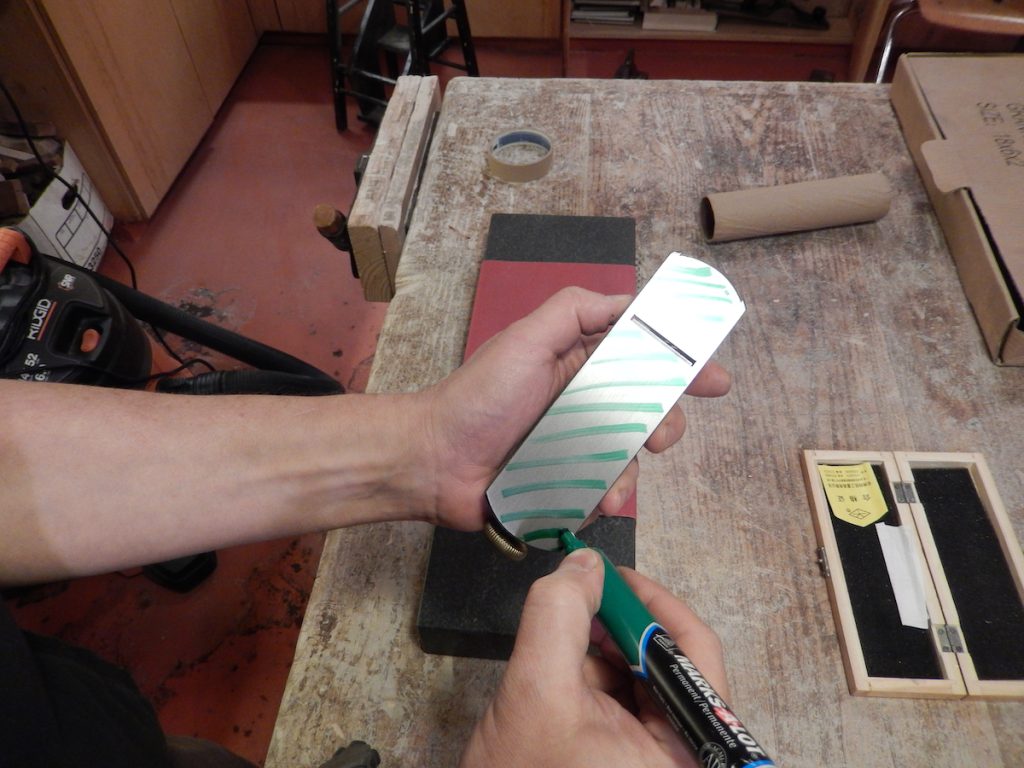
Diagonal lines work fine too.
Block Planes
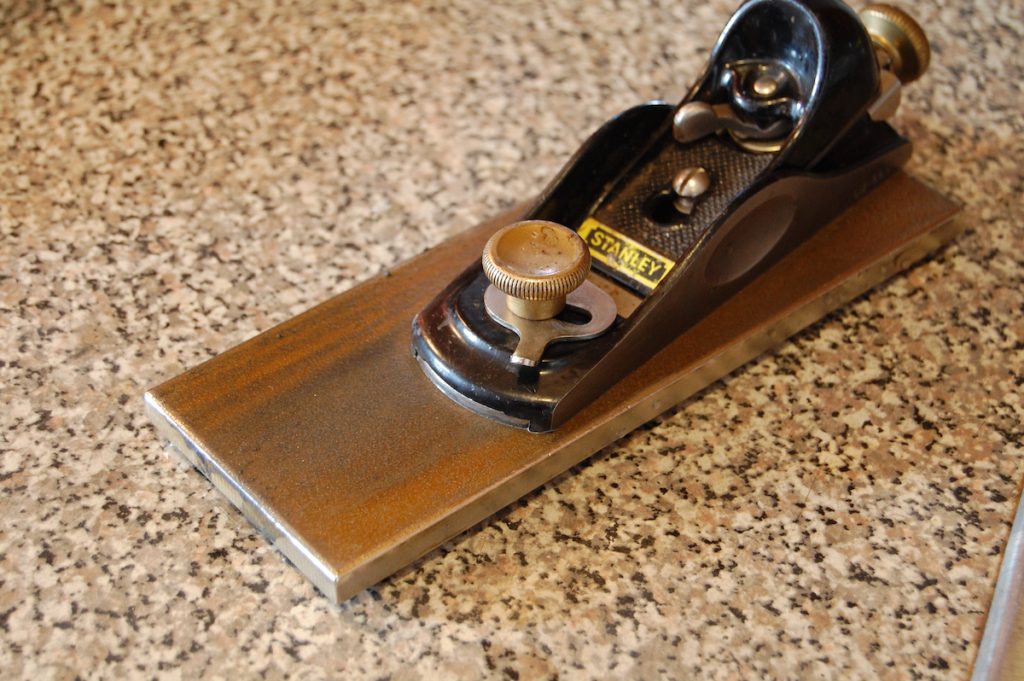
Among all the block planes that I flattened, the Stanley # 60-½” (12-960) takes the lead as this model has proven to be an excellent companion in my shop. The 60-½ Low Angle is short, narrow, and not too heavy. If you invest in a reputable aftermarket blade (to replace the factory one), you will boost its performance even more, so it can be almost indistinguishable from the high-quality planes such as Lie Nielsen or Veritas.
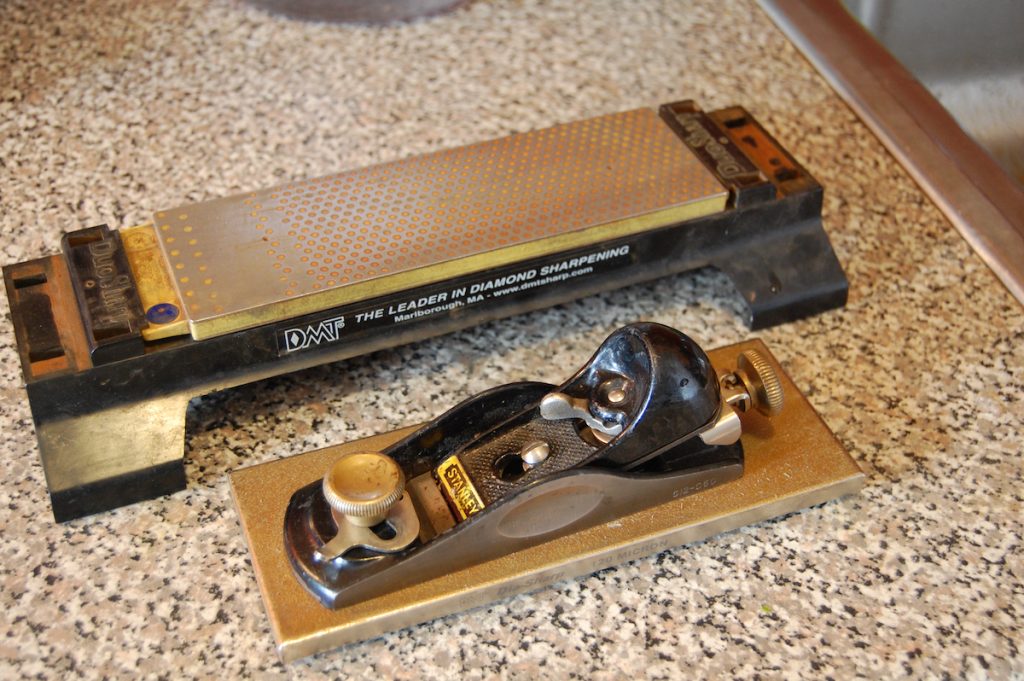
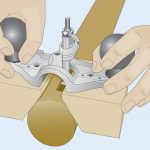
A small block plane can be easily flattened on an 8″ or longer diamond stone. The sole will be adequately trued if the plane is set up to the same working tensions that it will witness while put to work on wood. So before beginning the flattening process remove the throat plate (if your plane has one) clean the tracks, it glides on, reinstall the plate and tighten its knob. Also, remember to retract the blade into the plane to avoid unintentional tip grinding during the process. It is imperative for the blade to stay in the plane and for the lever cap to be adjusted to the proper working tension.
The advantages of diamonds as a flattening media are pretty profound. With the resilient diamond stone, you can continuously abrade the plane’s sole without the annoying need of replacing it periodically – as in the case of sandpapers. If the sole is in bad shape, I like to begging the flattering with a 120 grit diamond stone followed by a 220 grit (or 325 grit).
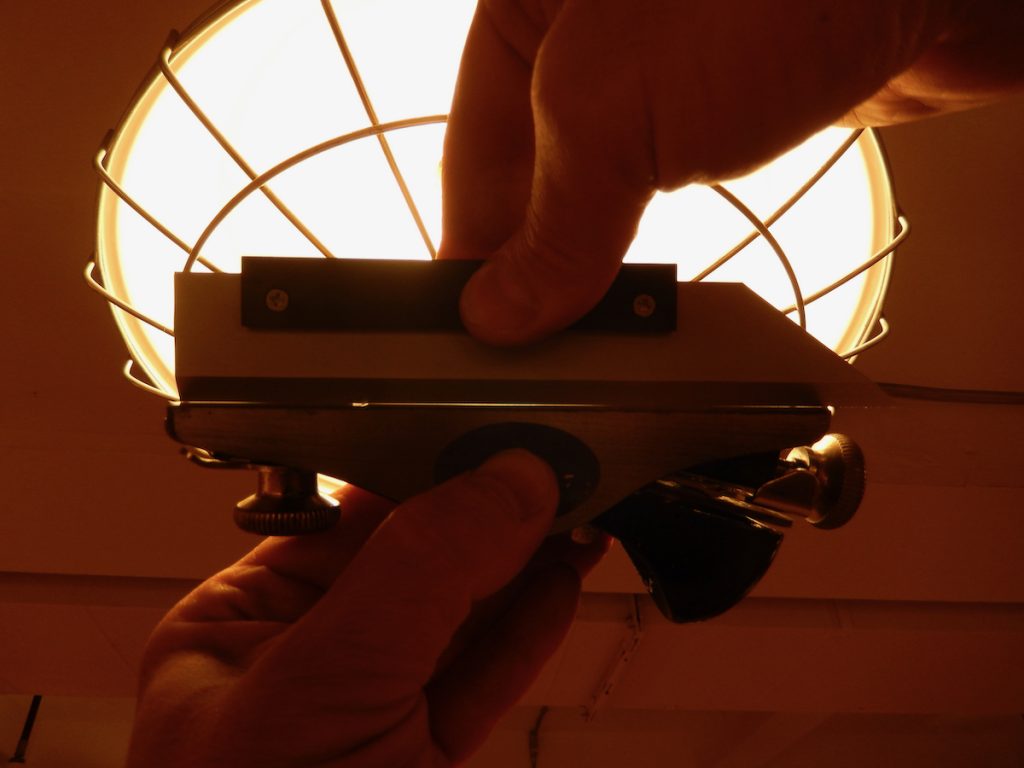
Place a straight edge against the sole and hold the plane and the straight edge in front a source of light to see the low and high point that needs to be unified into one true plane.
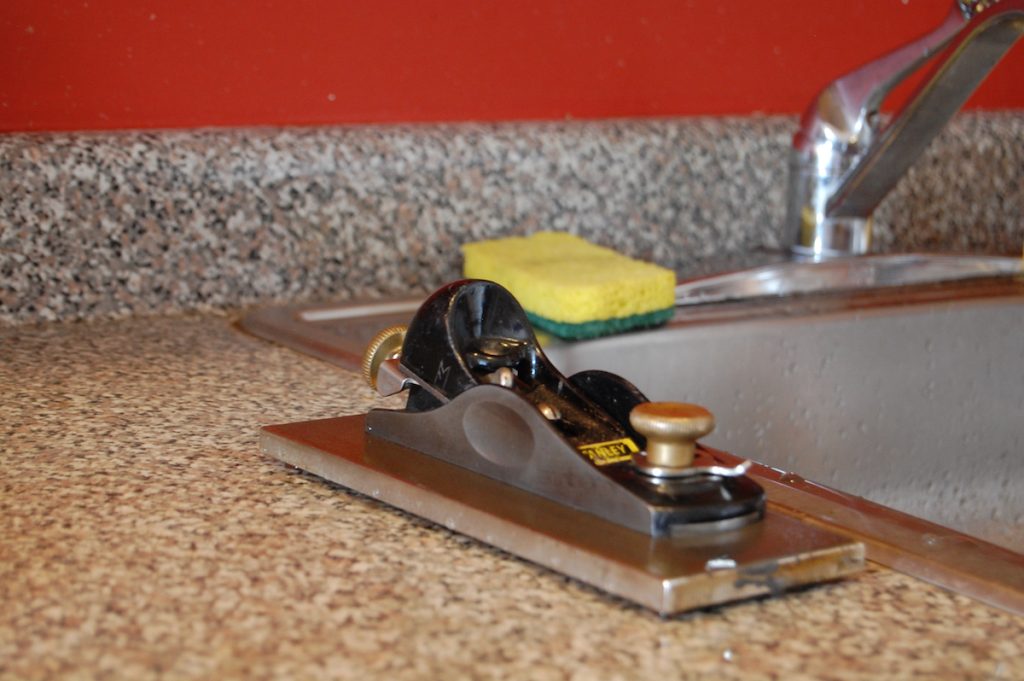
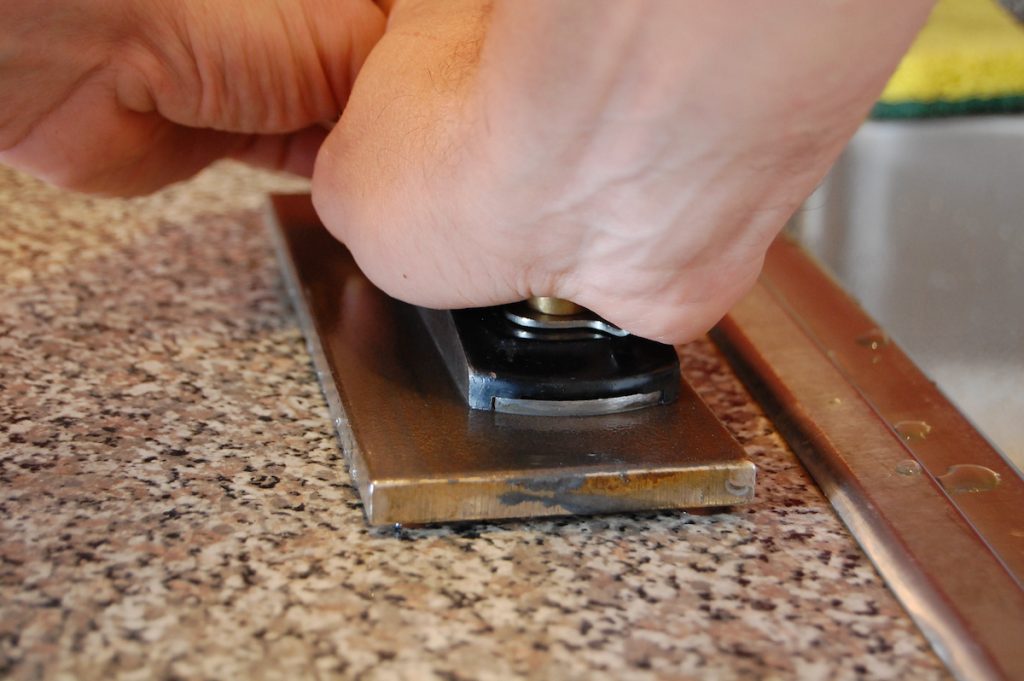
Wet the stone with water or other particle clearing fluid and start shuffling the plane back and forth on the entire surface of the stone.

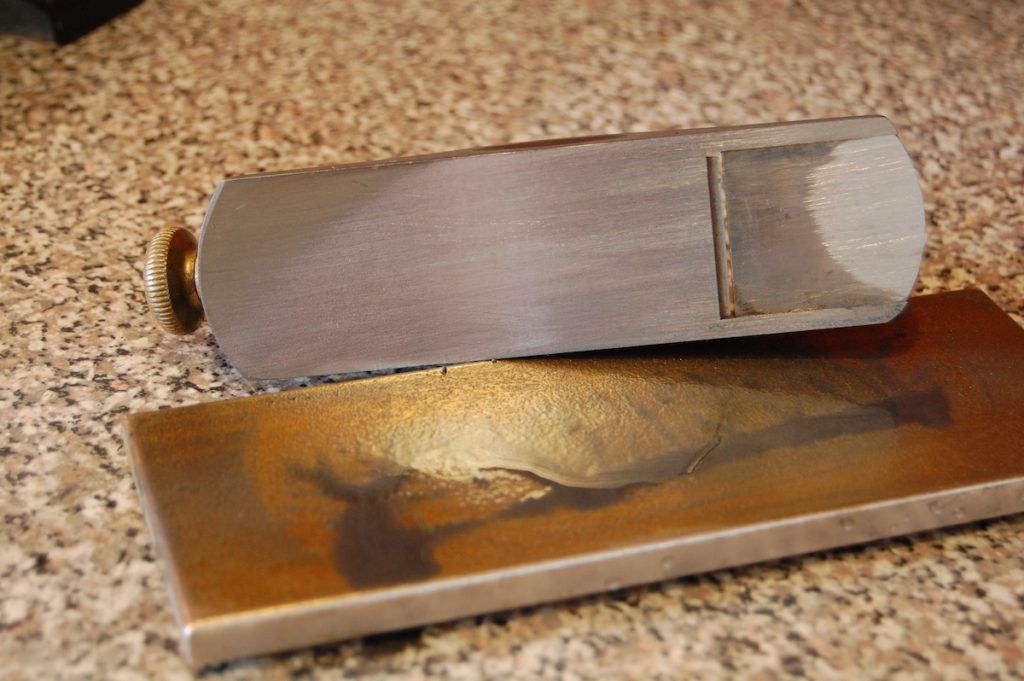
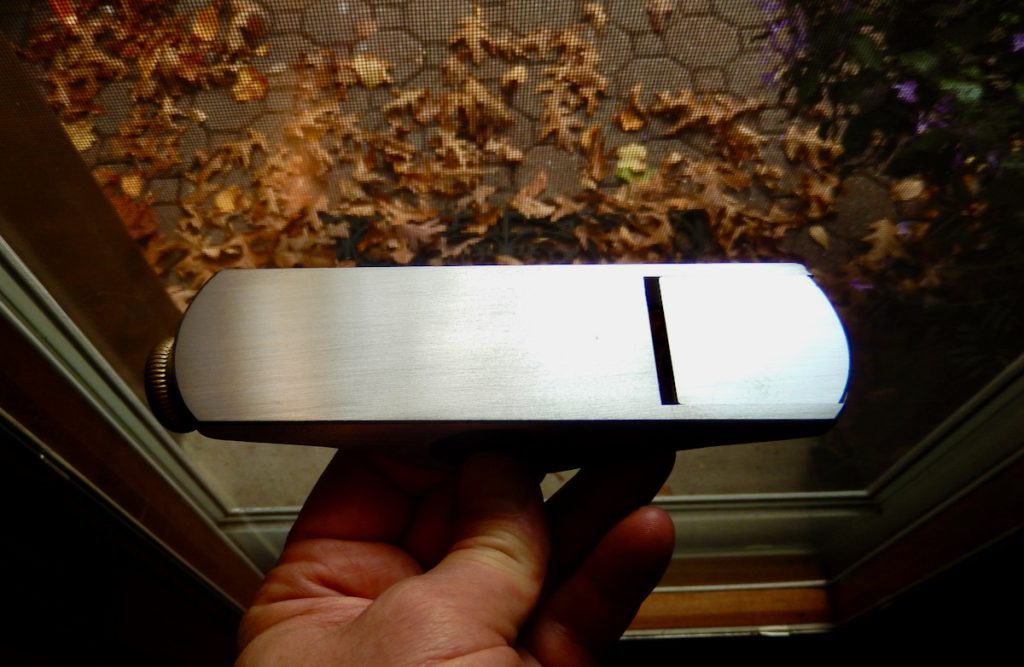
Lift the plane and check your progress. The plane in this picture is gradually flattened. The gray-yellow furnished surface is making way for a fresh and flat silvery cast-iron surface. If the sole is covered with rust or is tarnish, I don’t bother drawing a sharpie serpentine line on it. If the plane is fresh out of the box and exposes a shiny metallic sole, I would reach out for a black sharpie pen and mark the underside with serpentine or crisscross lines.
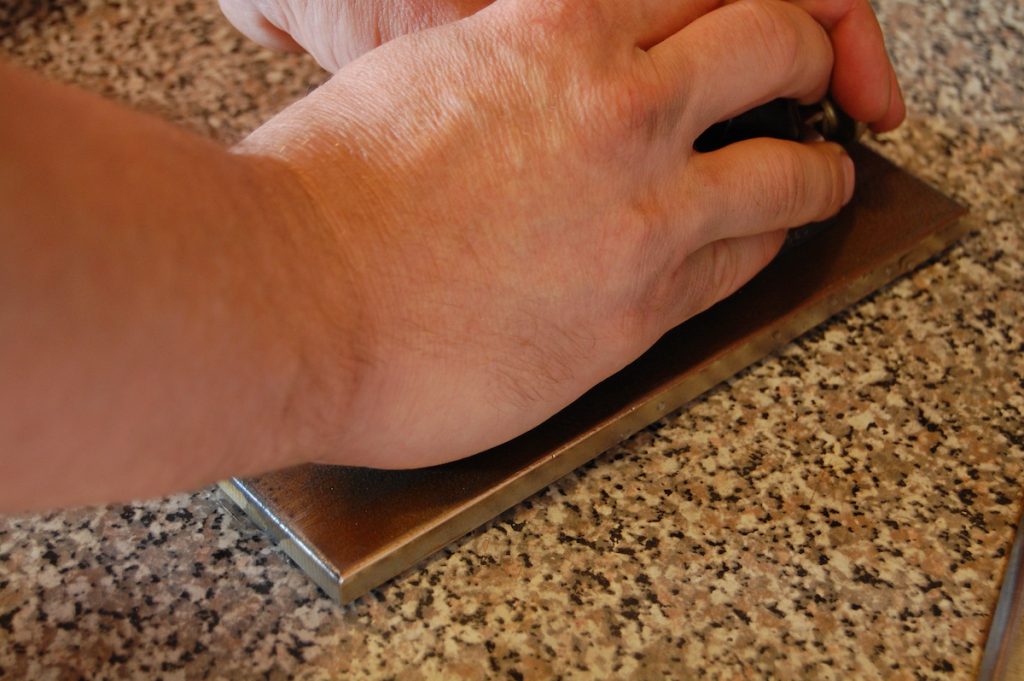
Progress is made. The shiny silvery surface is increasing. It is crucial to press evenly on the plane’s body throughout the flattening process. If you apply pressure unevenly, you will end up with a flat and true sole but distort the relationship between the prog and the sole. If the dihedral angle – the angle between the slope of the frog and the sole is corrupted, you’ll have to skew the blade to the right or the left to compensate for the error and achieve even shavings. This predicament is not just annoying; it will also prevent you from being able to close the plane’s throat to a hairline when shaving challenging wood.
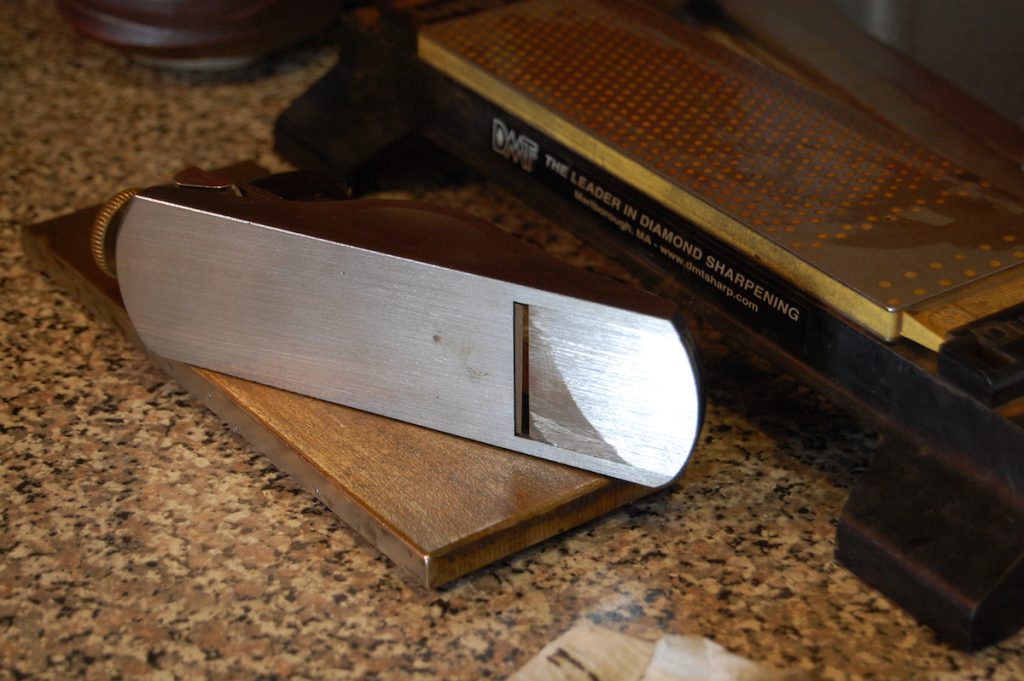
The plane’s sole is flat and true when all the high surfaces were reduced and unified into a true plane.
Next, I will talk about flattening short to medium-length planes over sandpaper media.
Here are some supplies and tools we find essential in our everyday work around the shop. We may receive a commission from sales referred by our links; however, we have carefully selected these products for their usefulness and quality.