


We may receive a commission when you use our affiliate links. However, this does not impact our recommendations.
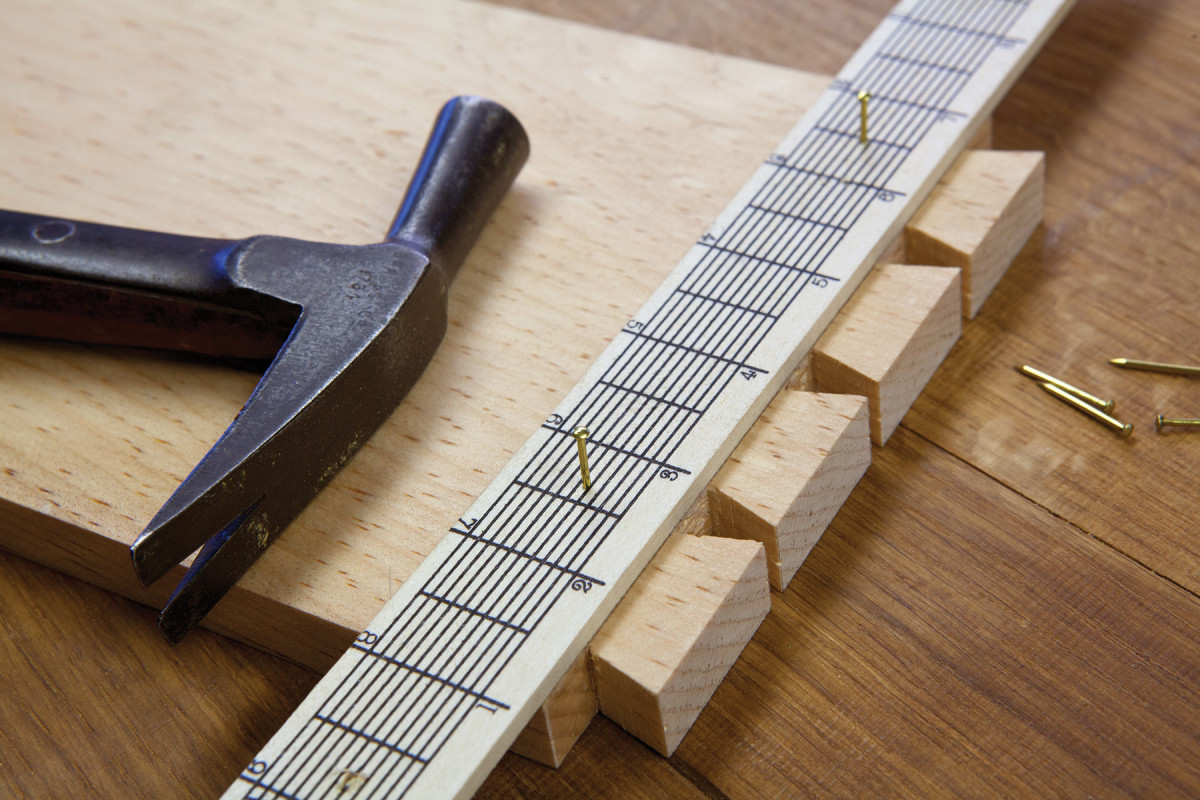
Advertising rules. A 12″ wooden ruler (or any thin scrap) can be tacked to the baseline of your tailboard with skinny nails.
A throwaway wooden ruler prevents fatal errors when dovetailing.
The No. 1 mistake made by first-time dovetailers has nothing to do with sawing or chopping – the obvious choices.
Instead, I’ve found that most fatal mistakes happen at the point where the shape of the first half of the joint – the tailboard or pinboard – is transferred to its mate.
During the transfer process, beginners fail to align the boards properly, or a board shifts during the transfer process. The end result is that the joint is horribly misaligned or, worse, it won’t go together.
To fight this alignment problem, I used to show beginners how to cut a shallow rabbet on the inside of the tailboard to help the two boards mate easily during the transfer process, reducing errors.
This strategy works great – if you can cut a square, well-placed rabbet. To be honest, it is difficult to teach beginners to do this with a rabbet plane at the same time they are also learning to knife, chisel and saw a dovetail joint.
I was beginning to wonder if the rabbet was more trouble than it was worth.
Inspiration in the Junk Drawer

The rabbet trick. For years I’ve shown students how to cut this shallow rabbet to make it easy to transfer the shape of one board to another during dovetailing.
One day I was pawing through a bin of tools and parts that I’d been meaning to get rid of when I came across a stack of wooden 12″ rulers branded with advertising – the kind you can often get free at hardware stores.
Something clicked. I grabbed the rulers and strode to the shop to experiment with some dovetails with this idea in my head: Instead of cutting a rabbet to help register the pinboard and tailboard, could I create a “rabbet” by tacking a ruler to the baseline of the tailboard?
The answer is “yes,” and it has made teaching dovetailing a great deal easier for me.
About the Ruler
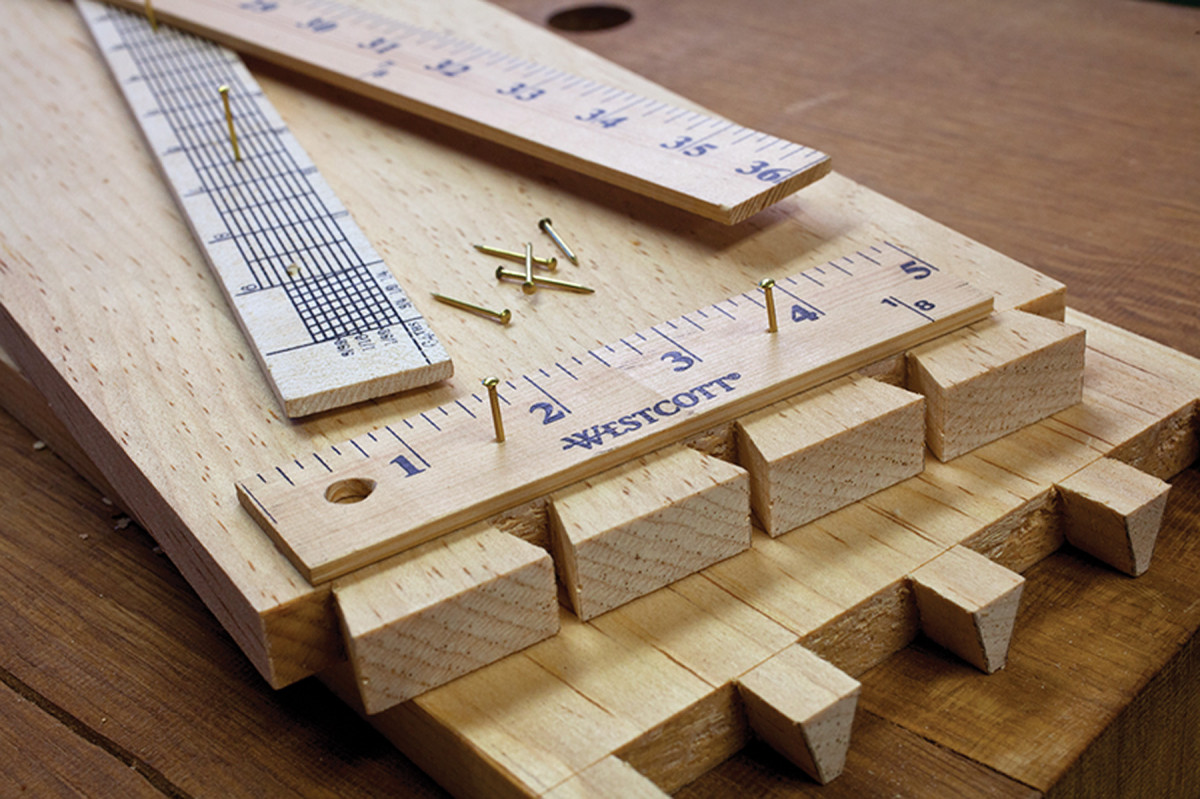
Big or small. It matters not if the ruler is shorter or longer than the tailboard’s width. All that matters is that it’s planted on the baseline.
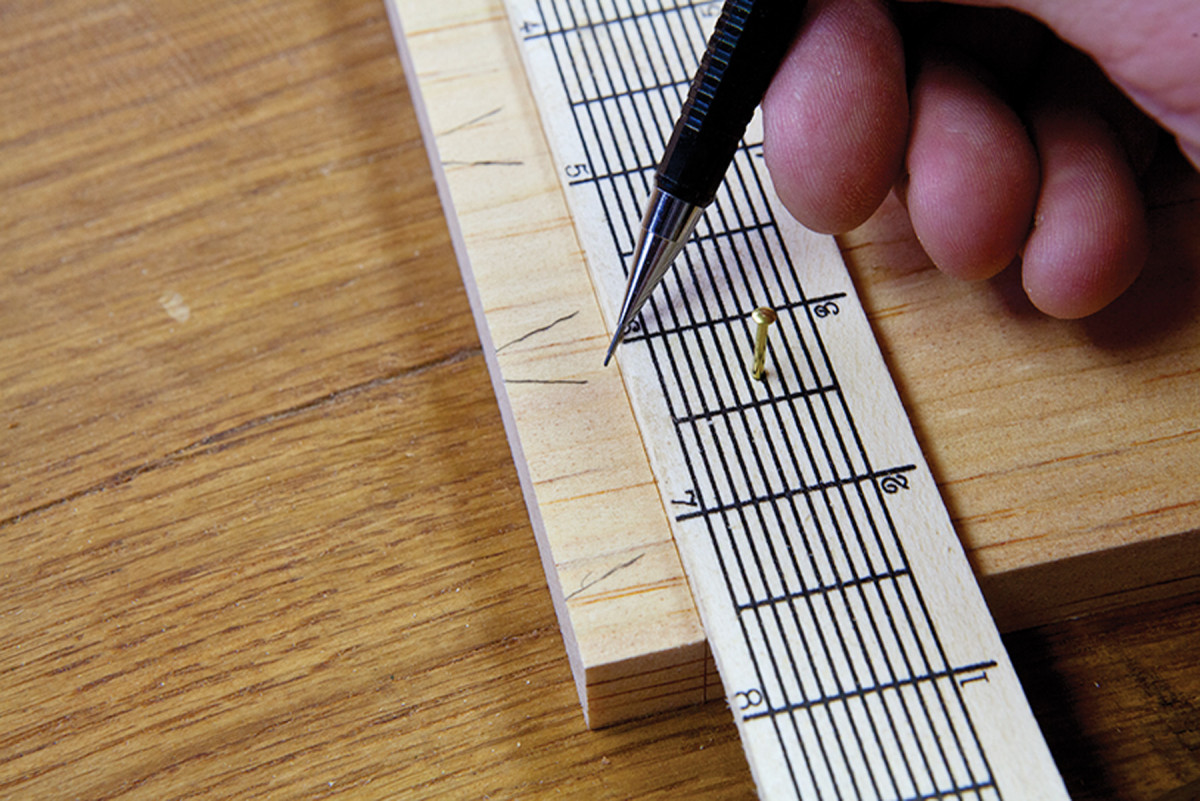
All you need to try this is a wooden 12″ ruler (or a paint-stirring stick) and a couple of nails with narrow shafts and sharp points. Escutcheon pins are a good choice, as are headless brads.
The goal is to fasten the ruler with one of its edges on the baseline of the tailboard. Pins work best for me, though you might consider using double-sided tape or hot-melt glue.
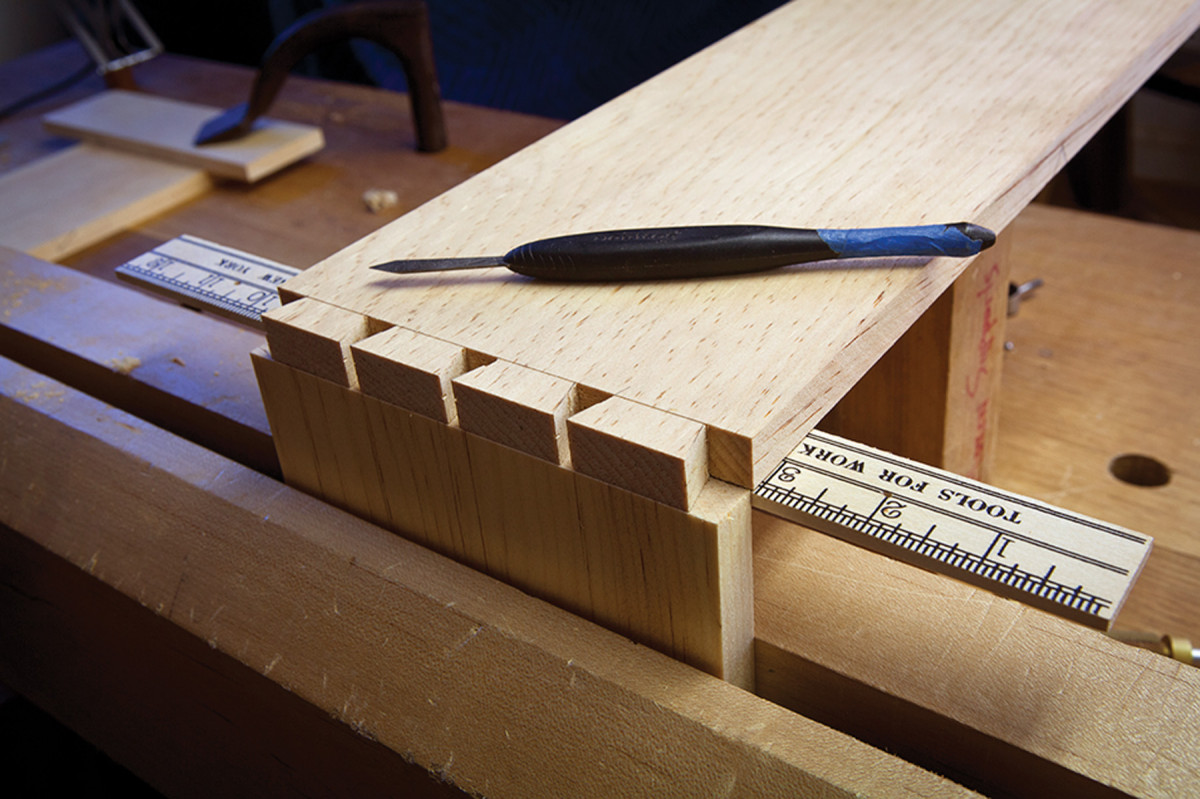
On your mark. The ruler allows the tailboard to lock to its mate right at the baseline. Now you can focus on transferring your layout.
Before tacking the ruler down, I drive the nails most of the way through it. Then I place the ruler on the baseline and drive the pins into the tailboard about 1⁄8” or 3⁄16” deep. (If you have trouble aligning the ruler on the baseline, try driving in one fastener only, make any final adjustments then drive the second.)
That’s the trick. Here’s how it works.
Make the Transfer
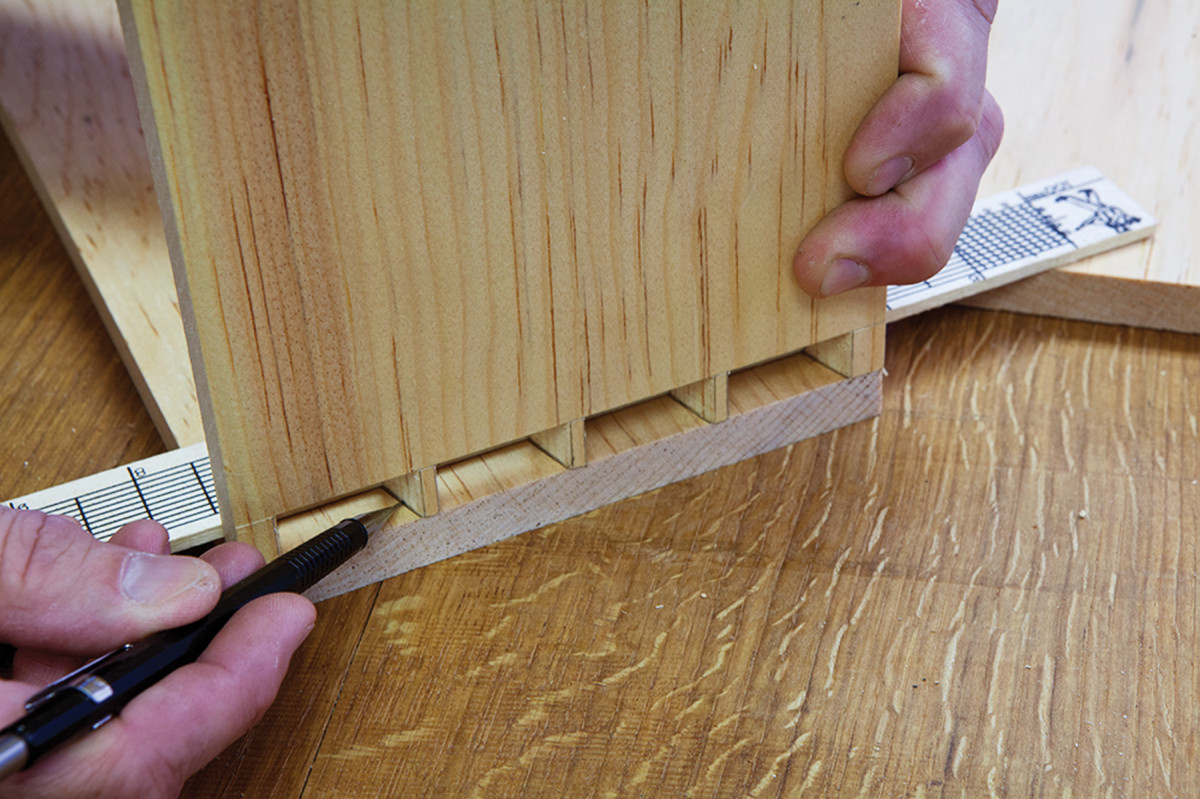
Yup, it works. If you cut your dovetails pins-first, you can still use a ruler to help align the two boards during the process.
Now transfer the shape of one board to the other. Place the tailboard with the ruler against the pinboard, which I place upright in a vise. Shift the tailboard to align the two at their long edges.
Use a knife or pencil to scribe the shape of the joint onto its mate. If you cut your tails first, this trick works easily with both through-dovetails and half-blind dovetails.
For Pins-first Dovetailers
Don’t miss your mark. Because of the thickness of the ruler, you won’t be able to mark all the way to the baseline when cutting half-blind dovetails pins-first. But the slope is already set by the saw’s kerf by the time you reach this area. So it’s not a problem.
This trick also works if you cut your dovetails pins-first. Cut your pins as usual. Affix the ruler to the baseline of the tailboard. Then place the pinboard against the ruler and draw in the shapes of the tails on the tailboard.
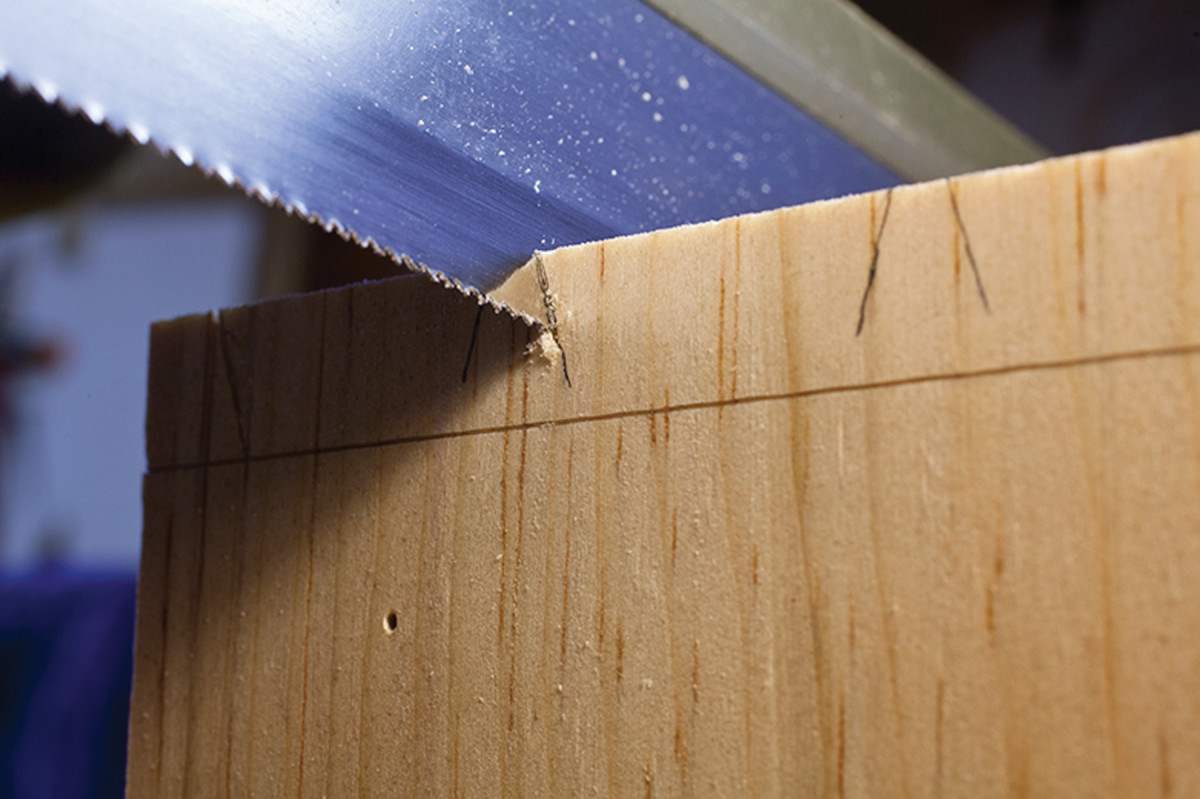 The only fly in the ointment is when cutting half-blind dovetails pins-first. Depending on the thickness of your ruler, you might not be able to mark all the way down to the baseline of the tailboard. My ruler was a bit thicker than 1⁄8” and I could mark down to almost 3⁄16” from the baseline. This isn’t a big deal – the shape of the tail is already set by the saw’s kerf by the time you reach the base of the tail.
After the transfer is complete, pry the ruler off the tailboard and use it again.
My favorite part of this technique is wondering what the furniture conservators of the future will make of the two little holes on my tailboards.
Here are some supplies and tools we find essential in our everyday work around the shop. We may receive a commission from sales referred by our links; however, we have carefully selected these products for their usefulness and quality.


