


We may receive a commission when you use our affiliate links. However, this does not impact our recommendations.
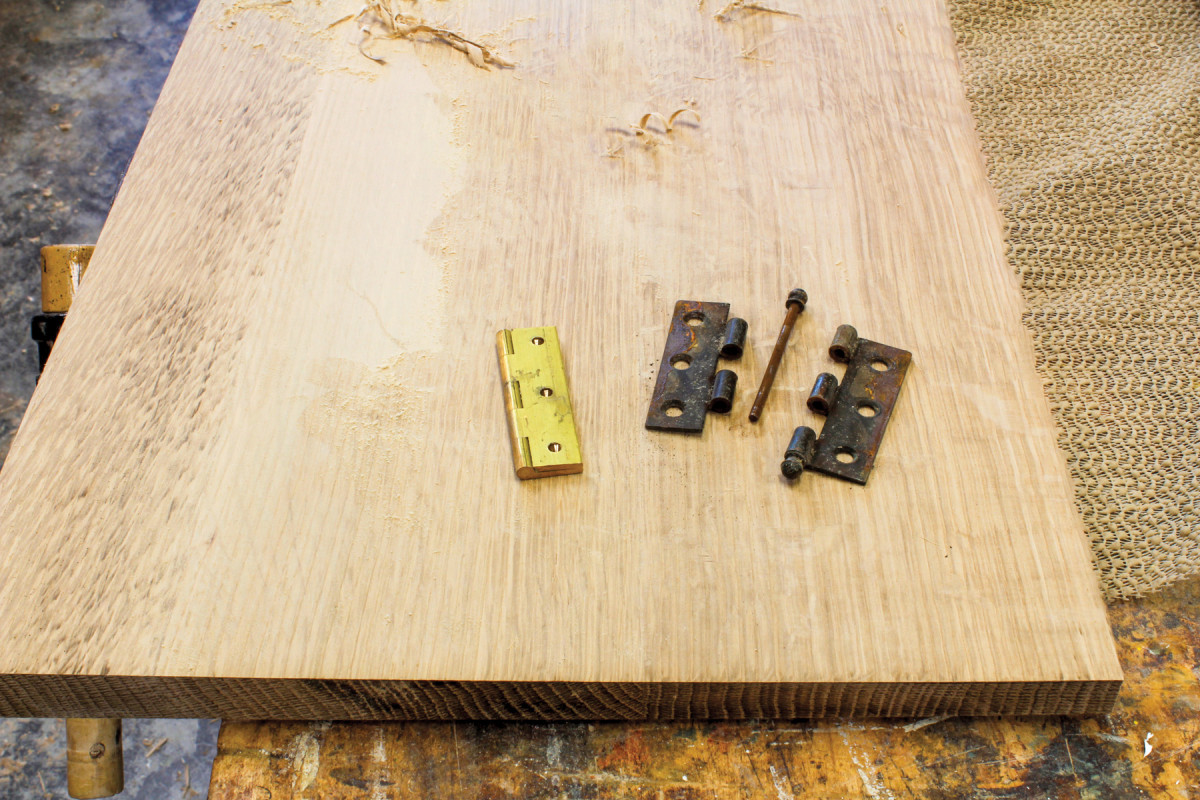
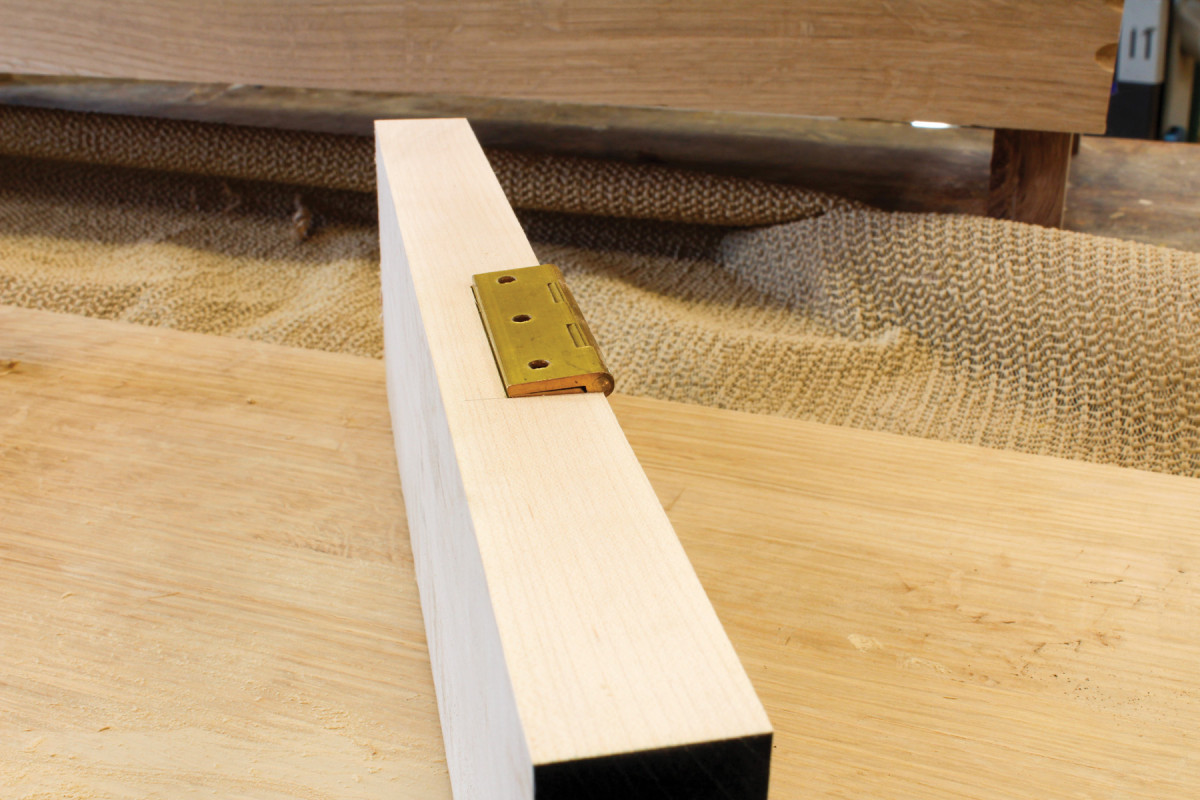
Two types of butt hinge: a solid drawn brass butt with fixed pin (left) and a loose-pin version with ball tips.
Working with these traditional hinges takes a bit of old-fashioned ingenuity.
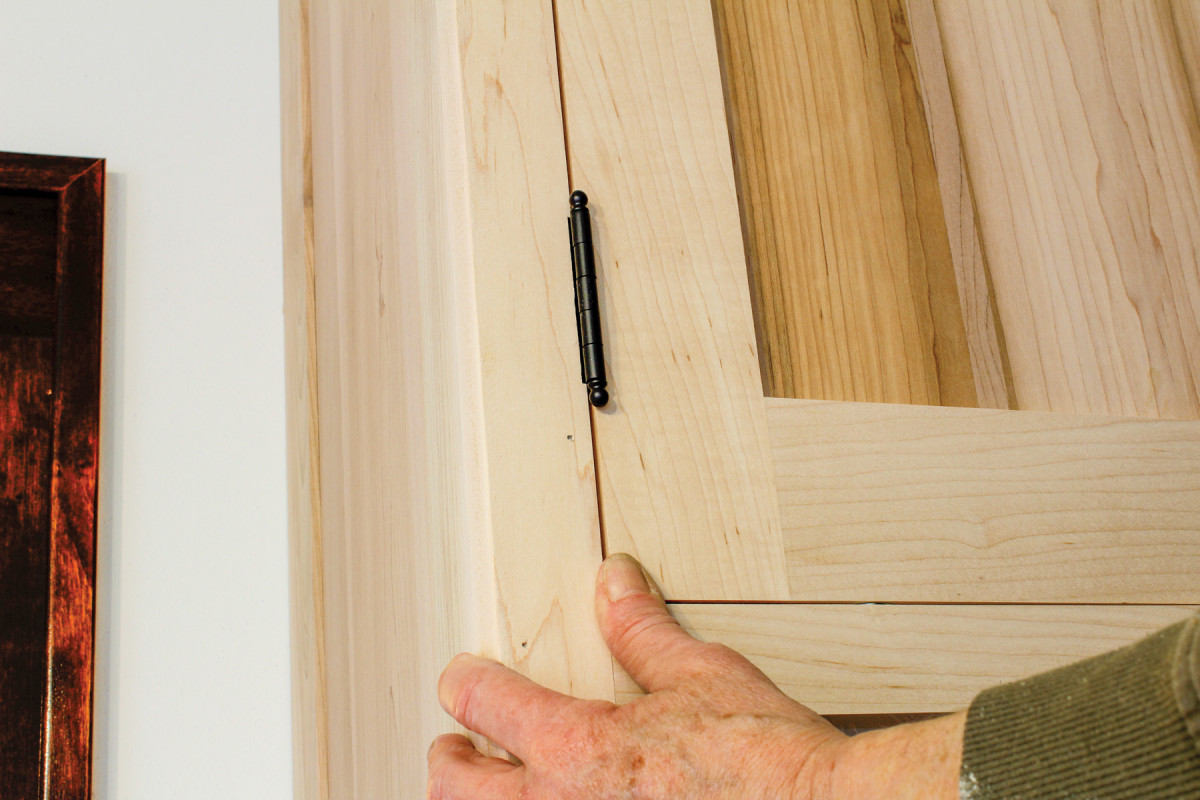
High-quality butt hinges are handsome and durable for furniture and built-in cabinet doors. If you’re in the business of built-in cabinetry and sometimes work in houses constructed between the late 1800s and the 1930s, you’re almost certainly familiar with butt hinges, which were widely used for doors over these decades.
Among the most common hinges, at least in the United States, are 21/2” ball-tip butts with removable pins. These are still available in the original proportions from several vendors. An alternative type of butt hinge widely used in the UK is the solid-drawn brass butt hinge with a fixed pin. Both types consist of two leaves and a center barrel fitted with a pin that ties the leaves together. Loose-pin butt hinges allow the pin to be removed while the leaves remain on the door stile and cabinet respectively, which facilitates the fitting of doors. Fixed-pin butt hinges do not offer this option.
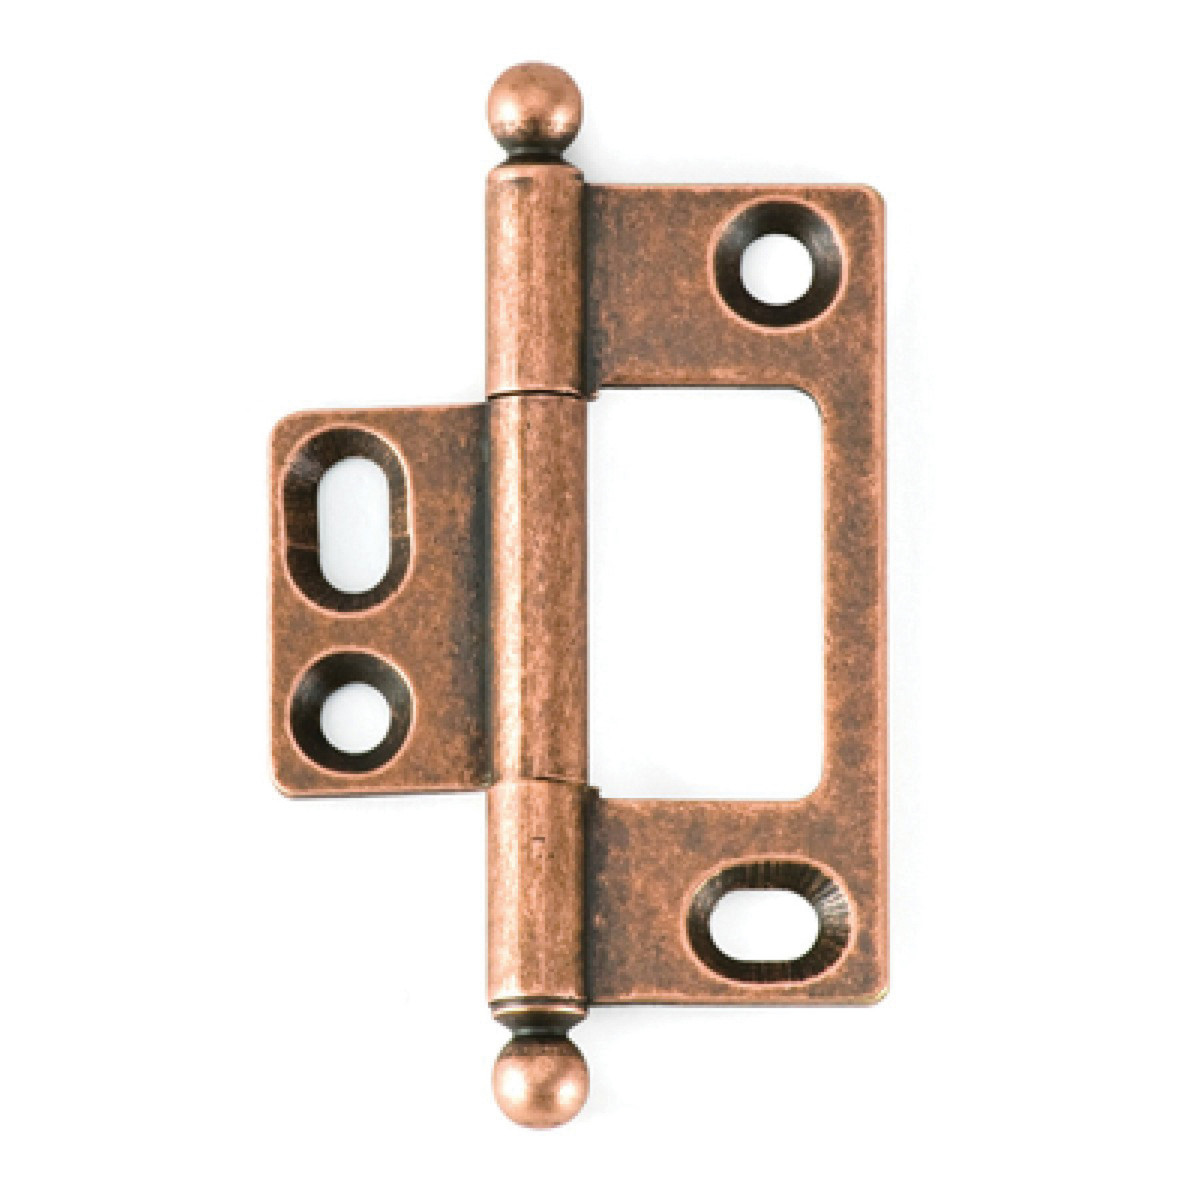
1. The elongated mounting holes in this non-mortised hinge give some adjustability after installation.
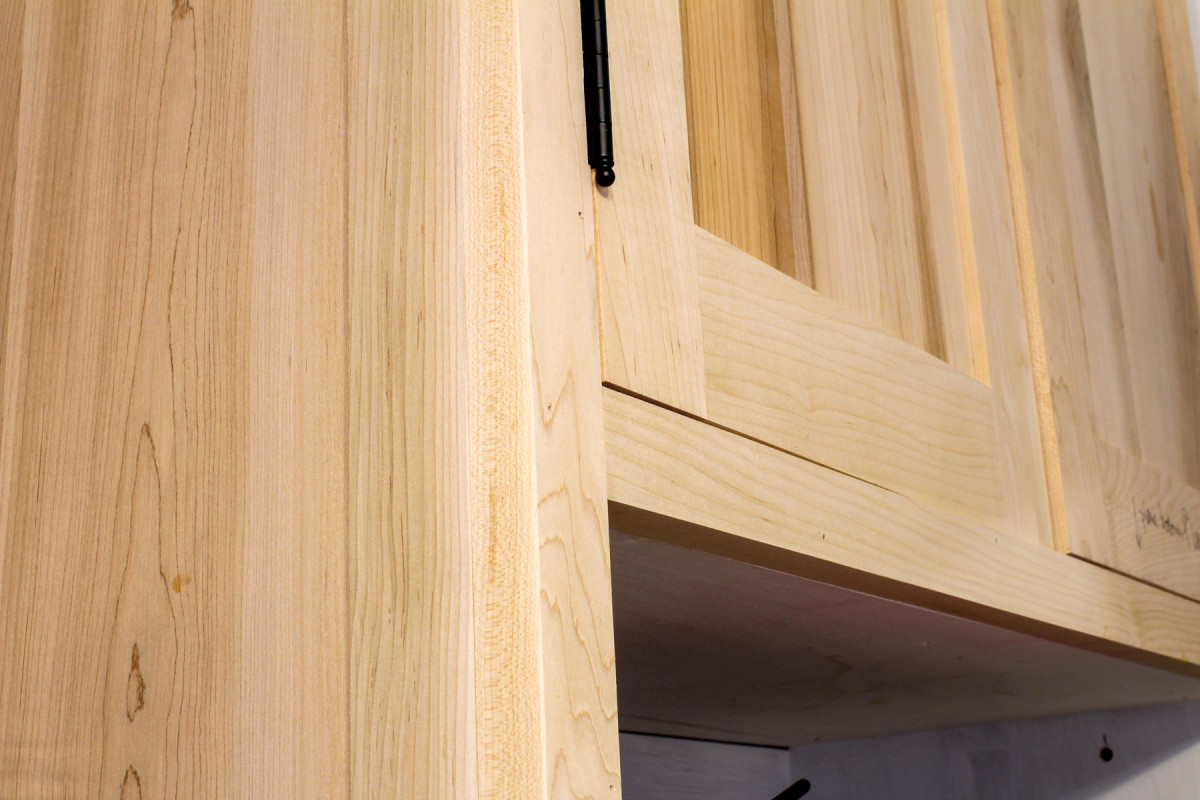
While some applications call for mortising only the door stile and simply screwing the second leaf to the surface of the cabinet side, butt hinges traditionally have one leaf mortised into the door stile and the other mortised into the cabinet. The layout and cutting of the mortises must be precise, and there is no obvious way to adjust the fit once the door is hung. Not surprisingly, then, many cabinetmakers avoid these hinges in favor of a modern variation that does not require mortising and is made with slots that allow the door to be adjusted up or down, as well as in or out of the cabinet relative to the face frame.
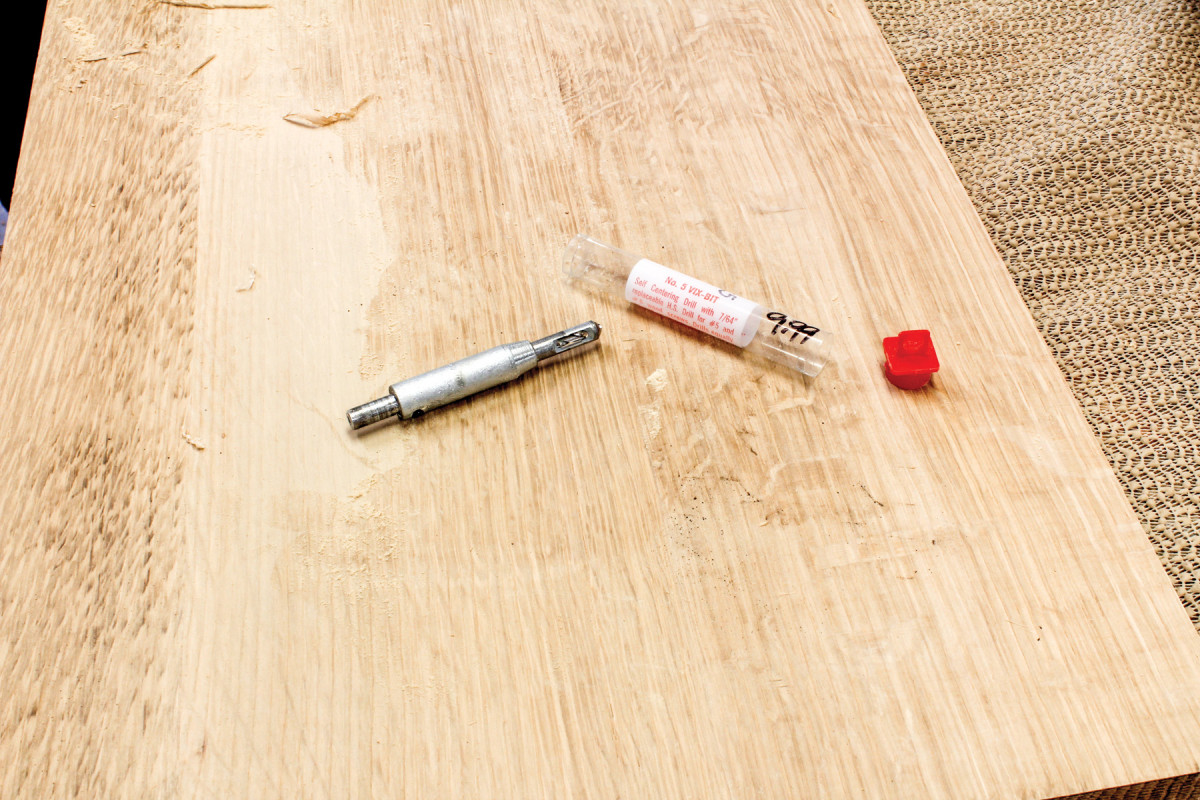
2. A Vix, or centering, drill bit ensures your screw holes will be centered.
While these surface-mounted butts are inexpensive, quick to install, and easy to adjust, I’ve never overcome the sense that they are a kind of cheat. One of the joys of using butt hinges is seeing them cleanly fitted to their mortises. Cutting mortises takes just a few minutes when you’ve mastered the technique. It’s also a satisfying job.
No matter how meticulous you are with your layout and mortising, some doors are going to need adjustment. That’s where a few tricks of the trade come in.
Hedge Your Bets
3. The door needs to move up slightly in order for the bottom gap to equal that of the side gap.
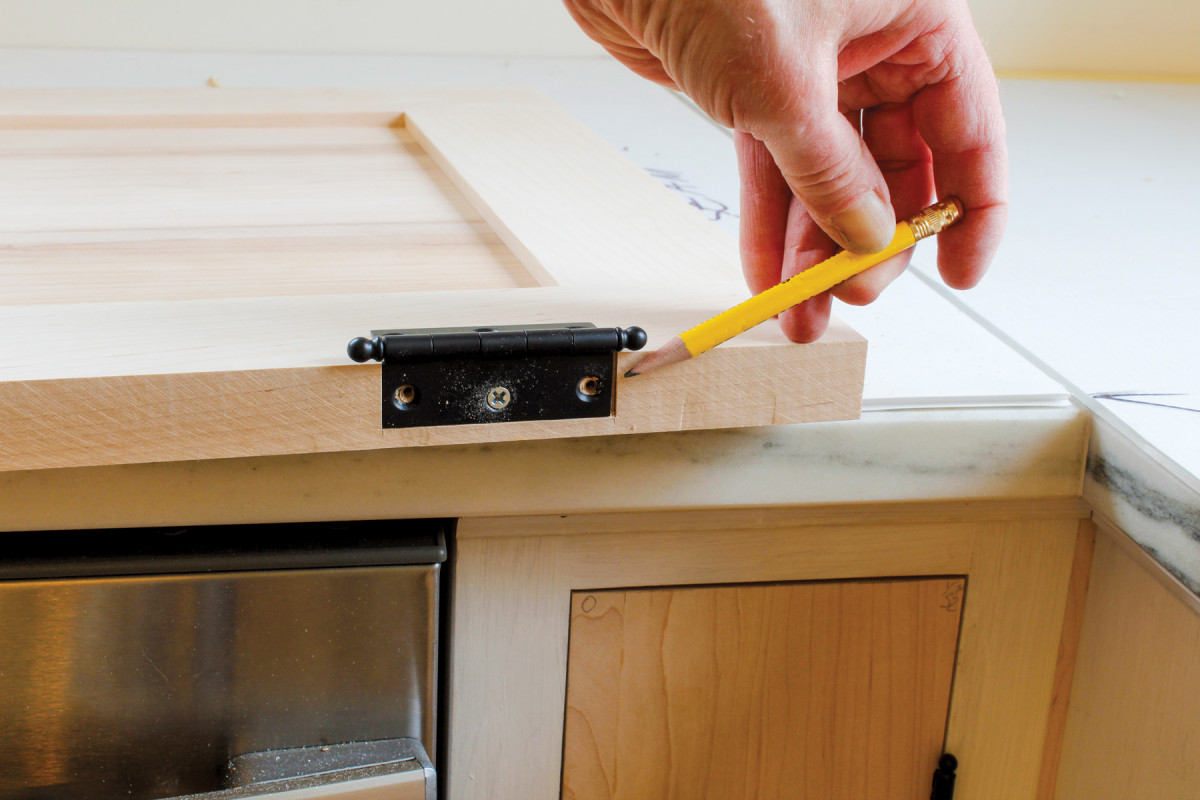
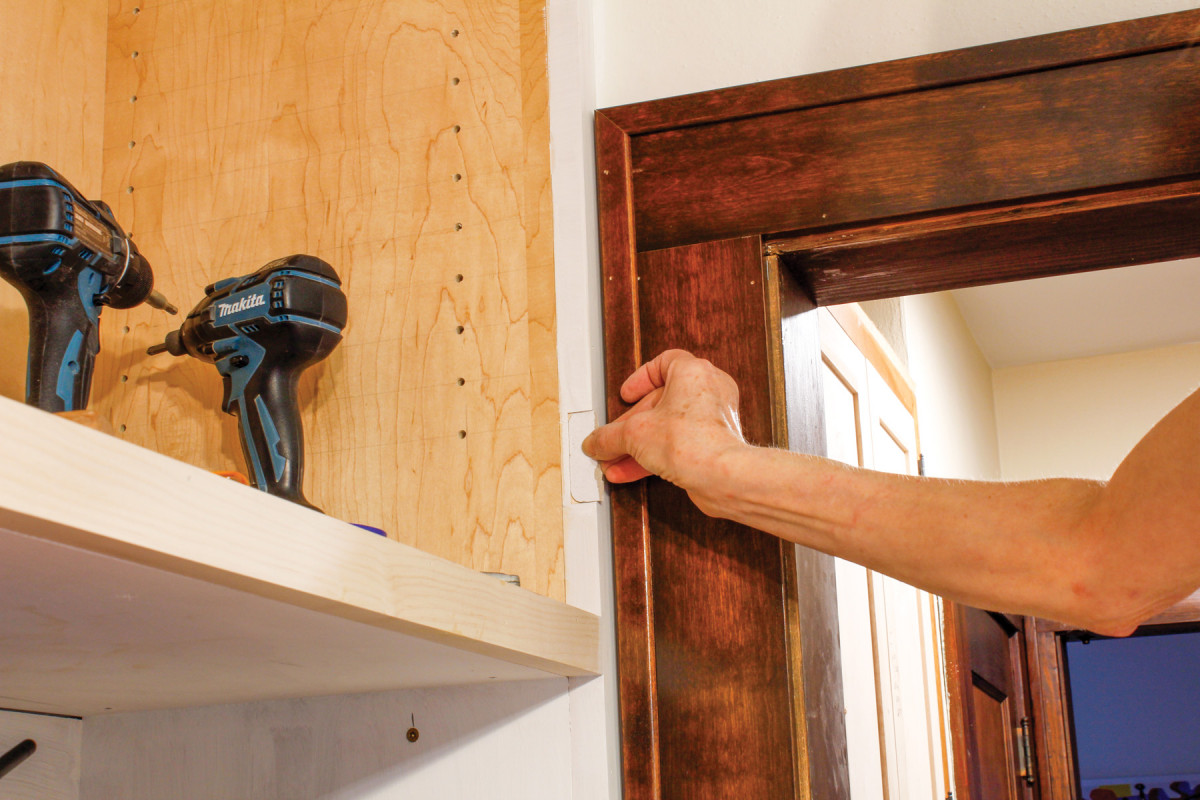
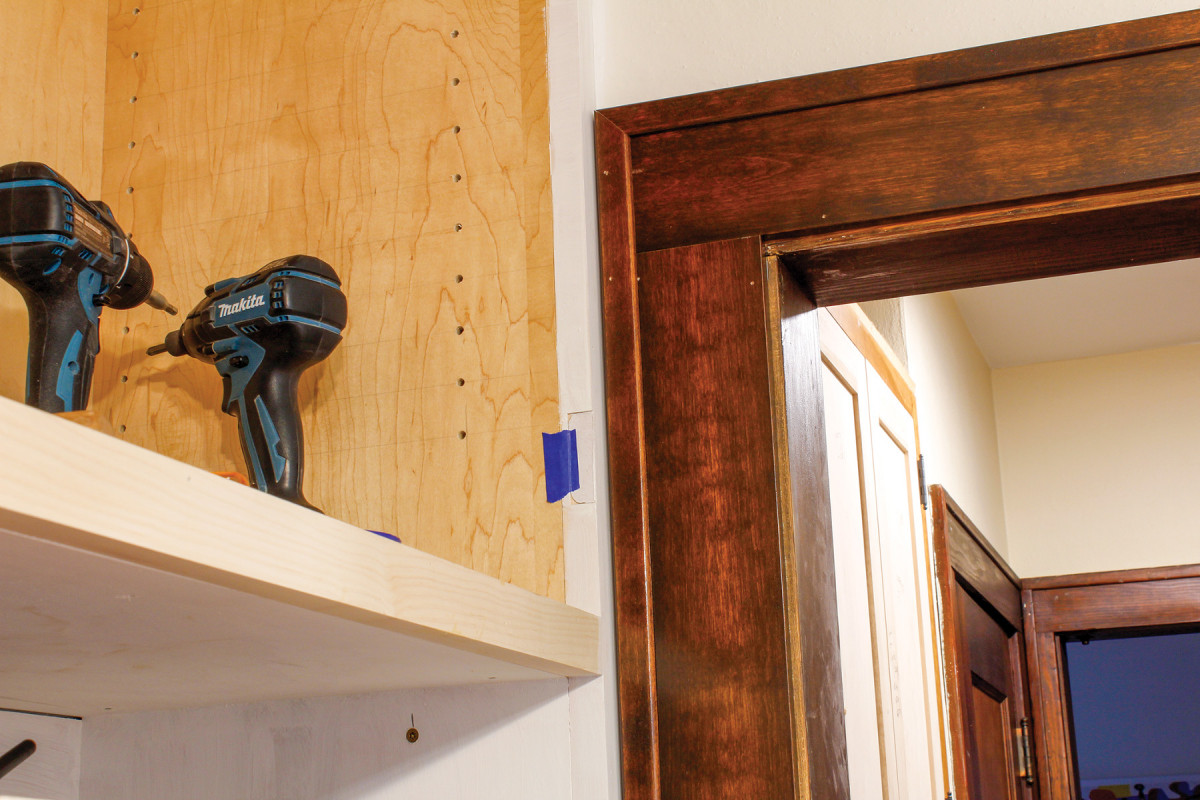
When installing doors with butt hinges, start by inserting only as many screws as you need to hold the door firmly in place while checking the fit. I usually put the door leaf on with two screws—one in the top hole, one in the bottom, leaving the center hole to be drilled later on. This way, if I have to alter the position of the hinge, I can drill a hole in just the right place, then fill the original holes and re-insert those screws later.
4. There’s a small cavity at the bottom of the hinge mortise now, as I lengthened the mortise at the top.
For the second leaf—the one that goes on the cabinet—I usually use just one screw per hinge to start. I drill and insert the top screw for the top hinge and the bottom screw for the bottom hinge. If there’s a third hinge (as there often is with doors 48″ and taller), I use one of the holes (any one of them will do).
Choosing Butt Hinges
Fixed or loose pin? In many cases the choice will depend on the style in which you’re working, but generally speaking, a loose-pin hinge makes it easier to fit large doors: You can remove the pin and take the door off for planing without the need to unscrew the hinge leaf from the cabinet.
Size When ordering hinges, take the width of the leaves into account along with the length. Otherwise you may find the leaves exceed the thickness of your door. It’s best to leave as much meat as possible at the back of the door stile, behind the hinge, to avoid break-out.
Brass or steel? Many hinges
are available with different metal plating, and sometimes with a variety of finish options such as antique brass or oiled bronze.
Quality Technically speaking, a good butt hinge will have a pin that fits snugly between the leaves. Any sloppiness in this fit will complicate your job of getting a door to fit precisely in its opening.
Adjusting a Door Up or Down
5. The face of the door is protruding slightly from the face frame, so I’m going to increase the width of the mortise on the side of the cabinet.
Warning: the faint of heart should skip this paragraph. If a door needs minor adjustment, a good rap with a hammer will often do the trick. To move the door down a hair, open the door fully and hit the top of the hinge stile; to move it up, hit the hinge stile at the bottom. Depending on the type of wood you’re using and the hardness of the metal screws (brass being softer than steel), you should see a little shift in the position as the wood below (or above) the screws compresses slightly, the screws bend a tiny bit, or both. Obviously this trick demands care. If you hit the door too hard you may damage the door or the cabinet, break screws, or damage the hinge. That said, it is often just the ticket. To keep the door in its new position, drill a second hole for each leaf on the cabinet and insert those screws.
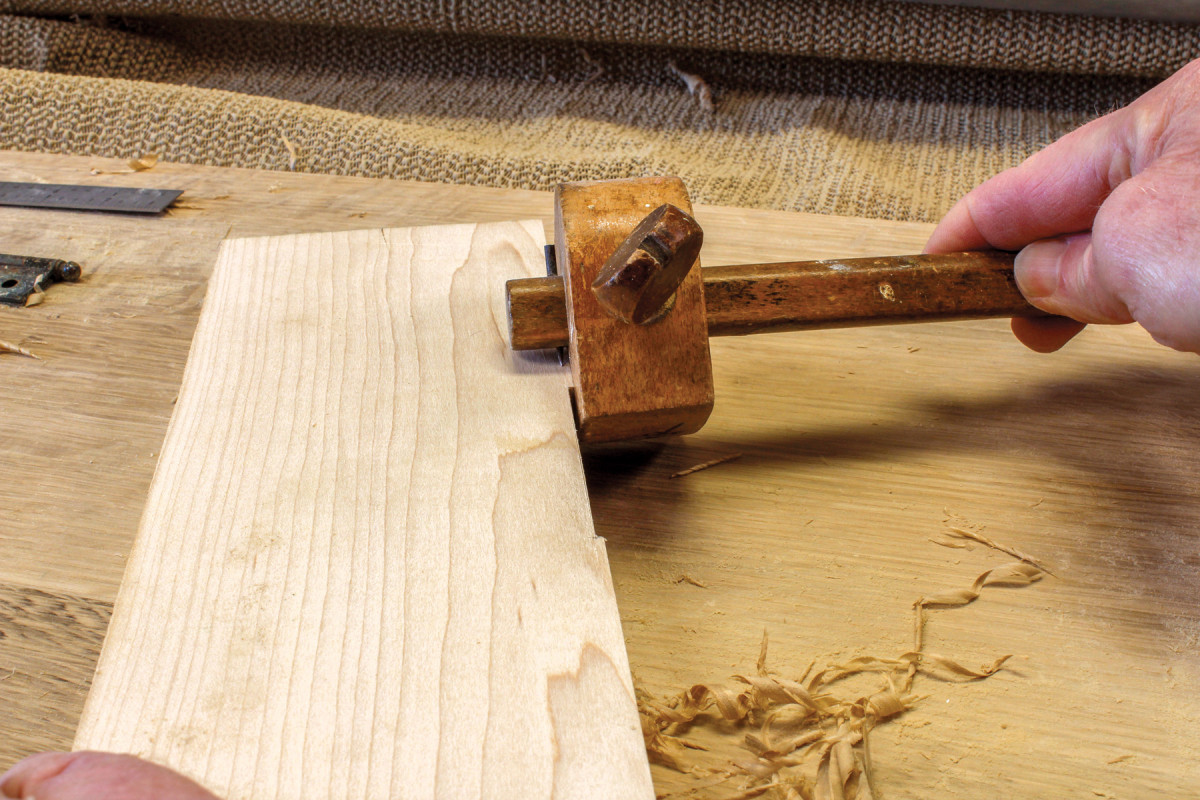
6. Use a marking gauge to scribe the position where the back of the mortise needs to be. (The distance between this new line and the original back of the mortise will equal the distance by which the door is protruding from the face frame.)
If you need more than slight vertical adjustment, you will probably have to lengthen the mortise of each leaf. Decide where the resulting small gap will be less visible—on the cabinet or on the door—then mark the amount to be removed with a square and marking knife, and trim with a chisel. Note that if you want to move the door up and are going to lengthen the mortises on the cabinet, you will remove stock at the top of each mortise. If you’re going to adjust the length of the mortises on the door, you will remove stock at the bottom of each mortise.
Adjusting a Door Relative to the Cabinet’s Face
7. First chop the top and bottom, then chop the back line.
In most cases, a cabinet door should hang flush with the face of the cabinet. If it’s slightly behind the cabinet face, you can move it out by removing one screw from one of the leaves on the cabinet, pulling the door toward you just a hair, and drilling a new hole. Then insert the screw. Repeat with the other hinge(s) until the door hangs flush.
8. The perimeter has been cut. Time to finish up by paring with the chisel held flat.
If the face of the door is protruding from the cabinet, you’ll need to widen the leaf mortise on the cabinet. Remove the door from the cabinet and set a marking gauge to the width of the leaf plus the amount by which you need the door to move back.
9. Pare the bottom of the mortise with a chisel.
Mark this on the cabinet, score the wood fibers at the top and bottom of the mortise with a knife and square, then chisel out the waste. Drill new holes as necessary, insert screws, and check the fit.

10. The faces are level now.
If for some reason you cannot widen the mortises on the cabinet, you can fall back on Plan C: planing the excess from the door’s face. But this is a last resort.
Filling Screw Holes


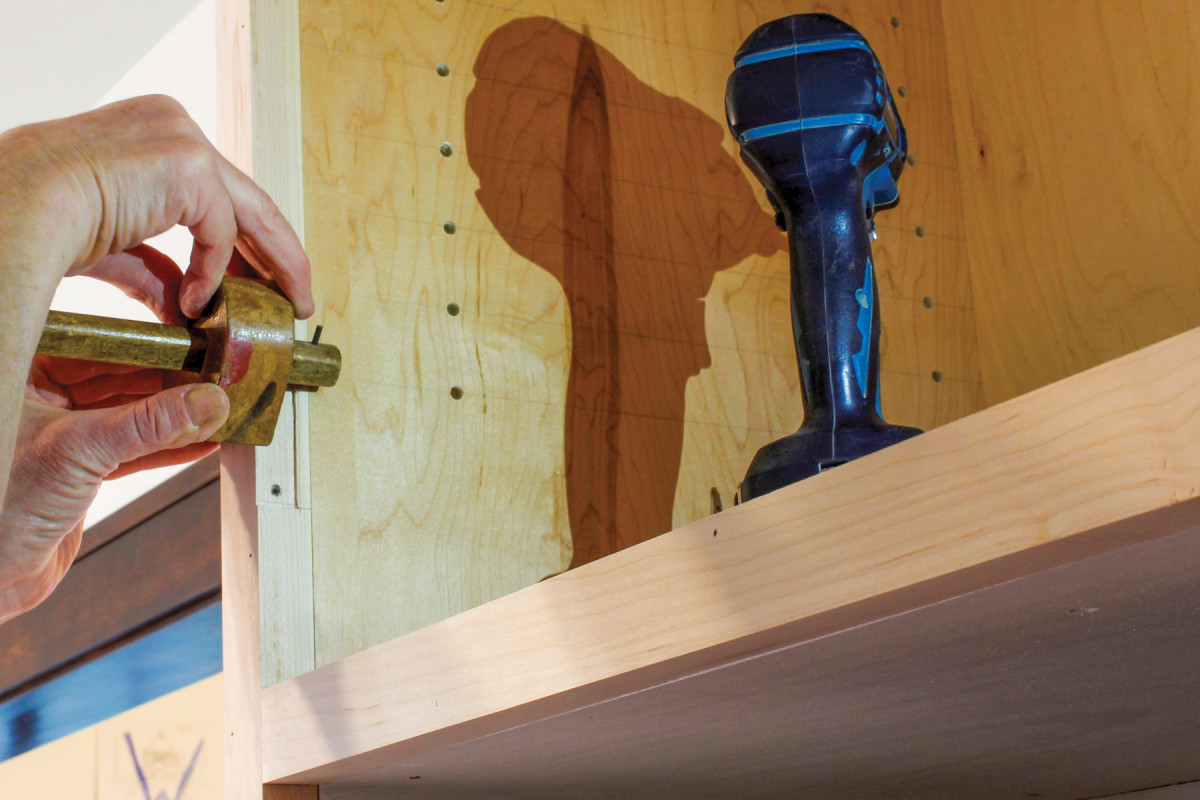
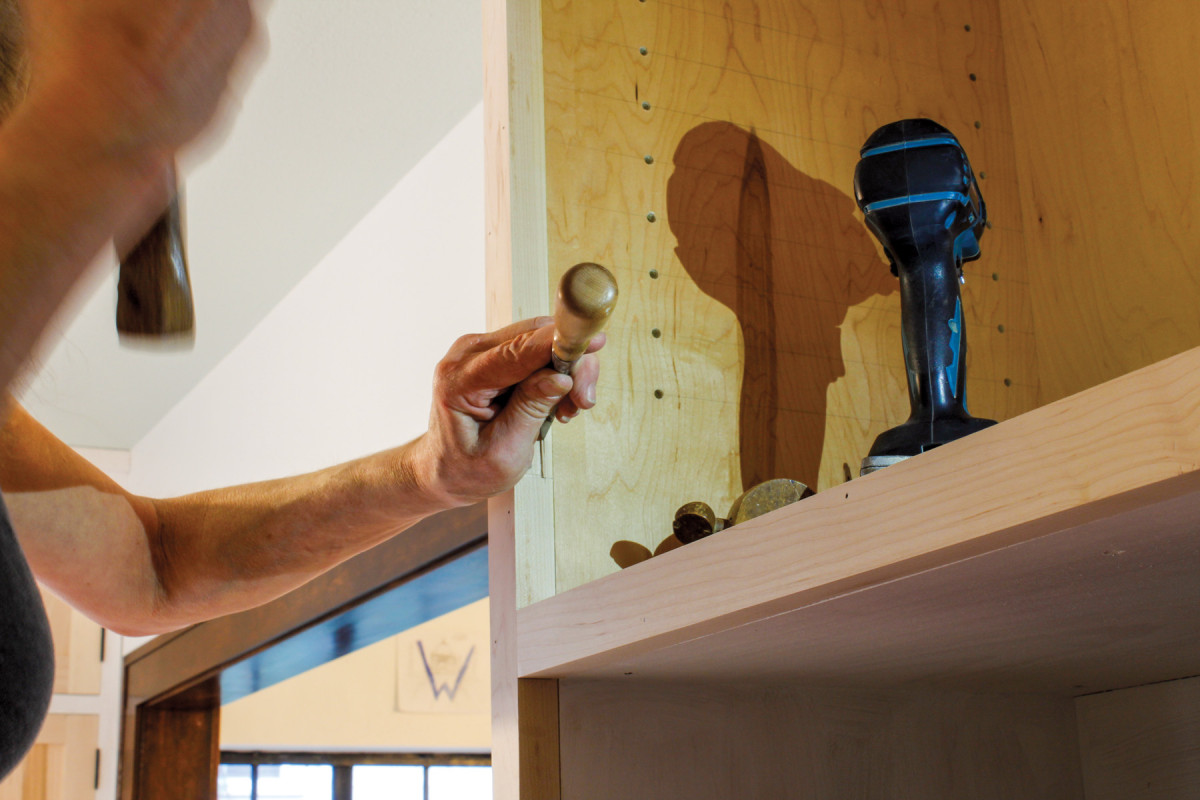
I keep safety matches in my tool box for handy filling of screw holes. Apply a dab of glue and tap the stick in with a mallet. Break or cut the match close to the base, then pare flush. Once the glue has dried, you can redrill the hole in the new position.
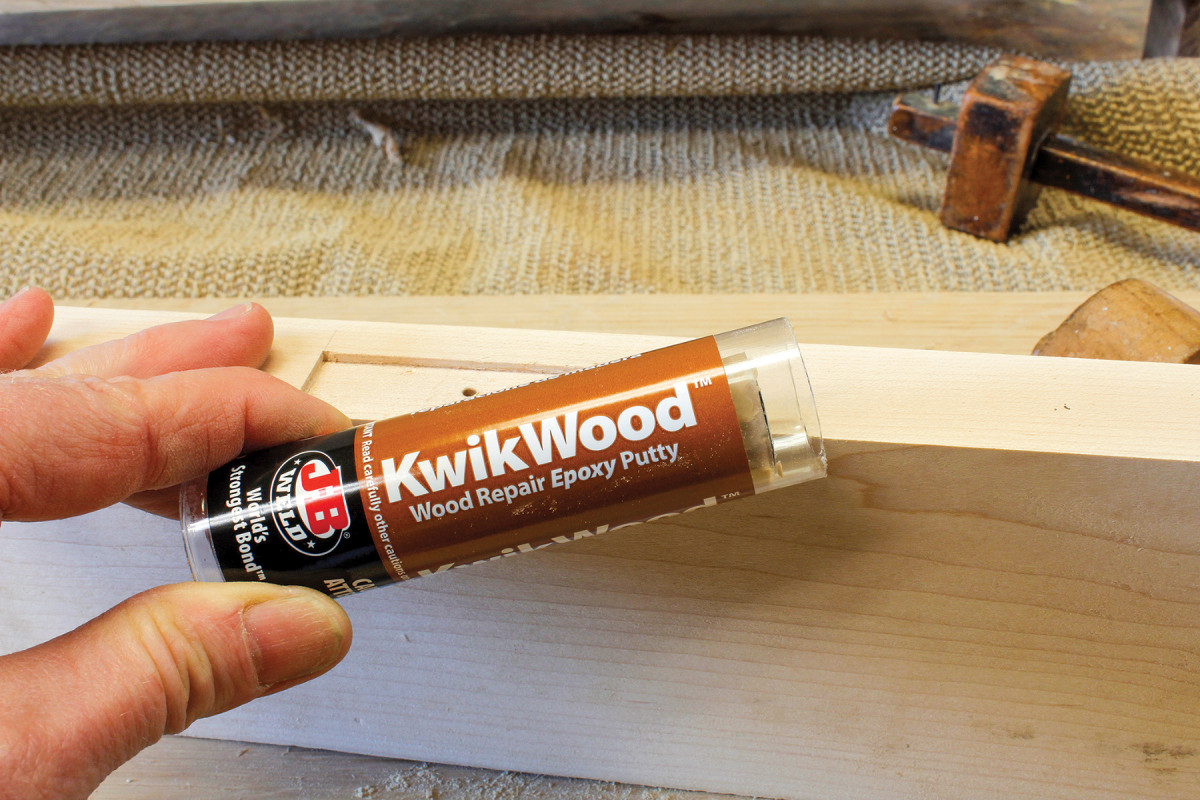
Quick-curing wood fillers offer structural integrity.
Fixing the Gap Between Door and Cabinet
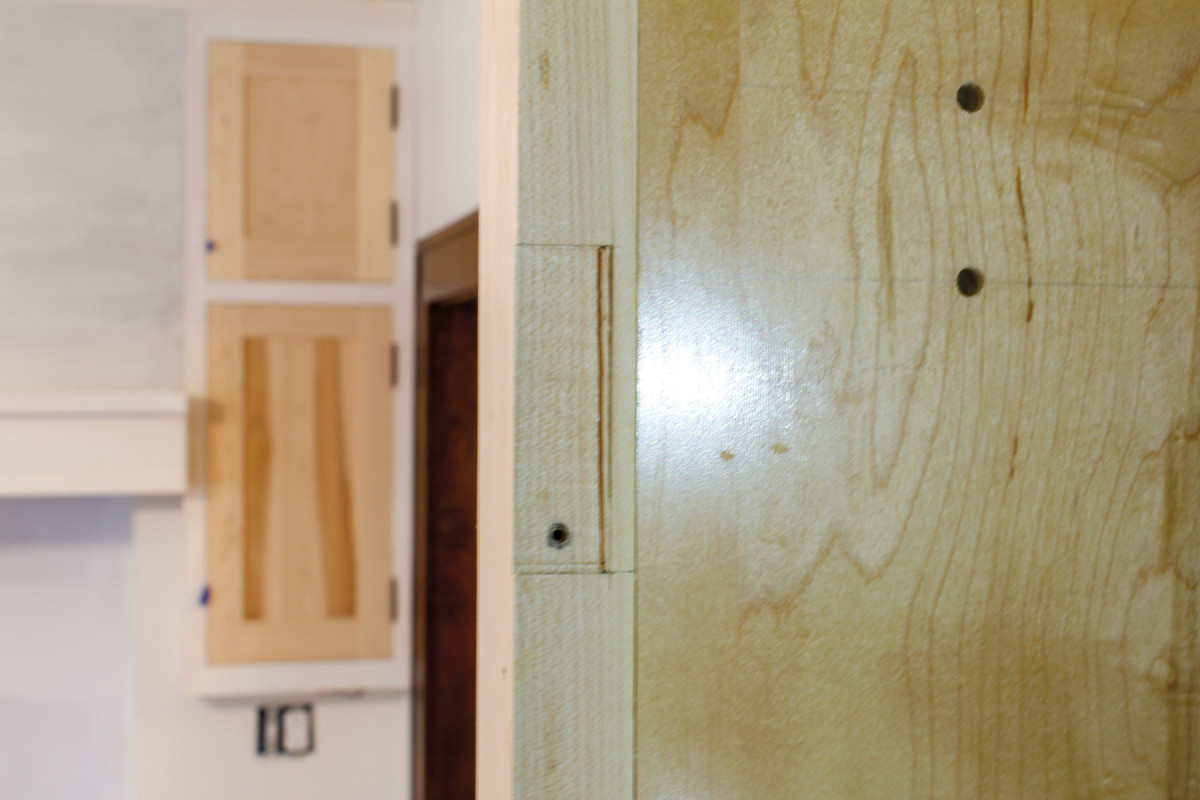
11. The gap between the door and the face frame needs to be bigger. I must have made one of the mortises a little too deep.
If you made your mortises too deep, the door will likely bind instead of opening. We call such doors “hinge-bound.” The fix for this is to shim the hinge out. The material you use for this may vary depending on the amount of shimming you need, the final finish, and (to be brutally honest) the materials you have available.

12. Yet another use for blue tape. In a pinch, masking tape works wonders to decrease the depth of a mortise.
The crudest trick to shim a hinge by just a hair is to cut a piece of masking tape as long as the mortise and stick it in. If you need more thickness, add a second piece. This surprisingly simple fix will often do the trick.

13. The thin, dense cardboard from a screw box is often ideal for shimming.
A common material for slightly thicker shimming is cardboard. People generally advise against using cardboard because it can compress, but if you use dense stock, such as the flaps of screw boxes, you can often solve the problem.
14. Cut the cardboard to length, then trim to width.
A dab of glue will help hold the shim in place; once the screws are in, they will clamp it. Often, though, I don’t use any adhesive; I just rely on the screws. (This is why you’ll often find little bits of folded paper or card stock behind the doors in old houses. It’s an age-old carpenter’s trick.)
15. To keep the cardboard in place, add a dab of glue or use a thin strip of masking tape, then reinstall the hinge and check the fit.
The cleanest solution, if you have time for it, is to make a shim just the right thickness out of the same stock as the cabinet and door, glue and clamp it in place (using tape and a piece of scrap the length of the hinge leaf as a caul), then proceed as above.
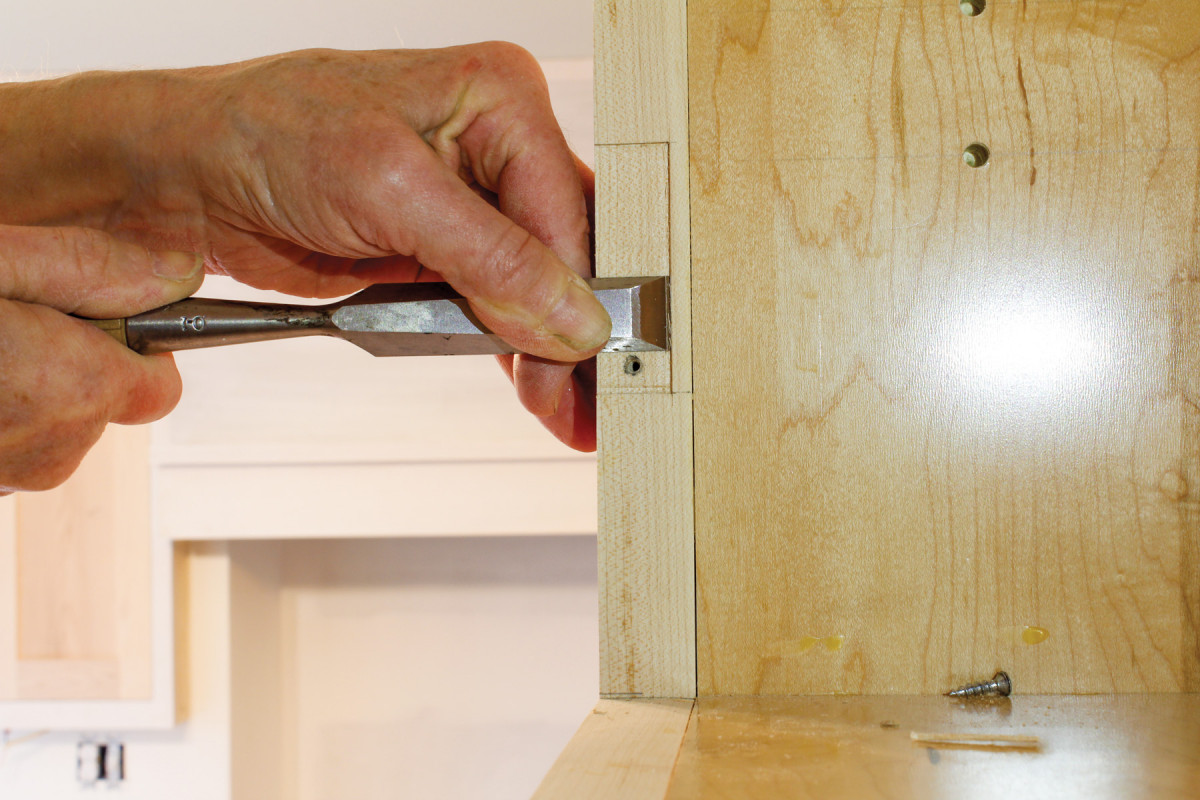
16. This mortise needed to be deepened so that the full thickness of the leaf would fit.
If the gap between the door and the cabinet is too large, you’ll need to deepen the mortise in one of those parts. The door is usually the easier to deal with, as you can remove it from the cabinet and put it in a vise (whether in the shop or on a jobsite workbench).
17. With a marking gauge set to the correct depth, make a small mark just above and below the hinge mortise. Use light pressure to avoid marring the door face.
Marking out the cut is tricky because your gauge may want to lean into the mortise, which will give you an inaccurate position. I use a steel straightedge and a marking knife to make a line on the door face parallel to the existing one.
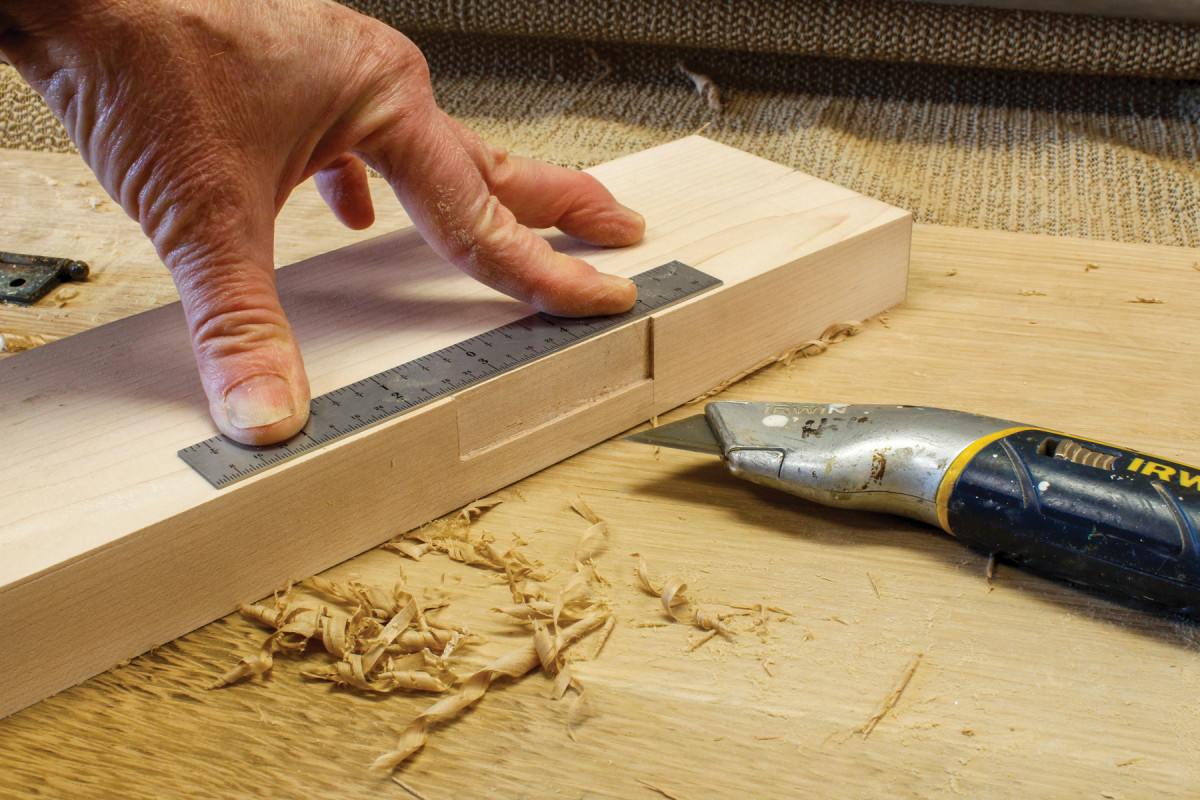
18. Holding a straightedge precisely on the gauge marks, score a line between them. Use light pressure for the first cut, then repeat until the line is deep enough to feel with the tip of your chisel.
While it’s certainly true that traditional butt hinges take more care and skill than the non-mortised type, these tricks should help your doors hang flush, with uniform gaps.
Here are some supplies and tools we find essential in our everyday work around the shop. We may receive a commission from sales referred by our links; however, we have carefully selected these products for their usefulness and quality.


Wile the vix bit shown above is great, Ms.Hiller should try using an awl for making pilot holes. I find it’s much easier to puncture a hole with an awl, than to bore a hole with a drill bit. One try and it will become an awl-time favorite hand tool!