We may receive a commission when you use our affiliate links. However, this does not impact our recommendations.
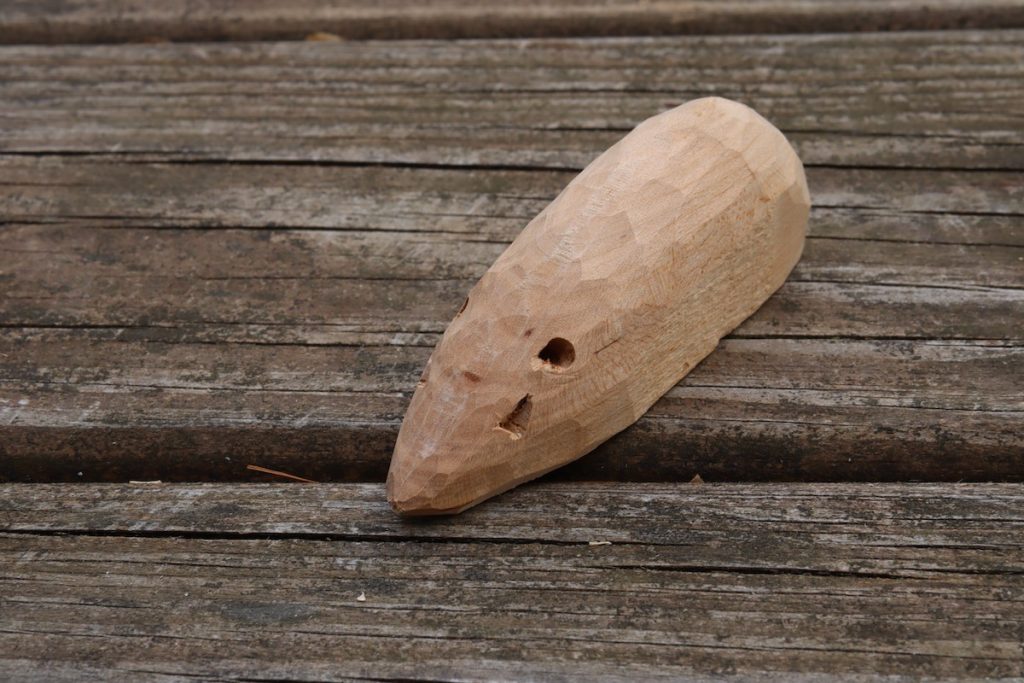
After creating the facets (drawing and image below), we need to round over the mouse’s back. To read the first part of the story click here.
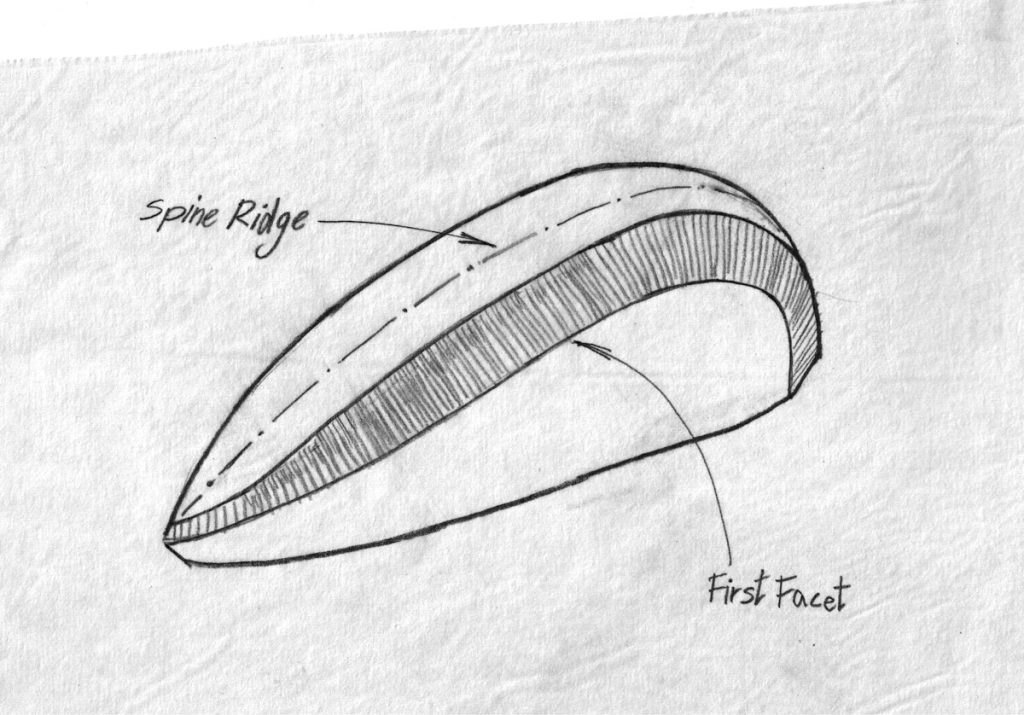
Add two additional guidelines above and below the facet and ask the child to rasp and round those areas. Rasp the lower round-over band from the middle of the facet towards the base of the mouse, and the upper band from above the facet towards the spine ridge.
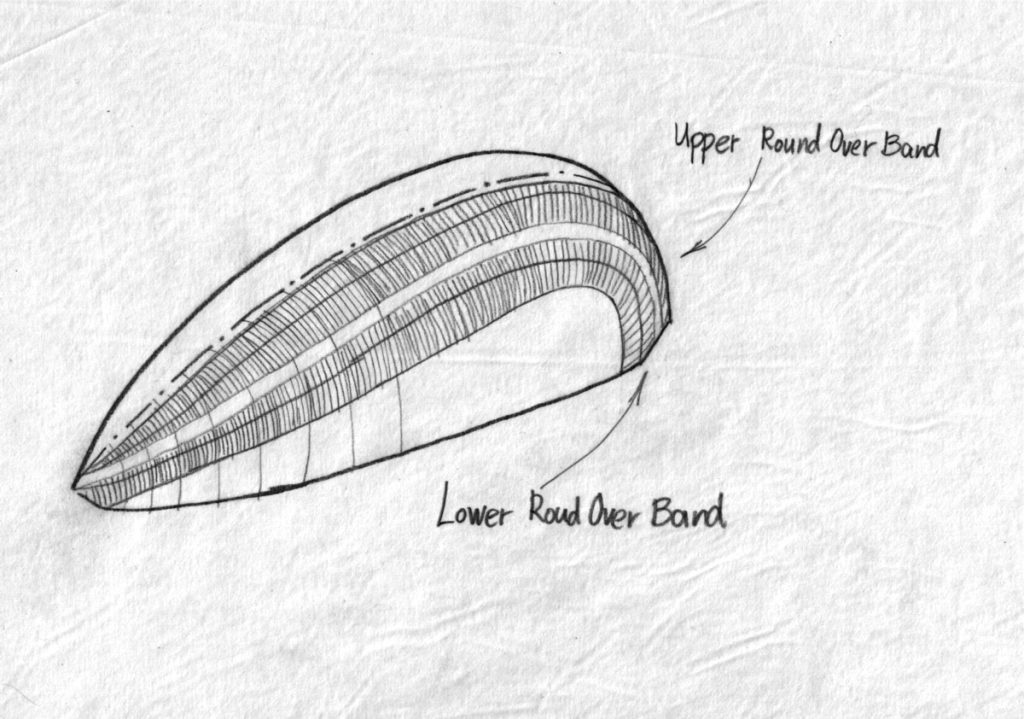
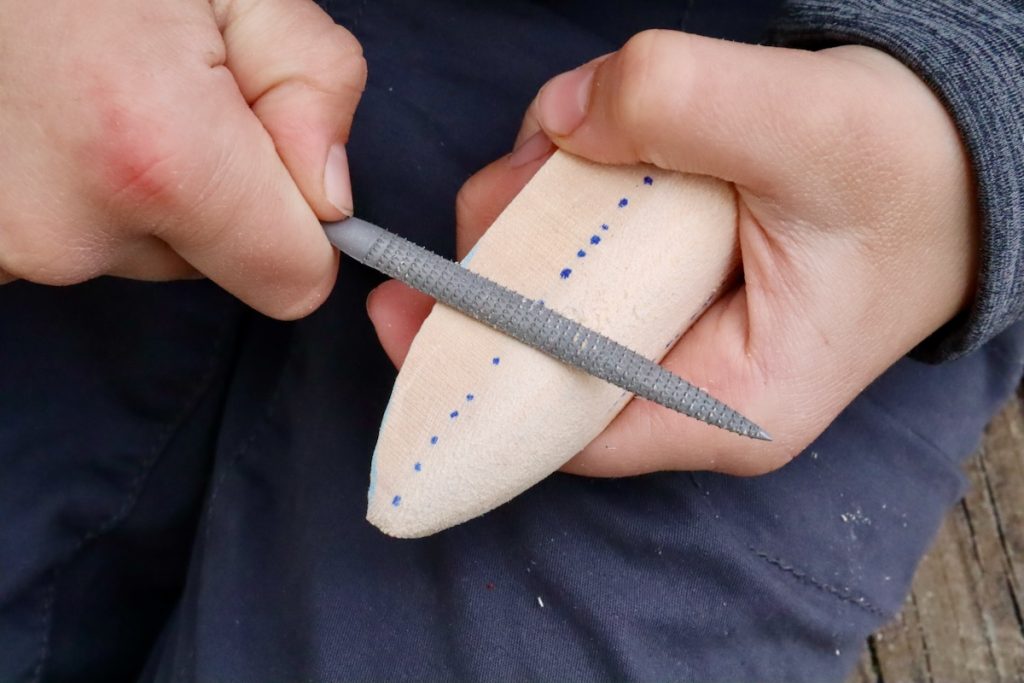
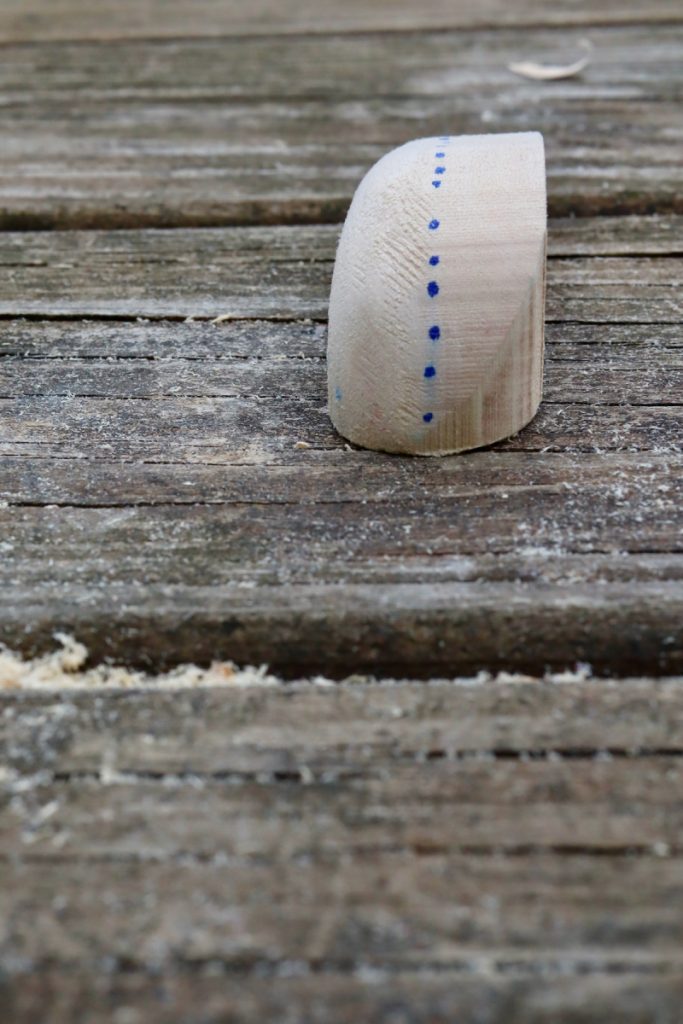
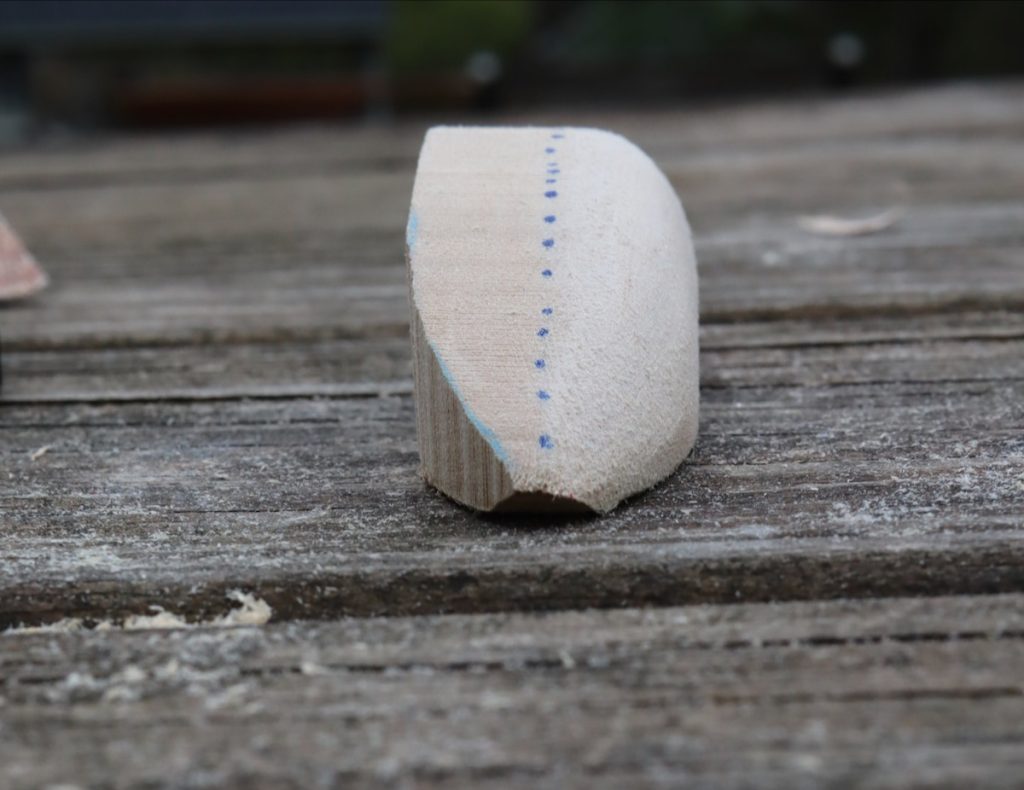
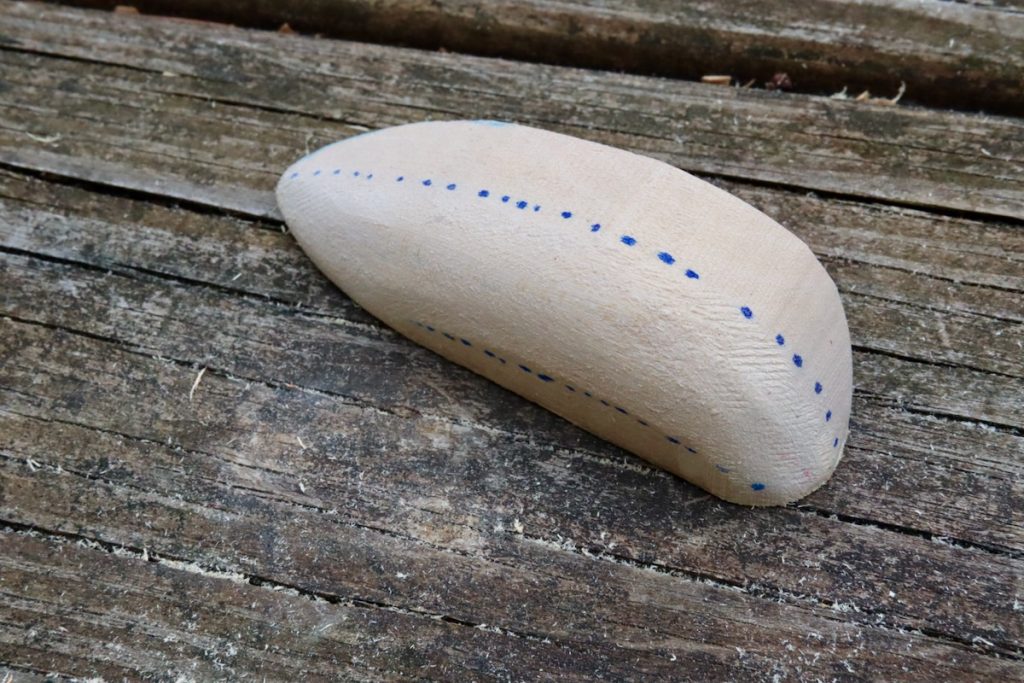
At the end of the shaping process, the mouse’s top should look and feel like a pointed half of an egg or an elongated half of an avocado pit.
Sanding
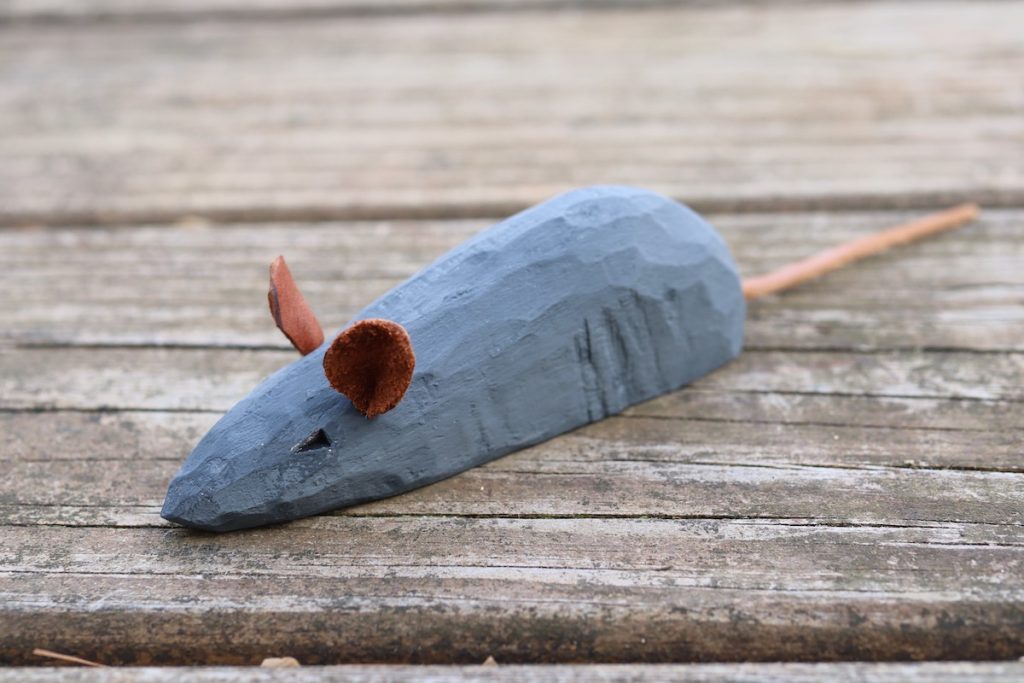
With some sanding, the mouse will become smooth in no time. The child can then wax, oil, or paint their little animal with their finish. Acrylic paint is excellent, and so is milk paint if you happen to have some.
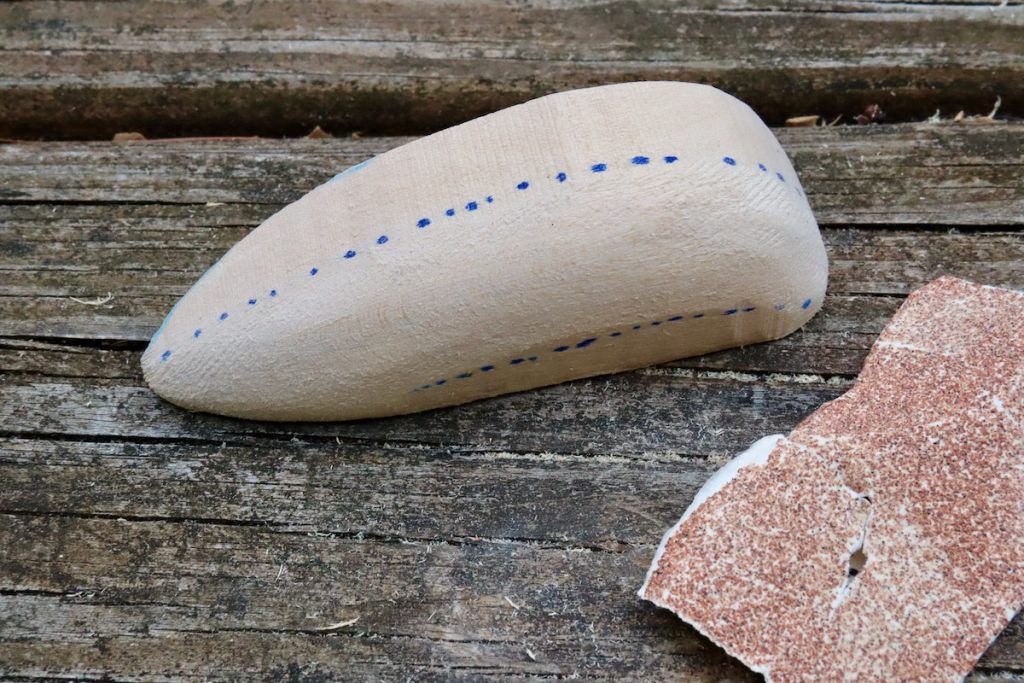
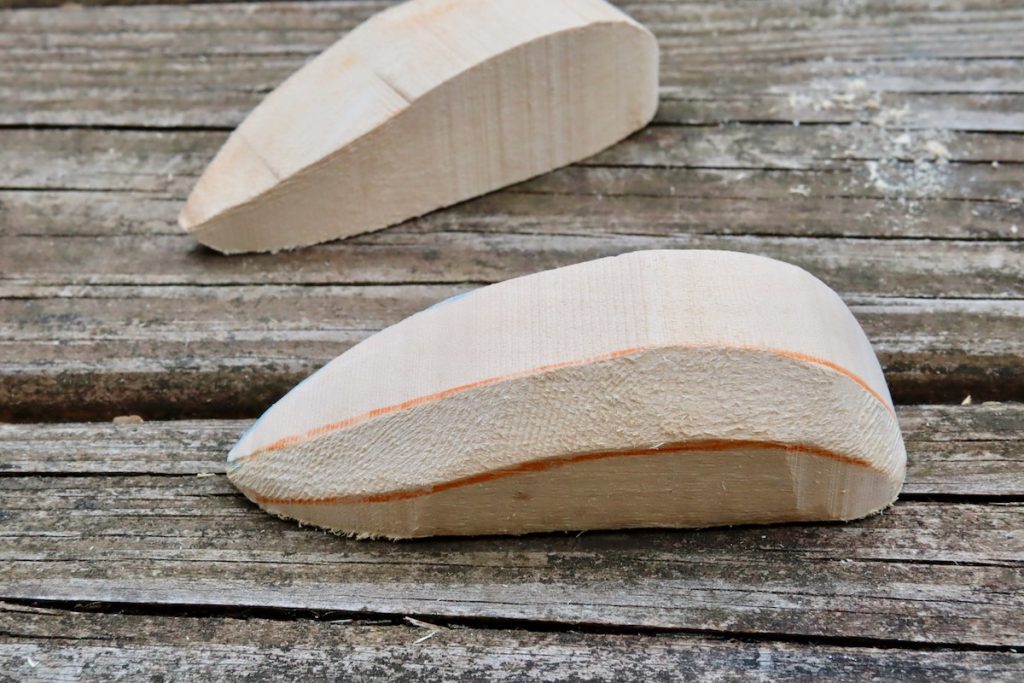
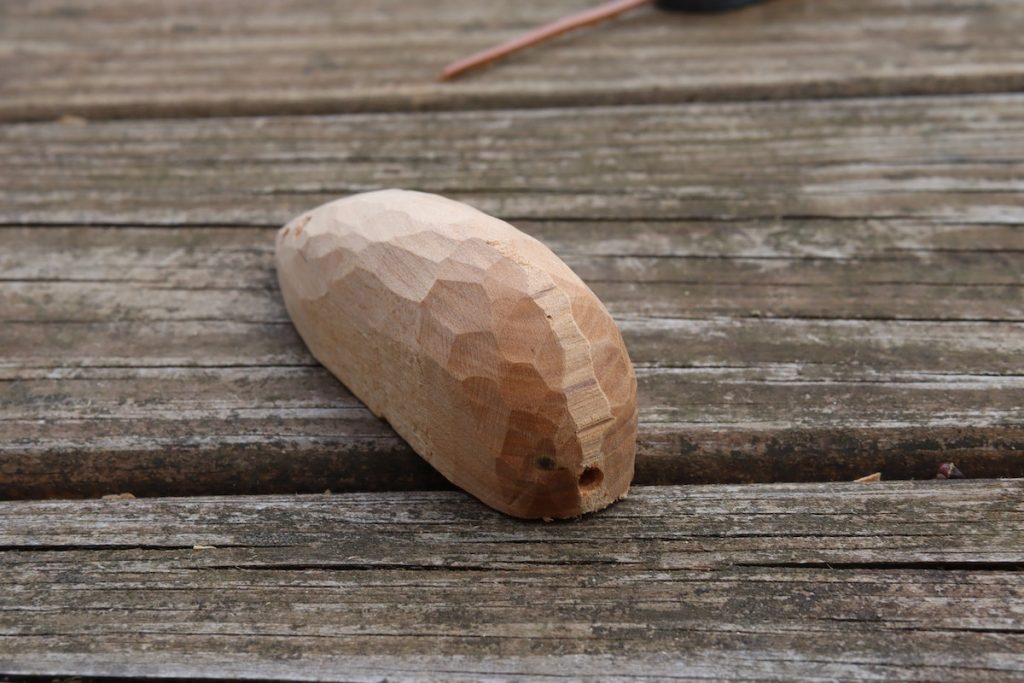
Half of this mouse is completed and is being sanded. The other half has not been faceted yet nor has it been rounded. I use this mouse model during my classes to demonstrate to my students the different shaping stages.
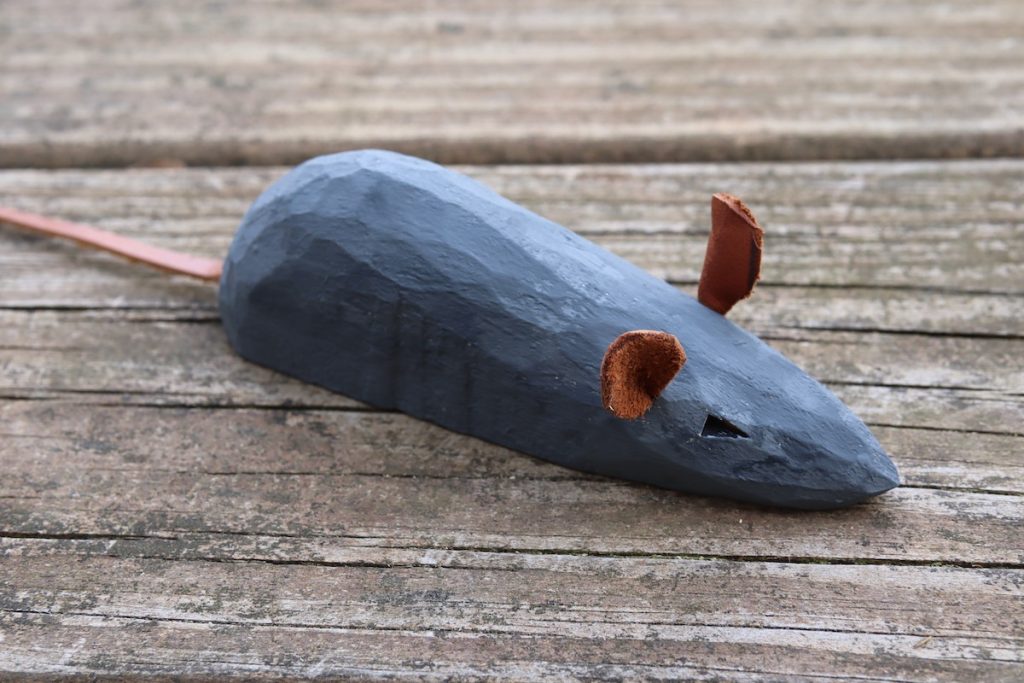
The Eyes
Eyes can be indented with the tip of one of the rasps, drilled with a gimlet, or painted with a sharpie.
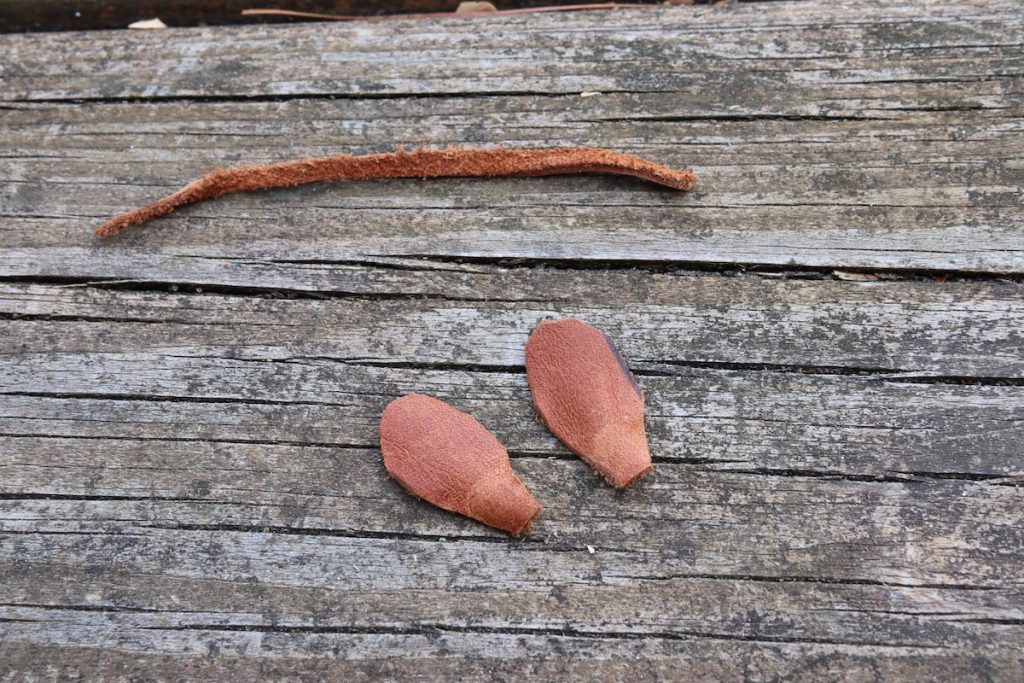
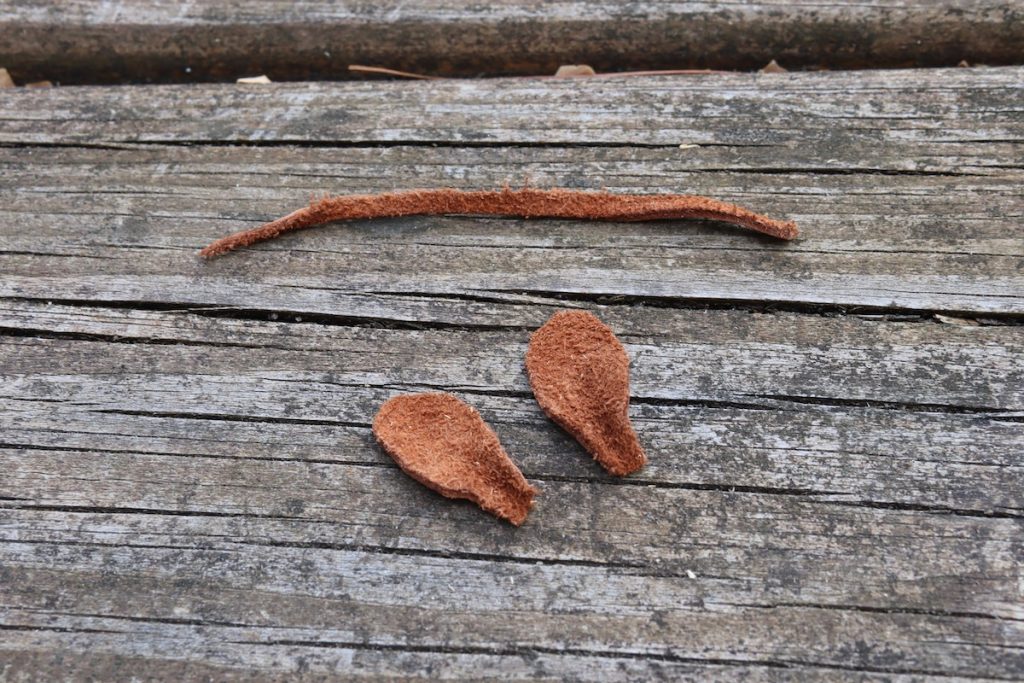
Ears
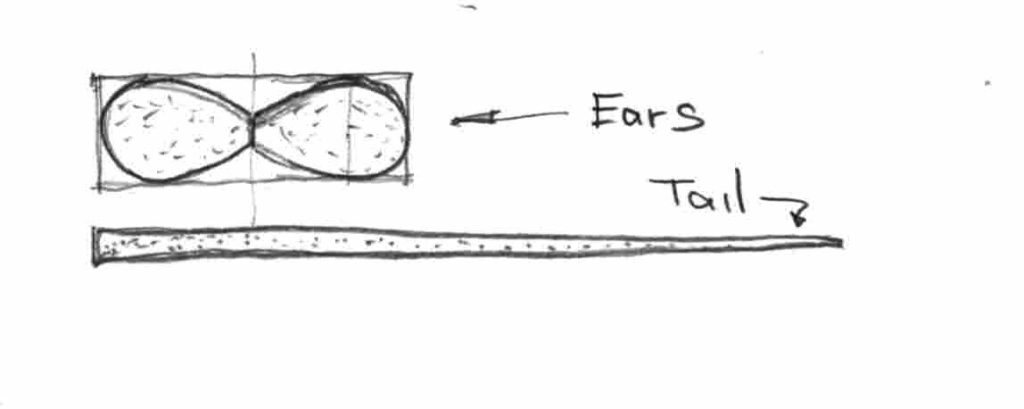
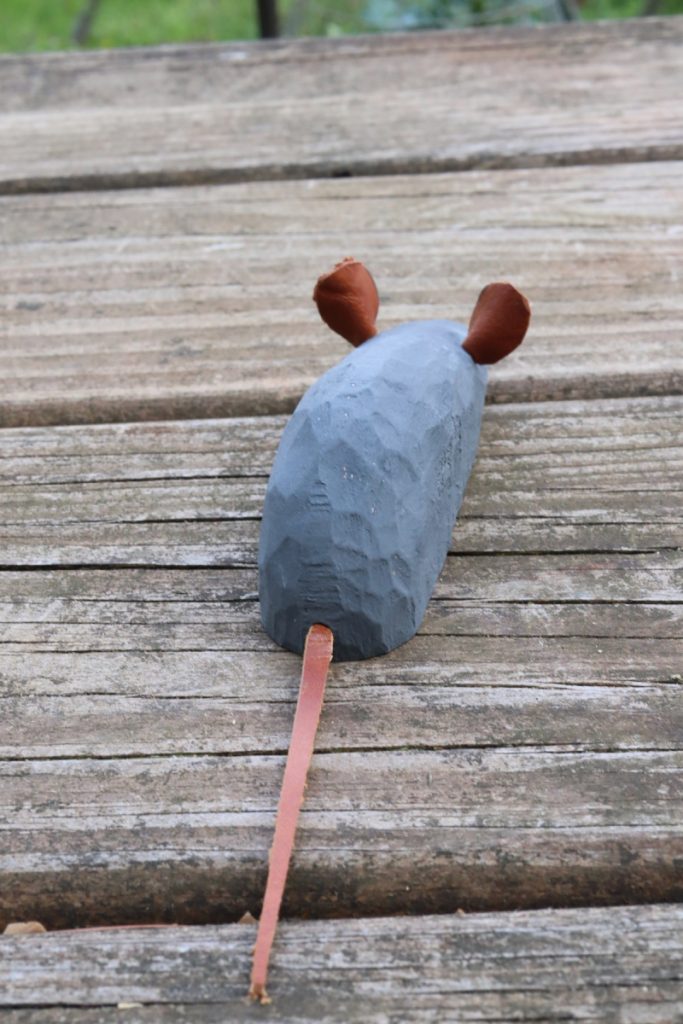
Ask the child to draw two teardrop shapes on the piece of leather (see illustration). Let them cut the shapes using a small pair of scissors. Note that the teardrop shapes have a snipped tip. I made the ears from leather leftovers, but you can use old fabric or thick paper. If you use cloth and want to prevent future fraying of the edges, ask the child to spread some paint (or glue) on the ears’ boundaries. If you haven’t pre-drilled the ear holes in advance, ask the child to drill the earholes with a small gimlet. The holes should be ½” deep.
Gluing in the ears and tail
The last step is gluing the ears and tails with PVA glue. Insert a dab of glue into the ears and tail holes and tuck in the parts. Remember to fold the ears before tucking them in.
Please note that the mice in the following images were carved with a knife. However, rasps can do the same job, albeit slower and with one unique attribute – rasps will leave a fussier texture behind due to the tool’s numerous small teeth.

Last word of advice. Many of my students make the mistake of sharing their newly created animal with their cat or dog. Most of these endearing “sharing is caring” moments ended in tears as the live animal decided to annihilate its wooden competitor. I couldn’t tell how often I heard the sentence: “Mr. Liberman, I am so sorry but my dog chewed up on my mouse”.
Here are some supplies and tools we find essential in our everyday work around the shop. We may receive a commission from sales referred by our links; however, we have carefully selected these products for their usefulness and quality.