We may receive a commission when you use our affiliate links. However, this does not impact our recommendations.
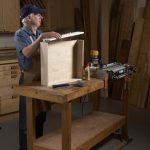
Once you’ve taken the time to build dovetailed drawers for your kitchen cabinets, it’s a crime to cover them up with side-mount drawer slides. Undermount slides show the beauty of this classic joinery because they’re completely hidden underneath the drawer. A hallmark of custom, high-end kitchens, these top-of-the-line slides are now accessible to woodworkers who want to build their own cabinets. In this article, I’ll show you how to install drawers using the undermount slides we use at the New England School of Architectural Woodworking. These slides feature an integrated soft-close feature that kicks in during the final inch or two as the drawer is closing, which is great if you have family members who like to slam drawers.
Also in this series: Kitchen Cabinet Essentials • How to Make a Cabinet Drawer Box • How to Install A Cabinet Drawer • How to Make a Cabinet Door • How to Install a Cabinet Door • Prefinishing Plywood
Mount the Slides
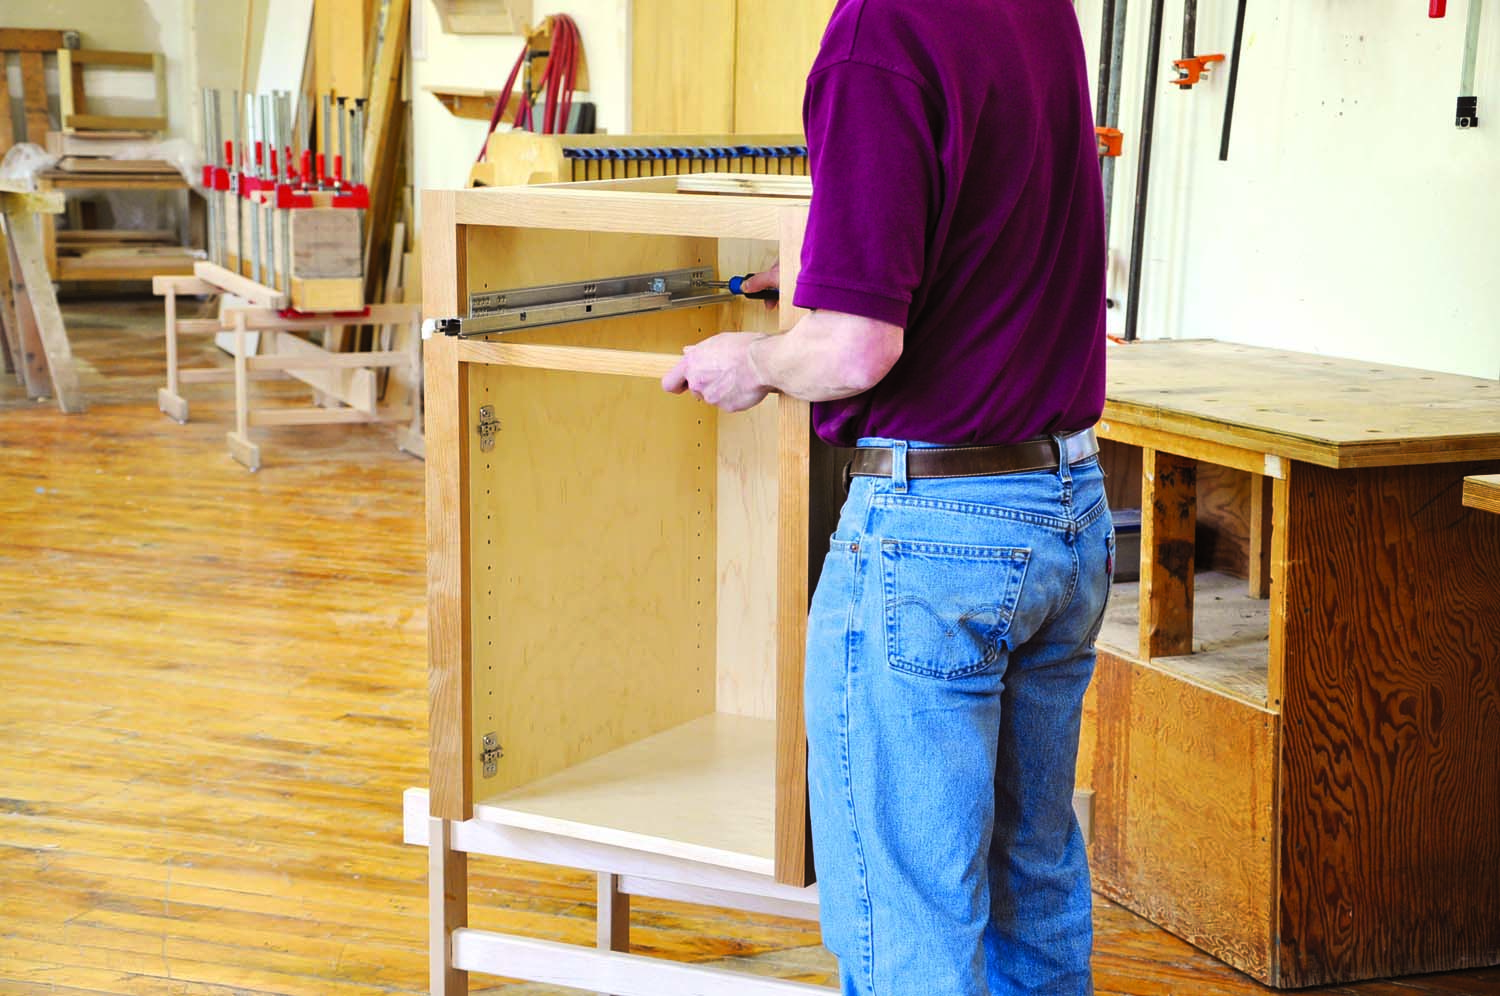
Photo 1. Install the undermount drawer slides in the cabinet. They look big, but once the drawer is installed, they’ll virtually disappear.
Unlike side mount slides, nearly all of the hardware for an undermount slide mounts inside the cabinet. The slides we use (and virtually all modern drawer slides) have mounting holes that are optimized for the 32mm system. So, if you follow the 32mm system rules to drill 5mm holes in the sides of your cabinets, you simply screw in the drawer slides, using 5mm x 13 mm Euro screws (Photo 1). The beauty of using the 32mm system is that the installed slides will automatically have the proper setback and be parallel with the top of the cabinet and with each other, making their installation much quicker and more accurate.
Install the Drawer Box
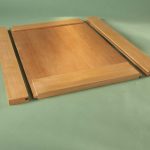
Photo 2. Cut notches for the drawer slides in the back of the drawer box, using a dado set. You’ll have reset the fence and make a second pass to complete each wide notch.
The drawer box must be slightly modified for use with undermount slides. First, cut 1-3/8″ wide x 1/2″ deep notches in the back, adjacent to the box sides (Photo 2). The notches should just graze the drawer bottom. Cut these wide notches by making a pair of stopped passes. When making the first pass, stop advancing the box as soon as the notch is cut. Turn off the saw and hold the box in position until the blade stops rotating. Then reset the fence and make a second stopped pass to complete the notch. To cut the notch on the other side, move the fence to the opposite side of the blade and repeat the process.
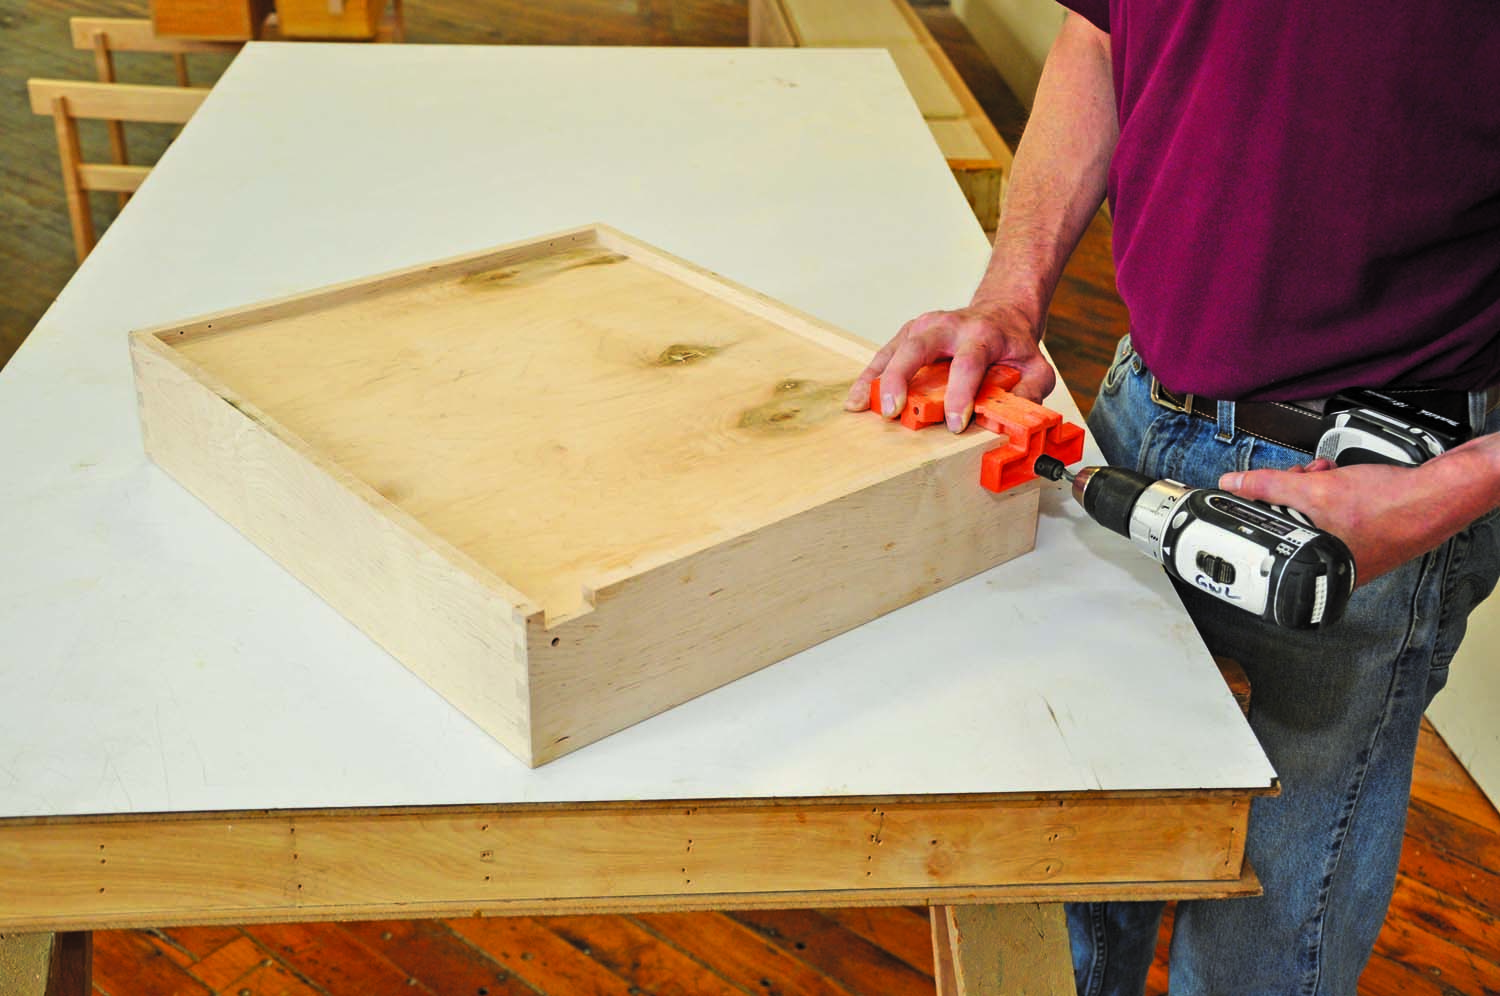
Photo 3. Use a jig supplied by the slide manufacturer to drill a hole above each notch. These holes secure the slide to the back end of the drawer.
Next, drill a 6mm dia. x 10mm deep hole just above each notch (Photo 3). For one or two drawers, it’s easy enough to locate and drill the holes by hand, but for a larger quantity, it’s more efficient to use the manufacturer’s jig.
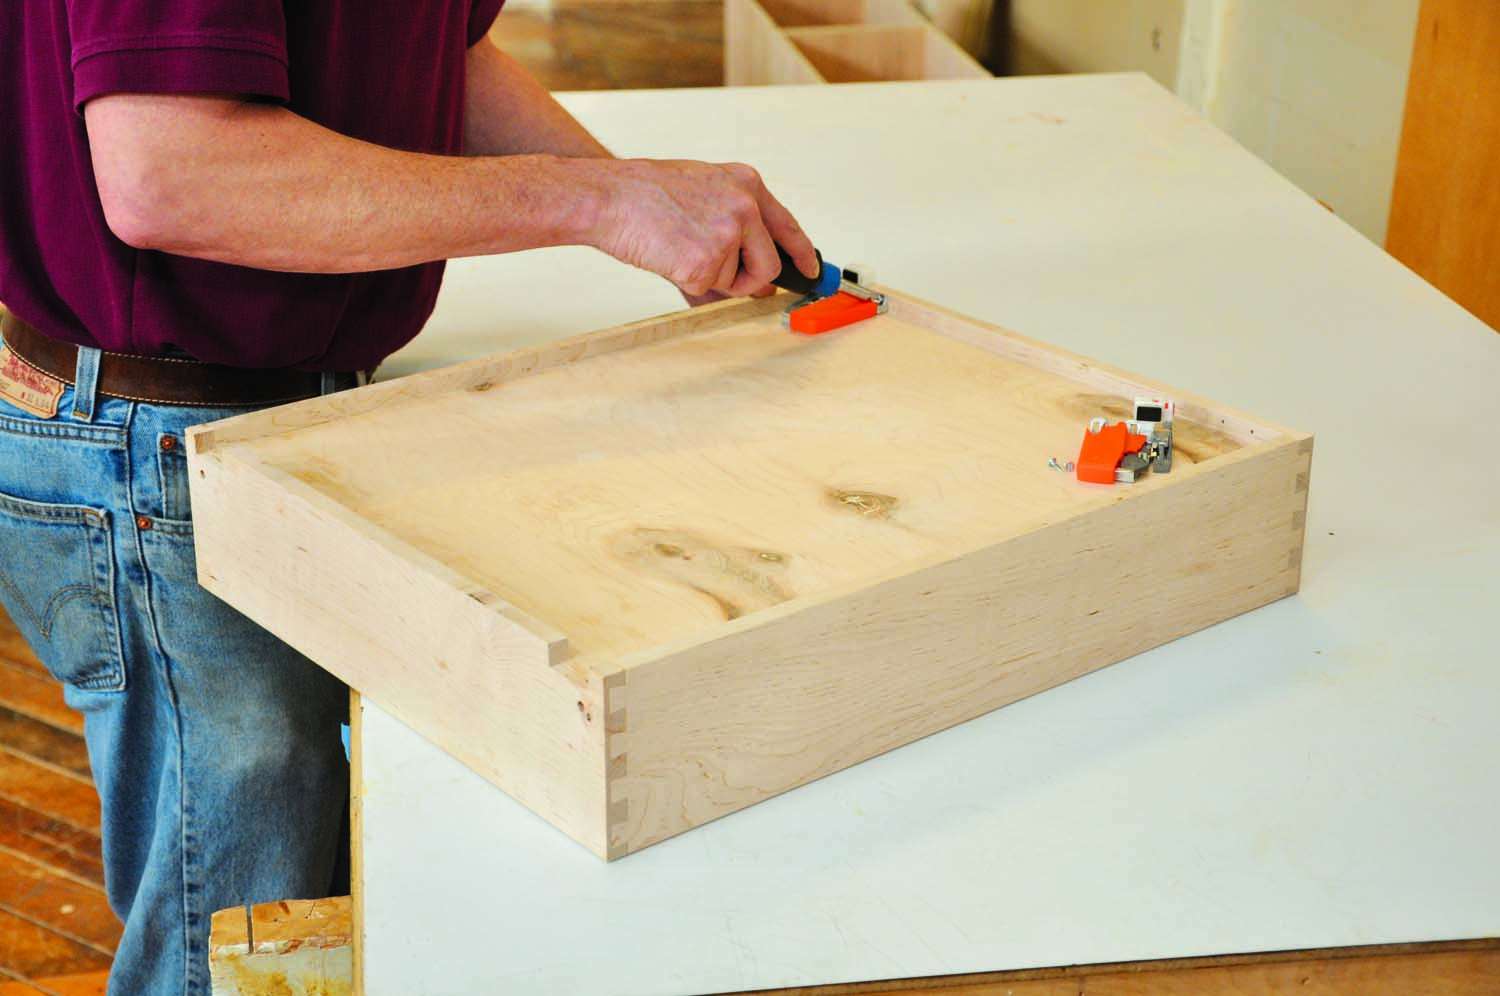
Photo 4. Install locking clips for the slides on the front corners of the drawer box. The same jig used in the last step makes it easy to locate and drill the pilot holes.
Use the same jig to drill pilot holes for the locking clips that engage the drawer slides. These clips are installed on the underside front corners of the drawer (Photo 4). The screws are installed at a slight angle for them to hold properly, so the jig is very handy in this case. Install the clips using #6 x 1/2″ truss head screws. Note that when purchasing the clips, you will need one left and one right clip per drawer.
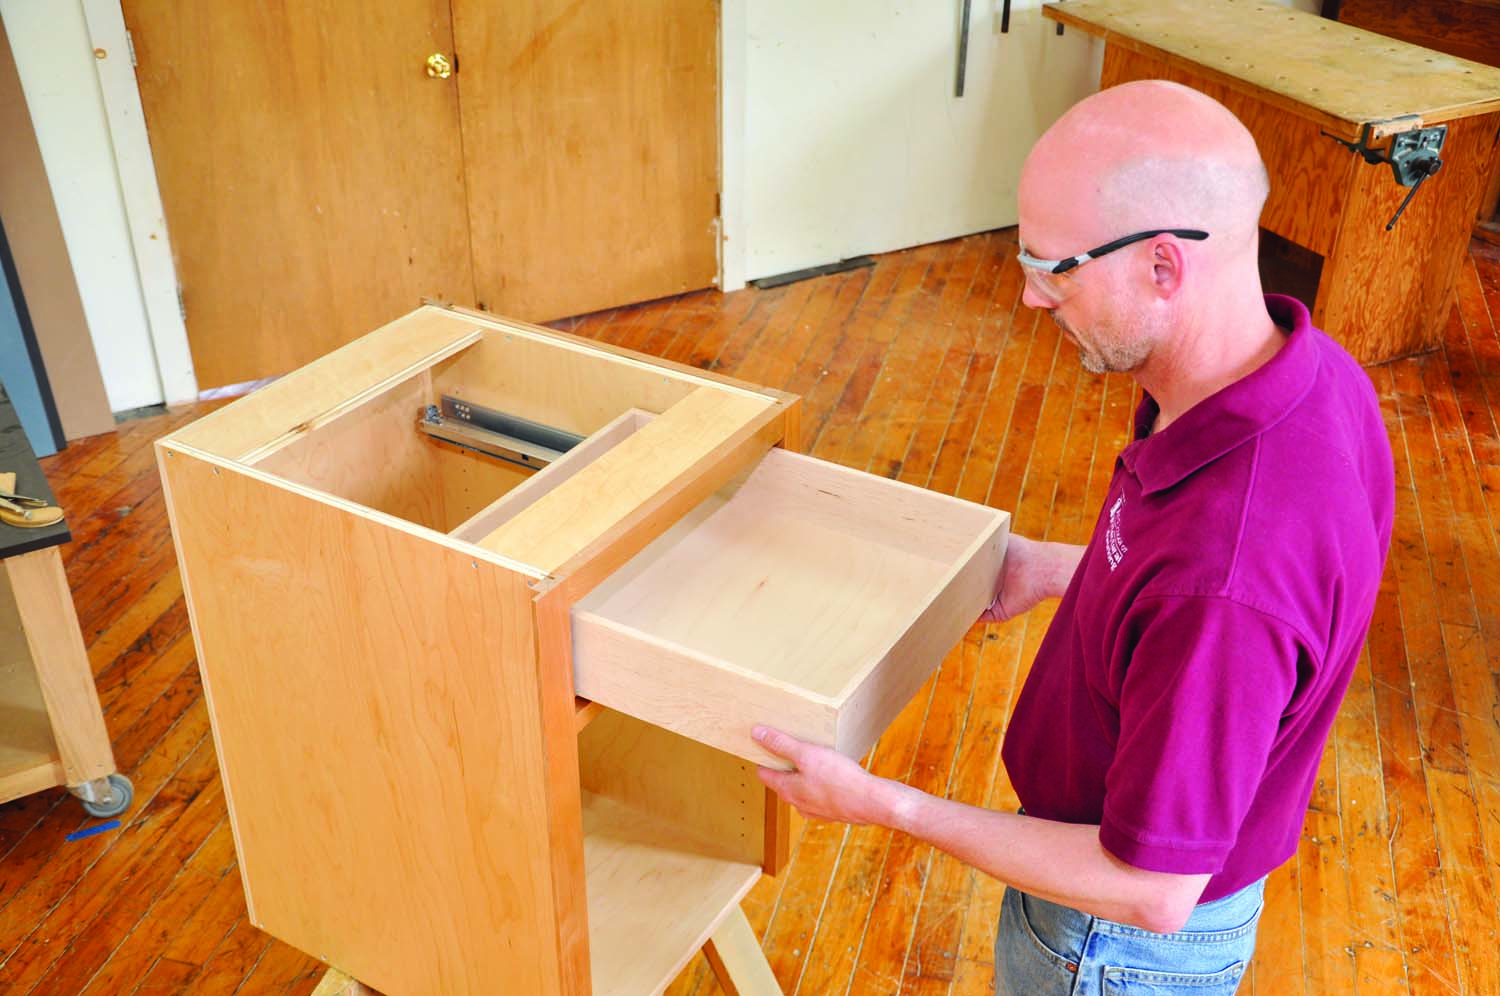
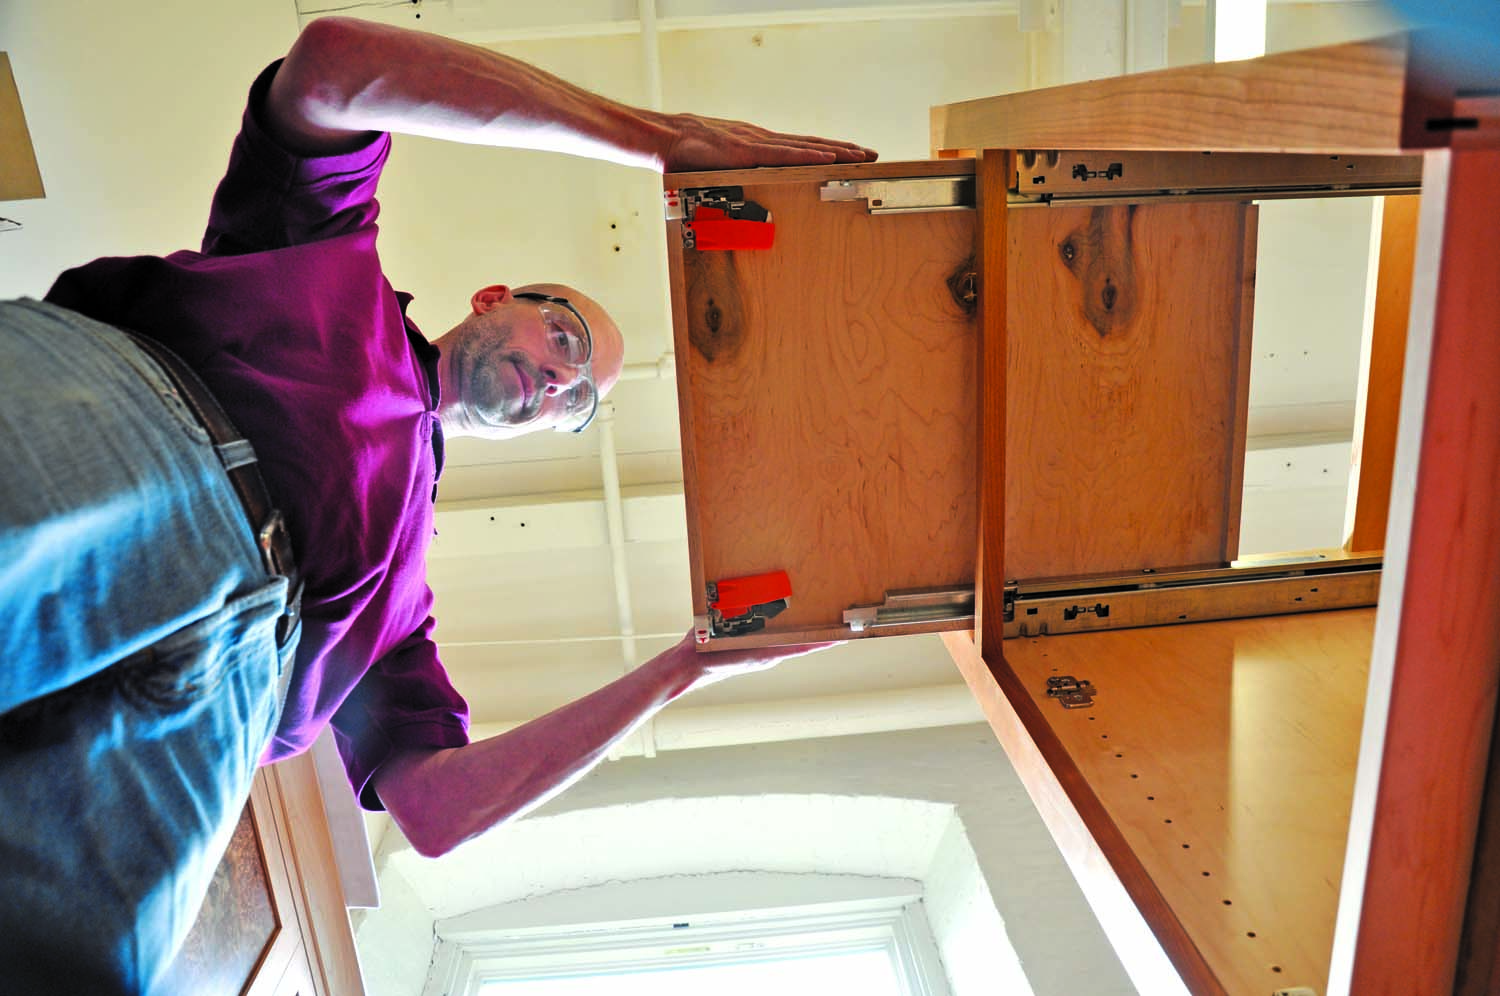
Photo 5. Photo 5 Use the notches to install the drawer box and engage the slides. A pin anchors each rail at the back and the clips on the bottom lock each rail at the front.
Installing the drawer box is easy (Photo 5). Just set the drawer onto the slides’ rails and push it into the opening until the locking clips engage at the front and the pins engage at the back. To remove the drawer, pull it out, reach under and squeeze the locking clips.
Mount the Drawer Front
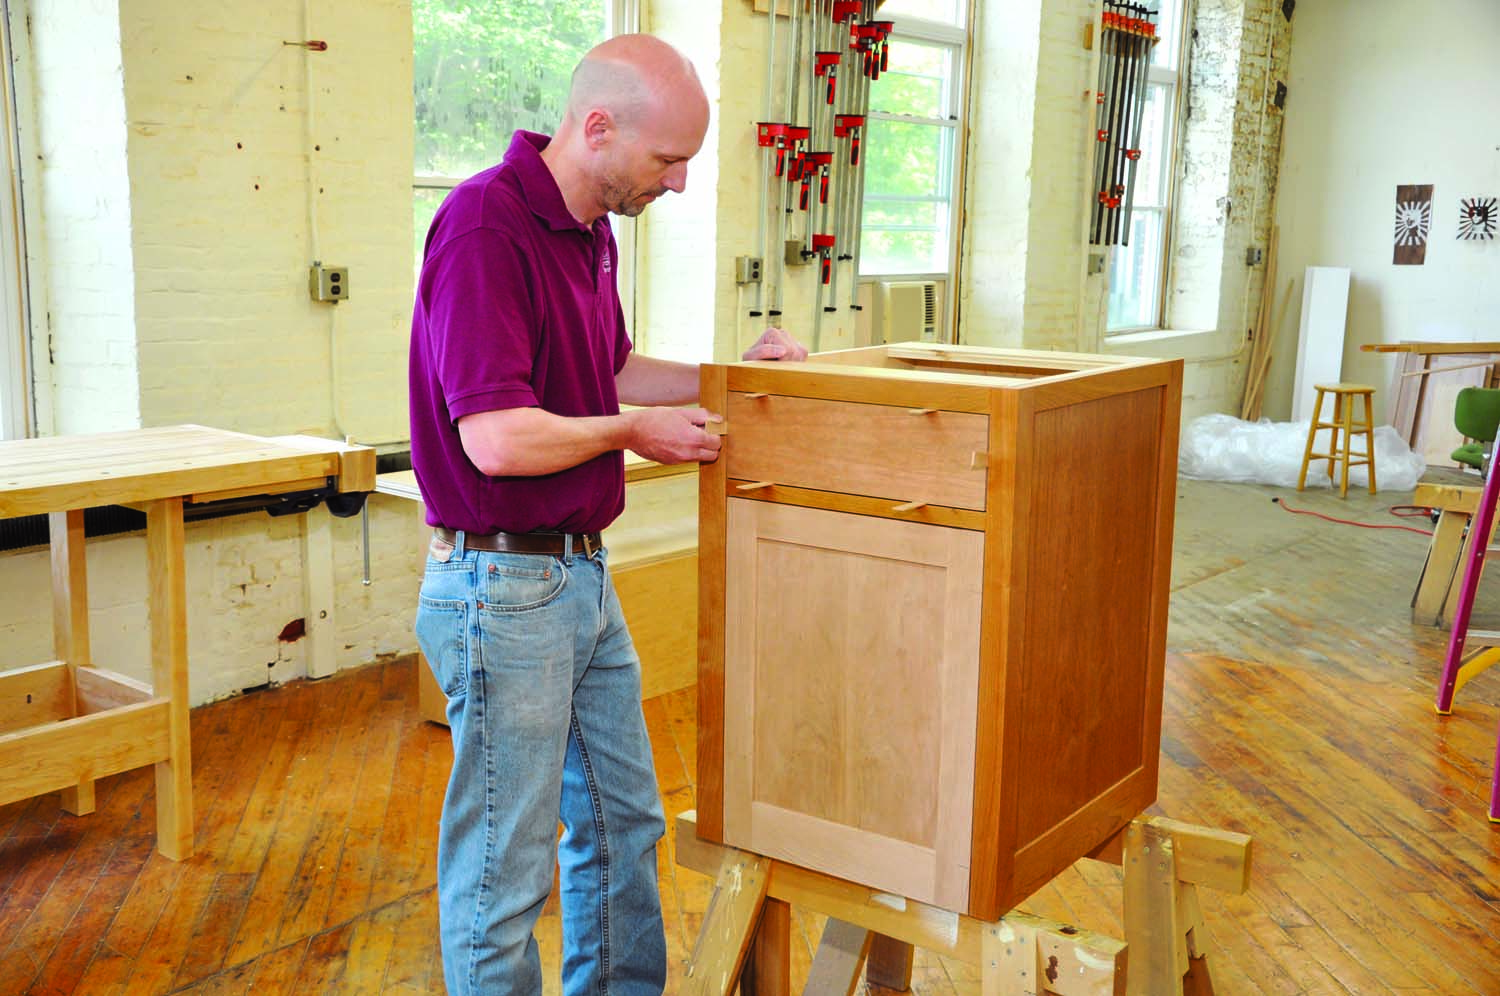
Photo 6. Center the drawer front in the opening, using 3/32″ shims.
Start by drilling two 5/16″ holes in the front of the drawer box, 1″ down from the top and 1-1/2″ from the inside face of the side. To avoid tear-out when drilling the holes, use a brad point bit and a piece of scrap wood as a backer. Trim the drawer front to fit the opening with 3/32″ gaps all around and use shims to center it (Photo 6). Then mark pilot hole locations on its back by pushing the same drill bit through each hole from inside the box and twisting it (Photo 7). Use these marks to drill #8 pilot holes into the back of the drawer front. This method ensures that, with the drawer front in its proper position, the pilot holes are perfectly centered in relation to the holes in the drawer box.
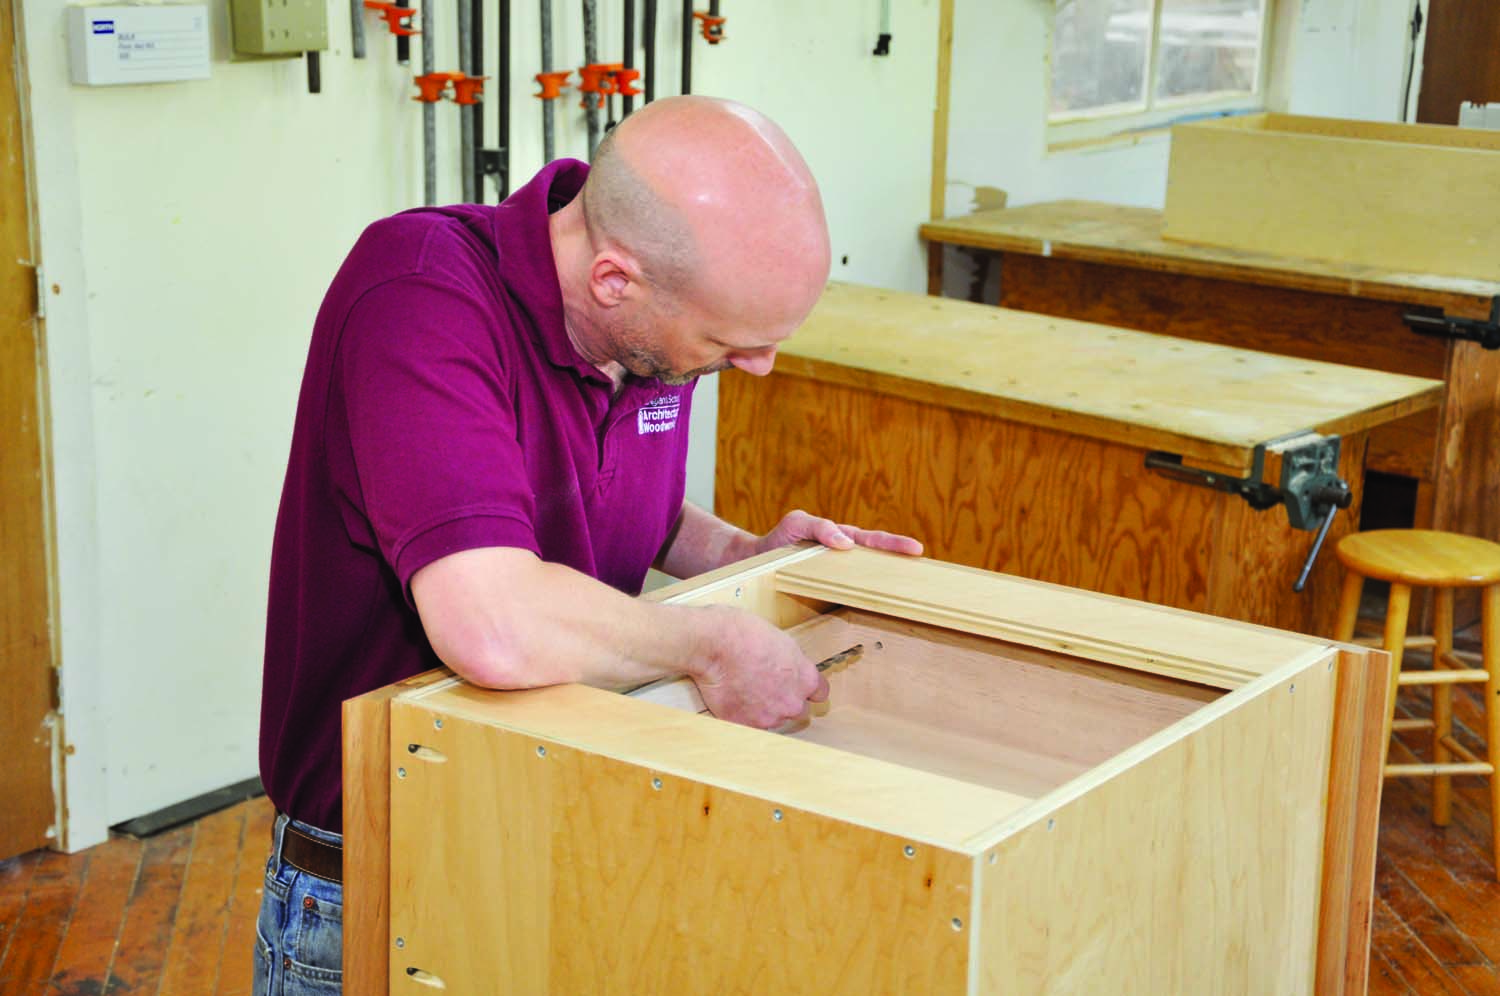
Photo 7. Mark the drawer front for pilot holes after drilling mounting holes in the drawer box. Use the same drill bit, so the pilot holes will be perfectly centered.
Attach the drawer front to the drawer box using #8 x 1-1/8″ washer-head drawer-front mounting screws. The oversized holes in the drawer box allow nearly 1/16″ adjustment in any direction, so you can adjust the drawer front, should any uneven gaps appear after the cabinet has been installed.
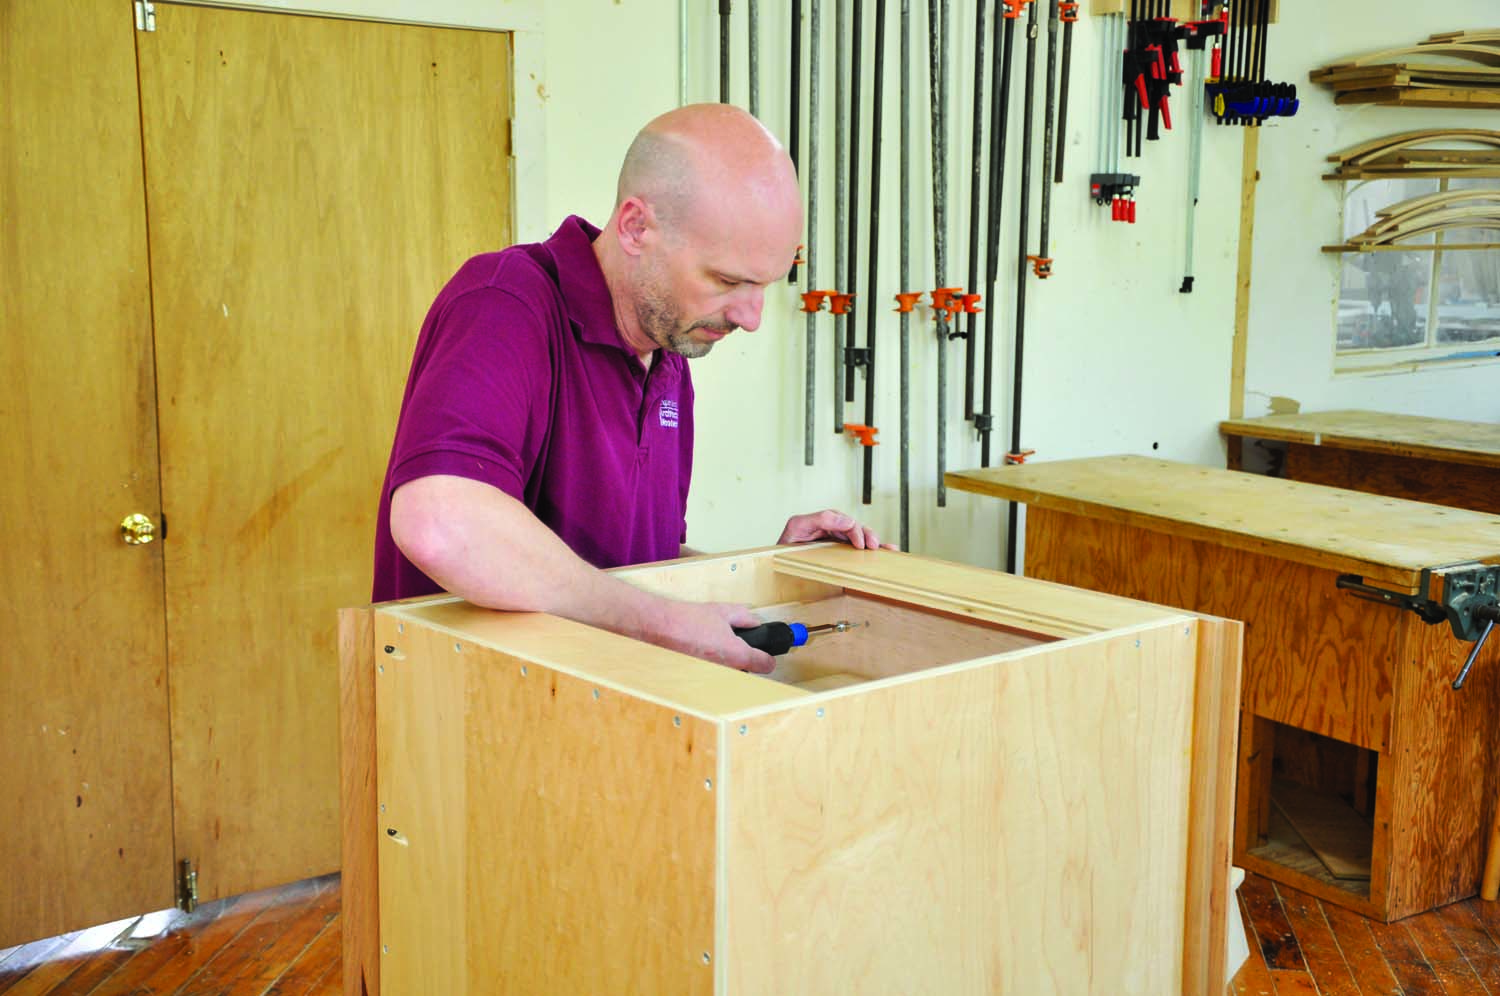
Photo 8. Use washer-head screws to fasten the drawer front. The oversize mounting holes and perfectly-centered pilot holes allow making minor adjustments, if necessary, after the cabinet is installed.
Installing the drawer pull pins the drawer front in position, so do not install the pull until the cabinet is installed and final centering adjustments are made to the drawer front. To mount the pull, drill holes sized to match the shanks of the mounting screws through both the drawer front and the drawer box (Photo 8). To better secure a tall drawer front, angle additional screws up from the bottom of the drawer box front into the applied front.
Sidebar: Drawer Slides with Euro Hinge Adjustability
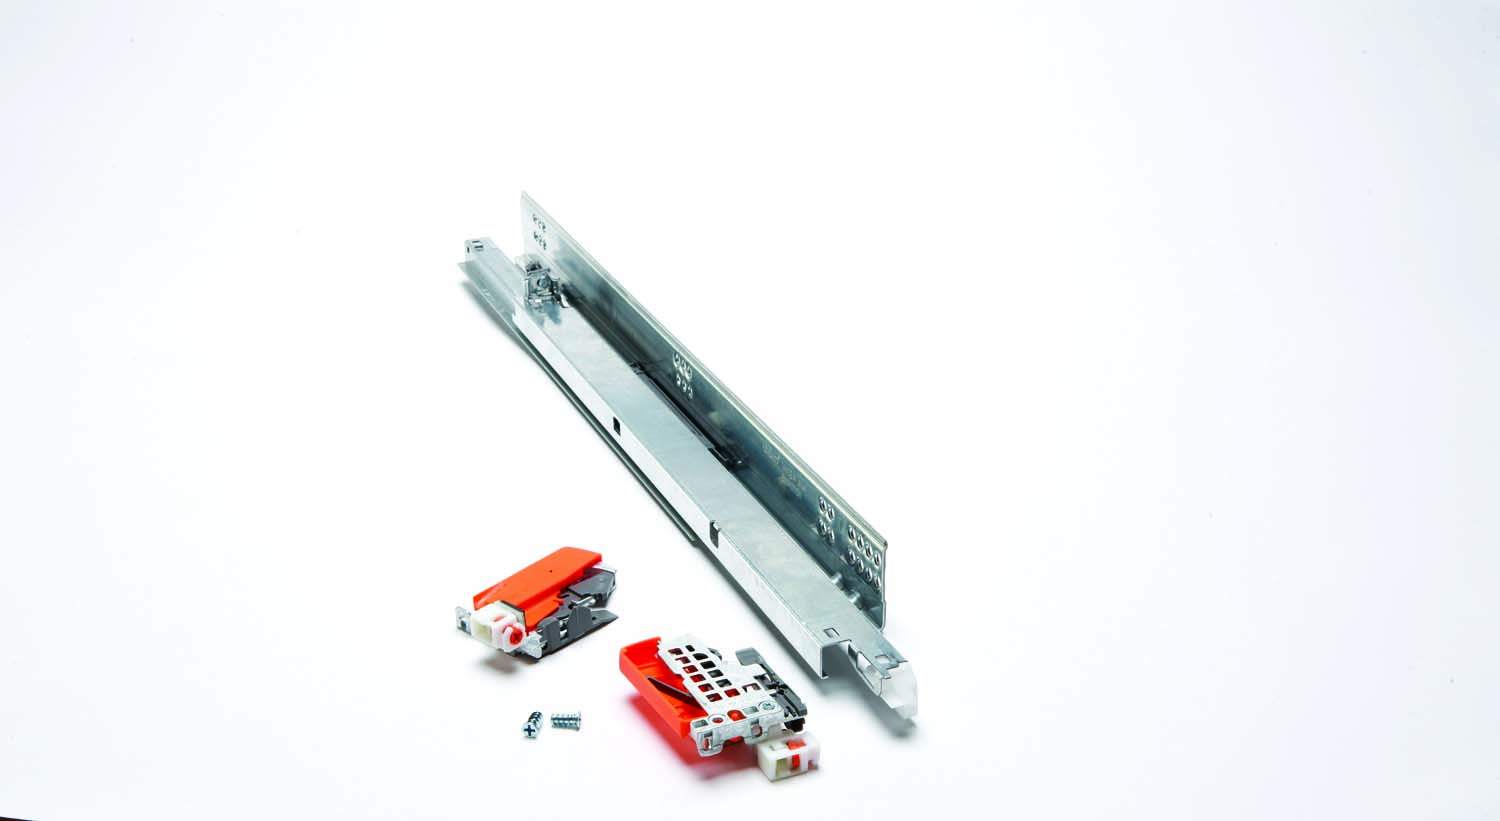 Blum Tandem undermount slides and inset locking clips make installing drawers easier than ever. The slides mount in the cabinet; the clips (left and right specific) mount on the bottom of the drawer. Each clip allows moving its side of the drawer up and down. When the drawer is installed, reaching underneath and pushing the clip’s gray adjustment lever towards the back incrementally raises the drawer; pulling the lever towards you lowers the drawer. Another lever at the back of the sliding rail lets you raise and lower the back of the drawer on that side, so you can adjust the drawer front to be perfectly in plane with the face fram,. Finally, each clip has an adjustment screw that moves the drawer in and out. Since our cabinets have 13/16″ face frames and 3/4″ drawer fronts, this allows moving the drawers forward until their applied fronts are flush with the frames. (Blum’s standard locking clips lack this adjustment; they’re designed for use with doors and face frames of equal thickness).
Bio
Greg Larson is the director of the New England School of Architectural Woodworking (NESAW), a career training school for cabinetmakers and The Workbench, a woodworking and craft school for hobbyists. Both schools are located in Easthampton, in beautiful western Massachusetts. For more information, visit at www.nesaw.com and www.workbenchschool.com.
Here are some supplies and tools we find essential in our everyday work around the shop. We may receive a commission from sales referred by our links; however, we have carefully selected these products for their usefulness and quality.