We may receive a commission when you use our affiliate links. However, this does not impact our recommendations.
Precision Squares
How to use our favorite setup tools
By Richard Tendick
Every woodworker falls in love with some favorite tools now and then. I count on my faithful set of precision squares every day, from milling the first rough board to installing the last brass hinge. They’re the solid foundation of every successful project.
When I was a young woodworker, though, my first affair with an attractive square ended in bittersweet disappointment. This tool was a real beauty. It had a rosewood handle inlaid with brass and a blued steel blade.
As I gained experience, however, I realized my parts weren’t truly square. I blamed everything but the tool itself. One day I compared it to a friend’s square. He was a fussy machinist, so his square was true. Mine was way off! My tool was too inaccurate for critical work but too beautiful to throw away.
My pal clued me in to the best features of a good square, how to test it and how to use it—hard-earned knowledge I’ll now share with you.
A Classic Precision Square
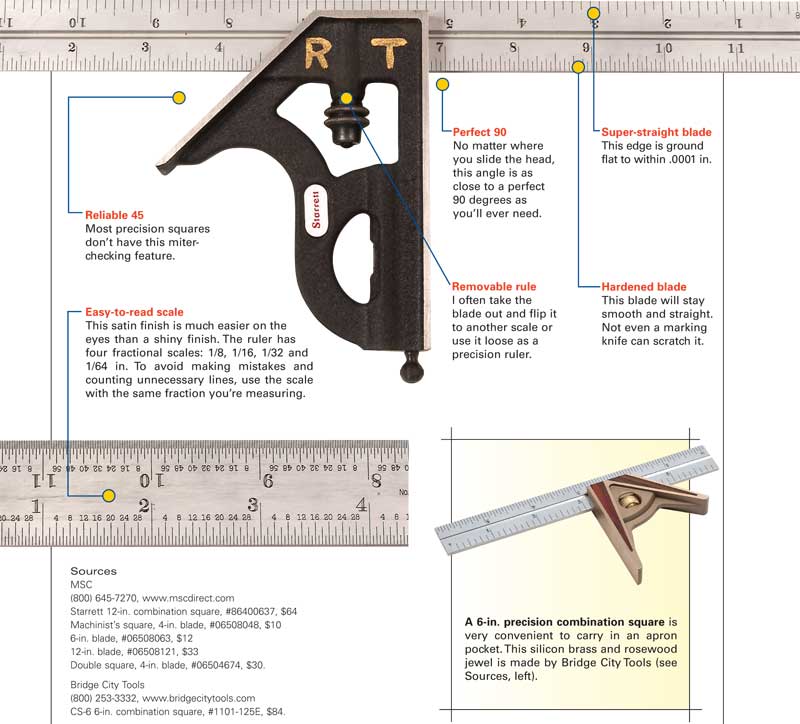
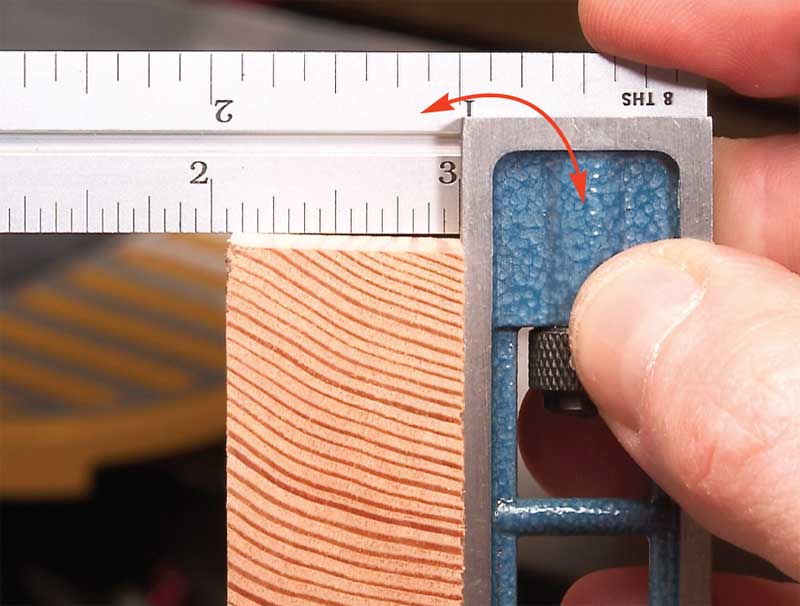
The most reliable and useful precision square in my shop is a Starrett 12-in. combination square. Many other finicky woodworkers have told me that they, too, treasure one of these tools. I put my initials on my square and keep it safe in its own special drawer compartment.
Many combination squares aren’t very accurate, but this one is made to extremely precise tolerances and is individually checked before it leaves the factory. A good 12-in. square, like this one, should be no more than .002 in. out of square at the end of the blade (for comparison, a piece of paper is about .003 in. thick). Look for a published tolerance this small when you shop for any type of precision square.
Click any image to view a larger version.
How Square is Your Square?
No matter how fancy a square looks, when it comes to accuracy, I’ve got to see it to believe it. Inexpensive models, like a 12-in. fixed-blade machinist’s square, should always be tested. Here’s a new variation on an old method of testing any square.
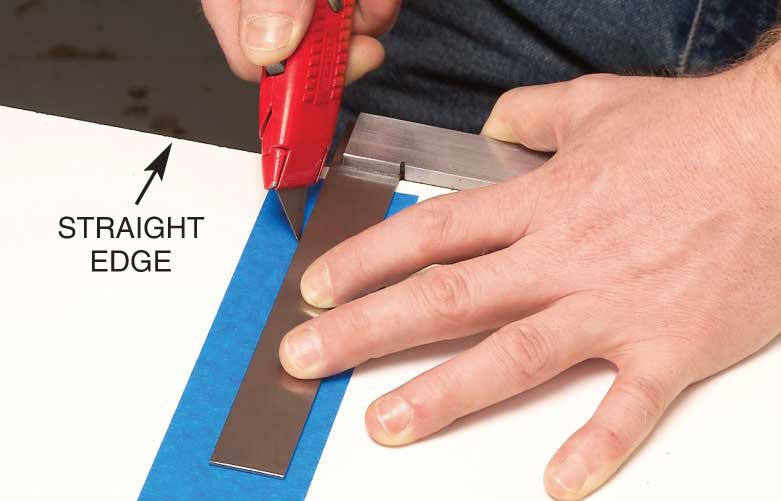
1. Cut a line down the middle of a piece of tape attached to a melamine board. The bottom edge of the board must be absolutely straight. Check the board’s edge against the top of your tablesaw.
2. Peel off the right-hand side of the tape. The contrast between the blue tape and bright white melamine makes the precisely cut edge easy to see.
3. Flip the square and butt it against the tape. They should match perfectly. A gap at top or bottom shows you twice the amount that the square is in error.
Two First-Rate Squares for Precision Setups
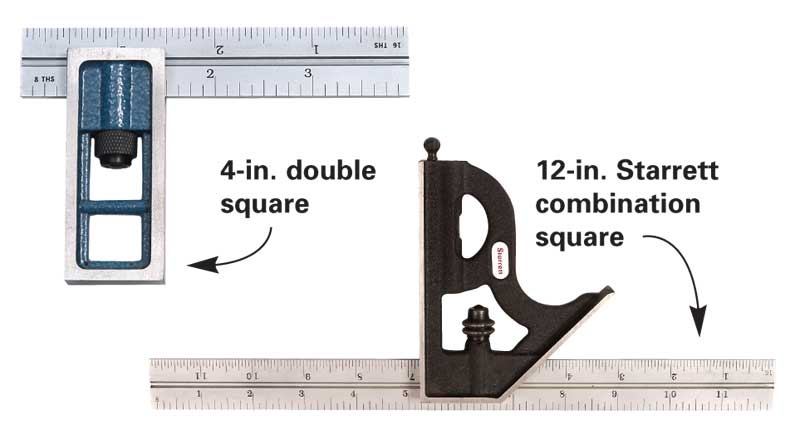
I always set up my machines with one of two kinds of precision squares. For the tablesaw, I pull out my 12-in. Starrett combination for its long stock and adjustable blade.
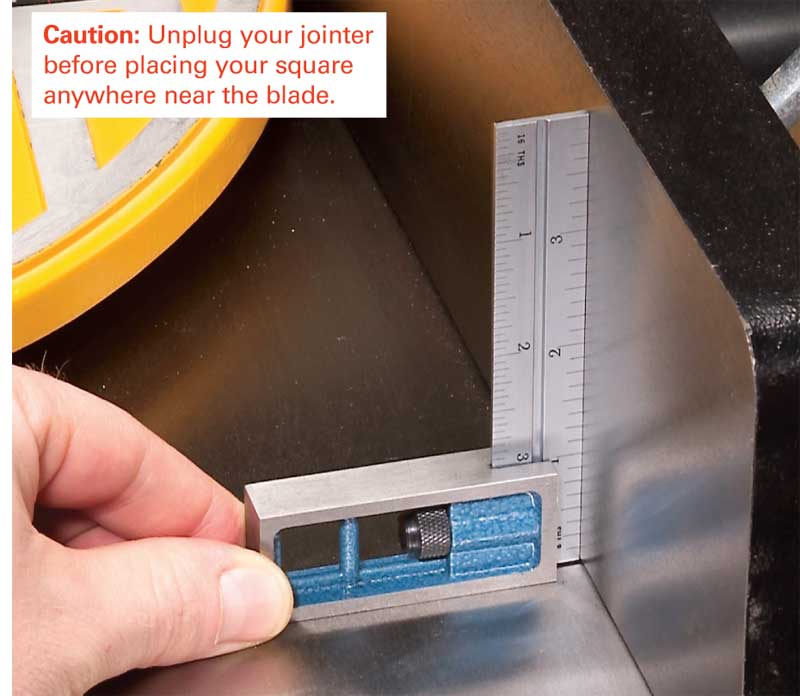
For the bandsaw, jointer and nearly everything else, I turn to a pocket-size 4-in. double square. Its blade slides just like a combination square, so I can use it for layout work, too. A 4-in. machinist’s square is a less expensive substitute.
How to Square a Jointer Fence
I’ve never really trusted the 90-degree stop on my jointer’s fence. Every time I tighten the lock-down bolt, the fence shifts position. Lots of other jointers have this problem, too. The only solution is to begin with the fence slightly out of square and stop tightening at the point that the fence actually is square.
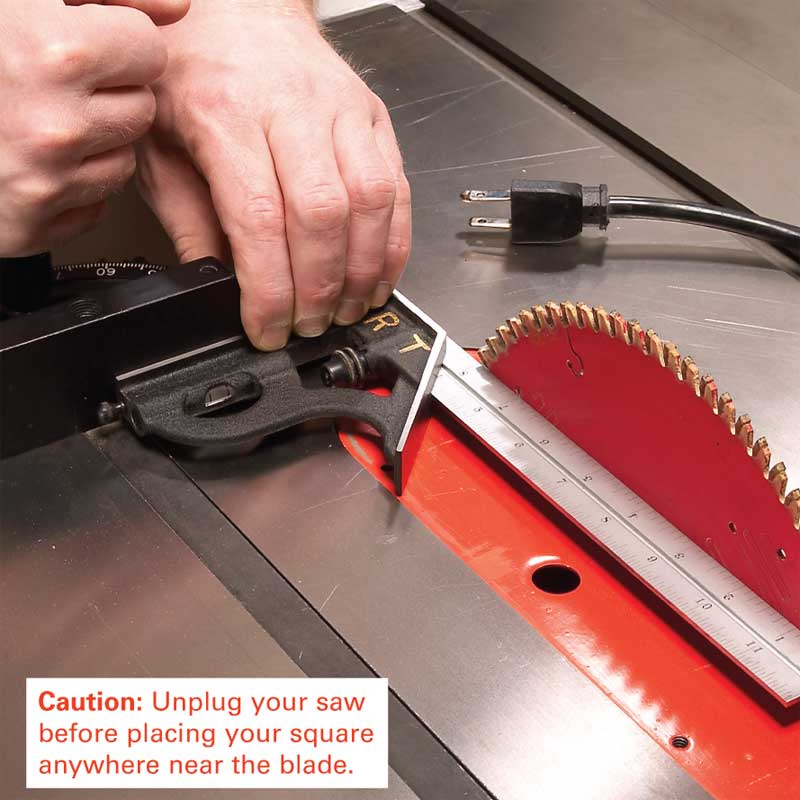
How to Square a Miter Gauge
Do you rely on the positive stops on your miter gauge? I don’t. To accurately adjust my gauge, I hold the large square against the gauge’s bare face, raise the saw blade full height, place the square’s blade between two saw teeth and extend it almost the full width of the saw blade.
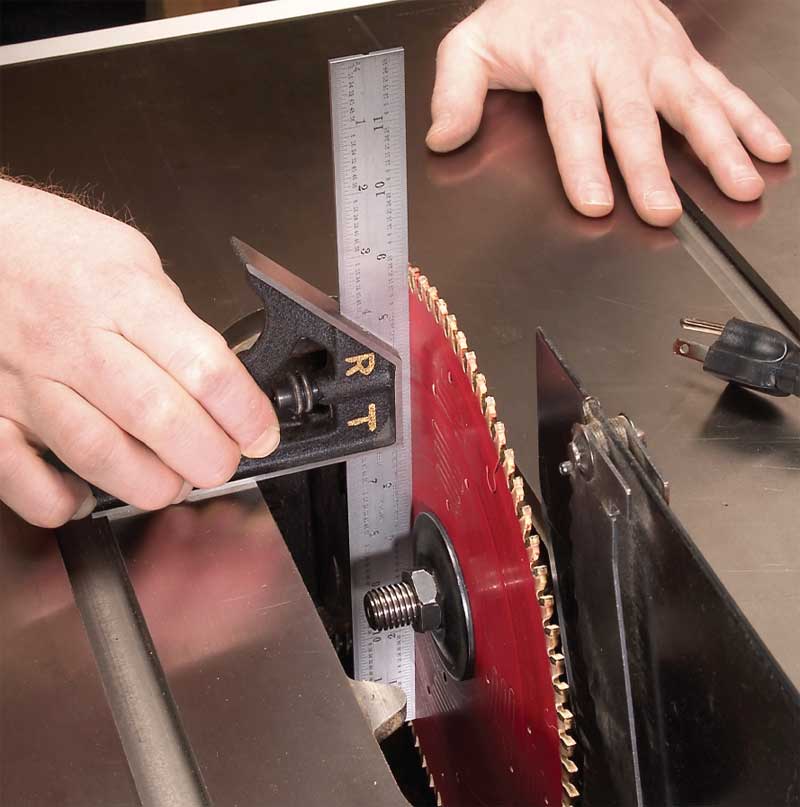
How to Square a Saw Blade
I used to simply stand my square on the table, but a good pal showed me this method. It’s twice as accurate, because you’re checking twice as much blade. You have to see down into the bowels of the saw, so a flashlight is really handy. As with the miter gauge, the square’s blade runs between the saw’s teeth.
How to Check an Edge for Square
Accurately setting up your machines is only half the battle. The acid test comes when you actually test the boards themselves. I always use my 12-in. square for checking boards that I’ve crosscut on the tablesaw. For checking a jointed edge, I pull out a smaller square.
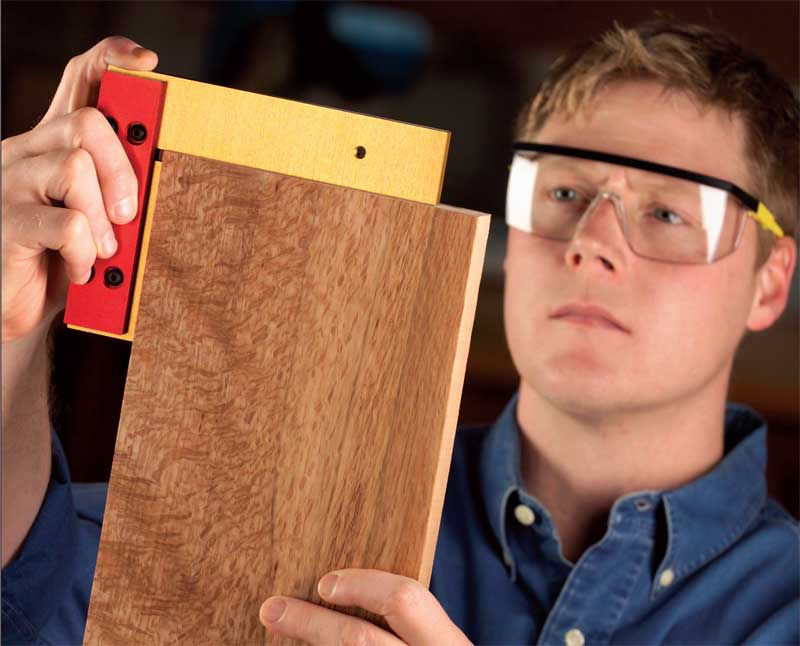
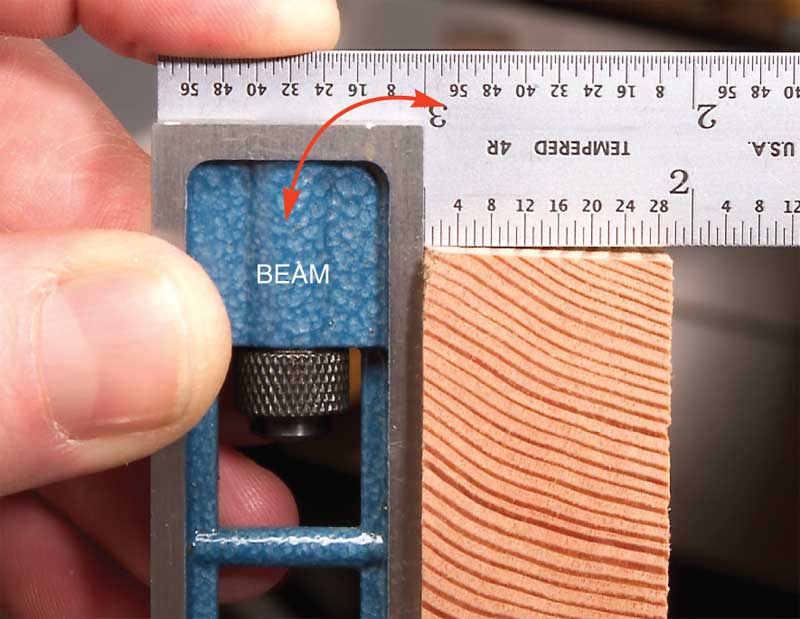
The easiest method is to look for light between the square’s blade and a jointed edge. Sometimes this isn’t practical, though. It’s hard to hold a long or heavy board so that there’s a good light source behind the square. I really can’t trust what I can barely see, so I rely on a feel test with a small, lightweight square that’s easy to balance.
1. Firmly rest the square’s beam against the board’s left face. Lower the blade to the jointed edge. When it contacts the edge, try to rock the square. It should nest perfectly. If it doesn’t, you’ll know the left side is high.
2. Rock the square on the other side of the board. Now, you can tell whether the right side is high. I always check both sides before I’m satisfied that my boards are perfectly square.
This story originally appeared in American Woodworker May 2005, issue #114.
Here are some supplies and tools we find essential in our everyday work around the shop. We may receive a commission from sales referred by our links; however, we have carefully selected these products for their usefulness and quality.


