


We may receive a commission when you use our affiliate links. However, this does not impact our recommendations.
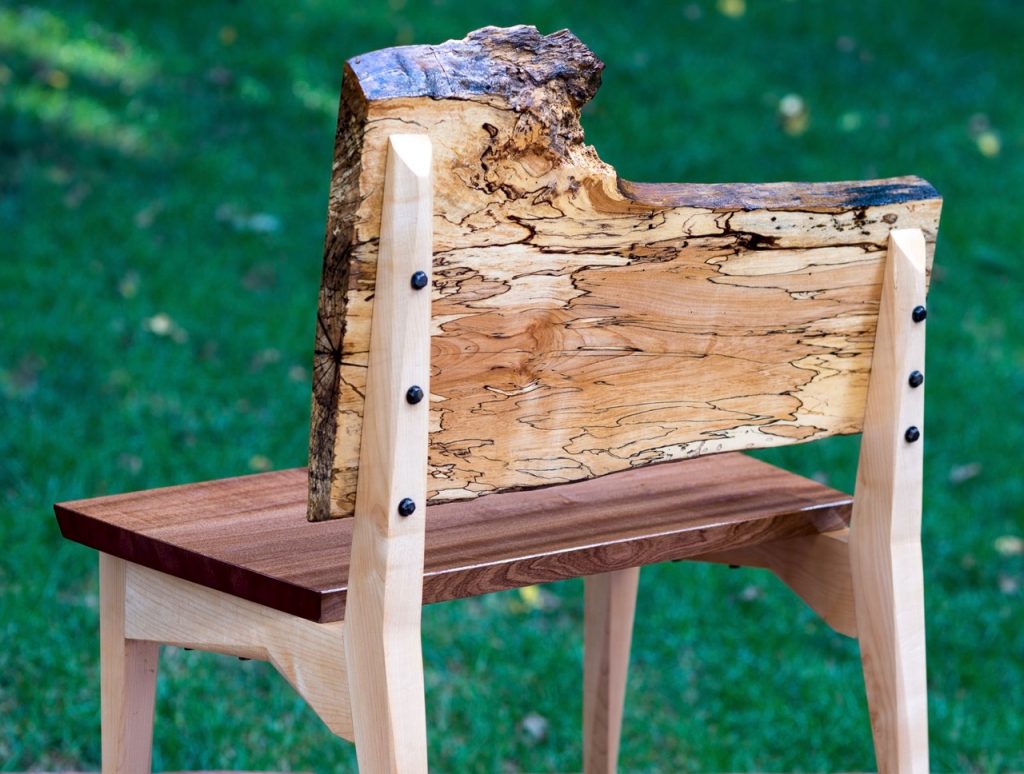
Photo by David Bolson
Learn how Yoav and David refined the design for this bench in Part 1.
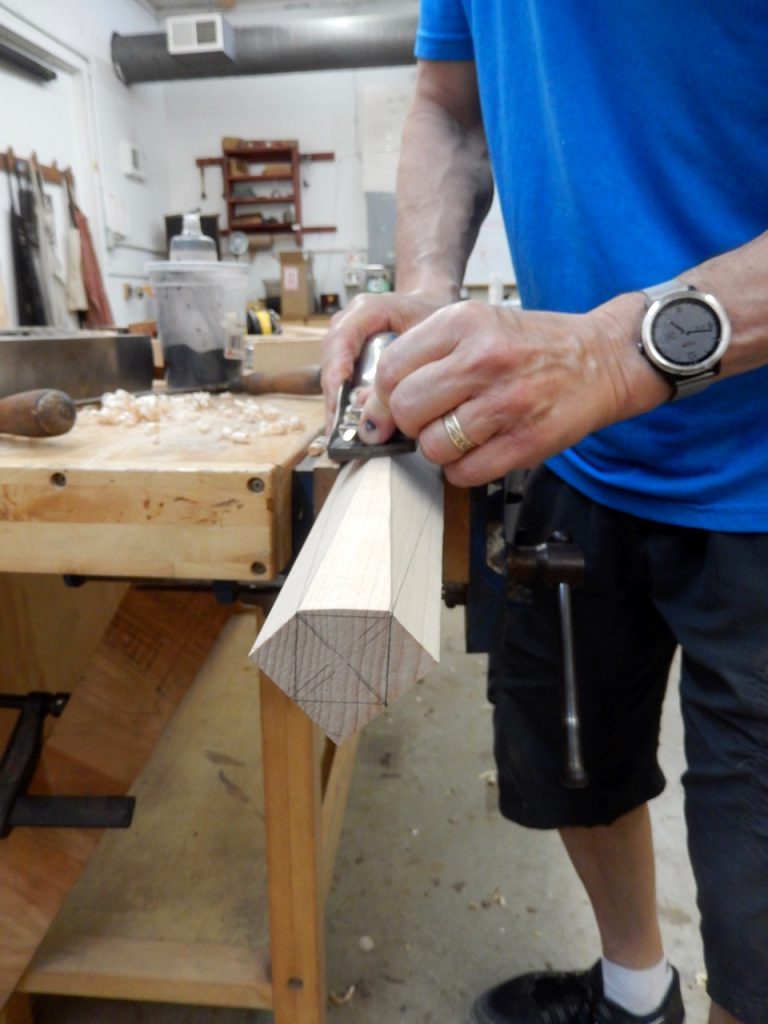
After David sawed off the design of the legs and smoothed them with a plane, I showed him a technique for refining the legs even further. By creating triangle facets that break off the right-angled corners of the boxy legs, we can generate an elegant antiprism design. The outcome resembles the shape of the new One World Trade Center building in NYC. This leg “treatment” is also quite popular in the 8th grade stool making class that I teach. Since David liked the idea, the next step was to lay out the design and shape the legs.


Creating an antiprism is simple. Mark the middle of each side of the square leg base (A). Connect (A) to the corners at the top of the legs. Next, shave the legs until a triangle facet is created from the base to the top. Repeat this on the opposite corner and then hold the leg in a special grooved jig-jaw in the vise, and continue to the third and fourth corners.

After David created an antiprism on the front legs, he modified the design and transformed it to the lower part of the chevron back leg, and laid out a half-antiprism on the upper portion of the chevron. Then he drew a small chevron on the rail (apron) between the legs, and formed the two facets using a chisel, rasp, file and block plane.

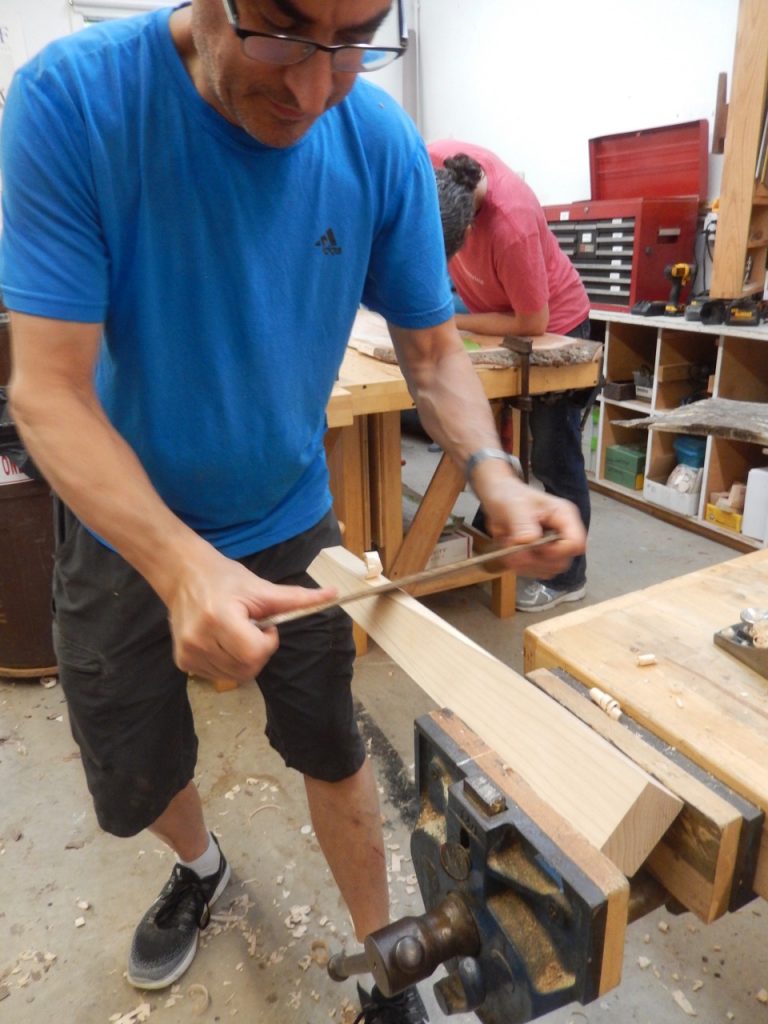
Using a drawknife, David shaved most of the facets on the the front leg. Then, with a hand plane, he smoothed and perfected the surface.

Epoxy
Taking care of the voids and cracks in the wood was easy. With an epoxy resin and some black pigment he was able to fill all the checks and gaps. After the epoxy dried he sanded the excess off.

Joinery
David set up a Festool Domino and milled four mortises in each of the joints. With four floating tenons the joints turned rock solid.


Before gluing the legs to the rail he rehearsed the process and found out that a block of wood under the back leg joint was necessary to prevent the clamp from drifting down the leg.


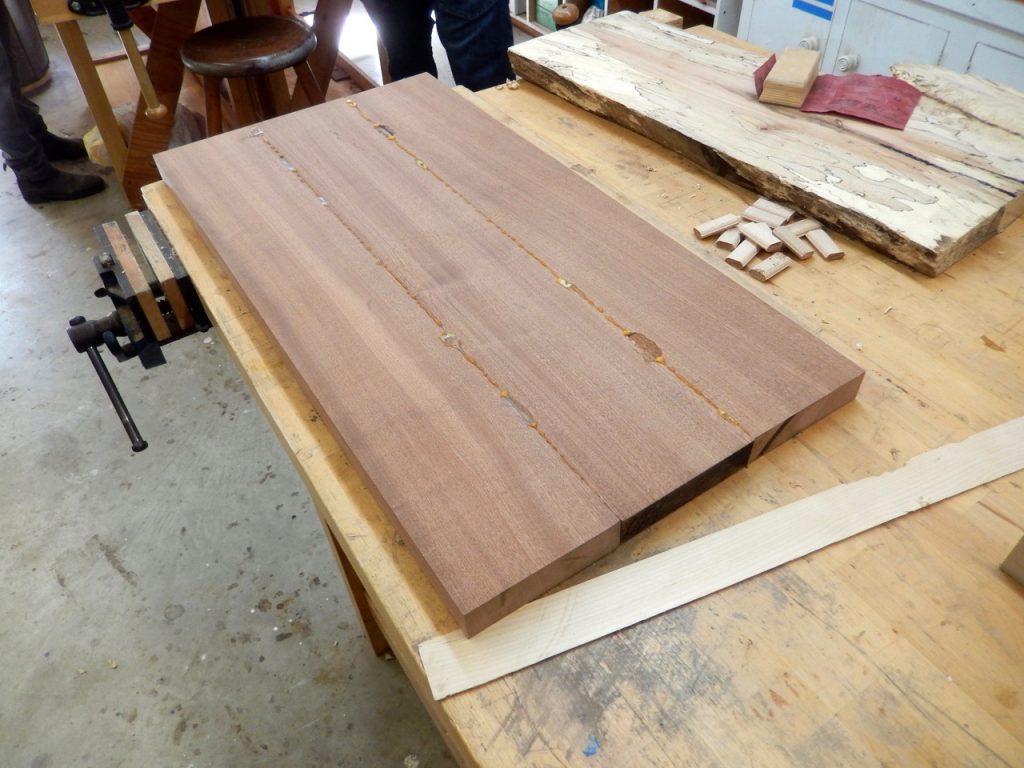
Gluing the seat
To connect the live edge back to the legs he used leg bolts which he’d finished with a black patina. The middle bolt goes in a round through hole, while the top and bottom bolts are accommodated in slotted hole to facilitate the wood’s expanding and contracting movement.
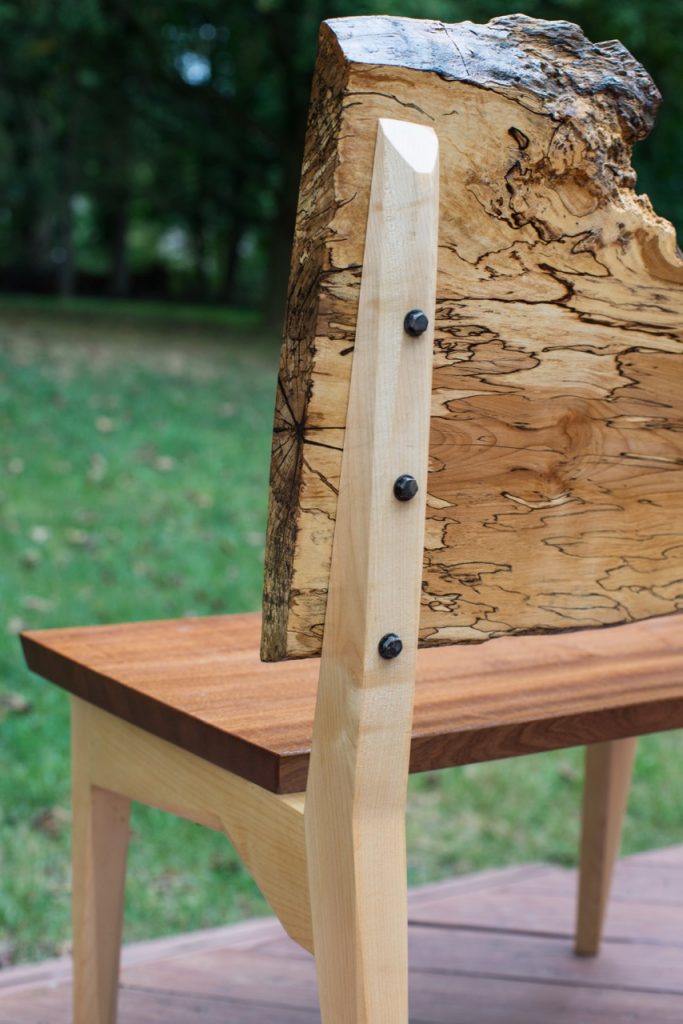
Photo by David Bolson

With a few coats of oil finish, the bench is a hallmark design of a project where live edge and intentional design work together in perfect harmony.
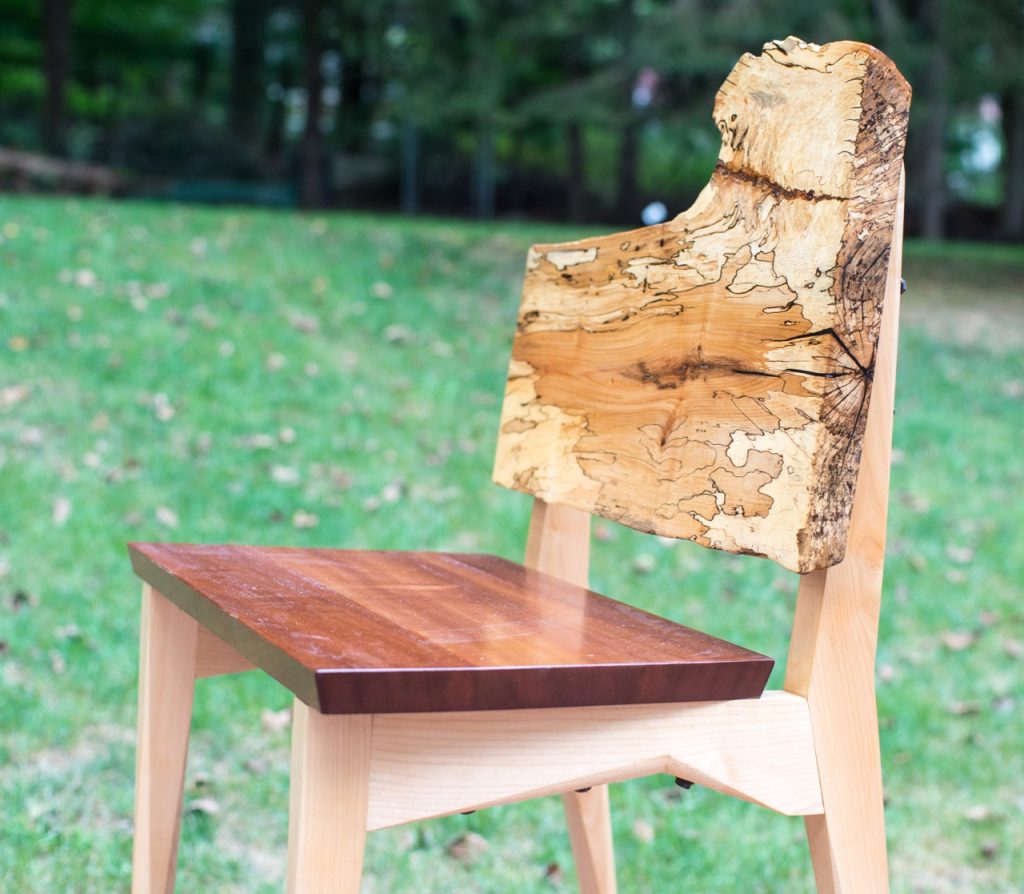
Photo by David Bolson
Photo by David Bolson
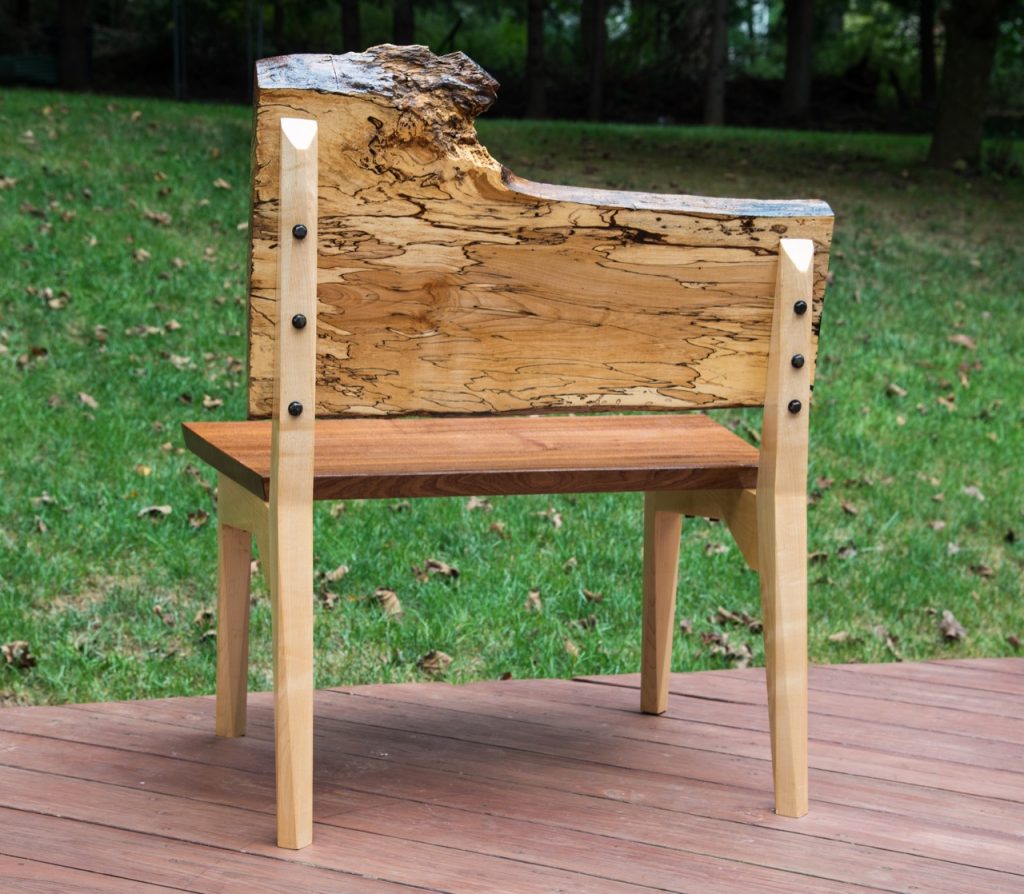
Photo by David Bolson

Here are some supplies and tools we find essential in our everyday work around the shop. We may receive a commission from sales referred by our links; however, we have carefully selected these products for their usefulness and quality.


A nice write-up of a great looking project.
Many thanks.