


We may receive a commission when you use our affiliate links. However, this does not impact our recommendations.
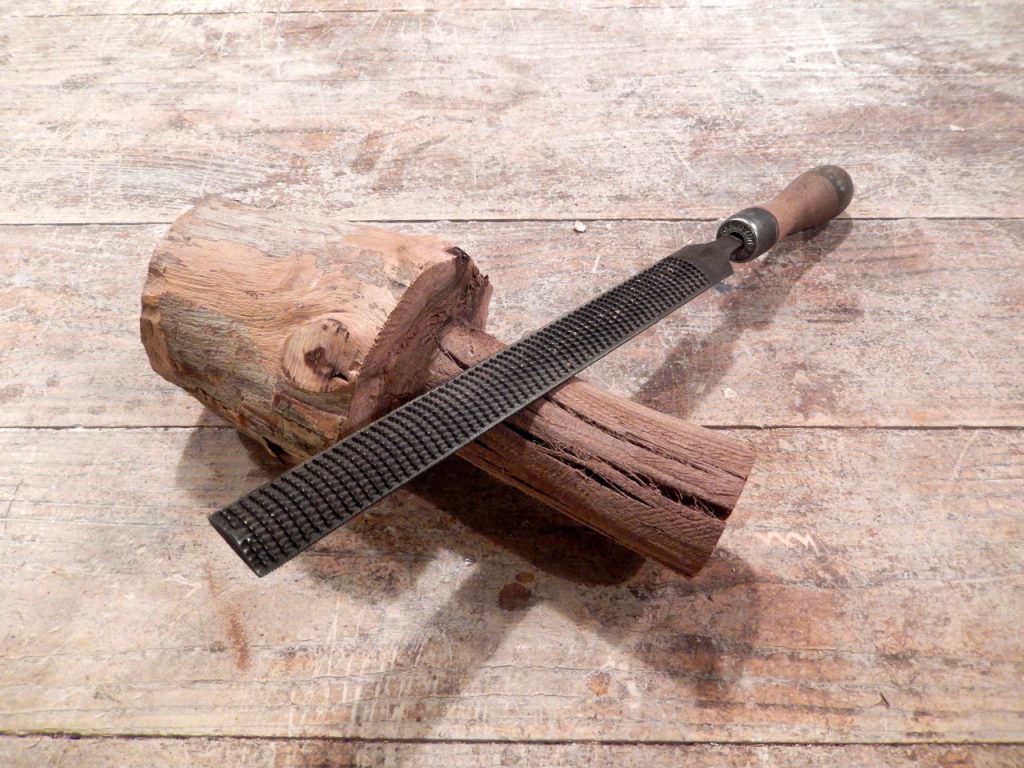
 After cutting the branch to length, sawing around the neck and chipping away most of the wood around the handle, the time comes to grab a half-round rasp and begin rounding over the handle. Once the handle looks cylindrical enough I ask my students to imagine what kind of handle they want to form. I show them some mallet drawings and together we choose the one that best suits them.
With a half round rasp we round over the handle.

Rasping the handle’s design
The main tools that we use to form the handle are round, half round and combination rasps. First we use the round rasp to form a nice cove around the meeting point between the handle and the head. If the student wants to shape a pommel on their handle, they grab the round rasp one more time and form another round cove close to the base of the handle.

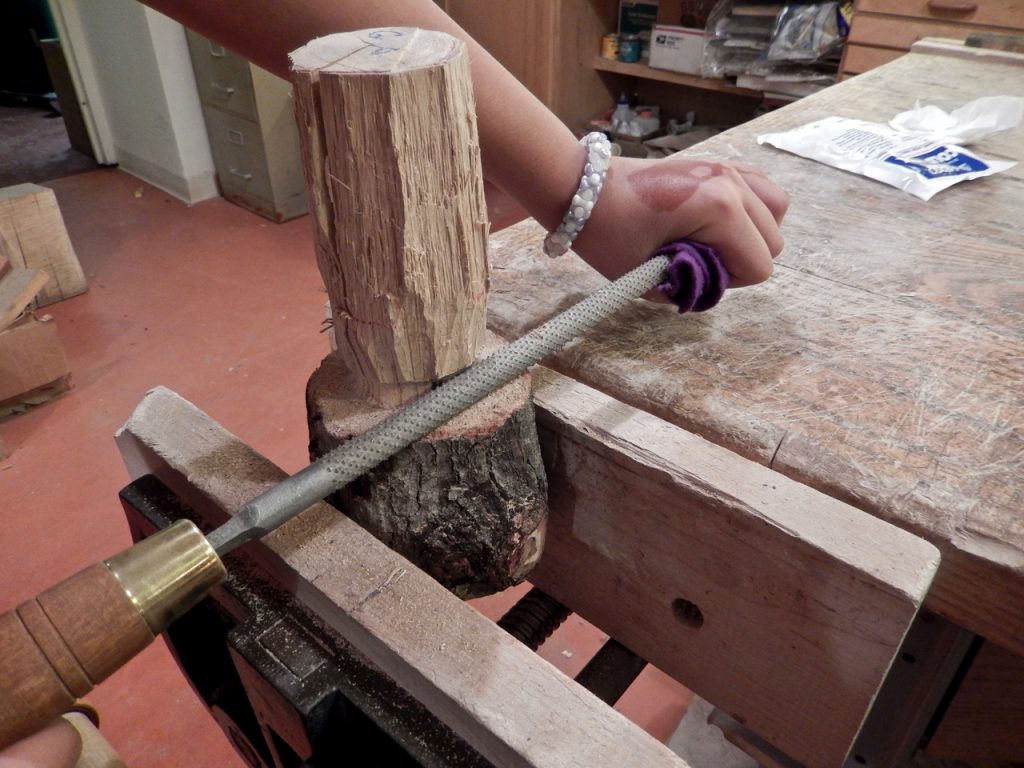
Using a round wasp we shape a cove around at the neck’s base.

Then they reach out for a half round rasp and rasp away the excess material between the zenith of the handle and the bottom of the round coves. After this, they round over the base of the pommel.
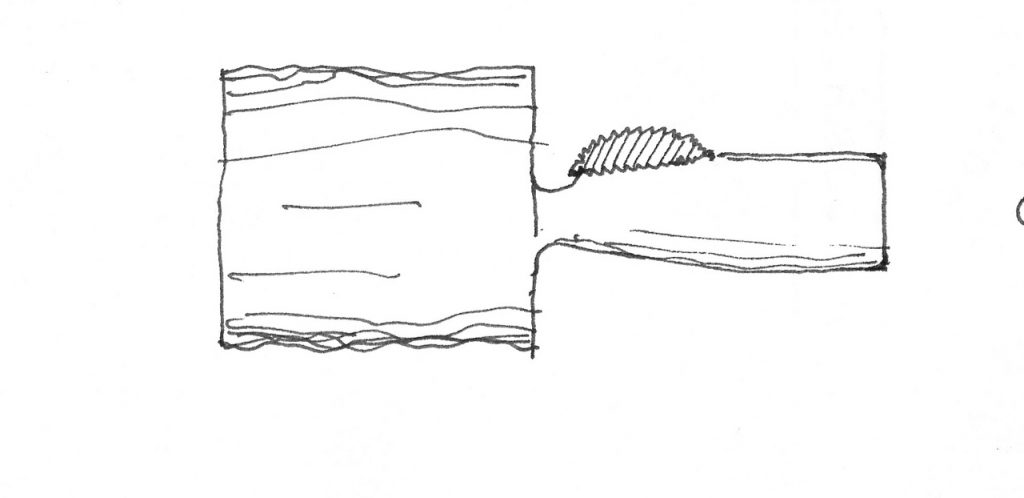
With a half round rasp we taper the handle to curve down towards the neck’s cove.
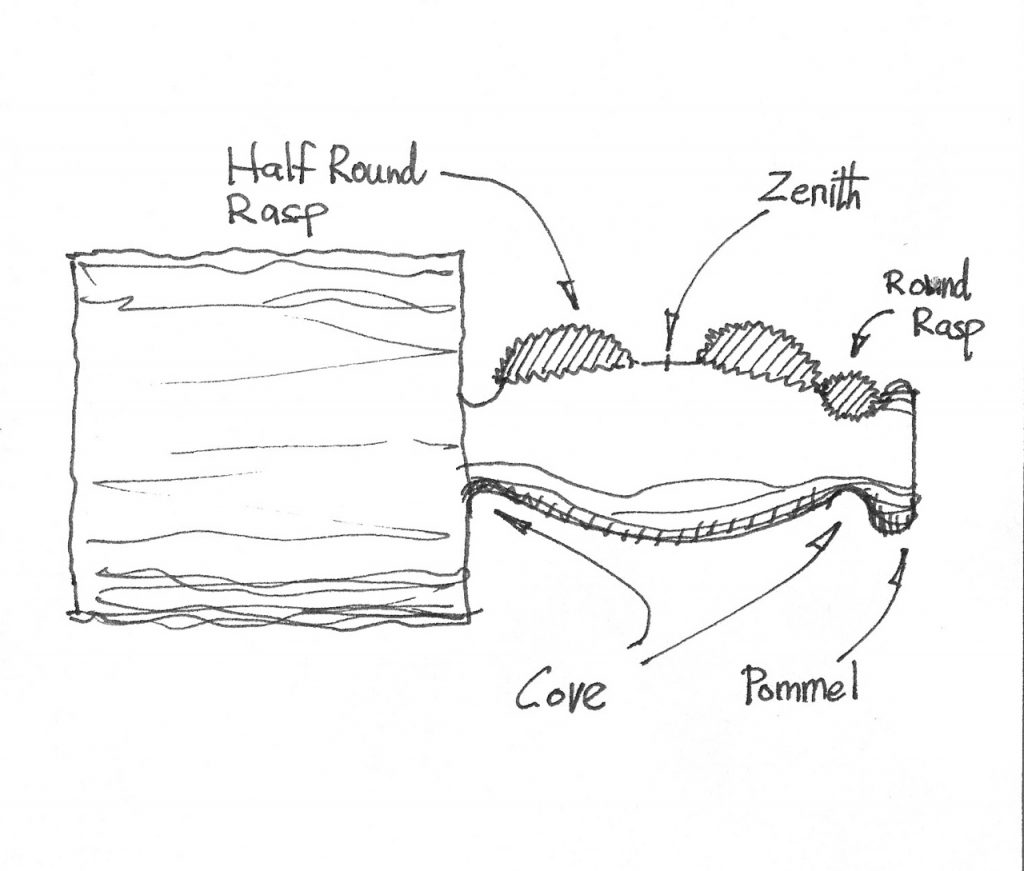
If a students want to make a pommel we add another cove at the base of the handle. Then we taper the handle in an arc towards that cove.

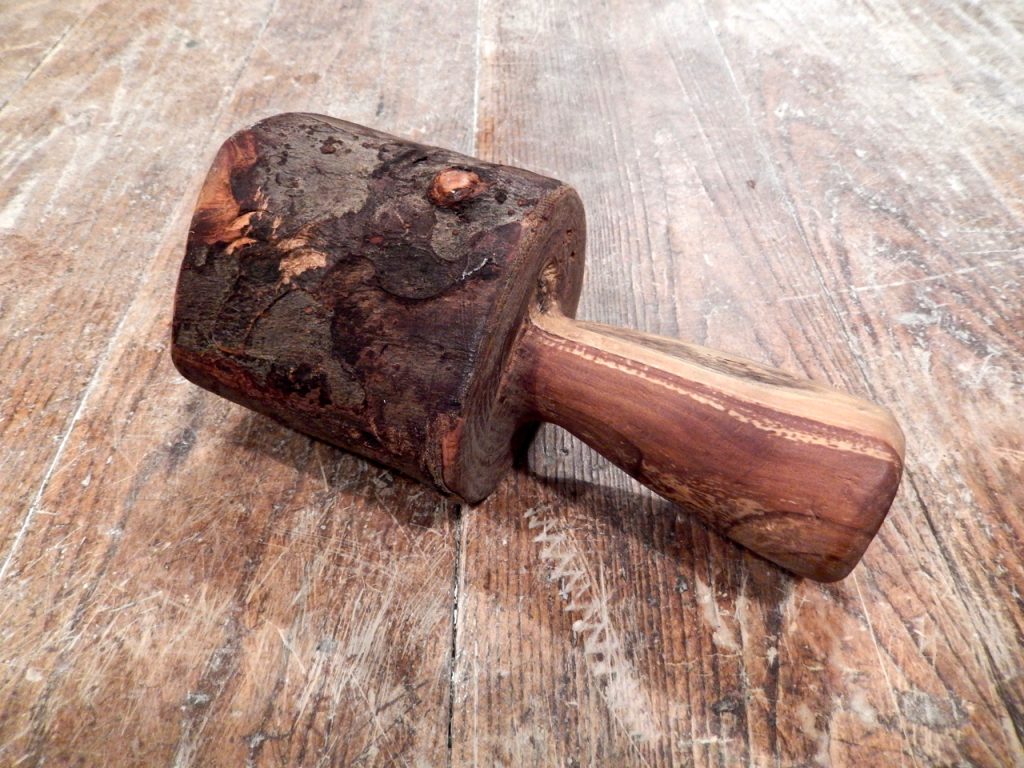
What’s left is filing away the coarse marks left by the rasp and sanding down the handle with #80, #150, #220, and lastly #400 grit sandpaper.
Ways for clamping and holding our mallet blanks
Last time I showed how we used soft jaw pads to hold the round branch in the vise. This technique is very effective and helps our students throughout the majority of the shaping process. But there is another method of holding the branch for successful shaping that I demonstrated to them. It calls for opening the vise’s jaws wide enough for them to be able to nest the branch over. With one hand they hold the branch and with the other they work the combination rasp. This method allows them to roll the branch with their hand as the rasping progresses, which is faster than clamping, opening the vise, repositioning the brach and closing the vise, and doing so again and again. In some cases when I notice that the handle “dives” in between the jaws I propose to the student to support the handle with a scrap piece of wood or with another soft pad.


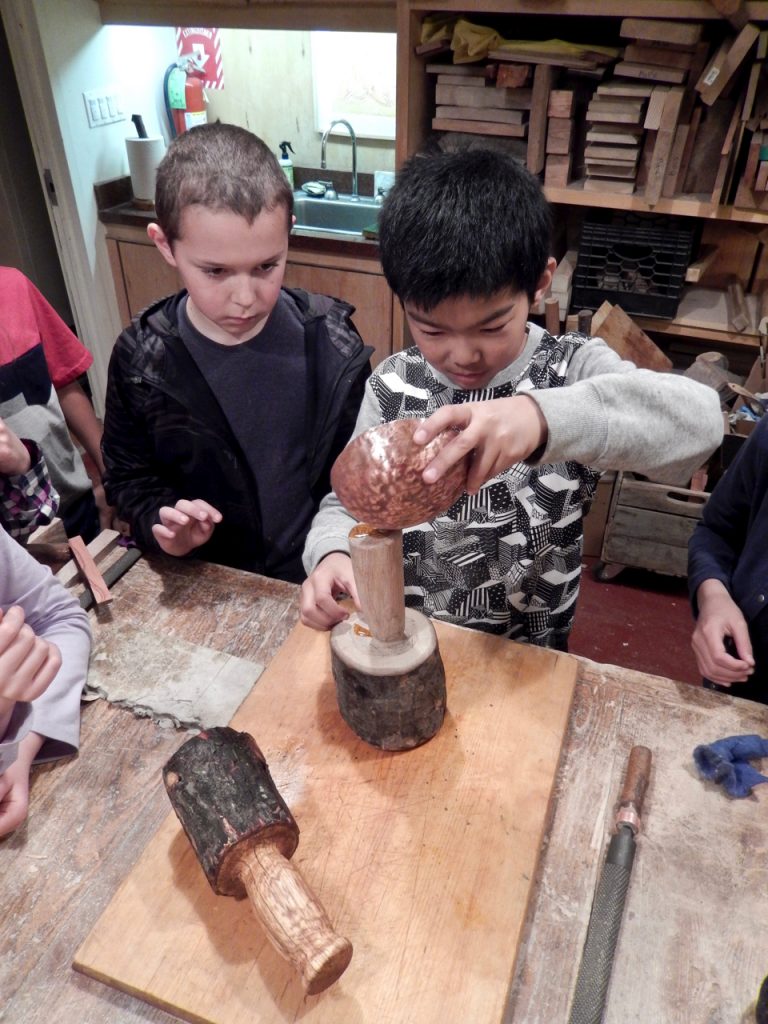
Oiling the mallet
After they finish sanding the mallet we perform a special ceremony were the student anoints their mallet. While all the class gathers around to celebrate this occasion, the student pours flaxseed oil from a copper bowl onto their mallet and rubs it all over the surface of their newly inaugurated tool. As the mallet absorbs the oil, it goes through a magical transformation. It becomes darker and richer, changing its color and revealing texture and depth. This is a great opportunity for us to talk about the kind of wood each mallet is made of, where it came from, its characteristics and uses. If the mallet shows traces of spalting or other interesting features which emerge during the anointment ceremony, I take the time to elaborate and explain. This last part of the project is very special. It allows the students to appreciate their friends’ achievements, their own work and provides time to reflect upon the majestic gifts that nature bestows upon us.


And here is perhaps the best written piece of classical music whose subject is anointment.
Here are some supplies and tools we find essential in our everyday work around the shop. We may receive a commission from sales referred by our links; however, we have carefully selected these products for their usefulness and quality.


Love your column; Stupendous!!! Thank you, keep up the great writing and woodworking.
What strong work you’re doing, both with the kids and sharing your knowledge with all of us. I just love the idea of a finishing ceremony to really jazz the kids up about their completed pieces. How fun!
Great project for them to see what can be brought out of a piece of wood. And glad to finally get the official lyrics to Zadok the Priest – I had been singing it all wrong!