We may receive a commission when you use our affiliate links. However, this does not impact our recommendations.
 So it’s been busy! I’m sorry that I’ve not had the time to write – but fear not, plenty on the way. I’m pleased to have the Shaker Firewood Box project done (read Part 1 here), and here it is loaded with waste wood from our shop.
Bear with me; I know the merits of firewood storage are unlikely to stoke the fires of passion but the fact remains I can load three times as much wood in this box as I could in our log basket – and in a smaller footprint. And although the Christmas tree turfed the box out of its alcove, when it returns it’ll add a nice balance to the end of the room. So although Shaker is perhaps an overused style, it’s with good reason.
Throughout the build I tried out various tools. I cut dovetails cut with a D-8 4 tpi ripsaw, as well as a hacksaw with a generic metal-cutting blade. I coped out waste and chopped it. Broadly speaking, it didn’t matter the tool; mainly it was the intent behind it. But if you’re curious, the Footprint backsaw and Japanese dozuki were my favorite dovetailers, with the Thomas Flinn gent saw a winner for finer dovetail work. So if new to hand tools, a good backsaw would be a fine place to start. It’ll cover both dovetail and tenon work well.
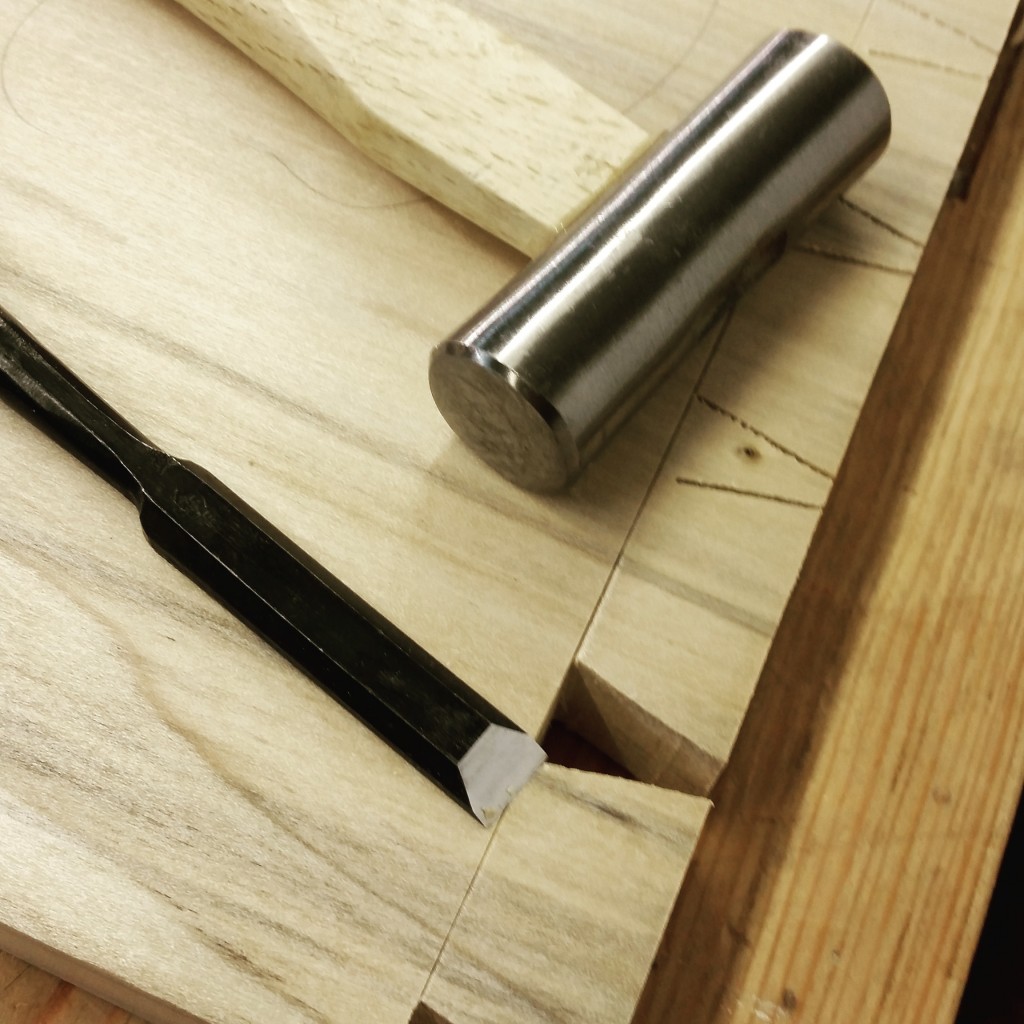
On chisels, I used my vintage Marples and my Fujikawa and, surprise surprise, I barely noticed the difference as I was more worried about chopping to the line. Even though the Japanese chisel has larger sides, I could still chop without damaging the joinery; it honed up well on my oilstones, too. So if you feel worried about the “best,” try not to be. A sharp backsaw and a sharp chisel – no matter the style – will get you far.
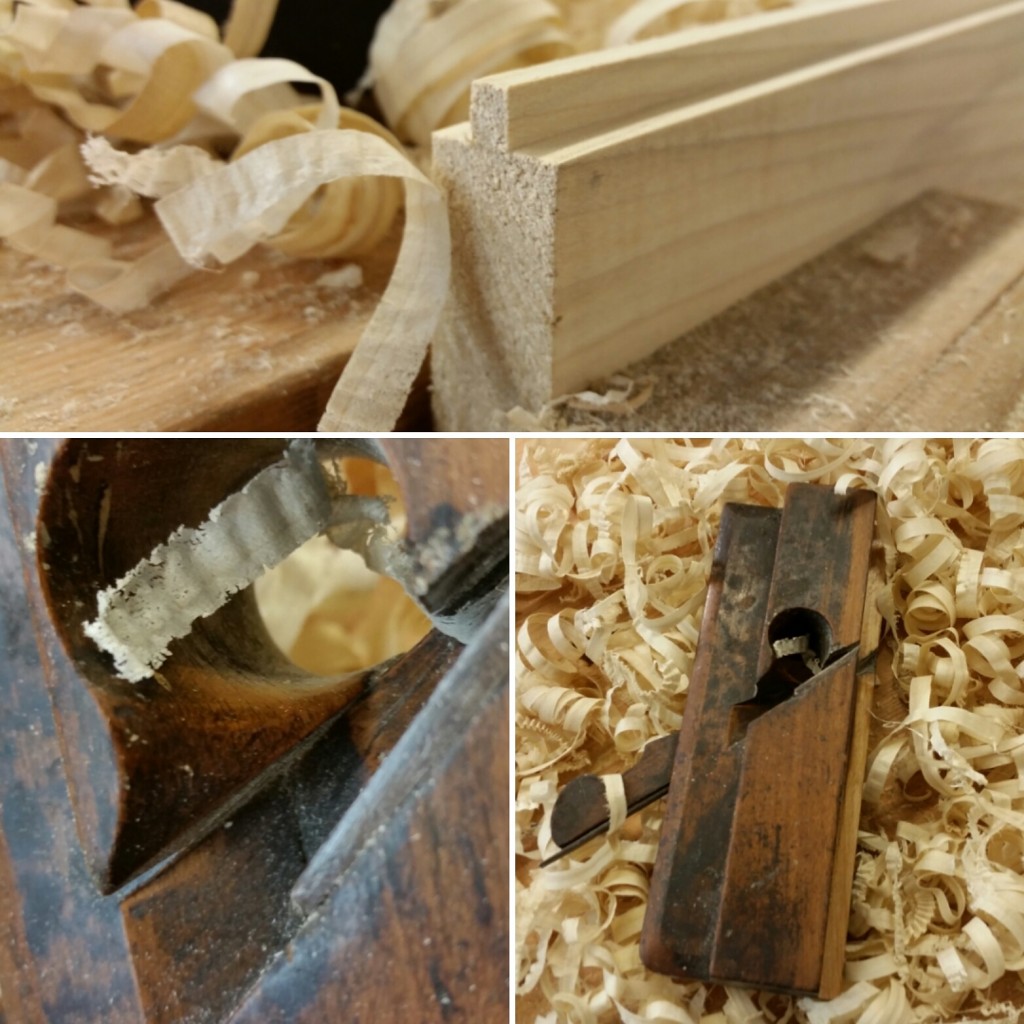
I’m aware just how lucky I am to have access to such wonderful wooden planes; in form and function they are something else. In function the tonguing plane shown is always ready; no depth stop to adjust, no fence to set and very low friction. Although I don’t have a matched grooving plane, the plough did the same job. In form, well, all I can say is look at the escapement – I need say no more.
On finishing, I know I need to get to grips with other finishes but the water-based brush-applied poly I used on my craftsman table was still at hand, and worked out great. So my message is as much aimed at me as anyone: Don’t overthink the tools; use appropriate sharp tools; keep it simple; and make something. Truth be told, nine times out of 10 it will be a lack of time or ability that’ll restrict progress more than the tool will; trying to worry about whether your saw should be pushed, pulled, induction-hardened or not is a tangent that could distract.
I hope you enjoy the video, had some fun with it for sure. I have one more quick project to do and then it’s on to the bench build. I’m on the fence as to how to make the workbench video but it’s becoming clearer to me and I hope you’ll like it. As always comments are welcome, encouraged and always appreciated.
Here are some supplies and tools we find essential in our everyday work around the shop. We may receive a commission from sales referred by our links; however, we have carefully selected these products for their usefulness and quality.


