We may receive a commission when you use our affiliate links. However, this does not impact our recommendations.
As I worked through my recent workbench project, I got a comment on one of the build videos about how the build might not be suitable for the inexperienced woodworker. I reflected on that for a moment and I actually think they had a point. I’d wanted my workbench project to seem accessible, from both cost and method perspective. I think with cost it’s hard to beat, but it does ask you to be able to saw pretty straight, be reasonable with a chisel and know how to sharpen pretty well too. Let’s face it, we all have to start somewhere and those skills we take for granted might not be in everyone’s locker just yet.
To that end I thought I’d share what we use everyday in our workshop. There are no real joints to speak of and they are about as forgiving to build as anything possibly could be. They need very little tools to build: a drill/driver, hand saw, adjustable spanner and some flat bits would pretty much see you right.
Materials are cheap (in price), they’re made from 2x4s & 2x6s and a sheet of 18mm (around 3/4) OSB for the top. Ours use the full 4’x8′ OSB sheet as many of our projects are very large. I can honestly say that even though the tops are thin, they have never given us any problems at all. The top overhangs the edges of the bench allowing F clamps to have something to grab. Also, because the top is so cheap, we literally screw cleats and scraps to the top to create work-holding surfaces with no issue. Even in a busy joinery shop these tops last for years, so if you work mainly on weekends there should be little issue.
The vise of choice is a simple quick release, supported by blocks under the top but bolted straight through with coach bolt heads visible but set below the surface. I think the great thing with a bench this simple is that it can get you a stable platform for working quickly, enabling you to brush up on your skills before committing to a more in depth build or you could also choose to purchase a ready made bench.
Clearly, no bench is the ideal solution for everyone. I think what’s important is to keep an open mind, keep it simple and don’t feel like you need to get bogged down on a bench build right at the start of your journey. Anyway I hope you enjoy part 2 of the workbench build.
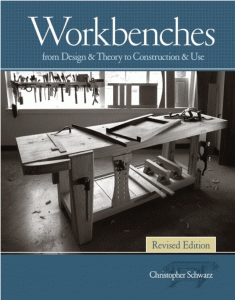 Interested in making a more in depth workbench? Check out Workbenches Revised Edition: From Design & Theory to Construction & Use by Christopher Schwarz.
Here are some supplies and tools we find essential in our everyday work around the shop. We may receive a commission from sales referred by our links; however, we have carefully selected these products for their usefulness and quality.


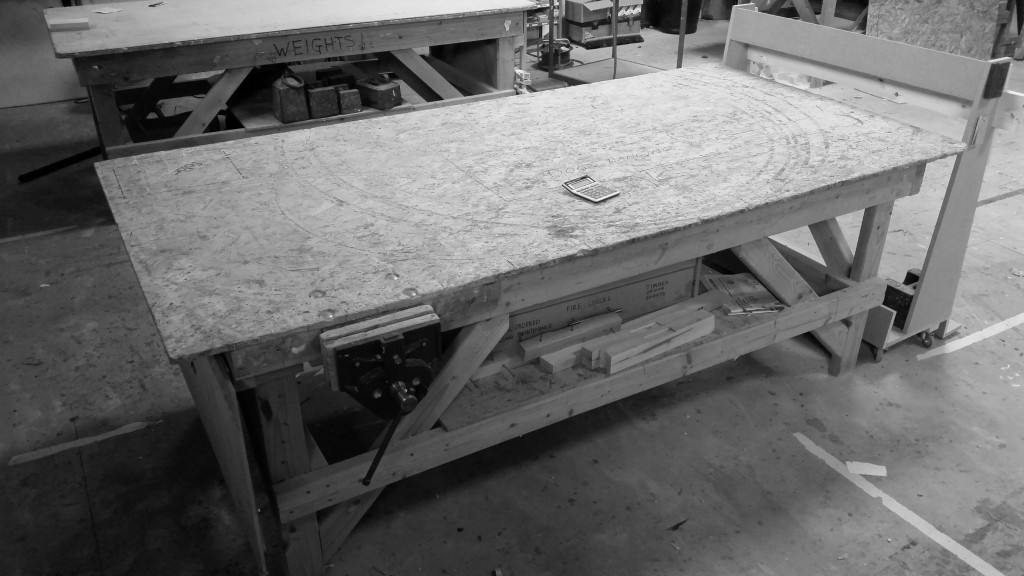
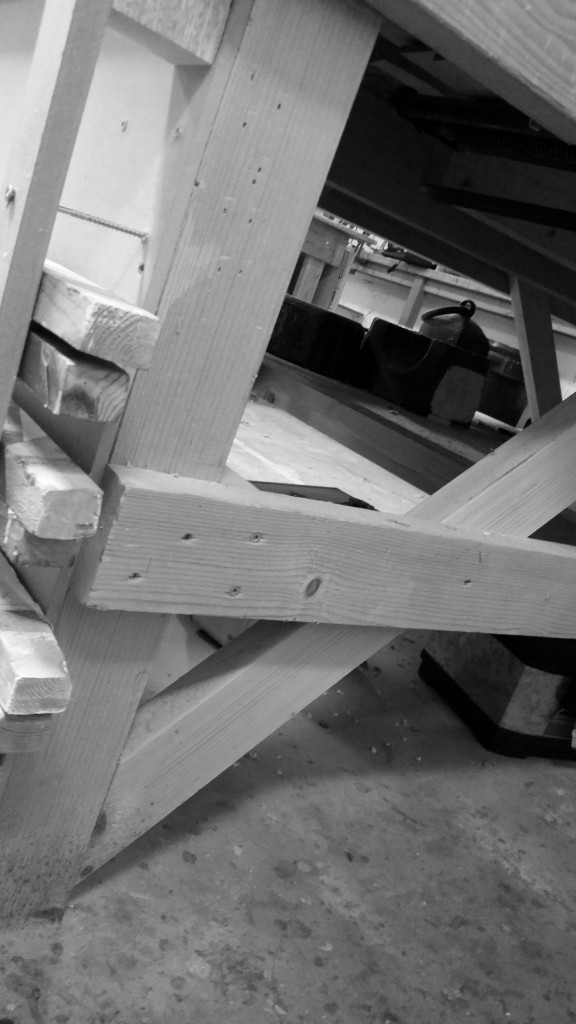
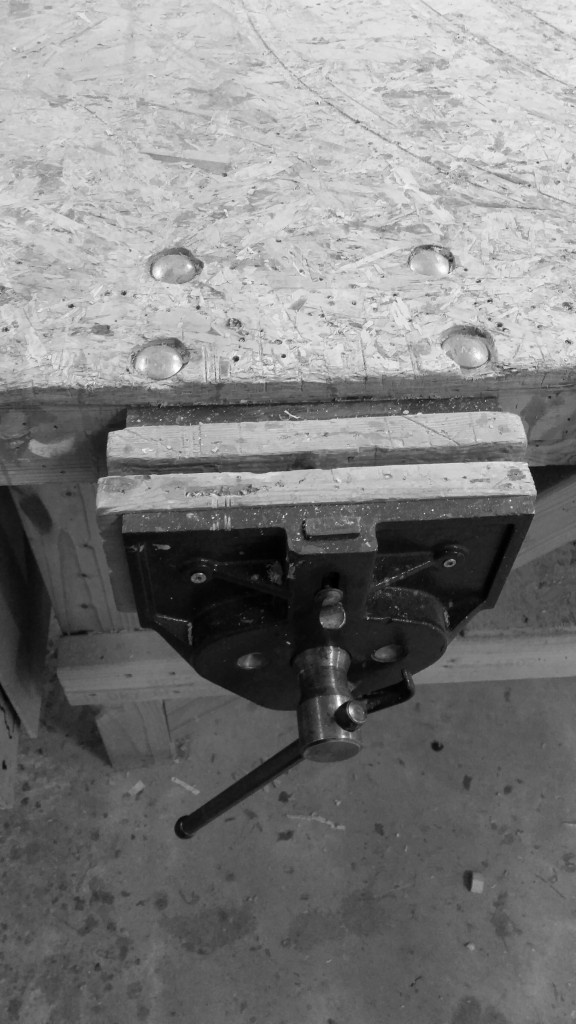


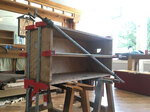
I’ve never worked in a furniture shop, but at my former job (a print factory) we had a half dozen similar work tables throughout the plant (we used them to lay out the print screens). They were quick and simple to construct, and they could take a beating.
From the “tracks” on the bench top it looks like someone built something big and round and beautiful! Are ALL those weight on the bottom of the workbench in the background for glue up “clamps”? That was a really great series of videos on the bench build. Thank you so much. Not only did you build a great bench but you demonstrated a lot of very interesting woodworking techniques and reasonings for each step of the build. Absolutely BRILLIANT!!!
This is a great idea. If I could add a suggestion, in the workbench from the New Yankee Workshop series Norm Abrams suggests adding a 1/4-inch masonite piece to the top so it can easily be replaced once it gets ‘beaten up’. I’ve done this and varnished it to make cleanup simple with good success. It’s fastened to the underlying 3/4-inch piece with flat head screws countersunk so flush with the surface.
I have plans (and the rough cut wood ready) for a heavy duty “Schwarz” bench but haven’t gotten around to building one yet. It’s interesting you included this Pt 2 excerpt because this is pretty much the type of benches/outfeed tables that I’ve had for the past 10 years. Sturdy, practical, cheap and quick to build. Right now I’m actually enclosing them and retrofitting shelves below my benches to fill up all that unused space and get my clutter under control.