We may receive a commission when you use our affiliate links. However, this does not impact our recommendations.
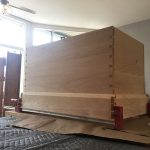
A current job called for a solid wood frame and panel back that would fit in a 5/16″ rabbet. That’s really thin for a frame-and-panel assembly, at least in my world. (Granted, for Bill Robertson, it’s positively gargantuan.) Ordinarily, I like such backs to be 1/2″ thick. One way I’ve dealt with this combo of frame-and-panel back plus shallow rabbet in the past is to make the panel 1/2″ thick, then rabbet it so that it fills the rabbet in the cabinet and protrudes into the interior. But in this case, I wanted a cleaner finish, so a 5/16″ thick assembly it had to be.
Here’s how I did it.
Step 1: Consider the big picture
I have a 24″ drum sander, so I figured I could work the joinery in stock that was 7/16″ thick, then remove 1/16″ from each side after gluing the panel together. If you don’t have a drum sander (or wide belt), you can use the following process with stock milled to its final thickness (or should I say “thinness”?), but in this case, you should definitely fit your tablesaw with a zero-clearance insert.
I was concerned that trying to cut an 1/8″-thick tenon would end in disaster. An 1/8″ kerf made with a tablesaw blade would suffice for the groove, and I decided to use floating tenons.
Step 2: Mill the parts and lay them out
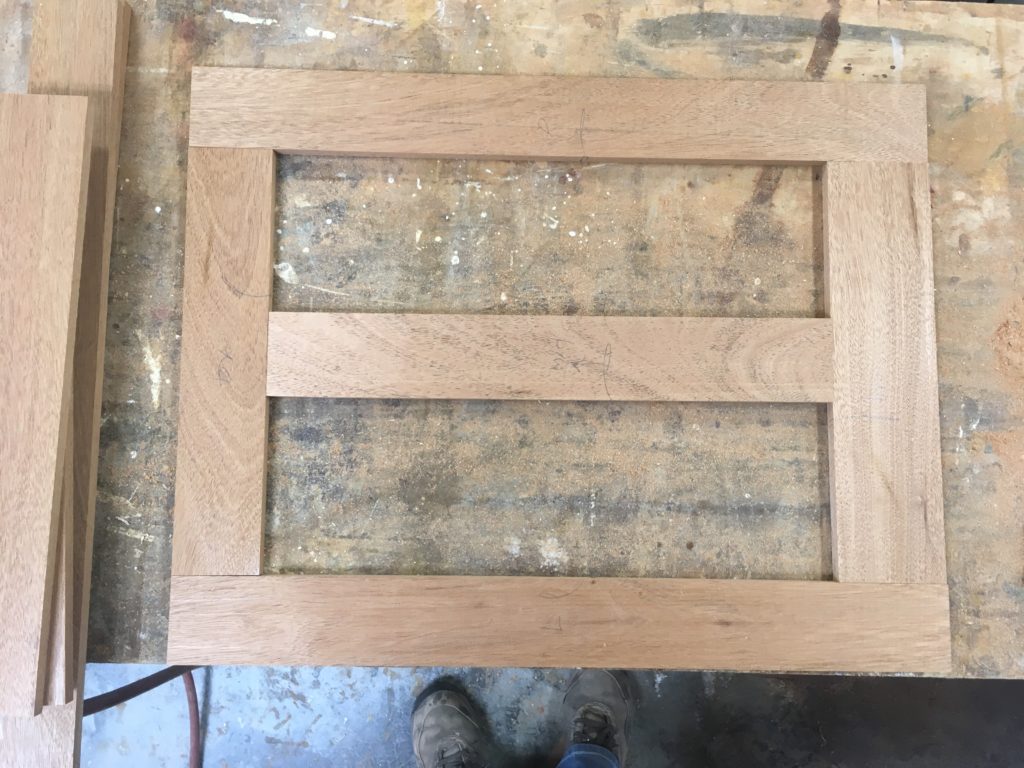
I cut the parts to size and laid them out on the bench so that I could measure for the panels.
Step 2: Cut the grooves
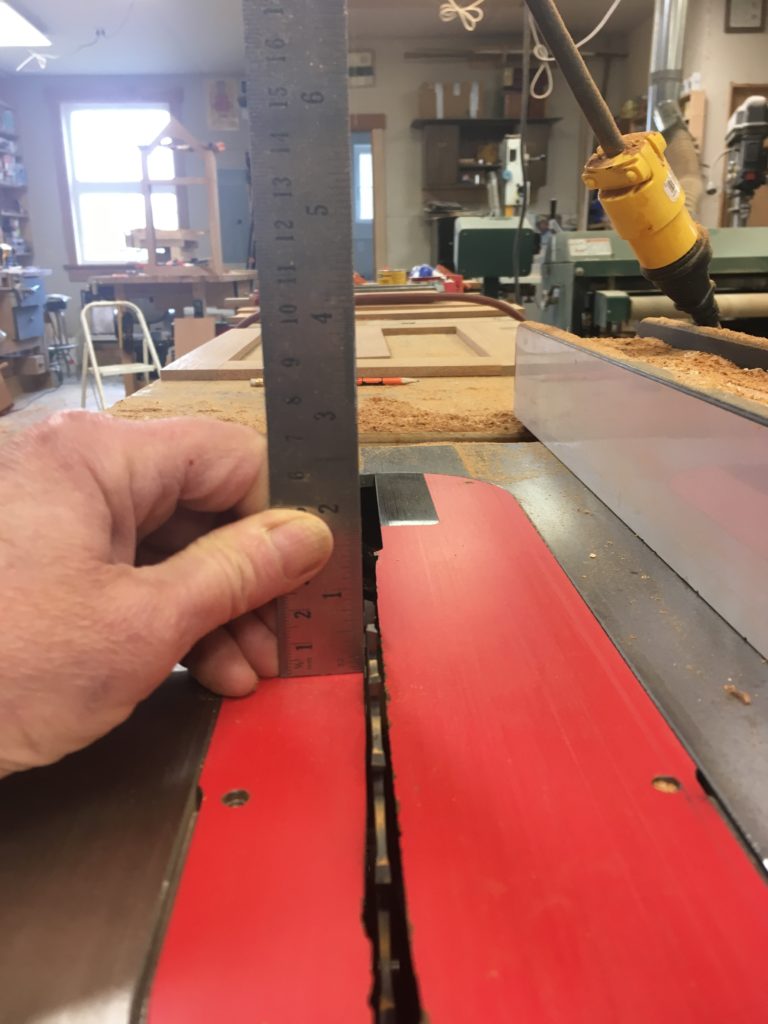
I set the blade at 1/2″ high to make the groove.
The saw kerf would make a perfectly good groove for the panels. For a frame-and-panel back that would not be subject to the kinds of stresses typical with a table or a door, I decided to use floating tenons glued into the same kerf/groove.
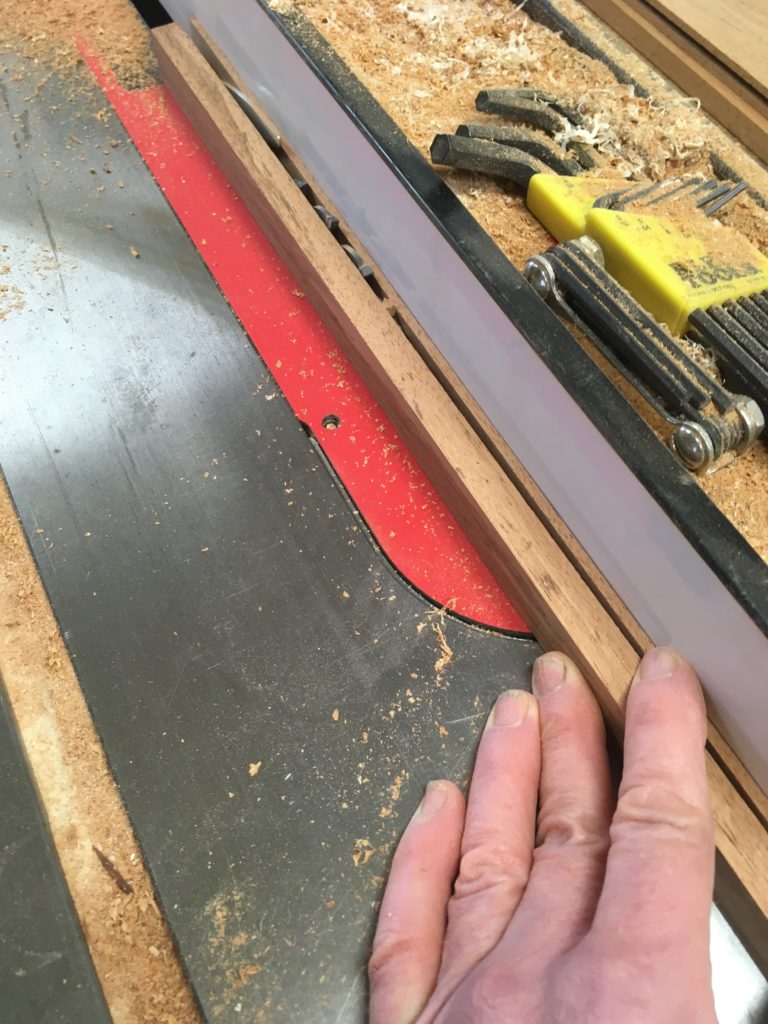
Seen from above: The best practice for such cuts is to use a zero-clearance insert for the blade.
The groove went in the center of the frame’s thickness. When working with thin stock, it is essential to make sure that your tablesaw insert offers support for the entire cut. Look at the right side of the work piece above, between the blade and the fence: See that strip of red? It absolutely must be there. If all you see is empty space, DO NOT proceed; you could lose a finger, or worse. Make a new insert out of plywood or buy a blank from your saw manufacturer or another source.
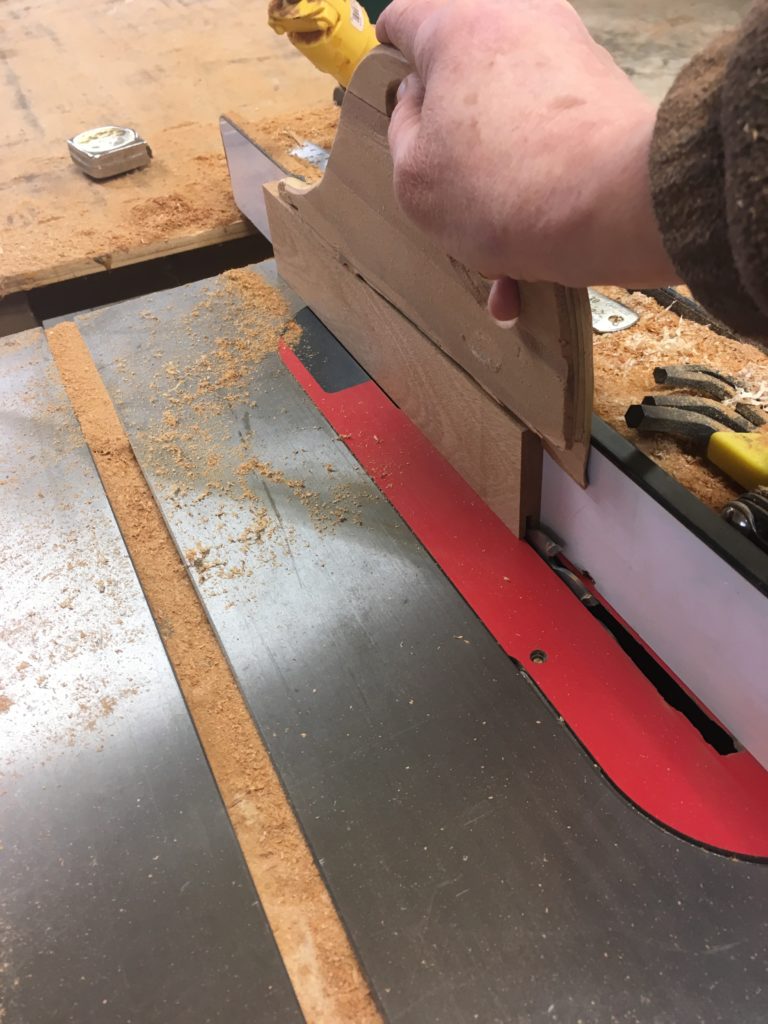
For thin stock, I use a skinny pushstick. This allows me to see the work piece clearly and apply pressure where it’s needed.
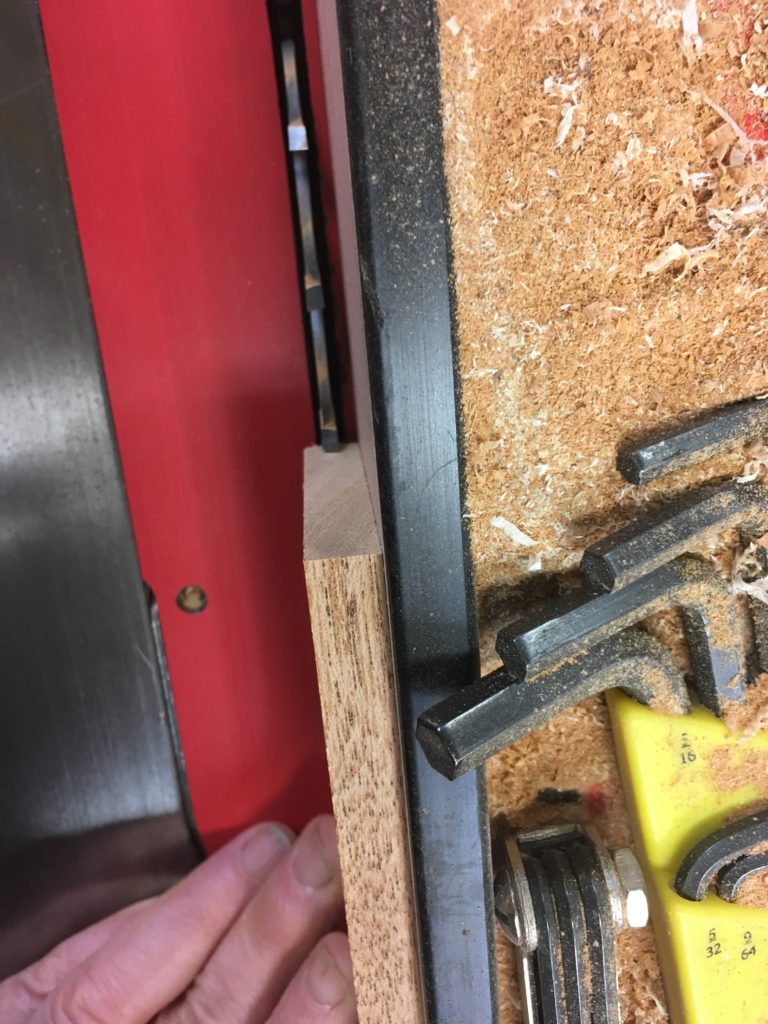
Step 3: Groove the ends of rails for floating tenons
I was not using a zero-clearance insert, because mine had enough surface to the support the workpiece through the cut. As soon as the piece had cleared the blade, however, I lifted it up, to prevent it from entering the space where the riving knife goes. I would urge readers to use a zero-clearance insert instead.
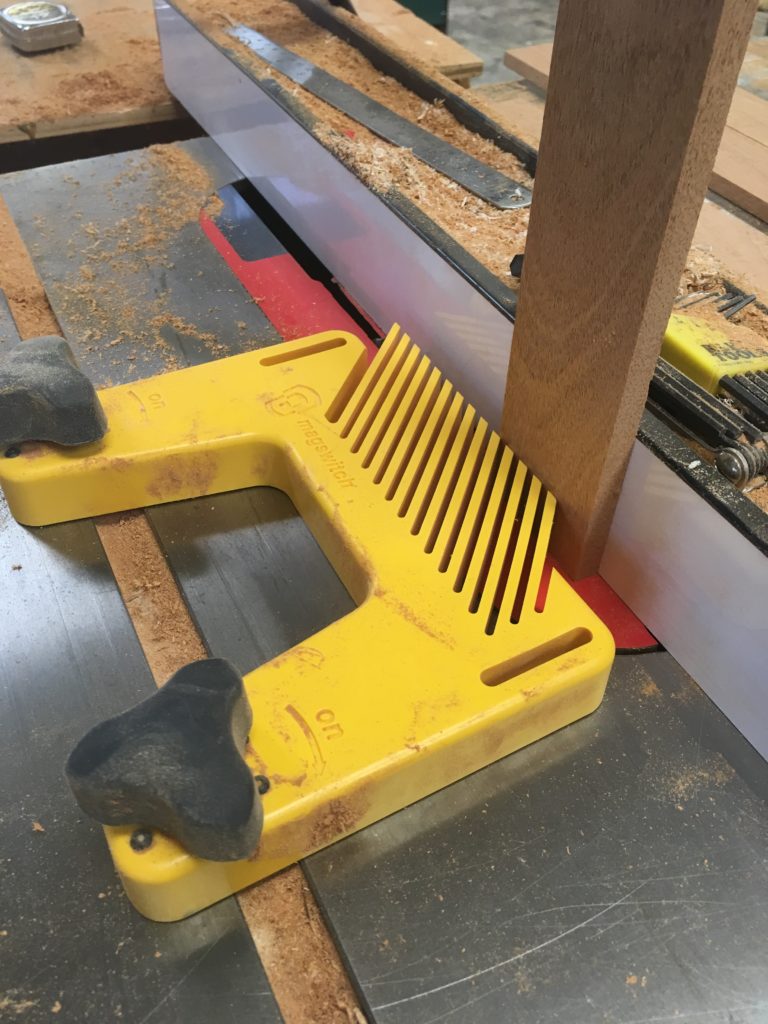
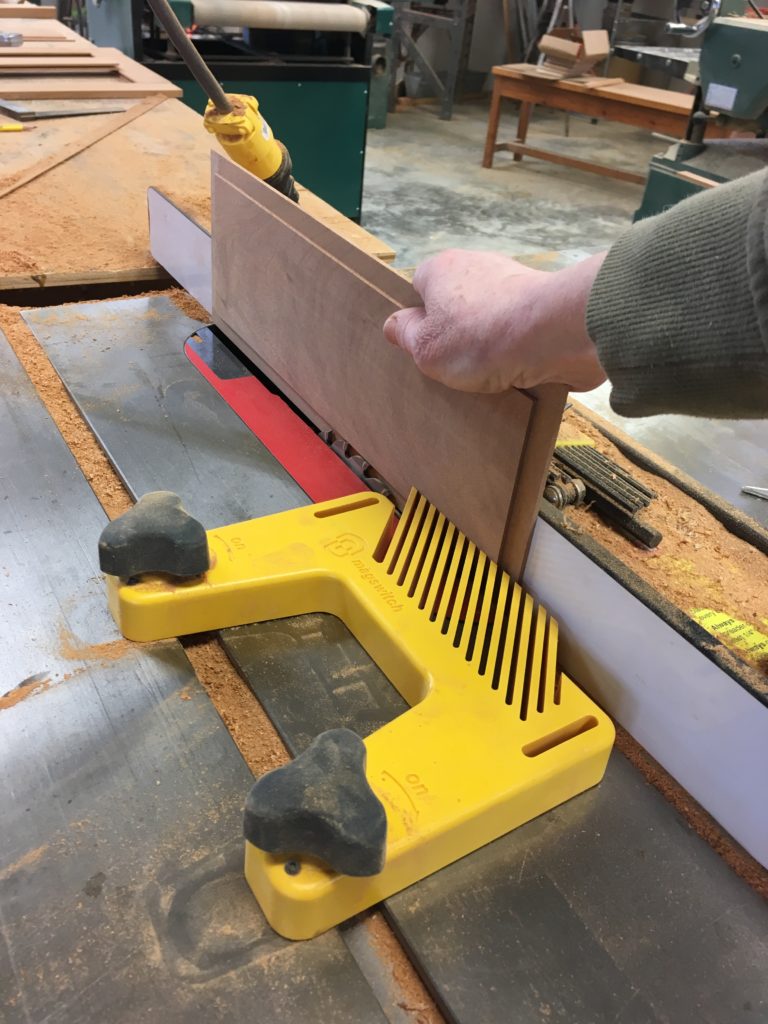
Use a featherboard to keep the workpiece firmly against the fence. Magswitch is an ideal choice.
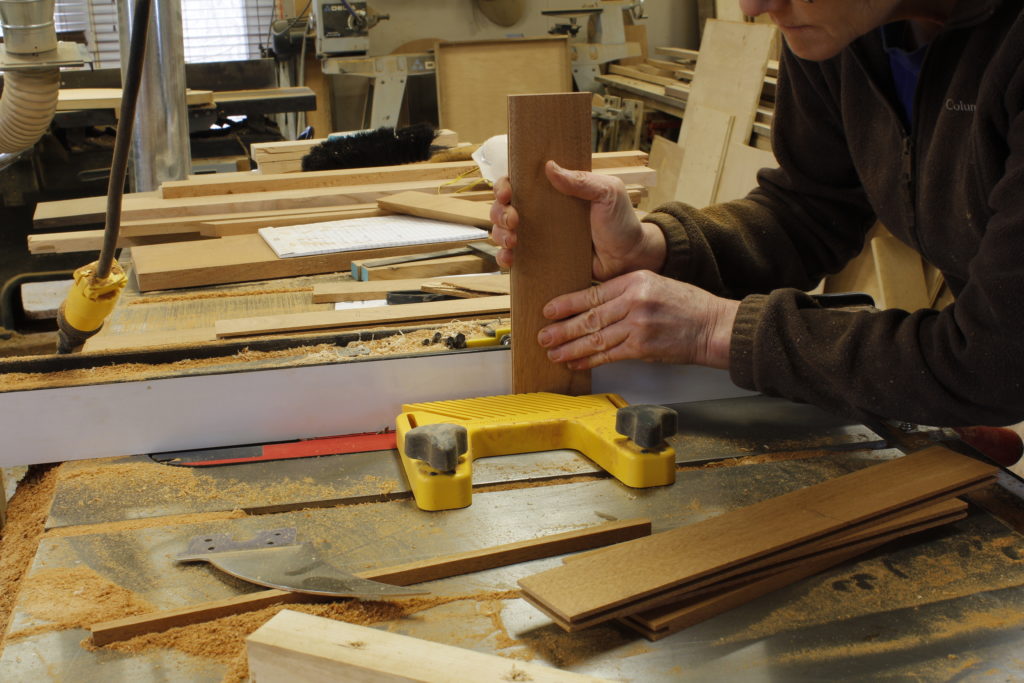
A bigger view. I hold the stock firmly against the fence with my left hand, keeping my fingers well away from the blade. My right hand works with the left to hold the workpiece steady and guide it forward.
Step 4: Make the tenon stock
The grain should run lengthwise, as it would in a regular tenon. Otherwise, the tenon could simply break at the joint.
Flip the stock end for end to avoid having to use a push stick, which can be tricky with thin stock. Here the cut from the second end is nearly complete. Note that my fingers are outside of the “red zone” and the riving knife is where it should be.
To get floating tenons of consistent thickness I ripped the stock against the fence, instead of using the offcut from a wider board (as I often do when dealing with thin material). Note that in the picture above, the riving knife is back where it should be.
Because 1/8″ stock is so thin, I take the cut in two stages: First I rip about 2/3 of the way down the length, then I remove the workpiece, flip it over, and rip the rest of the way from the other end. That way I avoid the need for a push stick.
With thin stock I prefer to cut the tenons to length by hand, using a backsaw and benchhook.
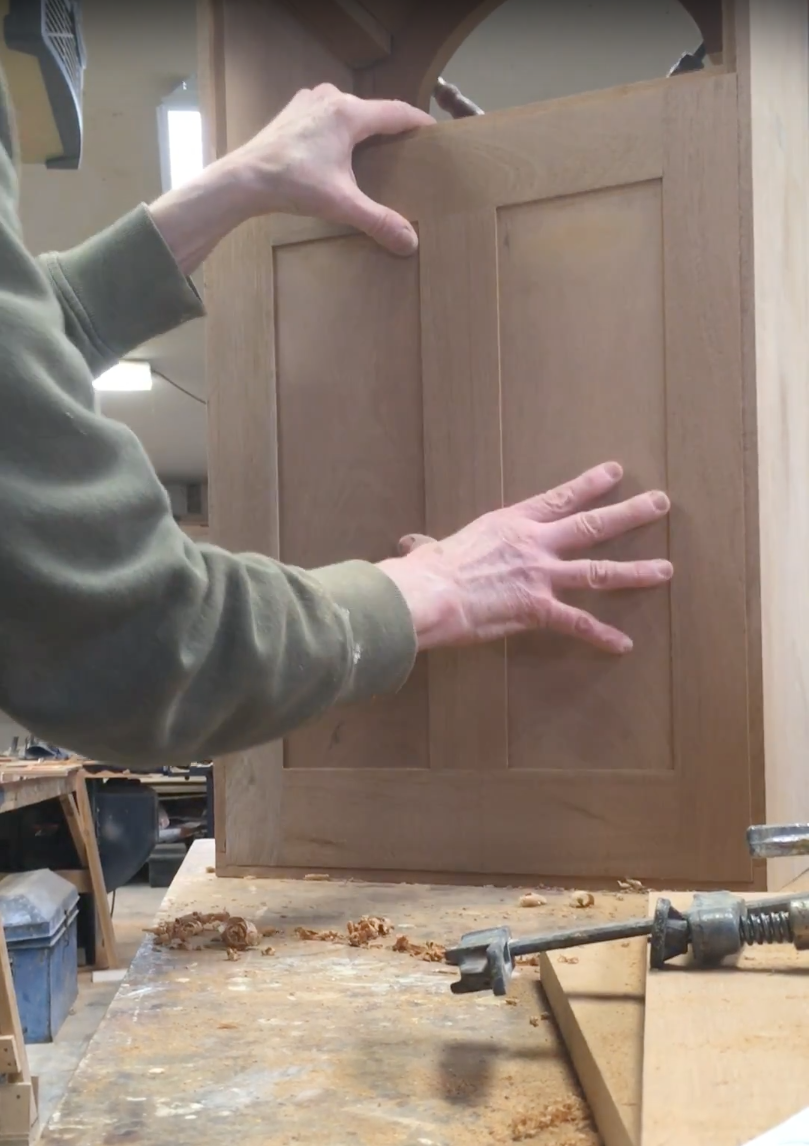
Step 5: Panels
Assemble the frame without glue and measure for the panels. I added 3/4″ to the net width of the opening for the panels; the rabbeted section would extend 3/8″ into the 1/2″-deep groove on each side. It’s winter in Indiana; the humidity is low, and these panels have a lot of surface area. This way they have 1/8″ of space on each side to expand.
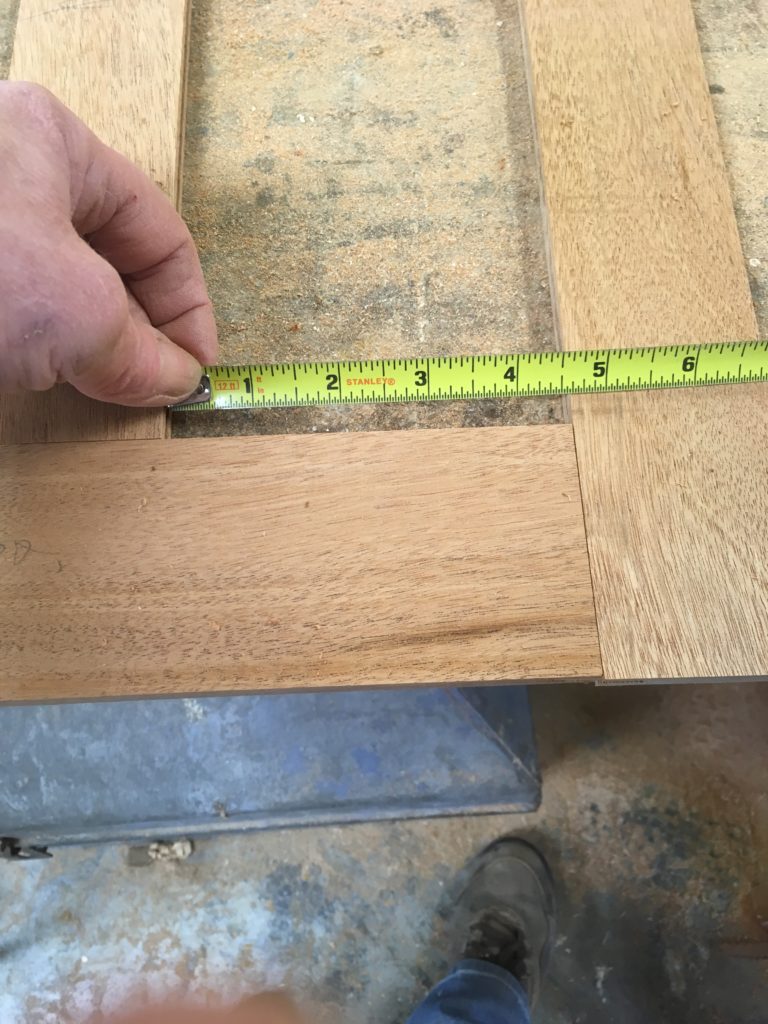
Measure the opening to get the net panel width, then add the amount by which the panel will go into the groove on each side x 2. Do the same for the ends.
Ordinarily, with larger panels, I would first rip the stock to width, cut a square end on each panel with the sliding table (or on a radial arm saw or sliding compound miter saw), then crosscut them to length using the tablesaw fence as though I were ripping. But for thin, narrow panels I wanted more support, so I set the fence to the appropriate length, then used the sliding miter guide in the right-hand slot.
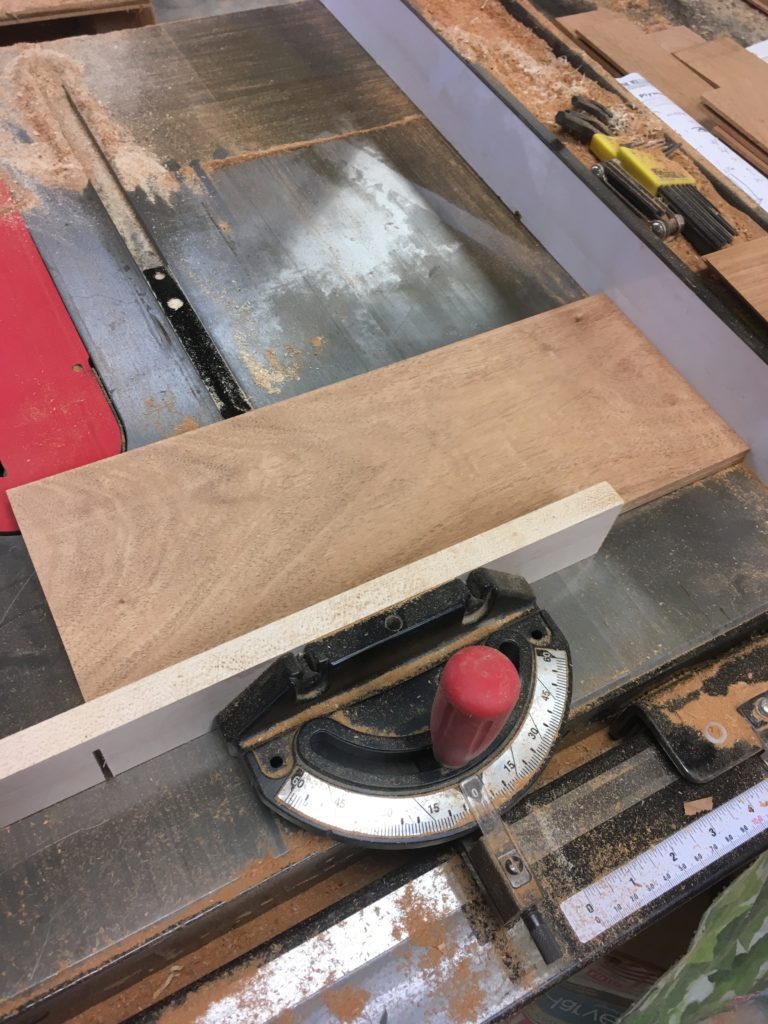
Cutting the thin panels to length: I placed the miter guide in the slot on the same side of the blade as the fence and held the panels firmly against the wooden fence to support the stock as I moved it across the table.
With the panels cut to width and length, all that remained was to rabbet them. I wanted the back to be flush on the interior of the cabinet, which meant that the rabbeted side would face inward.
Rabbet the panels on all four sides by running them along the fence with a featherboard. Aim for a firm push fit.
Rabbet the panels vertically on the tablesaw using a featherboard.
– Nancy Hiller
 Available from ShopWoodworking.com
Making Things Work:
Tales From a Cabinetmaker’s Life
By Nancy R. Hiller
Honest, earthy, and wryly humorous, this collection of tales drawn from more than 30 years of experience at shops in England and the United States is thought-provoking as well as entertaining. We follow Hiller as she stumbles into furniture making after dropping out of Cambridge University, finds employment in one, then another, English workshop, grapples with monotony, sexism, and self-doubt, attempts escape, and eventually makes peace with her vocation.
Purchase your copy!
Here are some supplies and tools we find essential in our everyday work around the shop. We may receive a commission from sales referred by our links; however, we have carefully selected these products for their usefulness and quality.