We may receive a commission when you use our affiliate links. However, this does not impact our recommendations.
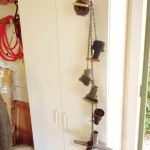
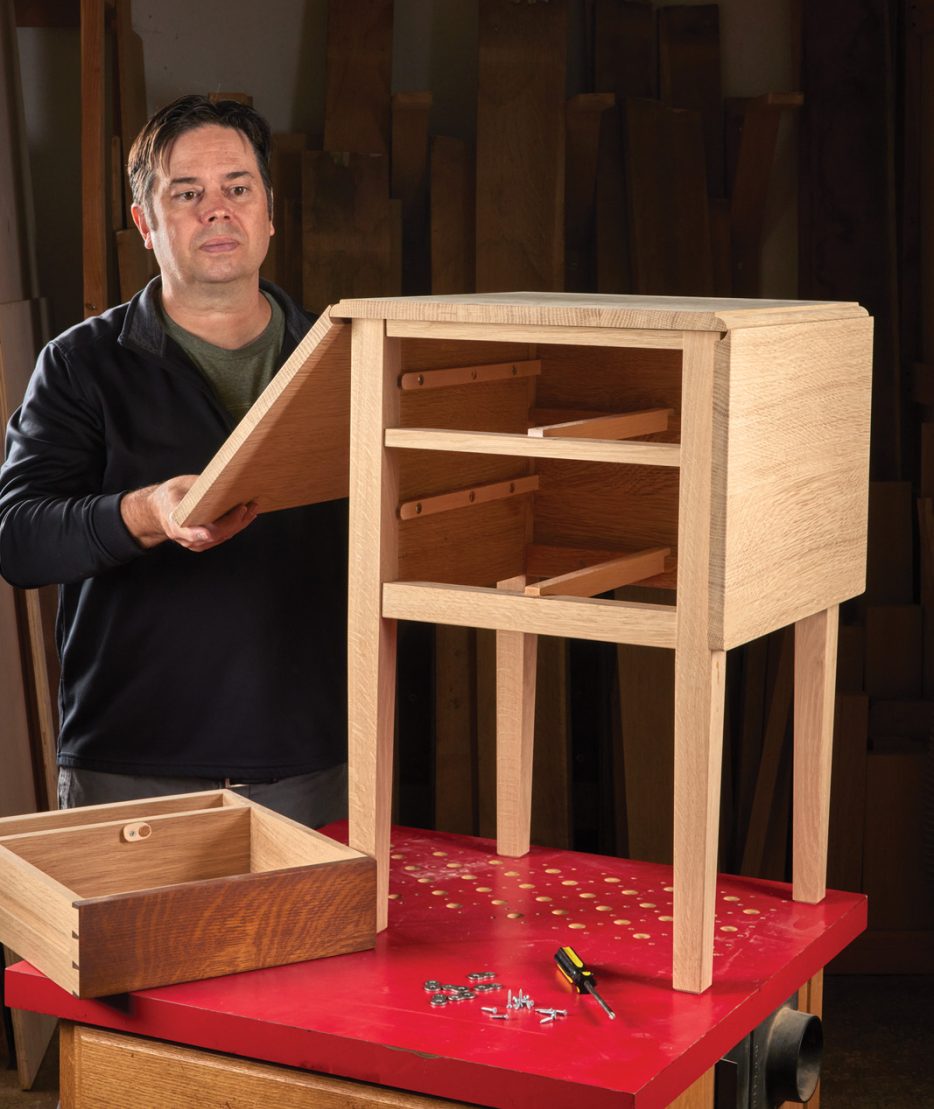
 This traditional joint allows the wings of a table to raise up and have a seamless look.
 This traditional joint allows the wings of a table to raise up and have a seamless look.
A rule joint uses matching profiles to fit a table top together with a folding leaf. The resulting shapes fit together perfectly and allow the table panel to offer support to the leaf along the edge, something a hinged butt joint cannot do. The rule joint gets its name from folding rulers that used a similar interlocking shape and were commonly used by carpenters. Traditionally, this joint was cut with specialty planes that created the mating shapes. Today, we can speed up the process by using carbide-tipped router bits. The bits are a matched set, so they both have the same radius and appropriate bearing size for this type of work. Although these bits are often sold together, they are just a large roundover bit and a cove-cutting bit. So, if you buy the matching set, the bits work great to make flawless rule joints, but they’re also a good addition to your daily router bit collection.
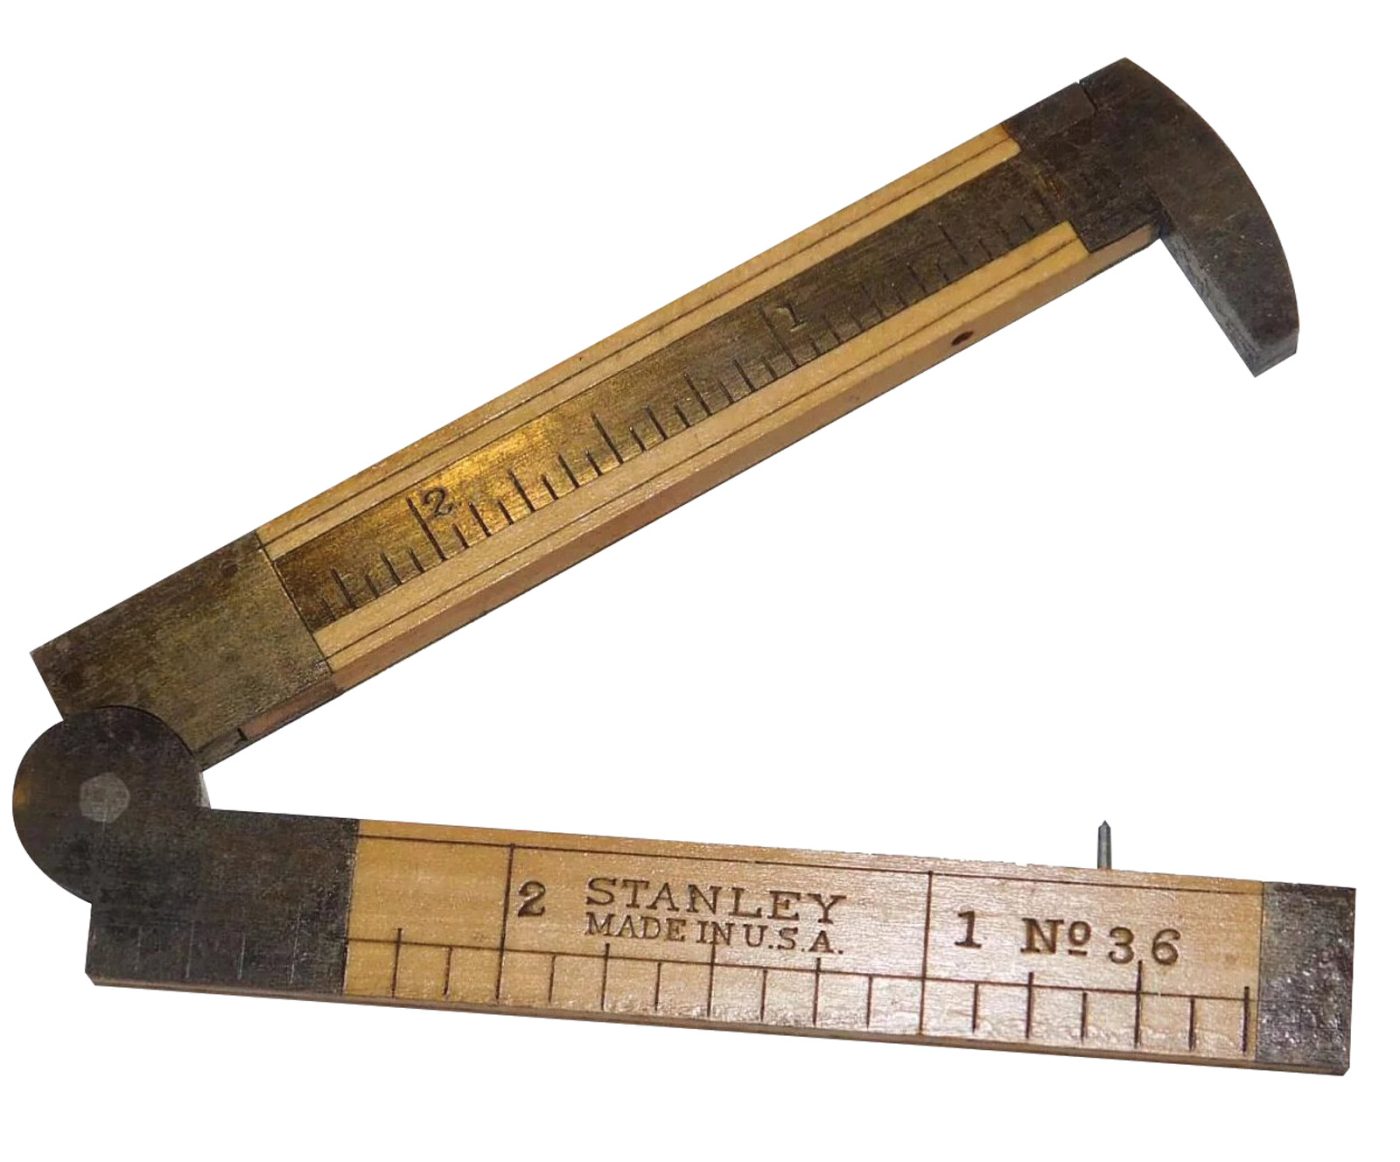
A Stanley Rule & Lever Co. ruler illustrates the rule joint (at the knuckle).

The joint can be made with a rule joint bit set. Purchase this one from Infinity here.
Start With Roundover
As with any detailed joinery process, make sure to start with flat and square panels. The first step in the process is to chuck the roundover bit in the router table. Although the roundover bit is bearing-guided, you should always set the router table fence flush with the bearing. That way, if the bearing should lose contact with the edge of the panel as the router bit is raised for multiple passes, the fence will still ensure an accurate cut. Set the bit height for a shallow cut and orient the main table panel face-down. Use large push paddles to control the cut and incrementally raise the bit height for successive passes. Remember to rout both edges of the main table panel with each new bit height. Keep an eye on the shoulder formed on your tabletop panel. The goal is to form a 3/16“ deep shoulder with a roundover cutter.

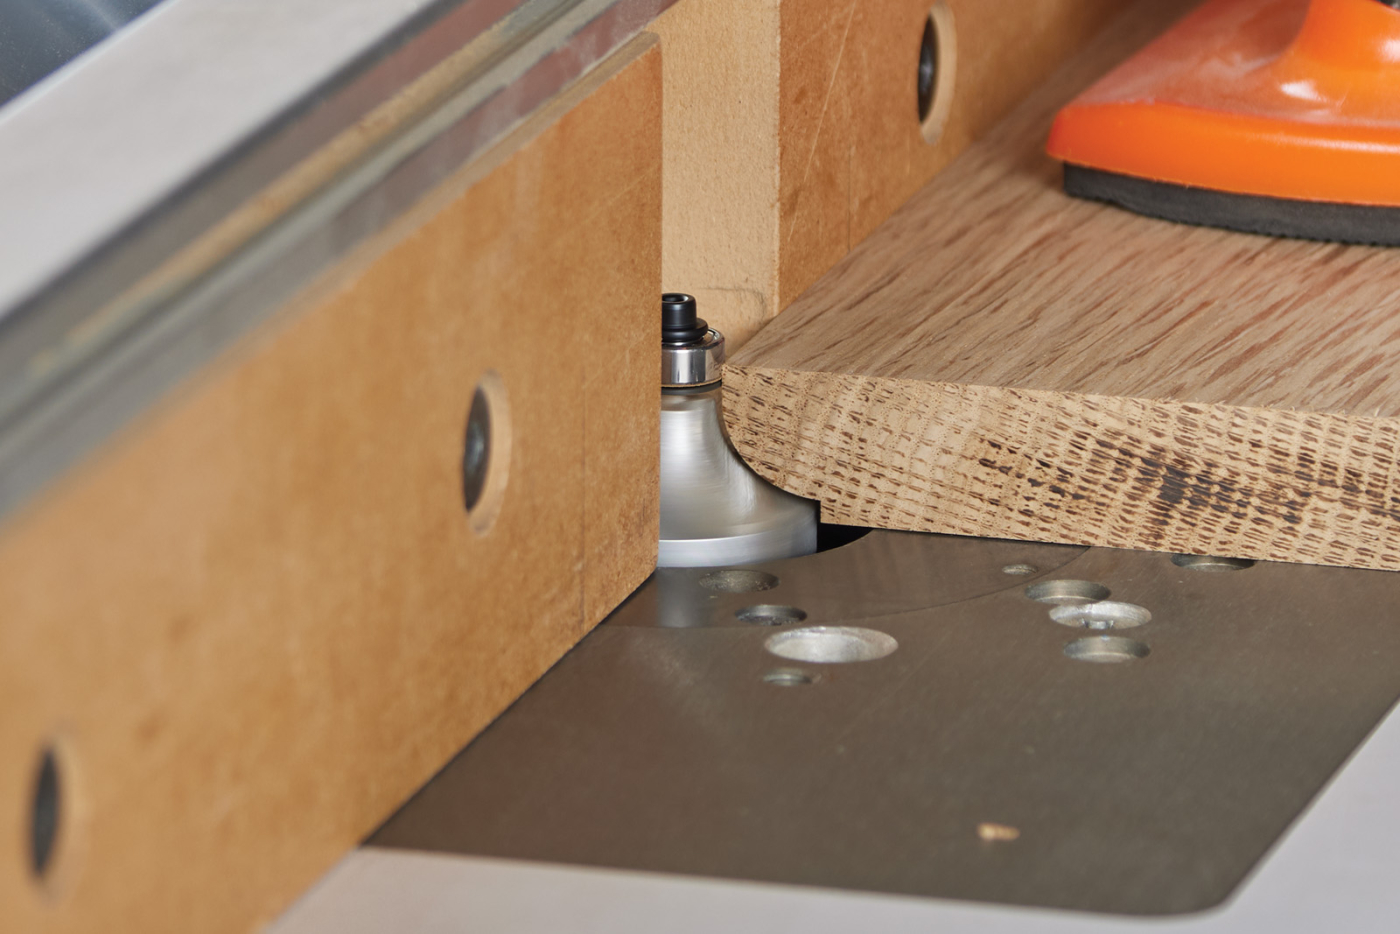
The table top receives a shouldered roundover. To cut this, I make multiple passes at the router table, raising the bit a little each time.
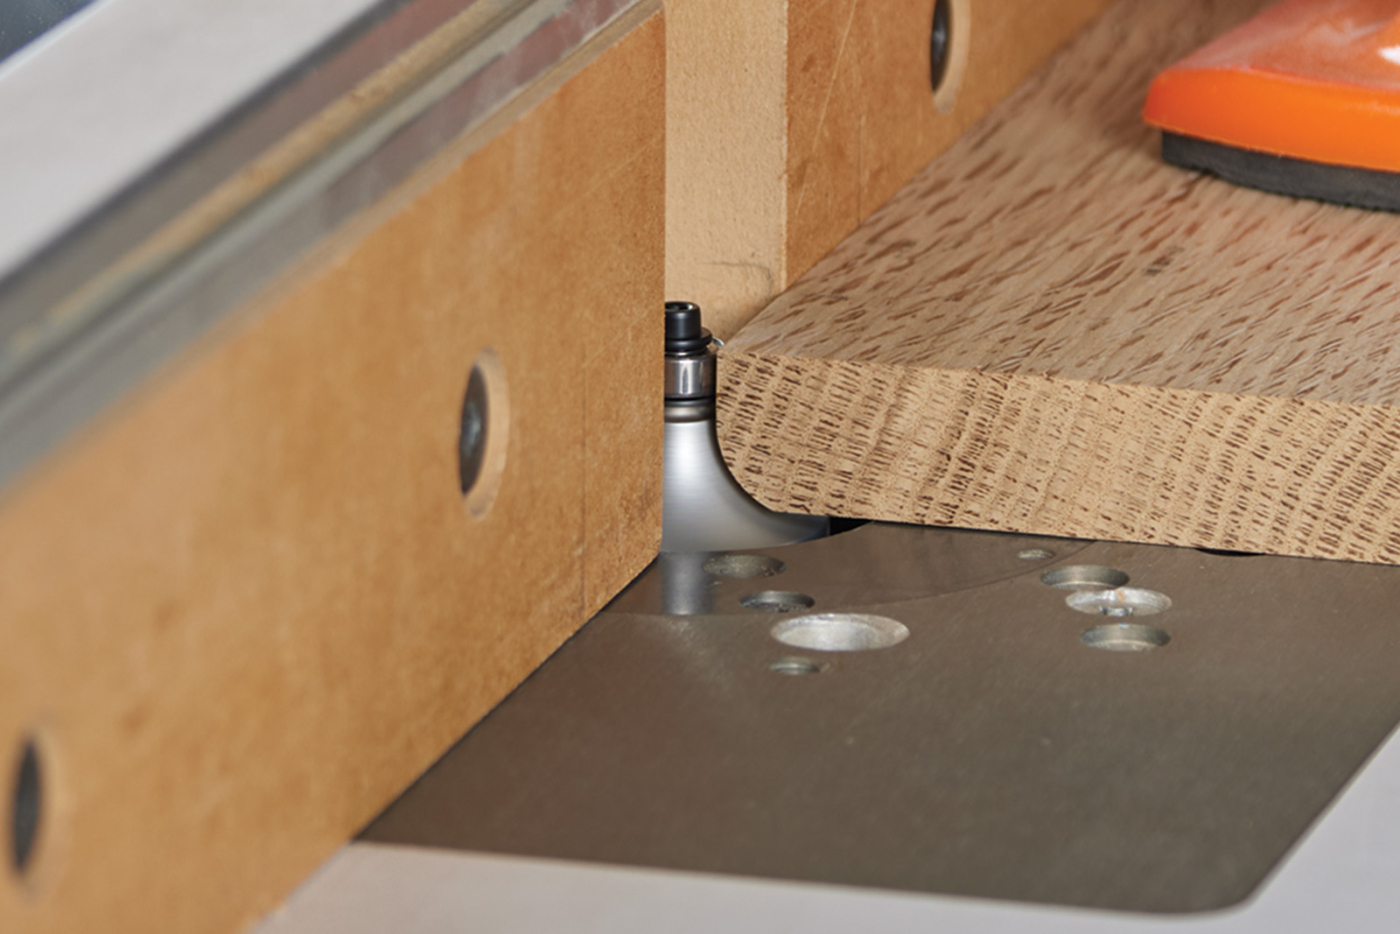
Cove Leaves to Match
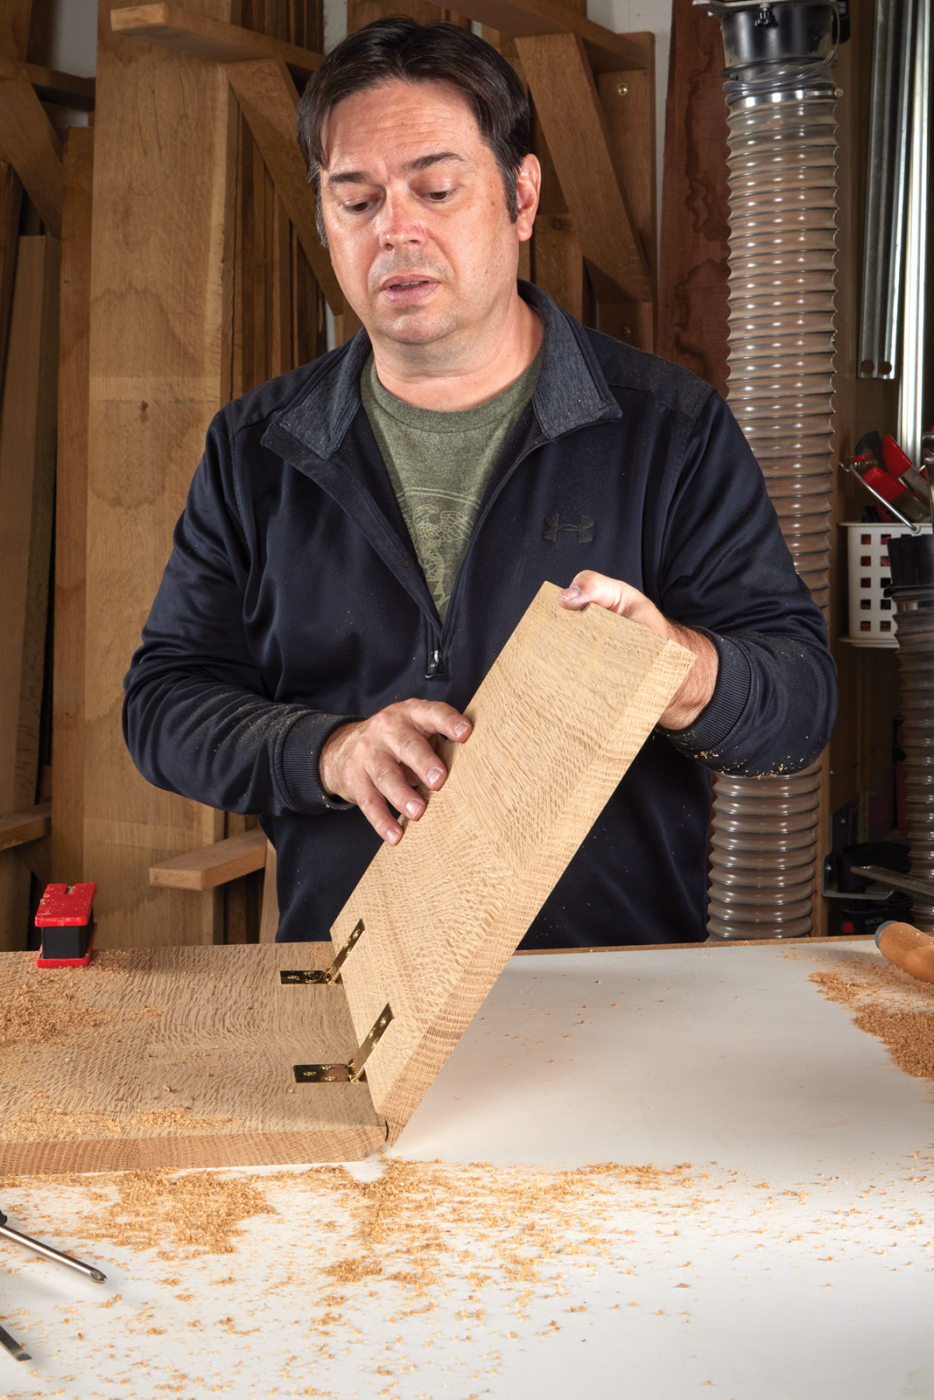
Once you’ve achieved target depth with the roundover bit, swap it out for the matching cove cutter to mill the table leaves. Again, align the bearing on the router bit flush with the router table fence. Make multiple passes with the table leaf face-up until the two profiles fit together like a puzzle piece. Once the coved lead component abuts the tabletop and the two parts are perfectly flush on top, the rule joint is complete. NOTE: When it comes to the grain direction of the rule joint, I prefer to rout the profiles on the long-grain edge when the design allows, but I’ve seen them made both ways.
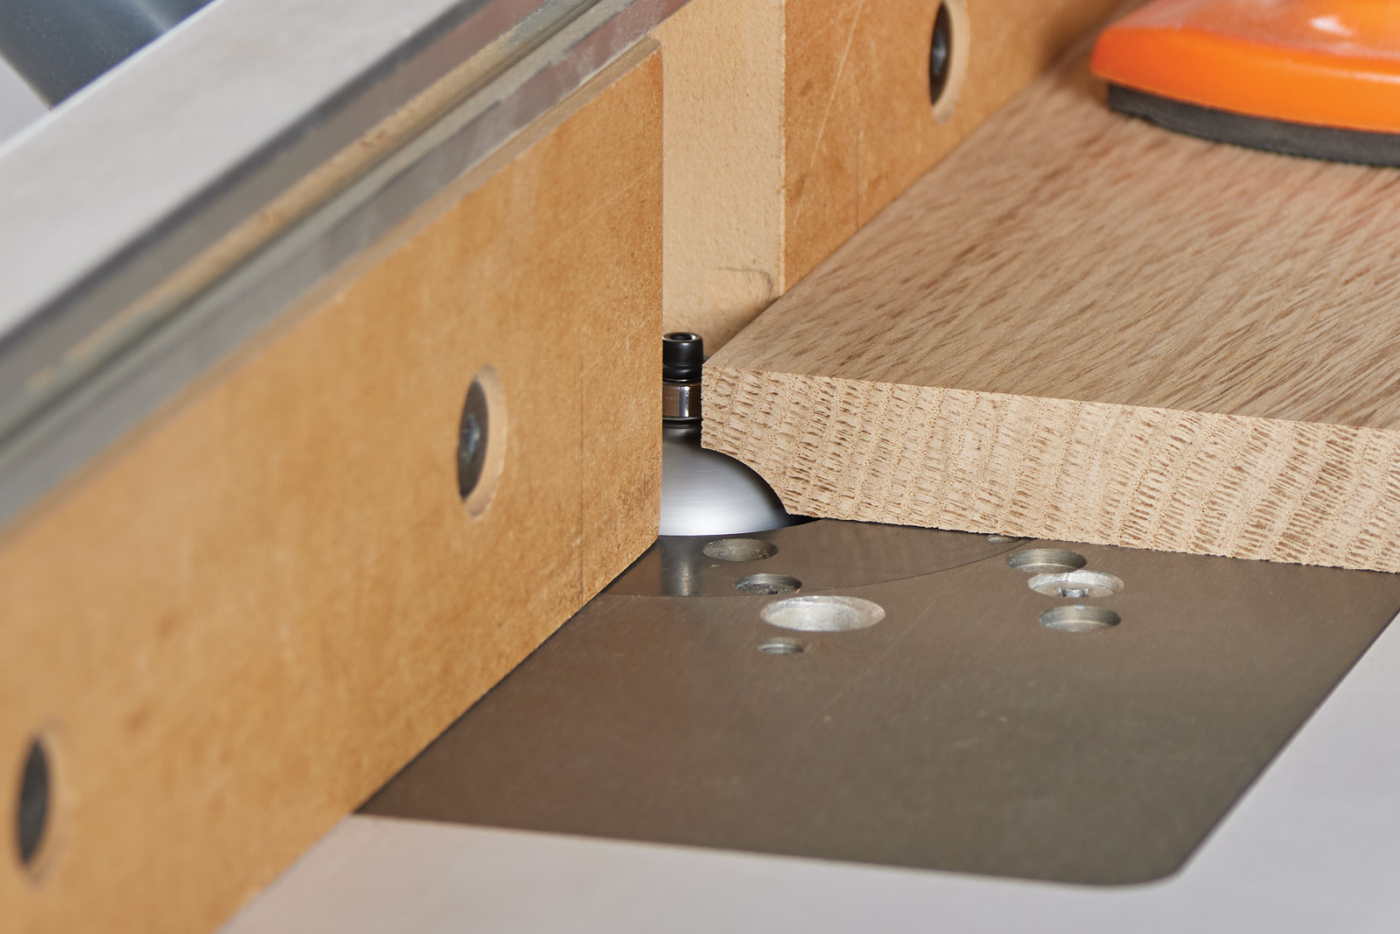
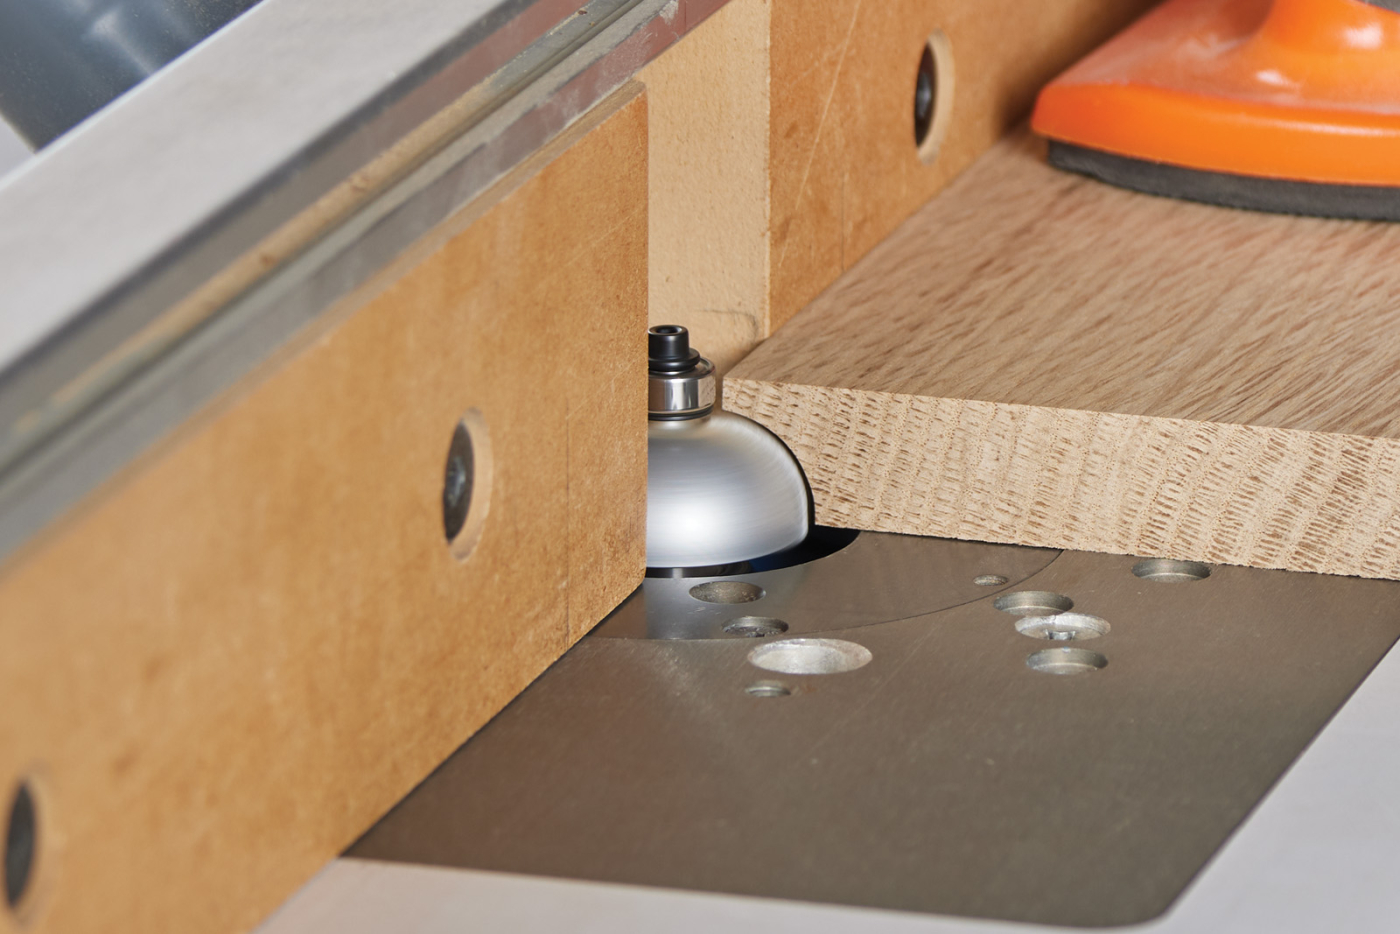
The wings of the table gets a cove. As with the roundover, I cut this in multiple passes, checking the progress by holding it to the top.
Drop-Leaf Hinge Installation
Not just any butt hinge from the hardware store will work for a drop-leaf table. You need to source specialty drop-leaf hinges that are made for this application. They’re unique because the two leaves of the hinge are actually asymmetrical. The short leaf of the hinge is installed on the table side of the joint. The longer hinge leaf installs on the leaf side of the joint. This places the axis of rotation in the correct spot so that the tables’ leaves will operate smoothly without any binding. I recommend Rockler’s Drop-leaf Hinges, item #29256.
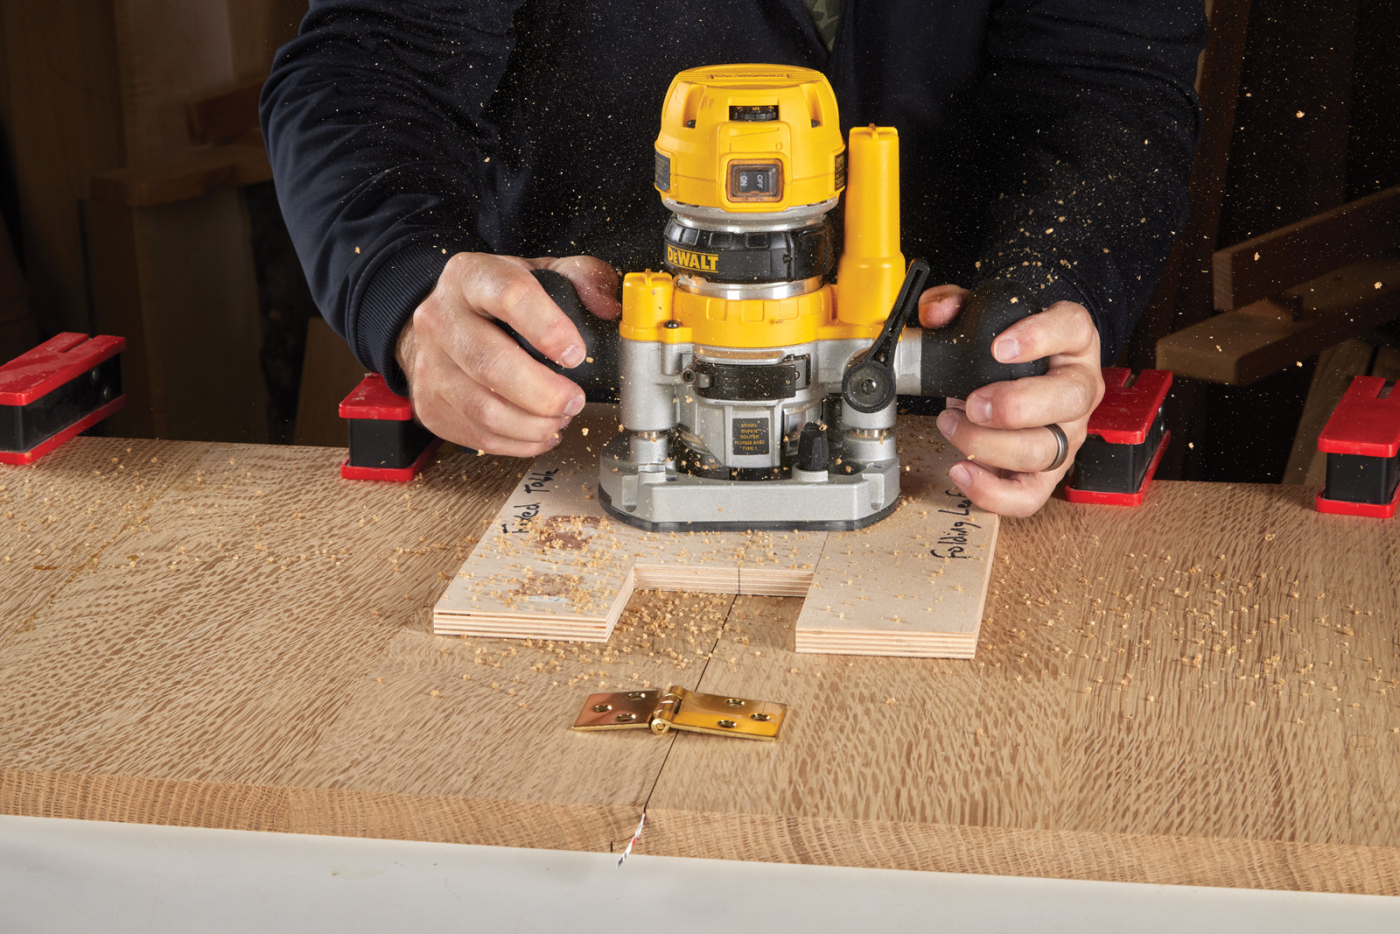
Routing the hinge mortise is done with a plywood template, sized for the hinges that you’ll be using.
The key to successful hinge installation is using a template to create a two-tiered mortise. Building the template is the definition of simplicity. Just cobble together scraps of 1/2“-thick plywood to make a frame around the hinge. You could glue the parts of the template together, I suppose, but I elected to attach things with pocket hole screws. Label the template with a “fixed table” side and a “folding leaf” side. You’ll also need to mark the joint line on the hinge-mortising template. For that, just strike a line 1 7/8“ from the fixed table side of the template opening.
After routing, you might need to square up the corners, depending if your hinge corners are rounded or square.
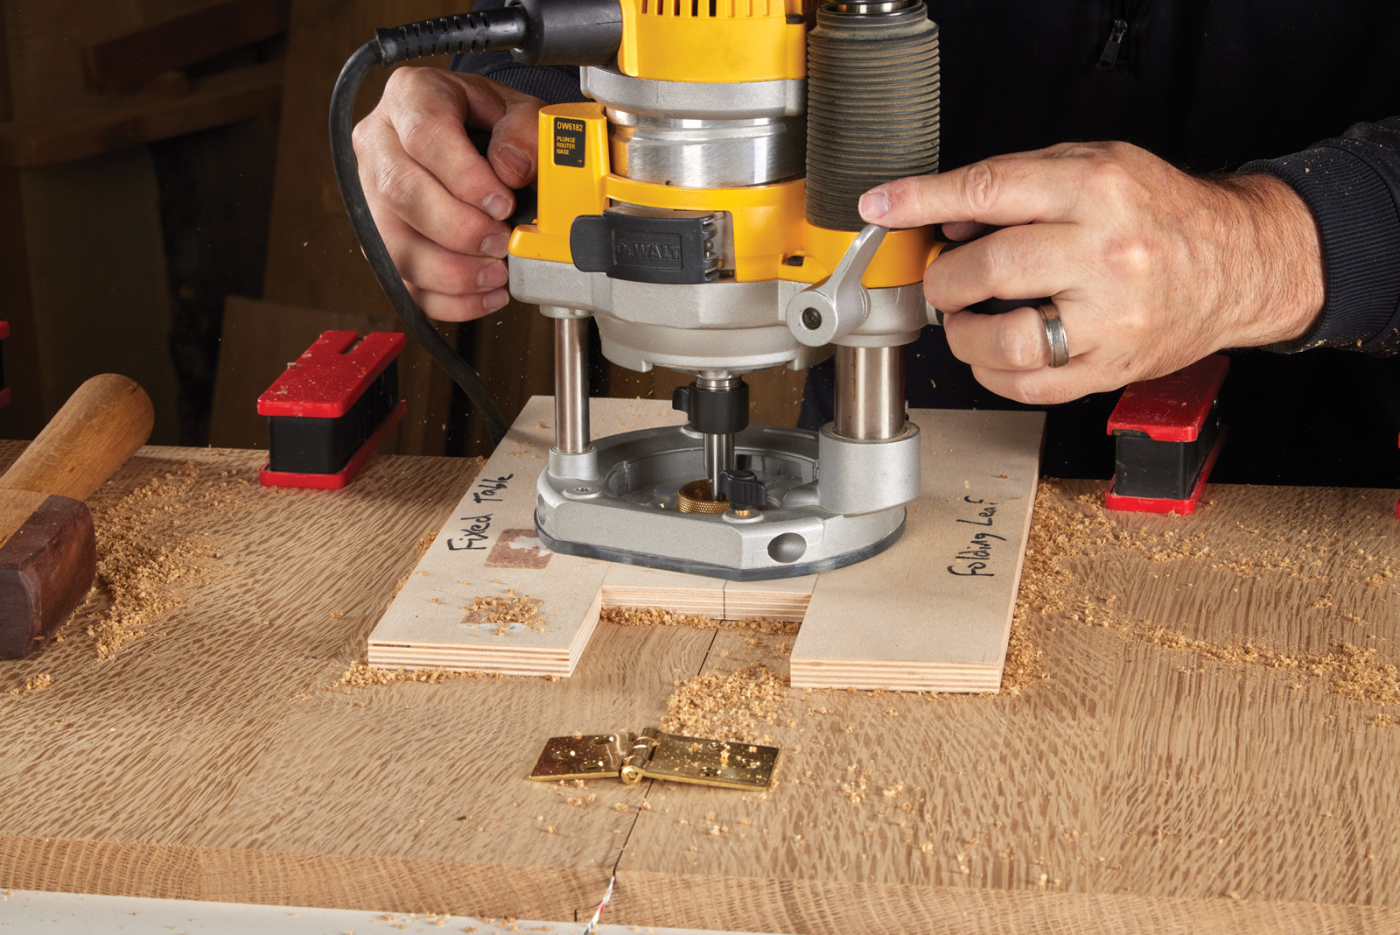
Probably the biggest mistake people make when installing these specialty hinges is the failure to leave a gap. If you rout the hinge mortise while the two panels are clamped tightly together, you’ll invariably get some contact between the mating parts. This creates a rubbing or squeaking noise in the finished project and will remove the finish you applied to the rule joint. To avoid this issue, simply
use thin cardboard (dense, non-corrugated packaging cardboard) as a spacer. Usually, one or two strips create a sufficient gap between the panels of your table. Aim for a 1/32“ gap between panels when routing the hinge mortise. Chuck a hinge-mortising bit into a compact plunge router. Make sure the bearing on the bit exactly matches the cutting diameter. Some hinge mortising bits have slightly oversized bearings, which is problematic when it comes time to install the hinges. In addition, source a bit with a short cutting length. A 1/4“ or 5/16“ cutting length will work fine with the template you made. Secure the template with double-sided carpet tape, aligning the pencil mark on the template with the joint line of your table. Set the router bit depth to the thickness of the hinge leaf, plus the thickness of your template material. Rout around the hinge template in a clockwise direction, then clean out the waste in the middle of the opening.
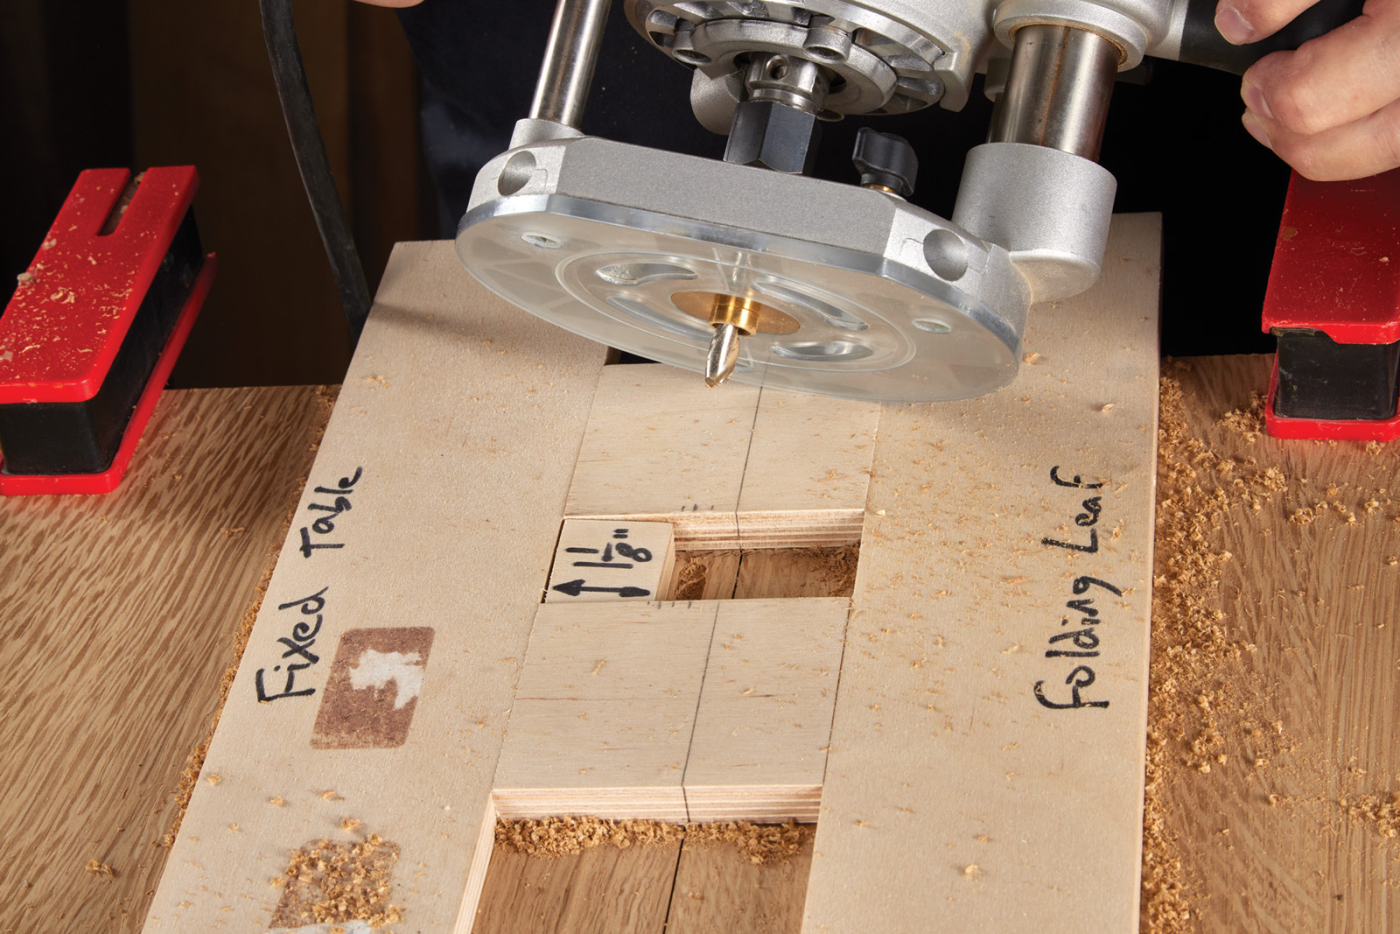
Adding a spacer into the template and a bushing to the router lets you rout the deeper pocket for the hinge knuckle.
With the template still attached to your workpiece, set up a router for the deeper hinge knuckle mortise. Use a 5/16“ diameter spiral bit and a 1/2“ guide bushing with this cut. A small spacer block will locate the secondary mortise in just the right place. The spacer block is an offcut of 1/2“ plywood sized to match the width of the template opening by 1 1/8“ long. Place the spacer in the fixed table side of the template and use it as a guide to cut the slot. Blow out the dust and chisel the corners of the mortises
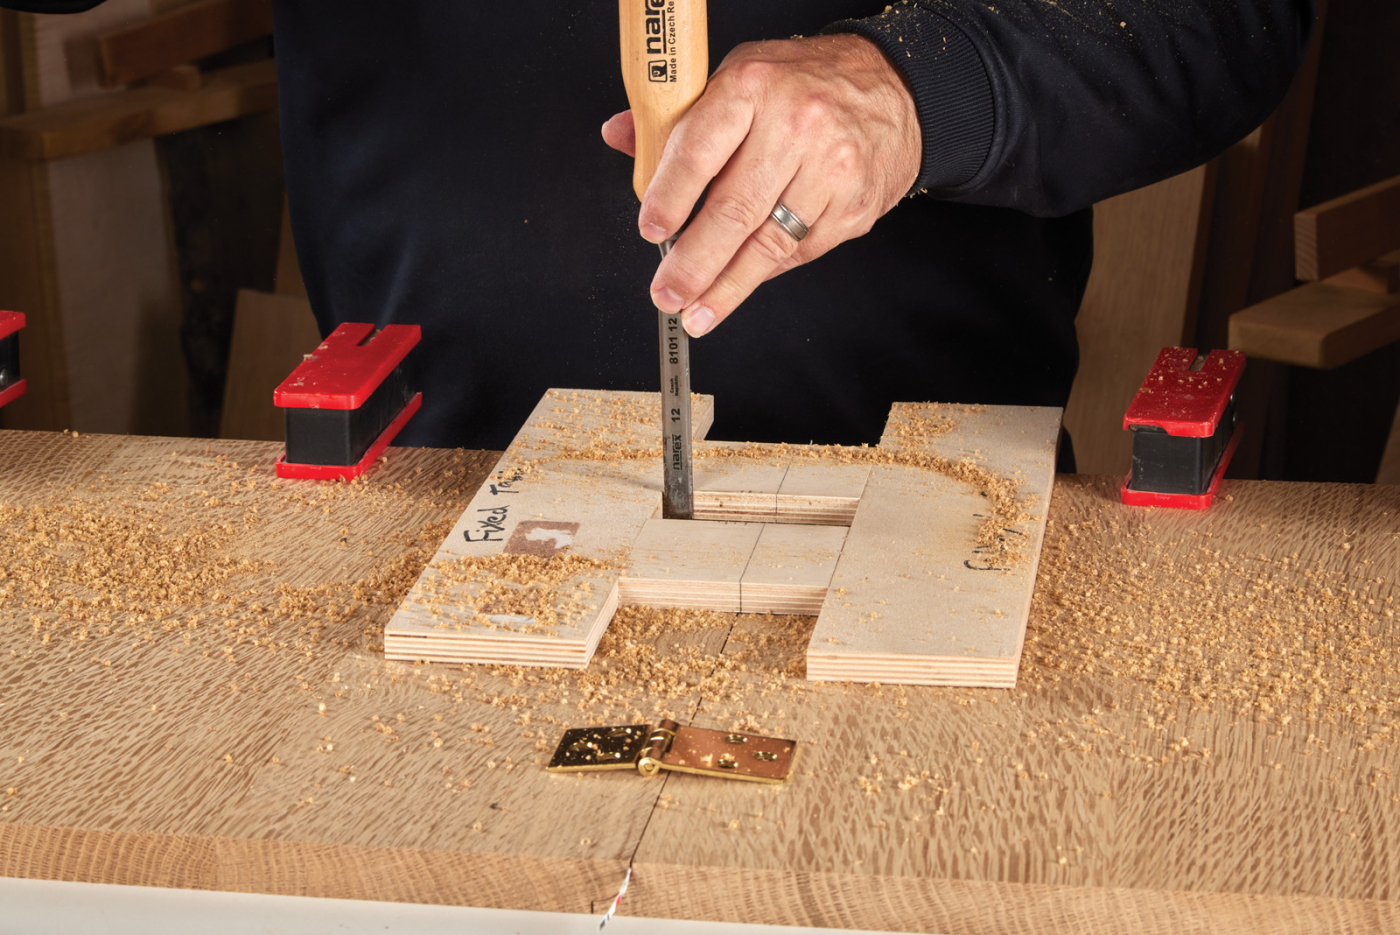
square. You can clean out the corners of both the shallow hinge mortise and the deeper knuckle mortise while the template is still in place. It acts as a nice guide for your hand chisel as you complete this next step.
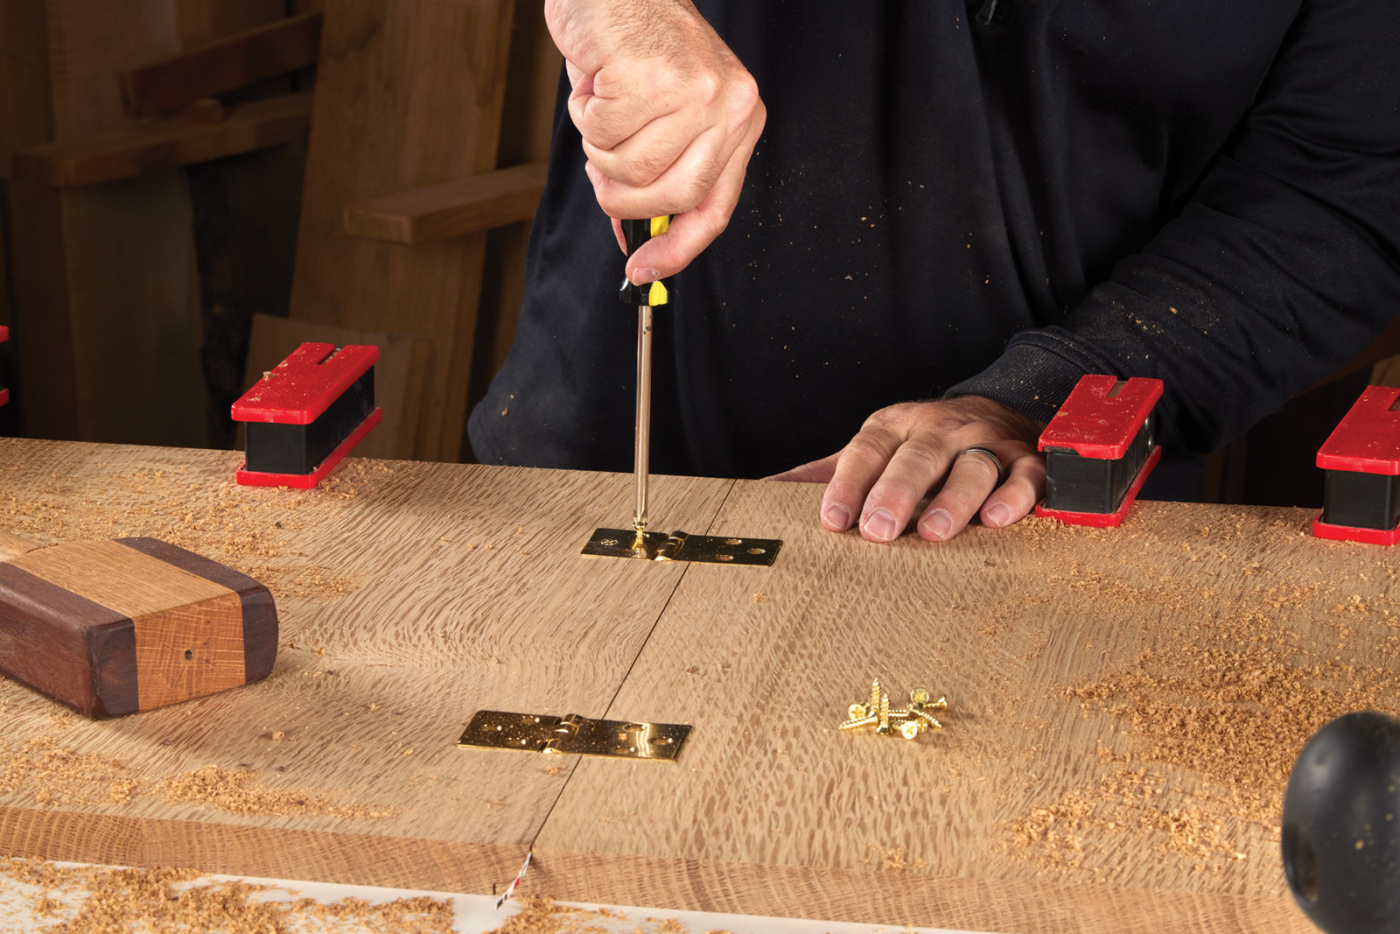
Install the hinges so that they’re flush with the bottom surface.
Remove the template and drop the hinge in place. Use a Vix-style self-centering drill bit to accurately pre-drill the mounting holes. Keep the thin cardboard spacer in place between the two panels as you install the hinges. Drive the screws by hand and test that the folding joint operates properly.
The rule joint should open and close freely and evenly.
As with any hardware choice, make sure the placement of the hinges works well with the overall design of the furniture piece. Drop-leaf tables typically have slide-out or swing-out mechanisms to support the raised table leaf. Just make sure to avoid any potential mechanical interference between the hinges and the table support mechanism you choose. I think you’ll find a drop-leaf table can be a satisfying project to build, even for a seasoned woodworker.
Here are some supplies and tools we find essential in our everyday work around the shop. We may receive a commission from sales referred by our links; however, we have carefully selected these products for their usefulness and quality.