We may receive a commission when you use our affiliate links. However, this does not impact our recommendations.

There are lots of people who will show you how to handplane the edge of a board. A few less who will show you how to really flatten the wide face of a board. A smaller number will show you how to flatten a glued-up panel (stay tuned , that tutorial is already written) and even fewer who will demonstrate how to plane an assembled carcase.
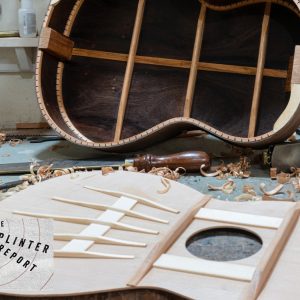
After lunch I dressed a small dovetailed box I’m building and took some photos along the way. Have a minute? Get the alcohol!

Really, get the alcohol. A dovetailed carcase has a lot of end grain, so moistening the end grain with denatured alcohol will make the work easier.
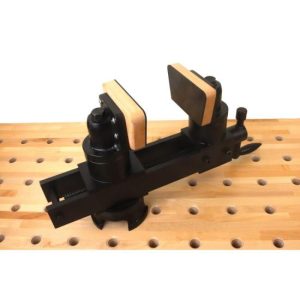
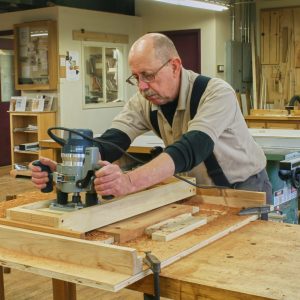
Set up a planing platform for your carcase. Big carcasses can be sleeved over the end of your bench. Small carcasses and drawers can be worked on a platform that’s clamped to your bench.
As with all aspects of hand work, everything begins with stock selection. I try to pick boards with the straightest grain so I can plane them in both directions , from the ends and into the middle of the carcase. This avoids blowing out the end grain of the pins and tails.
If the board has a pronounced grain direction (which stops me from planing both directions) I’ll use a plane with a high pitch to do all the smoothing work , this also allows me to work from the ends and into the middle. High-angle planes can ignore grain direction. And, despite what you’ve read, you can plane end grain with them. Sharpness fixes almost anything.

Trim the Pins
I trim the pins with a sharp block plane. The reason I prefer a block plane is that it’s quite narrow, so I can work in small areas without planing away stuff I want to keep. You can skew the blade to make the cut easier. And don’t forget the alcohol. Work from the end toward the middle , but just trim the end grain, not the face grain.

With the pins trimmed on both ends of one face of my carcase, I need to make a decision. If I’m going to attach moulding to the carcase, I want to ensure those areas are dead flat. (Bending moulding = no fun.) I’m attaching base moulding around this box so I trued its lower section with a jointer plane. Note that I start the plane at the end, work into the middle and lift off in the middle.
Check your work with a straightedge to make sure you’re not creating a hill in the middle of your panel. If you are, work the center only until you get it flat.

Smooth the Face
Then use a smoothing plane to dress the face. Start from the ends and work to the middle, lifting at the end of the stroke. At the moment your joints’ baselines disappear, you’re done.
One difficulty people have here is with boards that have a pronounced grain direction. Here’s how I deal with it: Plane “with the grain” on the carcase face for the majority of the panel. Lift off only at the very end.
Then come back and dress the other direction with a high-angle plane, working only a short distance. That way if you have to scrape, it will only be a small area. Now plane the other side of the carcase using these same techniques.

Trim the Tails
Now trim the end grain of the tail boards. Moisten the end grain with alcohol and work from top to bottom (or bottom to top). This prevents you from having any blowout on your tailboards. When the tails have been trimmed, grab the jointer plane and smoothing plane and work from the ends and into the middle again, just like you did on the other two faces.
Note: There are other ways to tackle this job. You can plane a small chamfer on all four corners and plane straight through on all four faces of your carcase. This is faster but risky. If your chamfer isn’t big enough, you’re toast. You also can fetch the belt sander or random-orbit sander. But you wouldn’t be reading this blog entry if you sleep with your sander.
– Christopher Schwarz
Looking for More Woodworking Information?
– Sign up for our newsletters to get free plans, techniques and reviews HERE.
– Looking for free articles from Woodworking Magazine? Click HERE.
– Like hand tools? Read all our online articles on hand work HERE.
– Want to subscribe to Woodworking Magazine? It’s $19.96/year. Click HERE.