We may receive a commission when you use our affiliate links. However, this does not impact our recommendations.
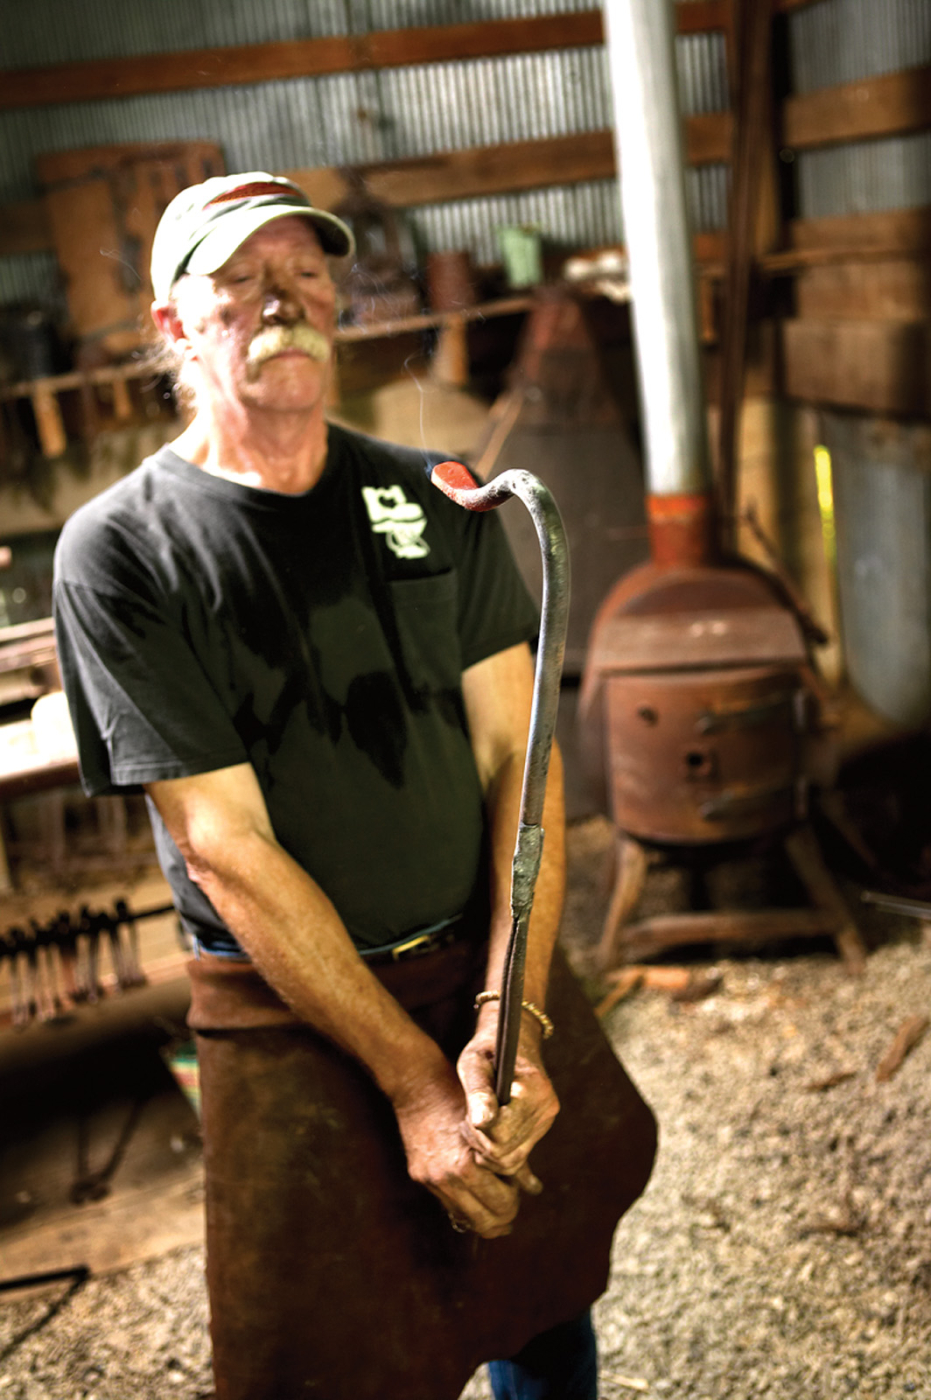
You can easily make handsome, functional tools from scrap. I’ve made froes, Welsh spoon carving knives, a bruz (for cutting beads on the lathe), travishers, spokeshaves, turning chisels and gouges, drawknives and other tools. Today I’m making a couple holdfasts for a traditional woodworking bench.
Blacksmithing is a hasty sport. Unlike woodworking, where you can step back and contemplate a cabinet’s lines or run your hands over a planed surface to check its smoothness, working with hot iron means moving fast. You’ve only seconds before the malleable, bright orange steel has faded nearly to black, and any further hammering is likely to impart stress fractures. Back into the fire it must go.
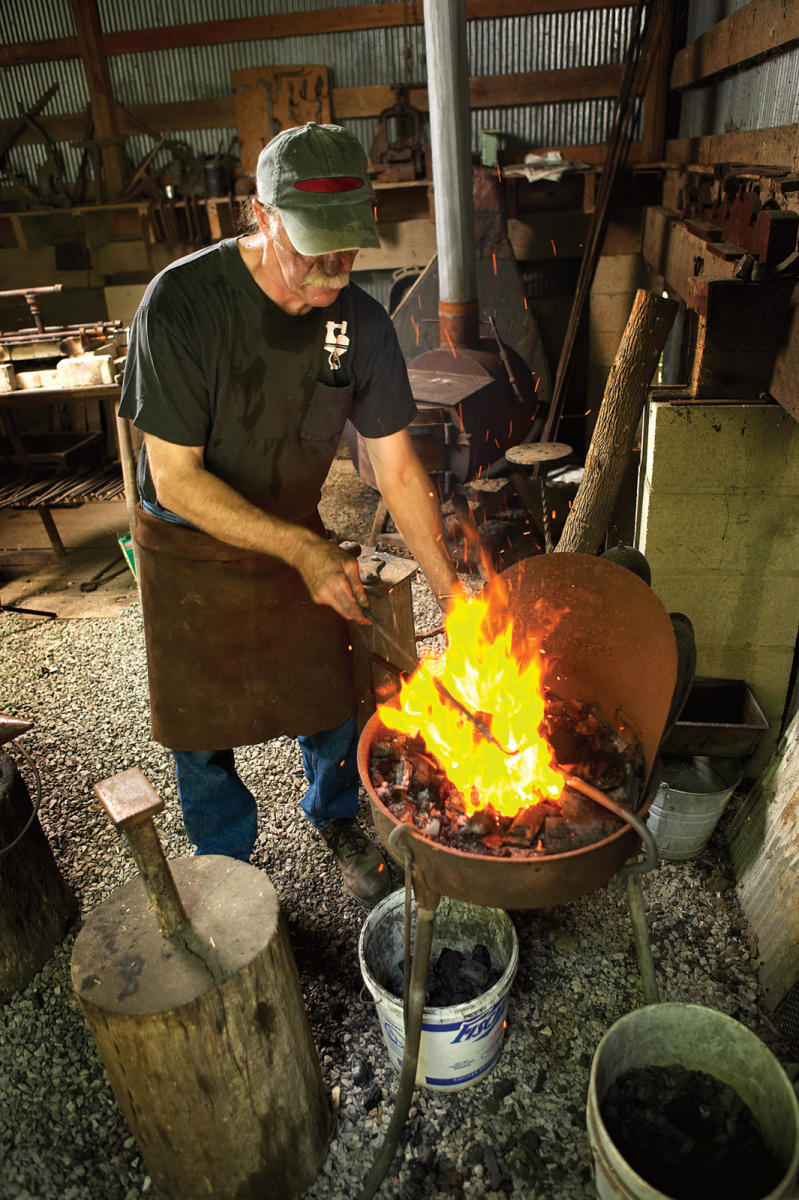
Here I’m heating the steel. A charcoal forge (this one’s an old riveter’s forge) is the simplest, cheapest way of bringing steel up to forging temperature. I keep the fire as concentrated as possible for the work I’m doing and feed charcoal into the fire as necessary to keep it going.
At forging temperature, from about 920° F to 2,200° F (distinguished by a bright orange to yellow color), steel has great plasticity. It can be cut, flattened, thickened, bent and tapered (these photos demonstrate a brief overview of the making of a holdfast).
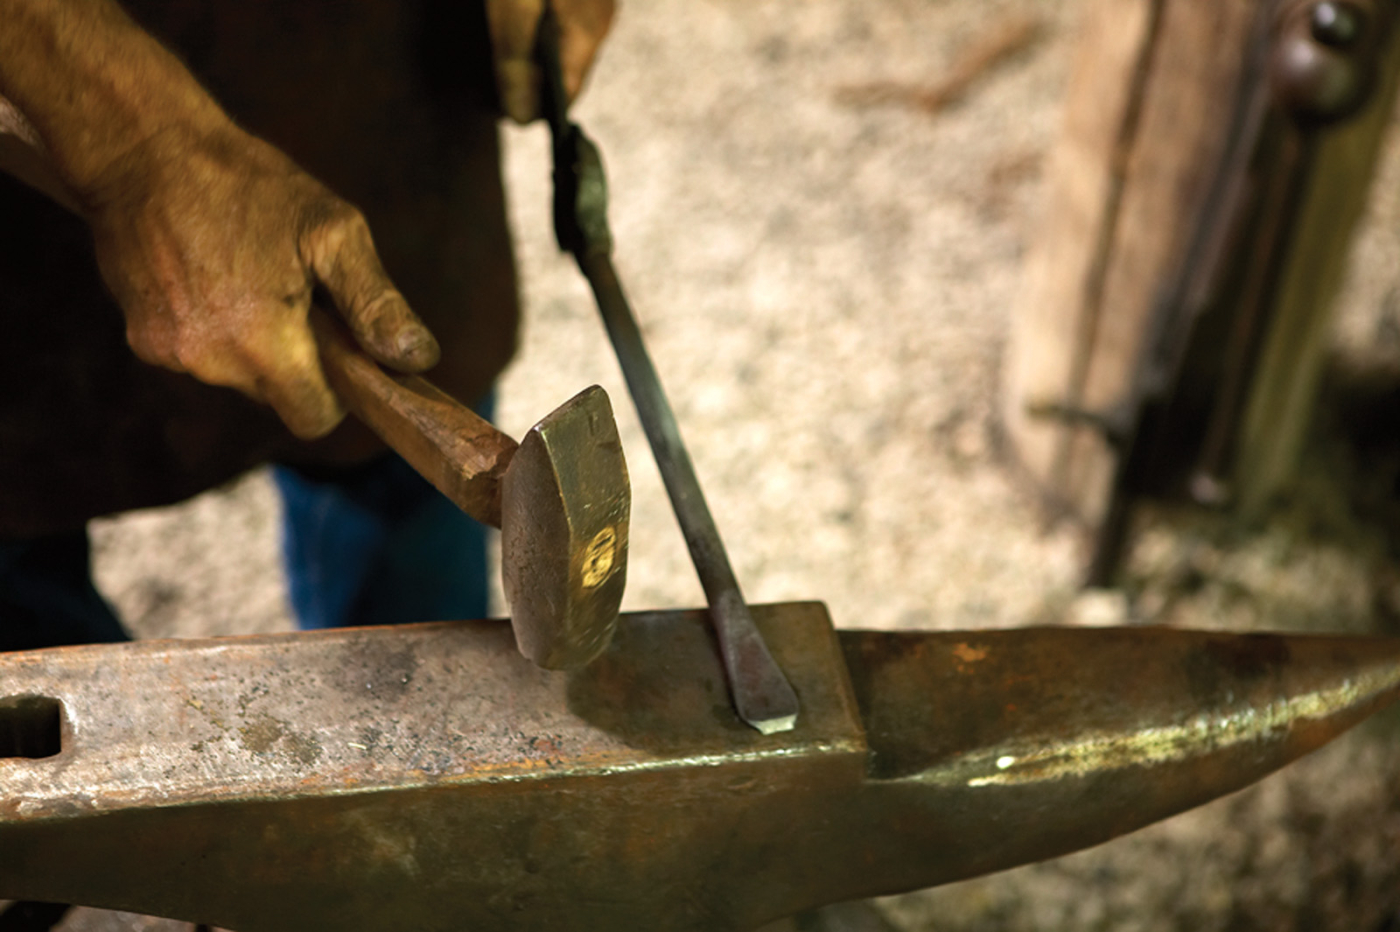
Steel can be cut easily when it’s hot. To trim the shaft of this holdfast I first heat the section that will be cut. I then pound this section over the edge of a cut-off hardy installed in my anvil.
To the uninitiated, probably the most mysterious aspect of the smiths’ art is the discerning of steel’s temperature by its color. There is no exact method of knowing the heat of the steel in the fire, and for the actual forging it’s not that critical. When the orange has faded, and the steel begins to resist the blows of the hammer, it’s time to put it back in the fire. A blacksmith quickly develops an eye and a feel for his material.
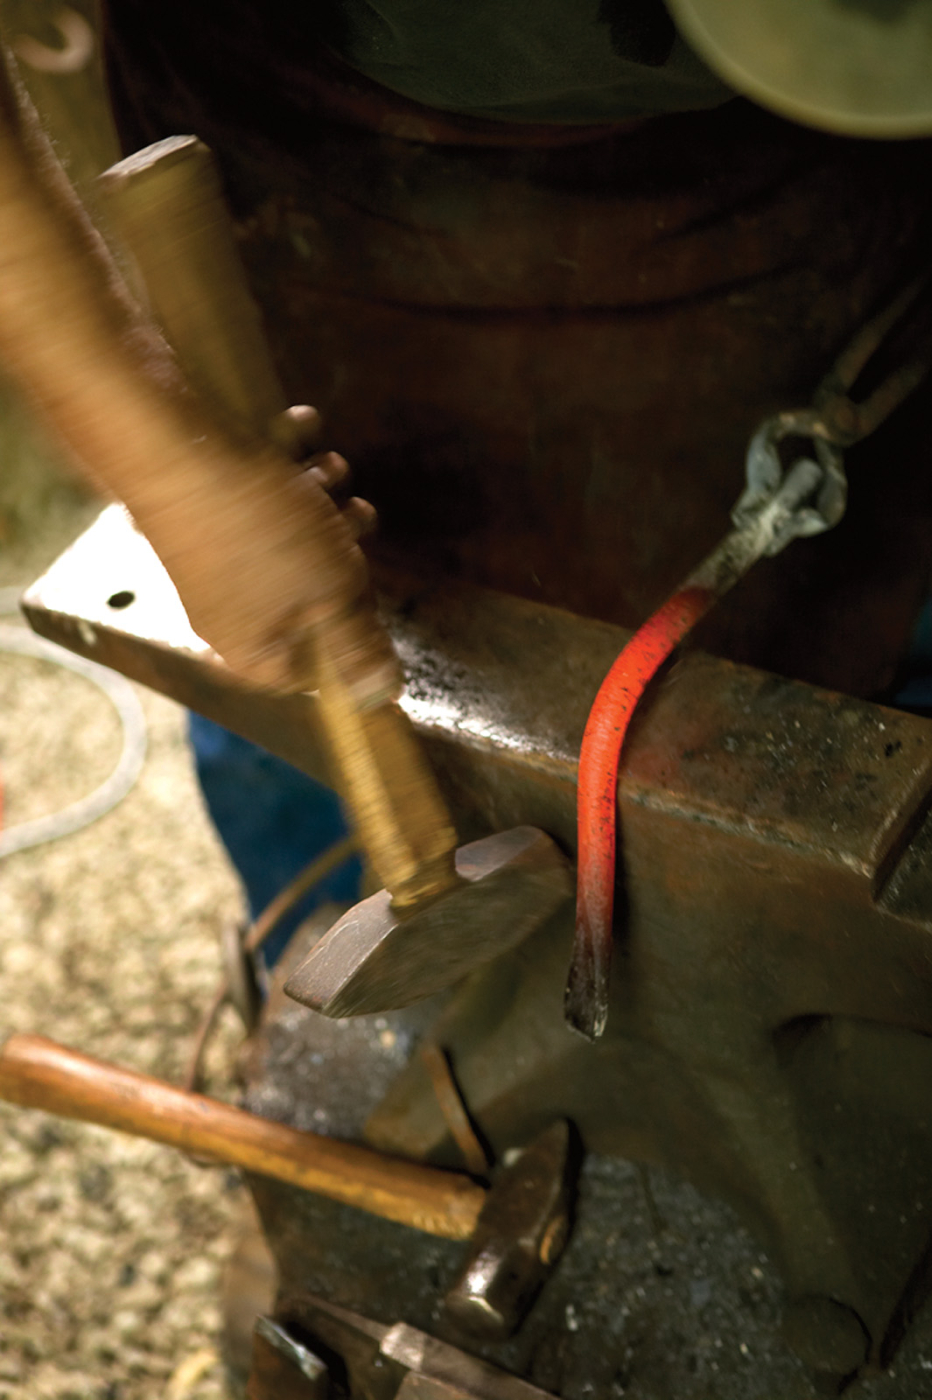
Steel can be made thinner. This technique, known as drawing out, allows the smith to take a piece of 3⁄8″-thick steel, and thin it down to 1⁄8″ or less. Here I’m drawing out the pad of the holdfast.
Perhaps the only exactitude comes about when heat treating, which is actually a three-step process. As a result of all the heating and hammering, steel becomes hard and brittle and may develop internal stresses. So the first step is to anneal it. This is done by bringing the steel up to a good forging temperature, then plunging it into a container of vermiculite, lime or wood ash so it can cool slowly, relieving any internal stresses. Any grinding to shape should be done now (once the steel has cooled) while the steel is relatively soft.
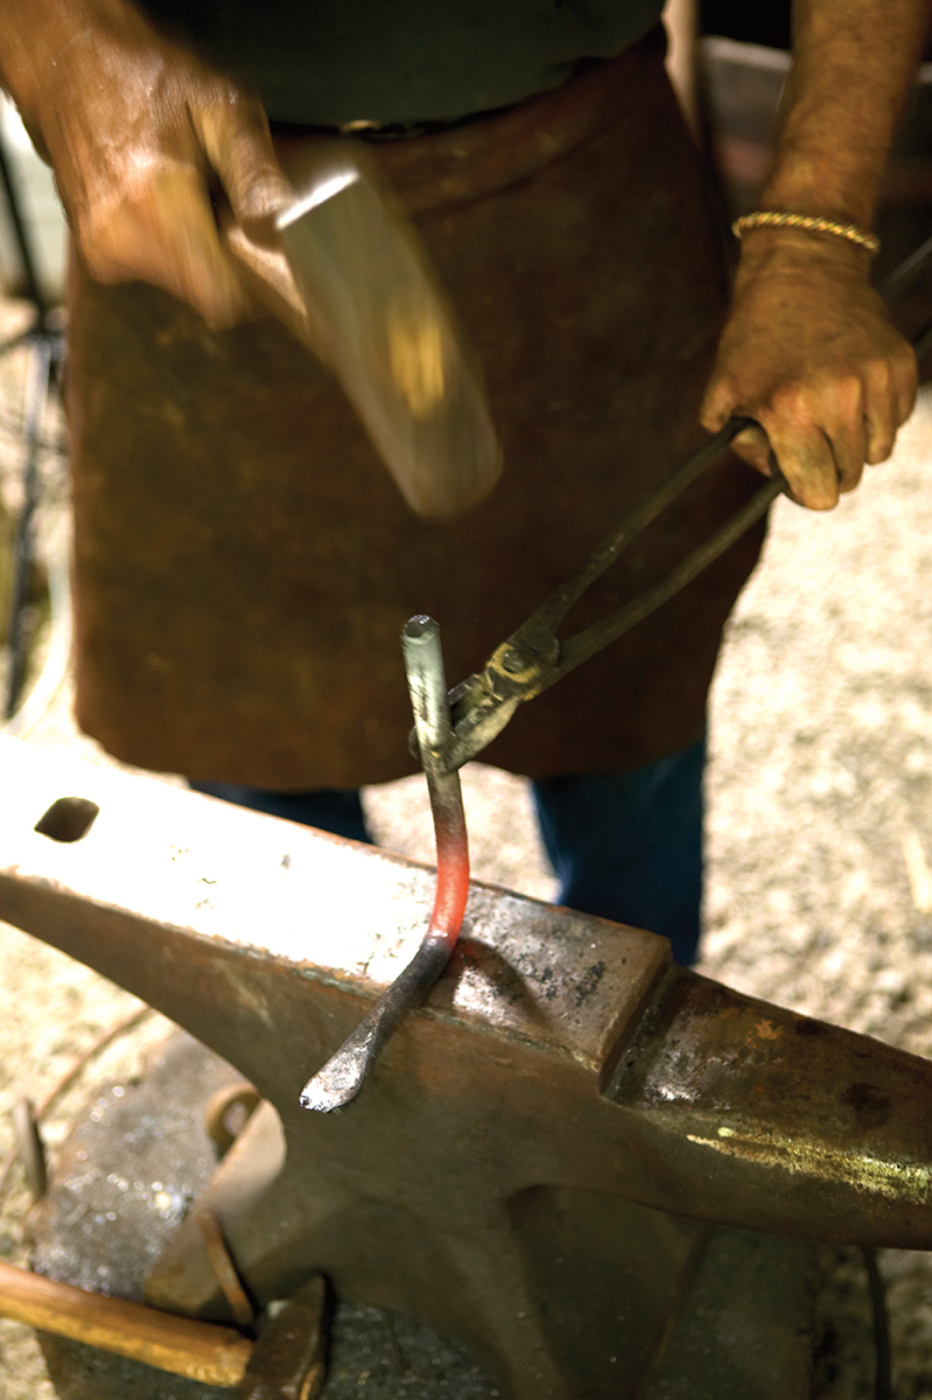
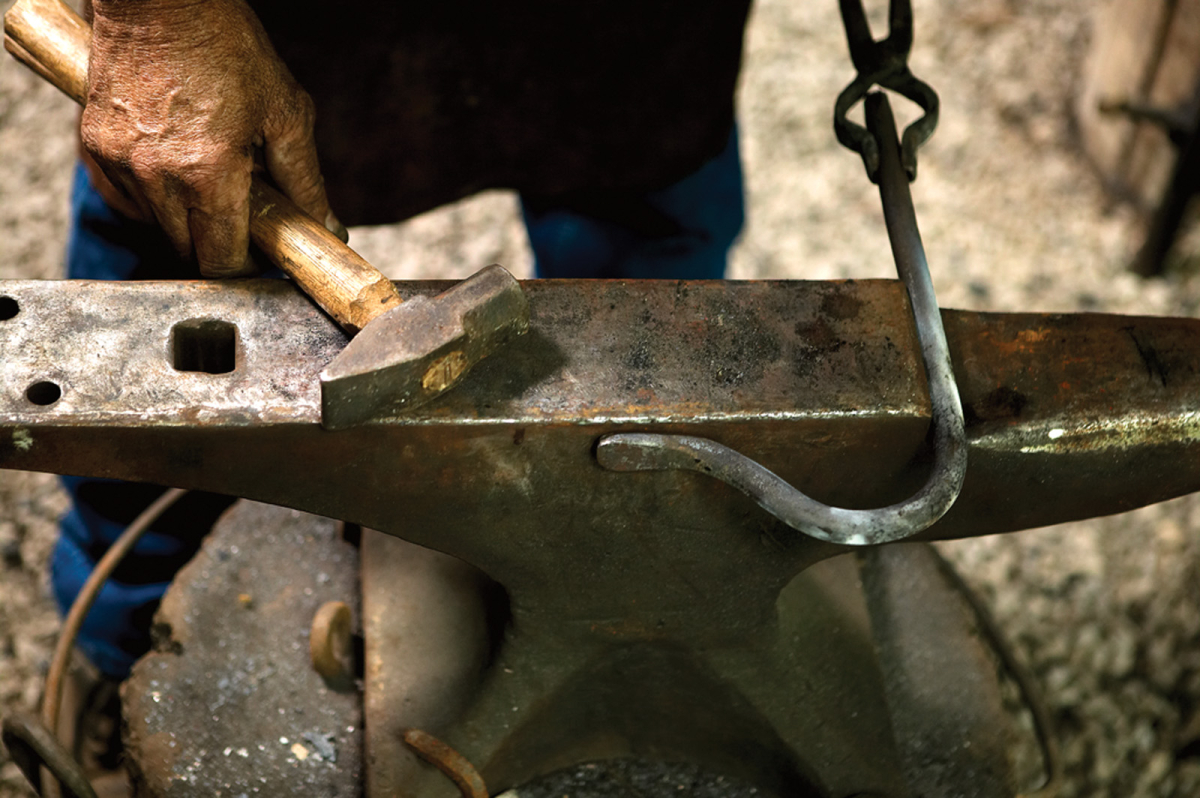
Sections of steel can also be made thicker. Here you can see I’m pounding the end of the shaft of the holdfast, which will thicken it where it bends at a right angle.
The next step is hardening. I do this by bringing the steel to just above its critical temperature – 1,350° F for the ordinary high-carbon steel that I use. You might think that it would be hard to tell precisely when steel reaches a particular temperature, but something interesting happens there.
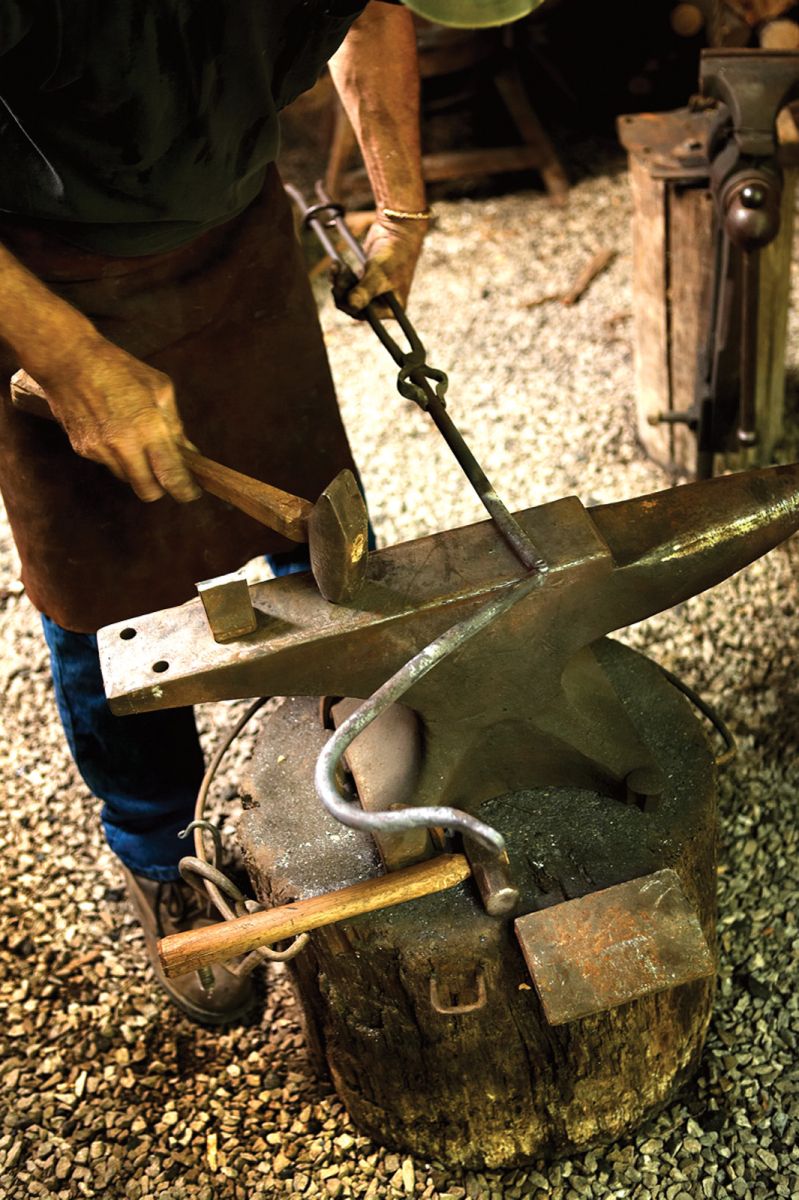
Steel can be bent, twisted and contorted. When it’s hot, it’s a plastic material, capable of being shaped into almost any form. Here I’m bending the holdfast into its optimal shape.
The carbon atoms migrate to the core of the iron molecule, and the steel loses its magnetism. I hold a magnet with a set of tongs and check the glowing steel frequently until, suddenly, there’s no pull.
It’s important to inspect for symmetry. Here I check to see that the pad of the holdfast is in line with the shaft.
Then it’s back into the oil bath to quench the heat again, freezing the crystalline structure of the steel. The magnet is a sure indicator that the critical temperature has been reached, but an experienced smith will trust his eye. The Japanese compare the color of the steel at this critical temperature to that of a ripe persimmon of the color of the harvest moon over Mt. Fuji.
Hardening the steel leaves it too brittle for use, so the final step is tempering. Some of the hardness must be sacrificed to make the tools less brittle or tougher. I do this by heating the tool after polishing it, until there’s just a hint of the color of straw at the business end. I’ve done this in two ways.
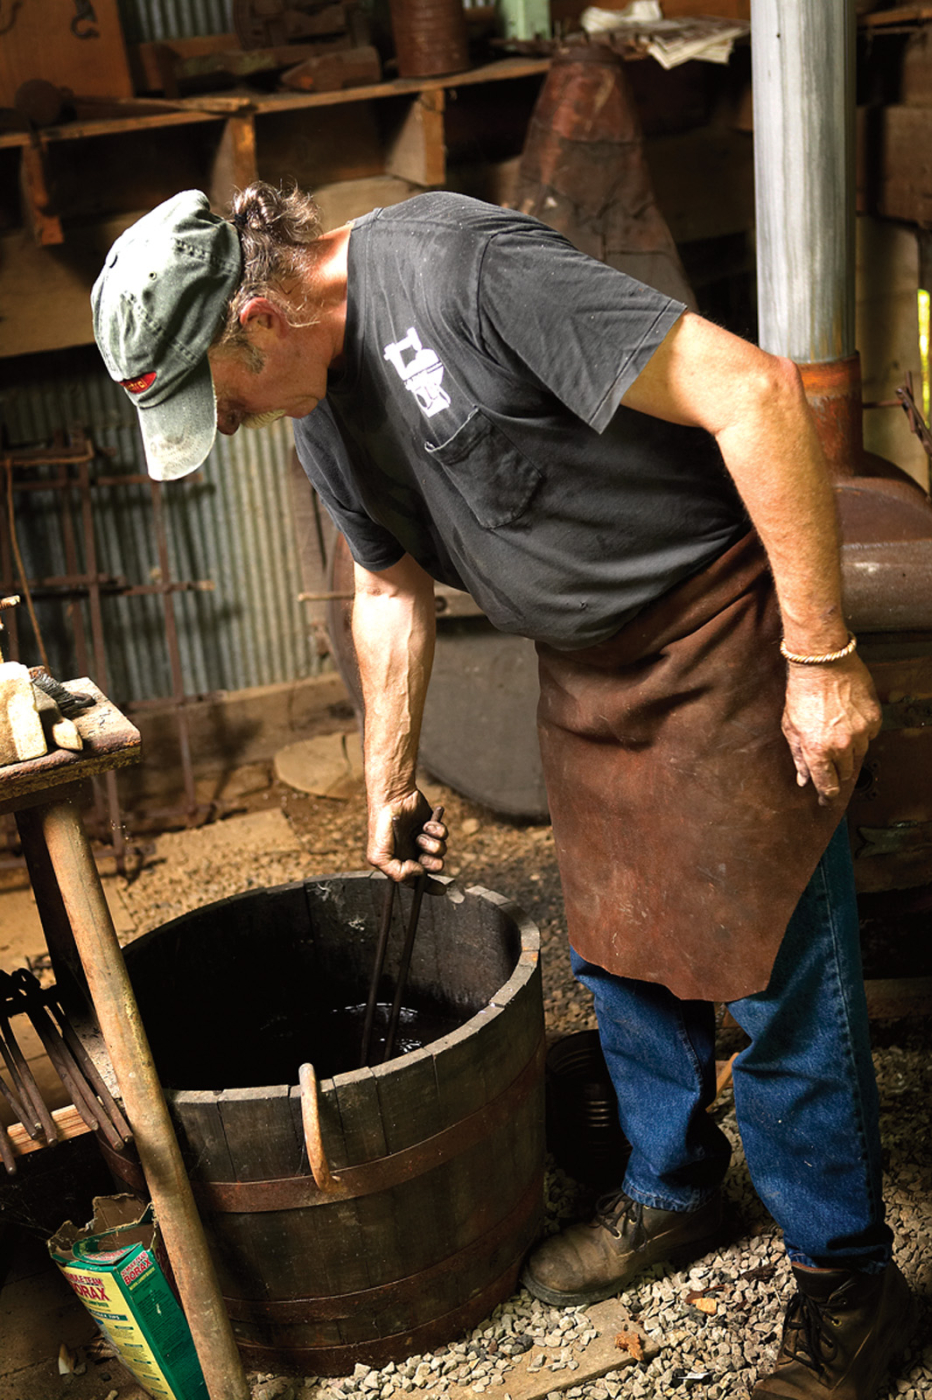
When working with hot iron, a quick quench in a barrel of water (as I’m doing in the picture above) makes it safe to handle
By inserting the tool into the forge backwards, cutting end out, I can watch the color creep up the tool, toward the cutting end. I’ve also held tools in the furnace, above the flames, until the residual quenching oil reaches its flash point, bursts into flame and dances across the tool.
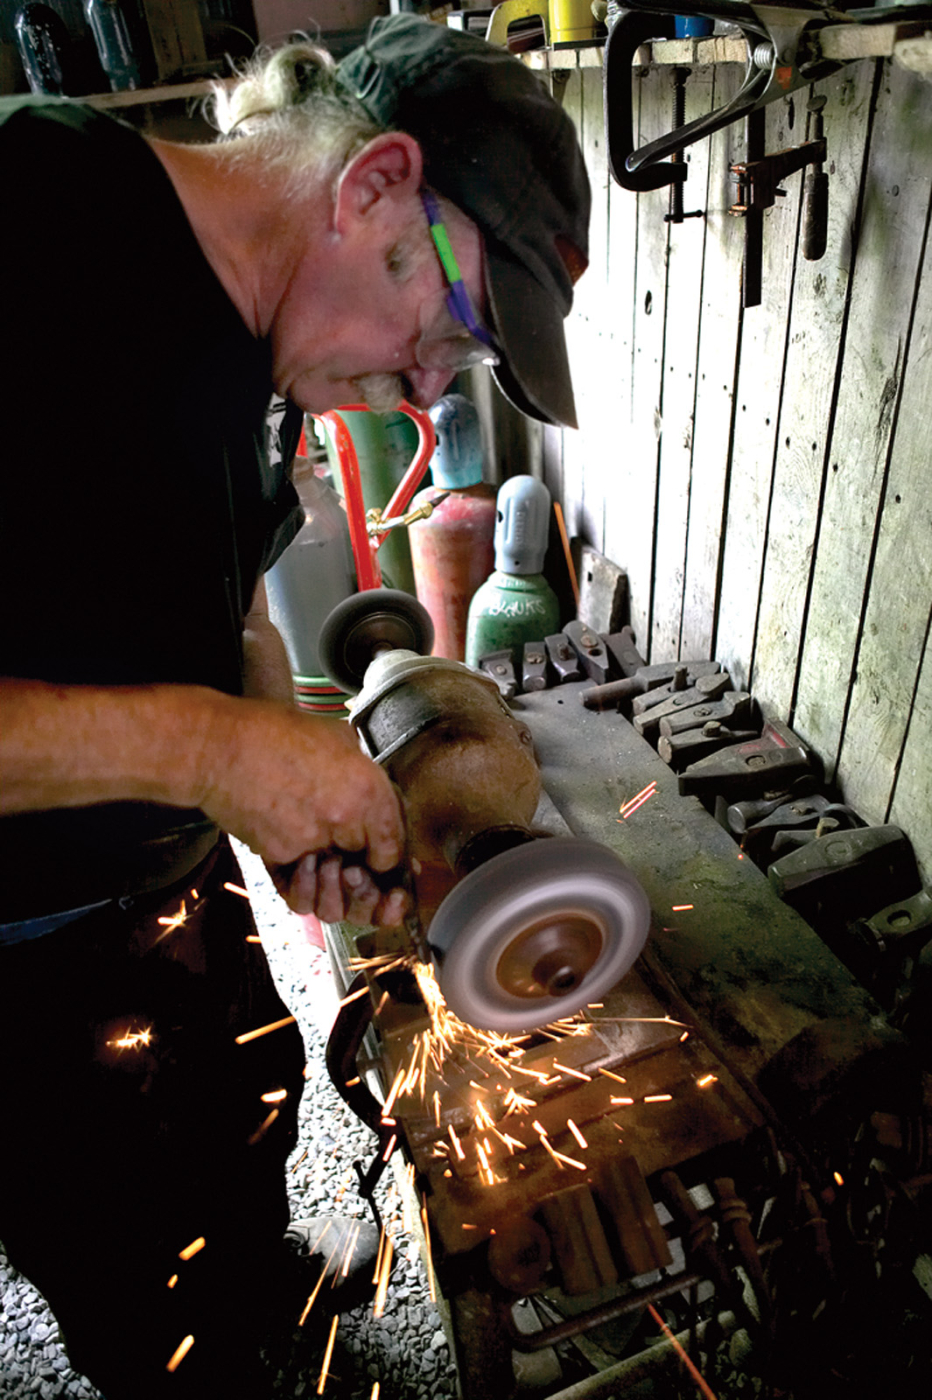
Grinding finishes the tool. If this were a cutting tool, I would then harden and temper the edge. But that step is unnecessary with a holdfast.
Either way, when I’ve reached temperature, I plunge the tool back into the oil, then let it cool. Now all that remains is to hone the tool and put a handle on it.
Here are some supplies and tools we find essential in our everyday work around the shop. We may receive a commission from sales referred by our links; however, we have carefully selected these products for their usefulness and quality.