We may receive a commission when you use our affiliate links. However, this does not impact our recommendations.
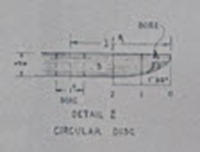
 This is the fourth and final part of The Book of Shaker Furniture by John Kassay – A Treasure Trove for SketchUp Generation Woodworkers. Today we add the Circular Disc, which attaches to the Pedestal and supports the Top. The Circular Disc is 3/4” thick, 7” in diameter and has a 1” diameter through-hole at its center to receive the Pedestal. The outside, underneath edge of the Pedestal, is curved. This profile can be captured with a digital camera as shown at left. The size of this image is small, so don’t bother trying to read dimensions from it; I did that for you using a magnifying glass. All we need do is import it, scale it to actual size as we did in Part 3 for the Leg, and “trace” the shape of the edge's curve.
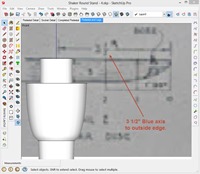
 The picture at right shows the jpeg image imported, scaled and positioned behind the Pedestal but correctly oriented to the center axis of the Pedestal (Blue Axis). Click to enlarge. Use the Scale tool and the 3 1/2” dimension line on the jpeg to Uniformly Scale about Opposite Point. The Tape Measure tool is first used to determine a scale factor as we did last week. A visual inspection of this image tells us that our profile will be 3/4” tall, 3” long on the top, 1/4” down on the outside edge. The bottom edge is 3” minus the horizontal length of the curve which I estimate to be 1”; hence 2”. I used the Arc tool to form the curve.
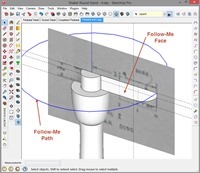
 The picture at right shows the completed profile superimposed on the jpeg, but aligned in depth (green axis) and horizontally (red axis) to the center axis of the Pedestal (blue axis). Notice that I have drawn a circle with its center at the center of the top face of the Pedestal and parallel to the red/green plane. This is the path I used for the Follow-Me tool. After selecting the path (shown blue) I chose the Follow-Me tool and clicked once on the face of the profile. Because of the diameter of the path I chose, the path is consumed in the extrusion and I don’t need to erase it later.
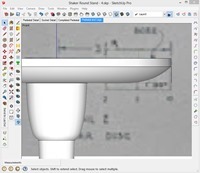
 The picture at right shows the extruded face which I then make a component called Circular Disc. All there is remaining is the Top. The Top is 1/2” thick, 16 1/8” in diameter, and has a 1/4” round-over on both top and bottom edge. This probably calls for a simple jig when rounding the edges in the shop if Shaker authenticity is desired. Otherwise the Top can be made 3/4” thick which will provide a 1/4” flat for the router bit bearing to ride on.
The Kassay drawing shows a sheet metal plate which sits at the bottom of the Pedestal and is screwed to each Leg and the Pedestal’s center. The purpose of this plate is to keep the legs from splaying as heavy weight is placed on the Top. I have included this plate in the model; however I would suggest consulting with a sheet metal shop in its design if you do not have sheet metal experience.
The jpeg and completed SketchUp model can be downloaded from these two links:
Here are some supplies and tools we find essential in our everyday work around the shop. We may receive a commission from sales referred by our links; however, we have carefully selected these products for their usefulness and quality.


