


We may receive a commission when you use our affiliate links. However, this does not impact our recommendations.
Simple, Fast, Sturdy Sawhorse Project
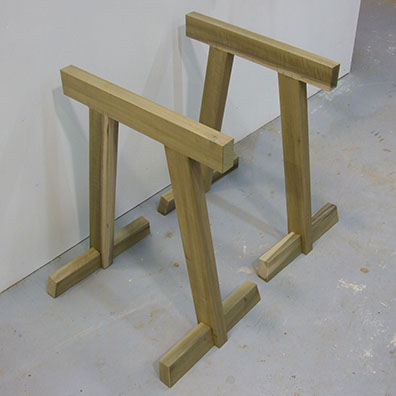
Here’s one of my favorite sawhorse designs. They provide such stable hard working support that I tend to refer to them as workhorses. I made this pair to serve as the base for a temporary workbench and machine stand. They measure 30″ tall by 24″ long. That’s not as long as most sawhorses but I plan to use them to support a 24″ wide piece of plywood and I don’t want to have to worry about bumping into the ends. The design works equally well with other typical saw horse dimensions. The feet on this set of horses are 18″ long.
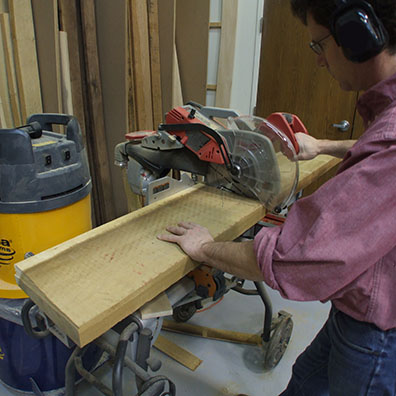
I used 8/4 popular, but any sturdy soft or hardwood will do the job. I’ve used construction grade 2 x 4s in the past, which is easy to work with, but the final horses aren’t as sturdy as ones made out of hardwood. Because these horses last a long time, I find hardwood worth the extra cost.
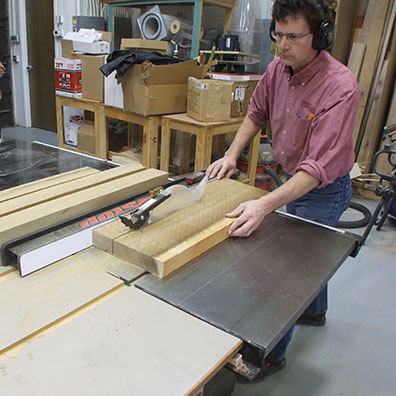
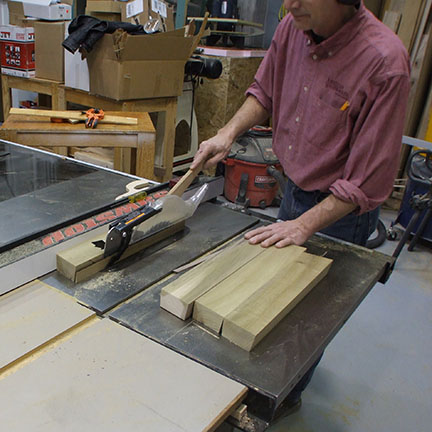
All the parts have the same finished width and thickness, which simplifies rough cutting. For this set of horsed the finished size will be 1-3/4″ thick by 3-1/4″ wide. Rough cutting 1/4″ oversize in width is usually enough.
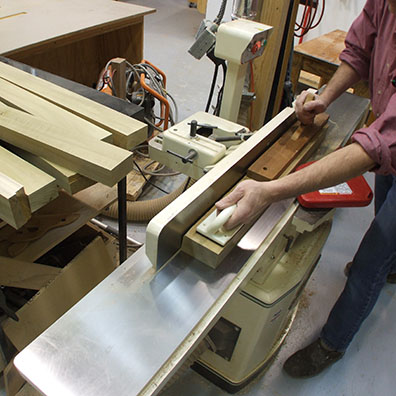
Joint one face of each part first. This provides a good flat surface to place against the fence in then next step.
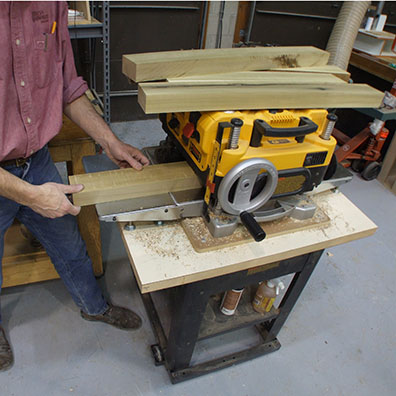
With the jointed face firmly against the fence, joint one edge.
Plane the other face and edge until you reach the final dimensions of 1-3/4″ by 3-1/4″.

Saw a 10-degree bevel on one edge of each foot. The ends of the feet are also mitered at 10-degree.
Spacers clamped to the work table provide an easy way to set the height of the top board.
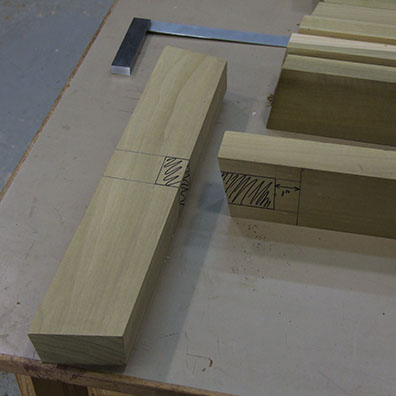
Line up the end of the top board with the edge of the table. The top the legs are cut at 10-degrees. Line up the bottom of the leg with the corner of the worktable and mark the bottom angle with a bevel gauge or by tracing along edge of the table on the bottom side of the leg.
Also mark where the top of the leg intersects the top board.
Cut the bottom of the leg at 10-degrees and use it as a pattern for the rest.
Easy Sawhorse Plans Part 2
Notch the Feet
Bandsaw the sides of the notches in the feet first…
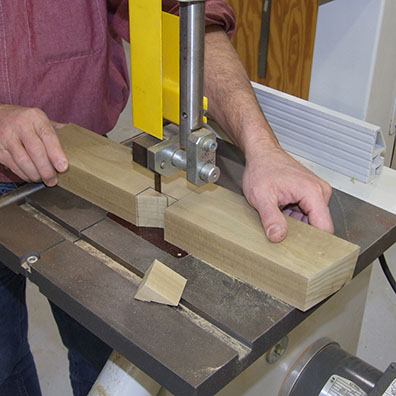
….and then remove the center waste.
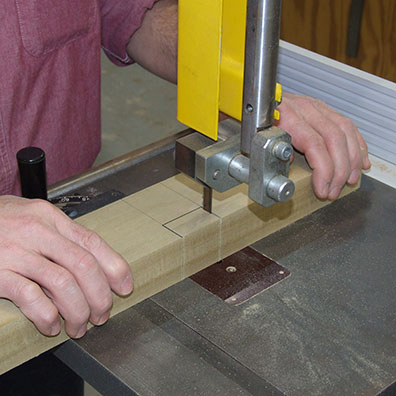
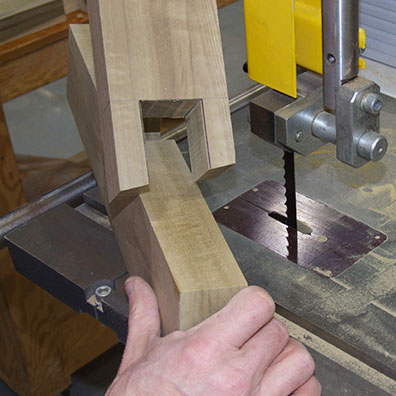
Simple Sawhorse Step: Notch the Legs
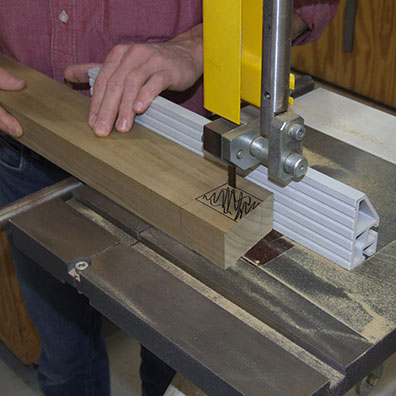
Use your bandsaw fence to cut the sides of the notches in the legs.
Align the fence so the kerf is on the inside of the mark.
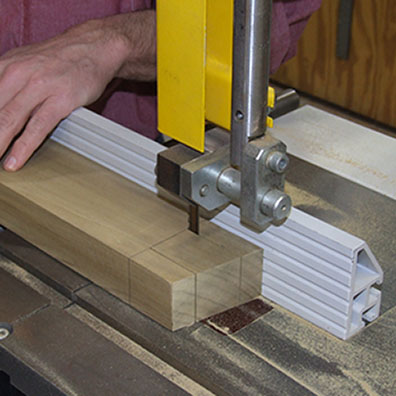
Flip the leg over and cut the other side of the notch.
Remove the waste from the center area.
Go here and search for ‘sawhorse’ for more sawhorse plans.
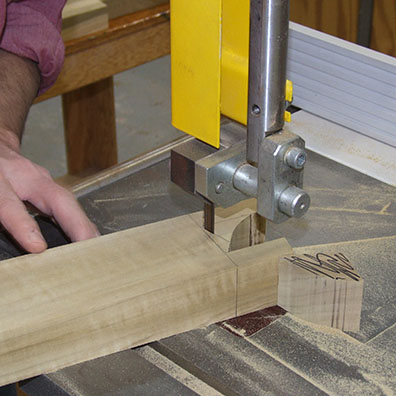
Test the Fit of your Easy Sawhorse Project
Test the fit of the notches. Too tight is better than too loose.
Adjust the fit

Adjust your bandsaw fence and recut the notches until the joint slides over the foot with hand pressure or light tapping. Also adjust the notch in the foot until the two parts fit together.

Adjust the depth of the notches or trim the bottom of leg so the foot is about 1/16″ proud of the leg. If the leg is proud, the horse will rock.
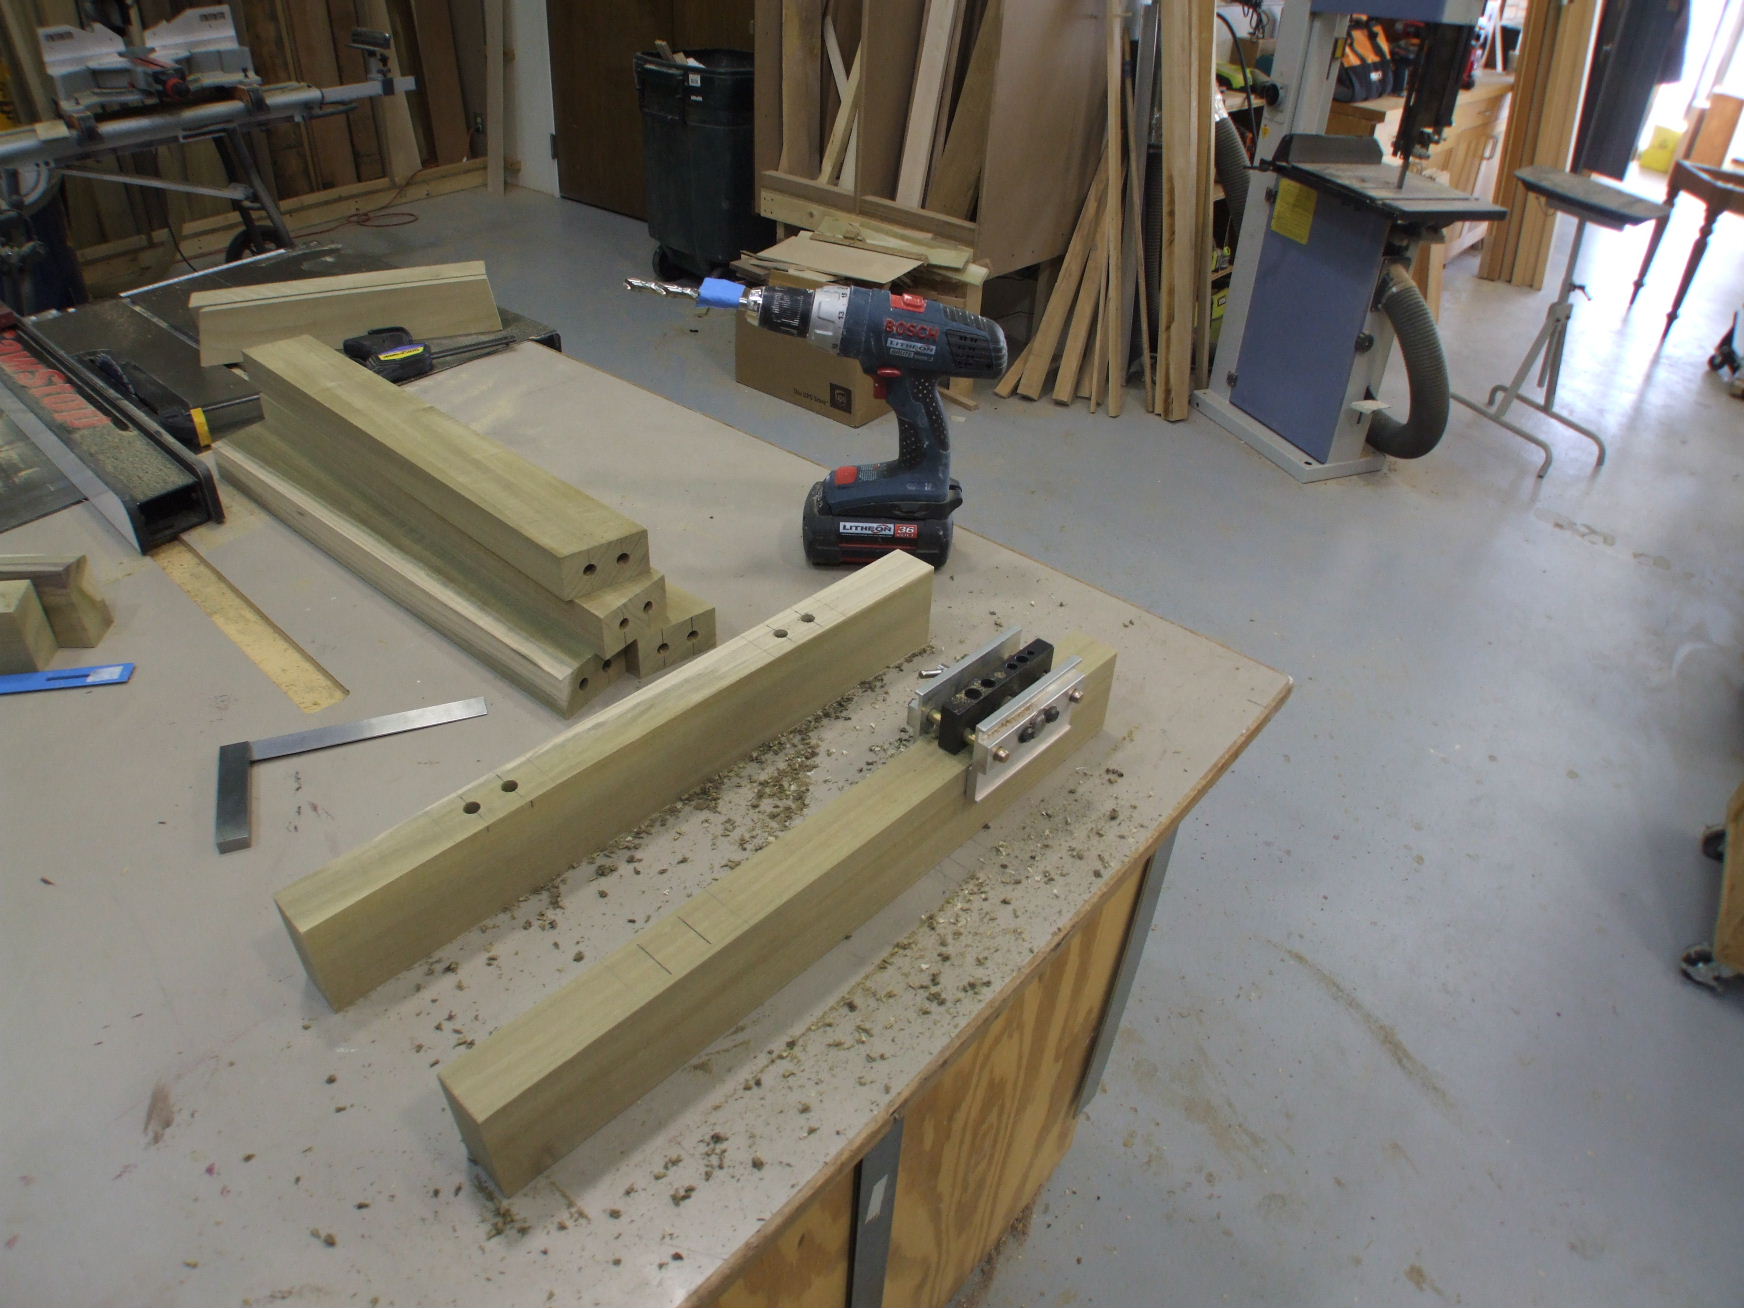 I attached the legs to the backs with 1/2″ dowels. Loose tenons would also work well.

Tap the dowels into the back first. It’s easier than putting them into the ends of the angled legs.
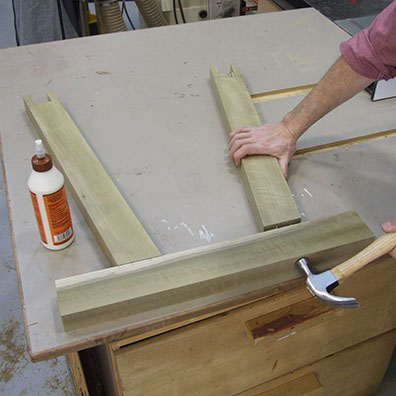
Tap the back onto the legs.

Draw the joints up tight with clamps. You may need to readjust the angle of the clamps while tightening in order to get the joints to close evenly.
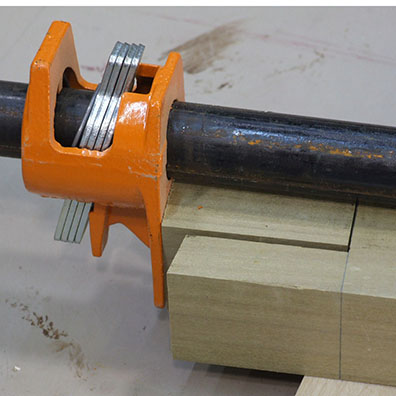
Add a block in the notch at the bottom of the leg to center the clamping pressure.

Remove the sharp corners by routing a 1/8″ or 1/4″ round on all the parts.
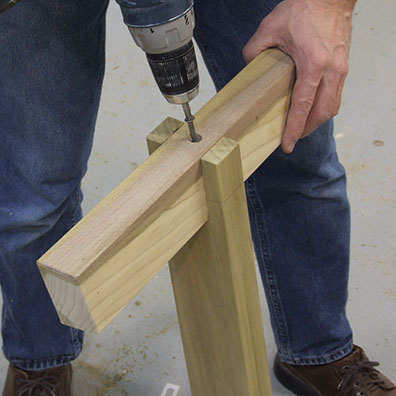
Glue and screw the foot to to the leg with a 3″ to 4″ screw.
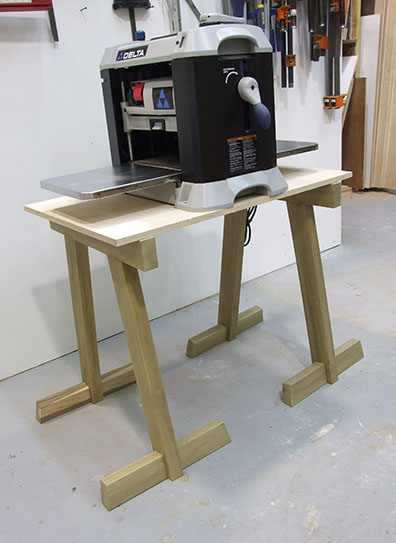
The completed simple, fast, sturdysaw horses hard at work.
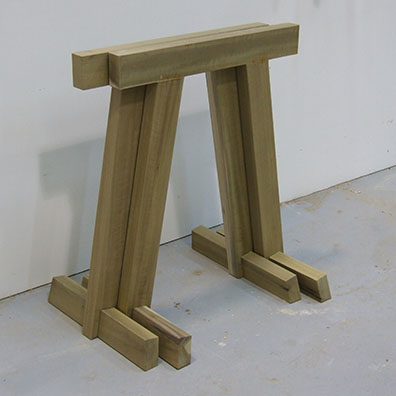
When not in use the saw horses nest neatly together taking up only slightly more floor space than one by itself.
Go here and search for ‘sawhorse’ for more sawhorse plans.
Here are some supplies and tools we find essential in our everyday work around the shop. We may receive a commission from sales referred by our links; however, we have carefully selected these products for their usefulness and quality.


