We may receive a commission when you use our affiliate links. However, this does not impact our recommendations.
A few weeks ago I talked about the shop-built cross-cutting square that helps me achieve quality right angle cuts on solid lumber. This week I am going to show how I am using a few inexpensive jigs that assist me when I am dealing with sheet goods.
The Platform
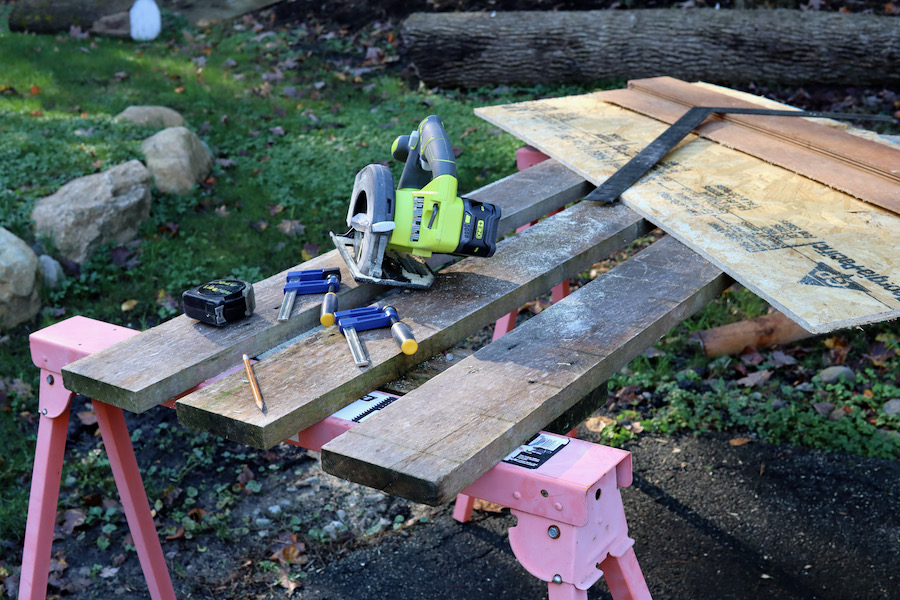
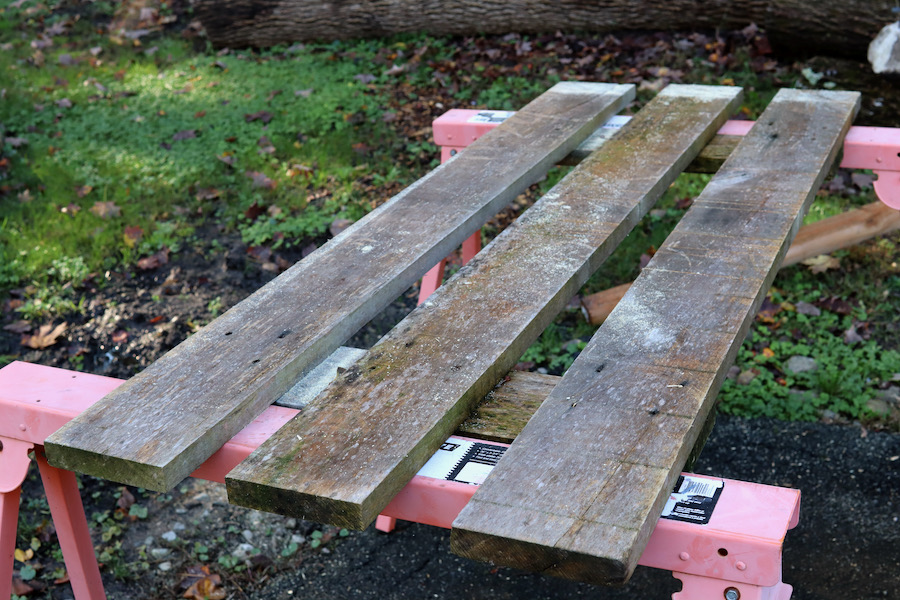
My technique is predicated on a simple foundation that allows me to conveniently secure MDF, Plywood, and other sheet goods for crosscutting and ripping. My pallet-like platform is rudimentary and is comprised of a few long rails (you can use 2×4 to build it) that are connected together with two, or potentially three ties.
 \
\

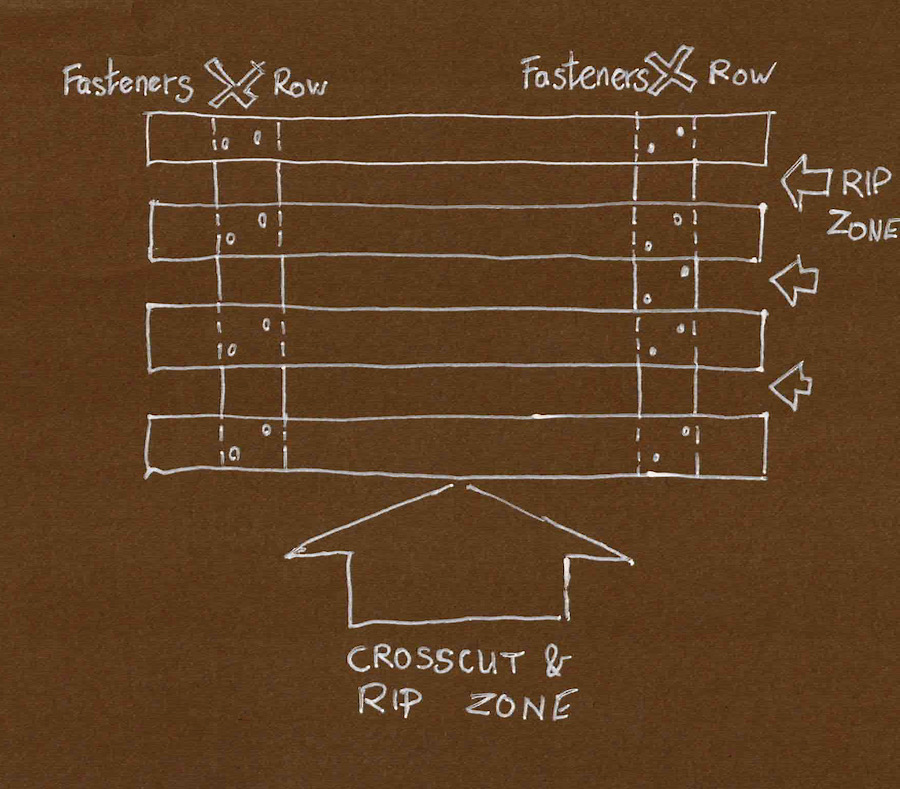
I use the Rip Zones (between the slats) for long rip cuts, and the wide field in the center of the platform for cross-cutting and short rip cuts (Crosscut and Rip Zone, in the drawing).
The space in between the long rails allows me to sneak in a clamp or two, and the ties are tall enough to allow the clamp’s head some clearance from the tabletop that supports the platform. While this platform can be placed on sawhorses or a tabletop, it can also be used on the ground (and because it is made of solid wood it can even be left outside).


The platform is made of thick elements that can tolerate the shallow saw kerfs that will crisscross the Crosscut and Rip Zone rails during the long life of this jig. There are only two areas that I do not recommend sawing over. These are the places where the platform fasteners connect the rails to the ties. I call these in the drawings Fastener Row. But of course, if you use dowels or dominoes to build the platform then the entire area of the platform is kosher for sawing.
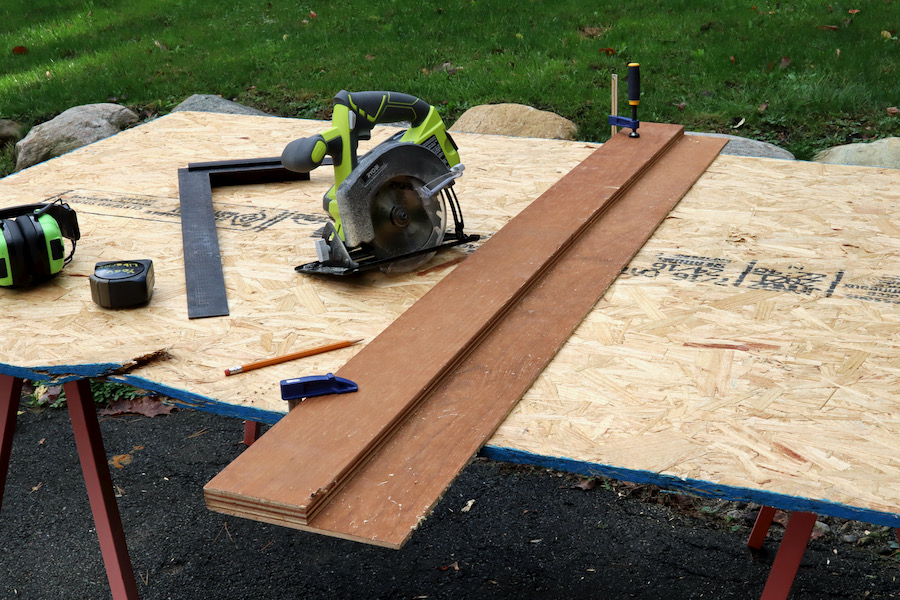
The Saw Guide
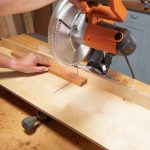
For speed, convince, and accuracy I built a saw guide that acts as an effective fence which allows me to lead the saw along the rip cuts, and across the wide crosscuts.
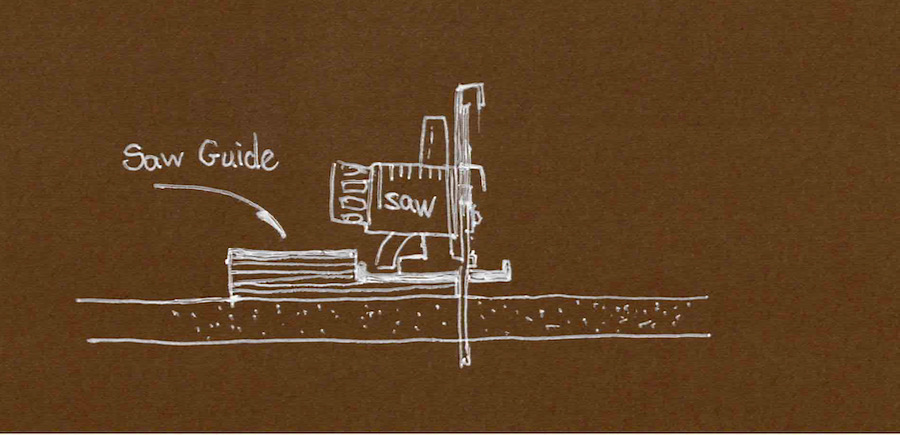
The saw guide is made of two pieces of plywood. A wide ~ ¼” strip at the bottom and a ¾” strip that acts as a straight edge on top. After connecting the two, run your saw over the jig’s ¼” base to rip the excess. After this, and as long as you continue to use the same saw that initiated the jig (with the same blade thickness) you will be able to count on the edge of the ¼” guide to indicate the location of the saw kerf.

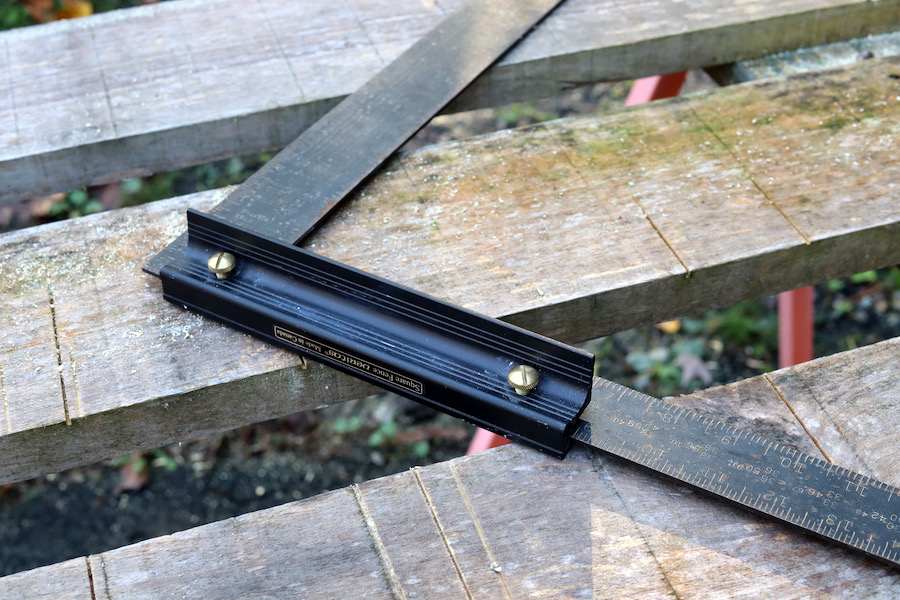
Veritas Square Fence

I’ve found that the Veritas Square Fence is very helpful for laying out the crosscuts line and for aligning the saw guide over it. The Veritas Square Fence acts as a ledge over a carpenter’s square which allows it to register at 90 degrees to the edge of the workpiece. After deciding on the location of the cut I lay the saw guide over the sheet good, align the carpenter’s square, then I clamp the guide to the platform and commence the cut.


With these inexpensive items (the cutting platform, a saw guide, two clamps, and the Veritas Square Fence) I am able to cut full-size panels accurately and easily. If you don’t have access to a big table saw and a sturdy support system for crosscutting and ripping sheet goods you might want to give this system a try.


Willow inspects the sawing layout before giving me the go-ahead to start the cut.
Here are some supplies and tools we find essential in our everyday work around the shop. We may receive a commission from sales referred by our links; however, we have carefully selected these products for their usefulness and quality.