We may receive a commission when you use our affiliate links. However, this does not impact our recommendations.

Modular Shop Cabinets
Euro-style construction makes them easy to build, easy to customize.
By Bruce Kieffer
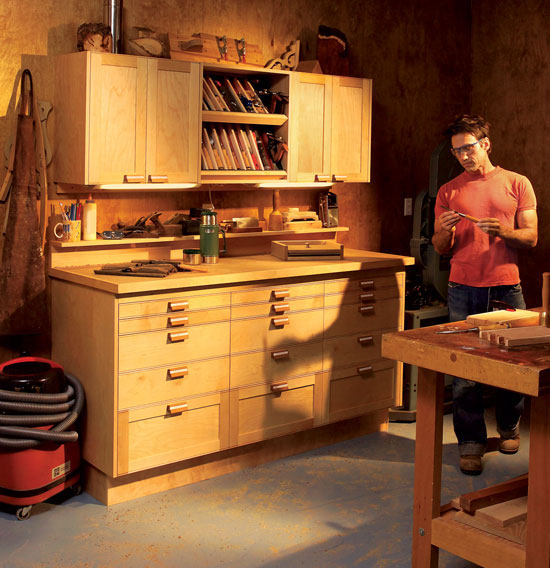
| In days gone by, apprentice cabinetmakers used to build their own tool chests. The chests were often works of art that both displayed the owner’s level of craftsmanship and provided practical storage for tools. These modular shop cabinets function in much the same way. Designed for ample storage, they also form a stunning piece of cabinetry.
Make no mistake, though; these cabinets are firmly rooted in modern cabinetmaking techniques. They’re built using the same modular construction system today’s professionals prefer. After you’ve warmed up on these shop cabinets, you’ll be ready to tackle making a whole kitchen full using the same technique. |
|
You may also like…
Simple, All-Purpose Shop Cabinets
Tool Cabinet
A Giant Shop Cabinet |
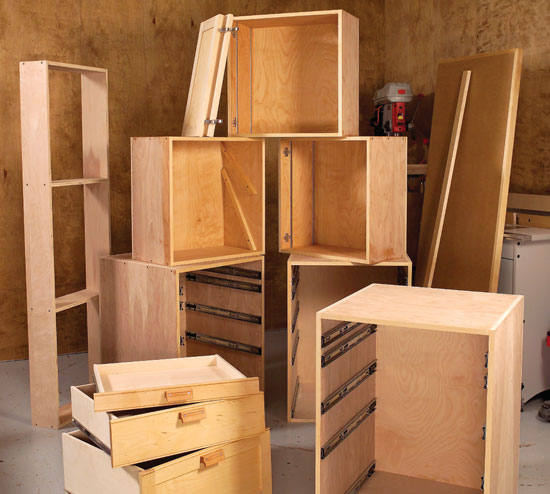
| These cabinets are built with box or modular construction: All the units are simply 2-ft.-wide butt-joined boxes. Because the boxes are all the same width, the drawers and doors are, too. This streamlines machining and assembly. Each box or cabinet is installed one at a time, allowing one person to build and install a run of cabinets of almost any length. |
|
Click any image to view a larger version.

|
| All the visible cabinet edges are covered with iron-on edge tape, which goes on fast and looks great. Trim the tape with a double-sided edge trimmer. Cut the tape ends flush to the plywood prior to trimming. |
|
|
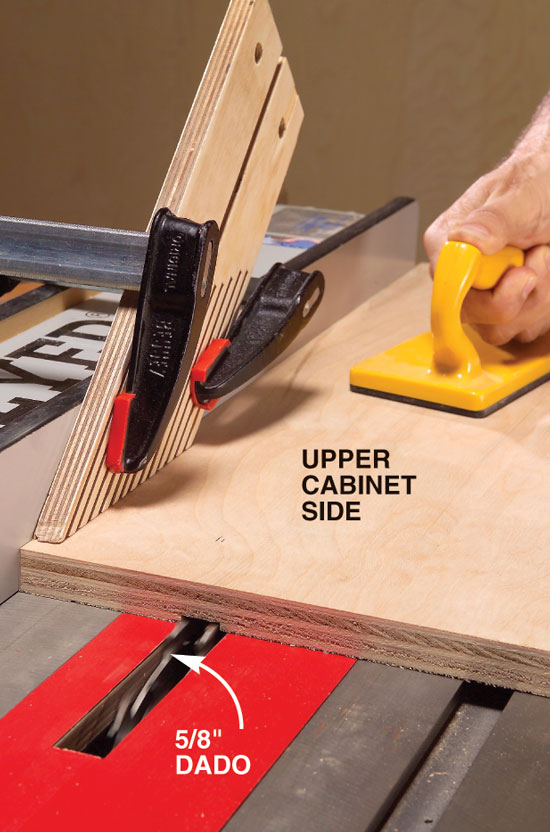
| Cut grooves in the upper cabinet sides to house the metal shelf supports. When installed, the standards stand proud of the grooves by about 1/16 in. |
|
|
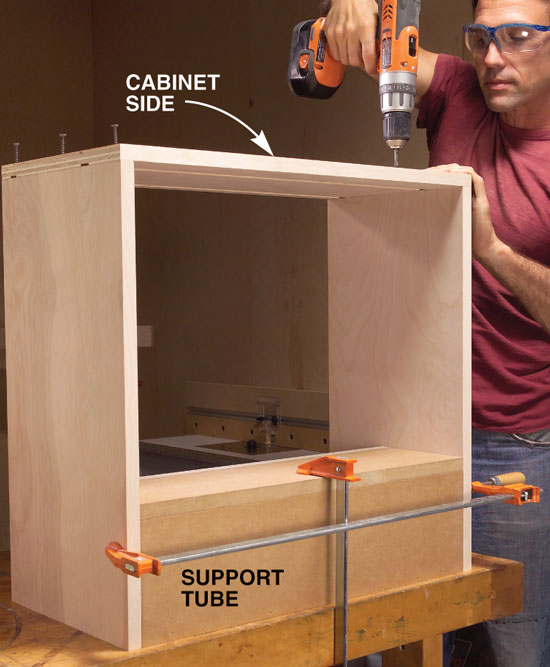
| Assemble the boxes using a support tube to hold the top and bottom steady. The support tube for the upper cabinets is just an 8 x 8 x 22-in. box. It’s like having a second set of hands for assembly. |
|
|
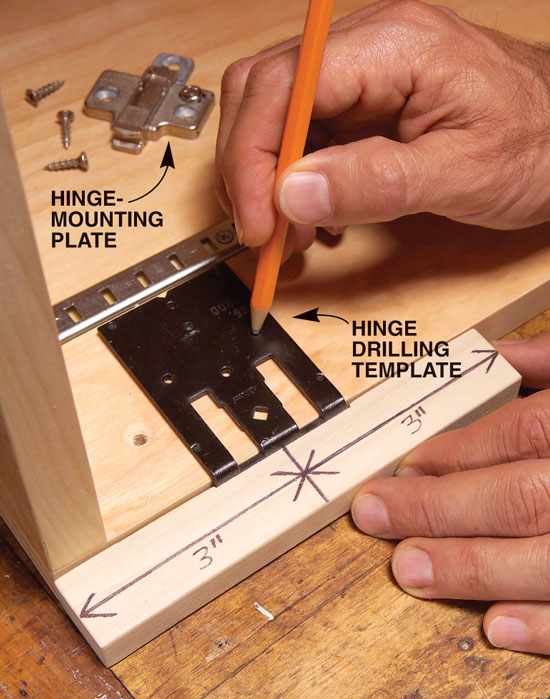
| Lay out holes for the hinge-mounting plates with a commercial template. Screw a 6-in.-long guide stick to the template to set the hinge plates 3 in. from the cabinet top and bottom. |
|
|
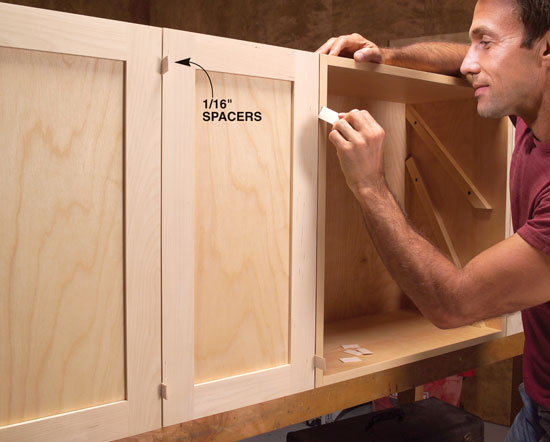
| To check the fit of the doors, first screw the cabinets together as they’ll hang on the wall. Use 1/16-in.-thick spacers to set the gaps. Adjust the hinges and trim the doors (Photo 6) until all the gaps are even. Be sure to mark each door so you can remount them later in the correct order. |
|
|
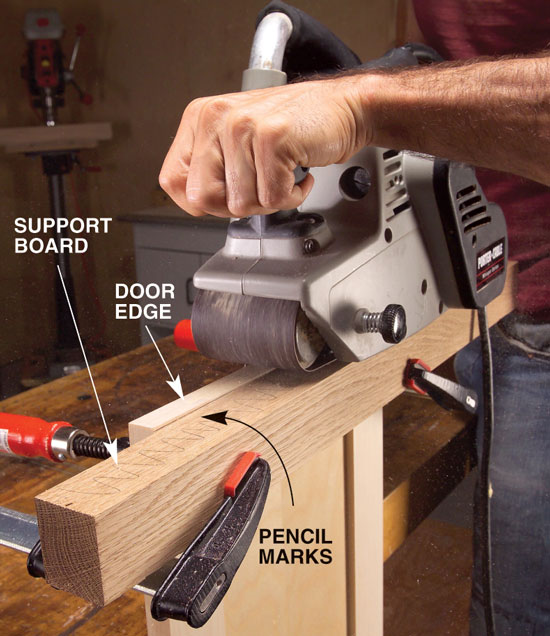
| Some doors and drawer fronts may need a little trimming for a proper fit. Use a belt sander with a wide support board clamped to the face of the door so only the area to be trimmed is exposed. Squiggle pencil lines on the support board and sand until the lines start to disappear. |
|
|
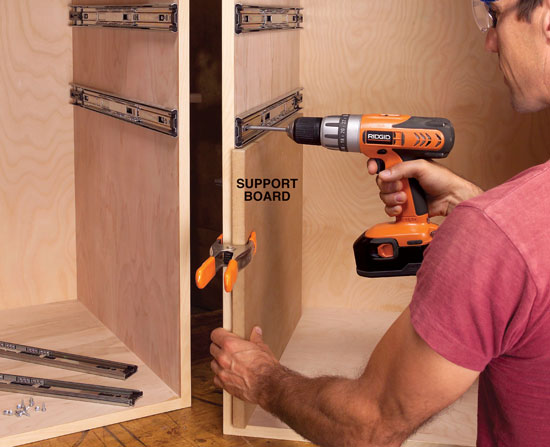
| Use a support board to align the drawer slides as you screw them to the cabinets. Start at the top drawer slides and work your way across all three cabinets. Then, cut the support board shorter to set the slides for the next level of drawers, and so on down to the bottom set of drawers. |
|
|
| The drawer slides are mounted 3/32 in. back from the drawer front to leave a little cushion between the drawer and the cabinet. A simple stick with a flat head screw works great as a setup jig. Adjust the screw until the setback is correct. Then butt the slide up to the screw head and screw it in place. |
|
|
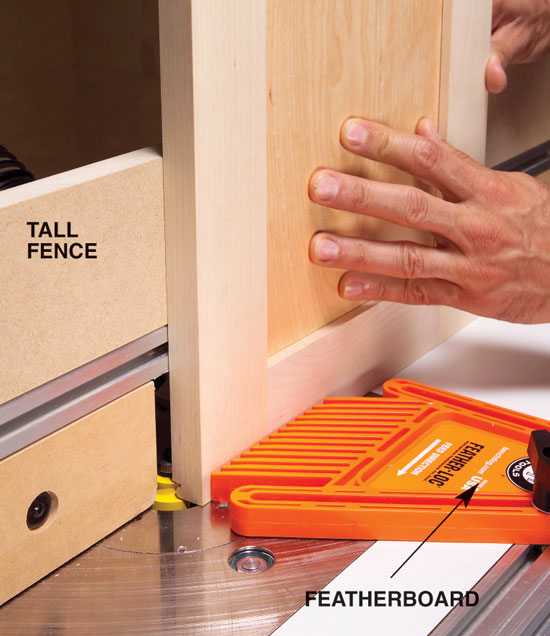
| Rout a beaded edge on the top and bottom of the doors and the drawer fronts. A tall fence and a featherboard steady the door for a smoother cut. |
|
|
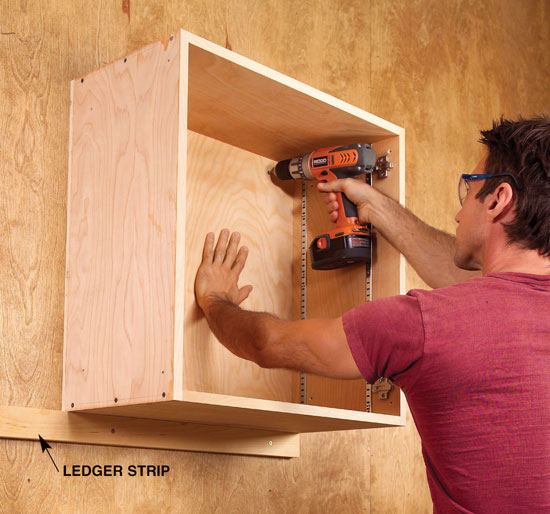
| Install a ledger strip on which you’ll hang the cabinets. Position the cabinet on the ledger strip and drive #8 x 2-1/2-in. screws through the cabinet into the wall studs. Put screws near the top and bottom of the cabinet. |
|
|
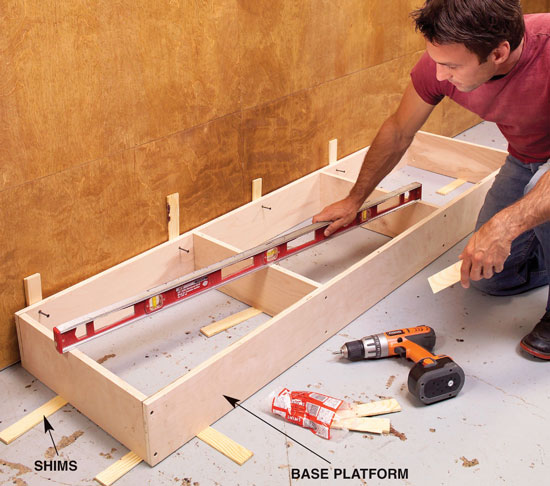
| The lower cabinets are set on a separate base. Use shims to level the platform front to back and side to side. Screw the base to the wall and trim the shims. |
|
|
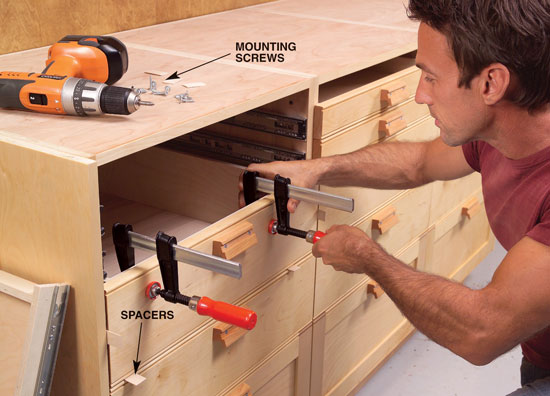
| Clamp the drawer faces to the drawers using 1/16-in. spacers to maintain an even gap. Then pull the drawer out and attach the fronts with screws. The predrilled holes in the drawer box are slightly oversize to allow you to make minor adjustments to the drawer fronts. |
|
|
Product Recommendations
Here are some supplies and tools we find essential in our everyday work around the shop. We may receive a commission from sales referred by our links; however, we have carefully selected these products for their usefulness and quality.