


We may receive a commission when you use our affiliate links. However, this does not impact our recommendations.
 Template routing and production techniques make this a fun project to make for friends and family. And, you might even get a meal out of the deal.
 Template routing and production techniques make this a fun project to make for friends and family. And, you might even get a meal out of the deal.
Project #2407 • Skill Level: Beginner • Time: 1 Day • Cost: $10
Download the full-sized templates here.
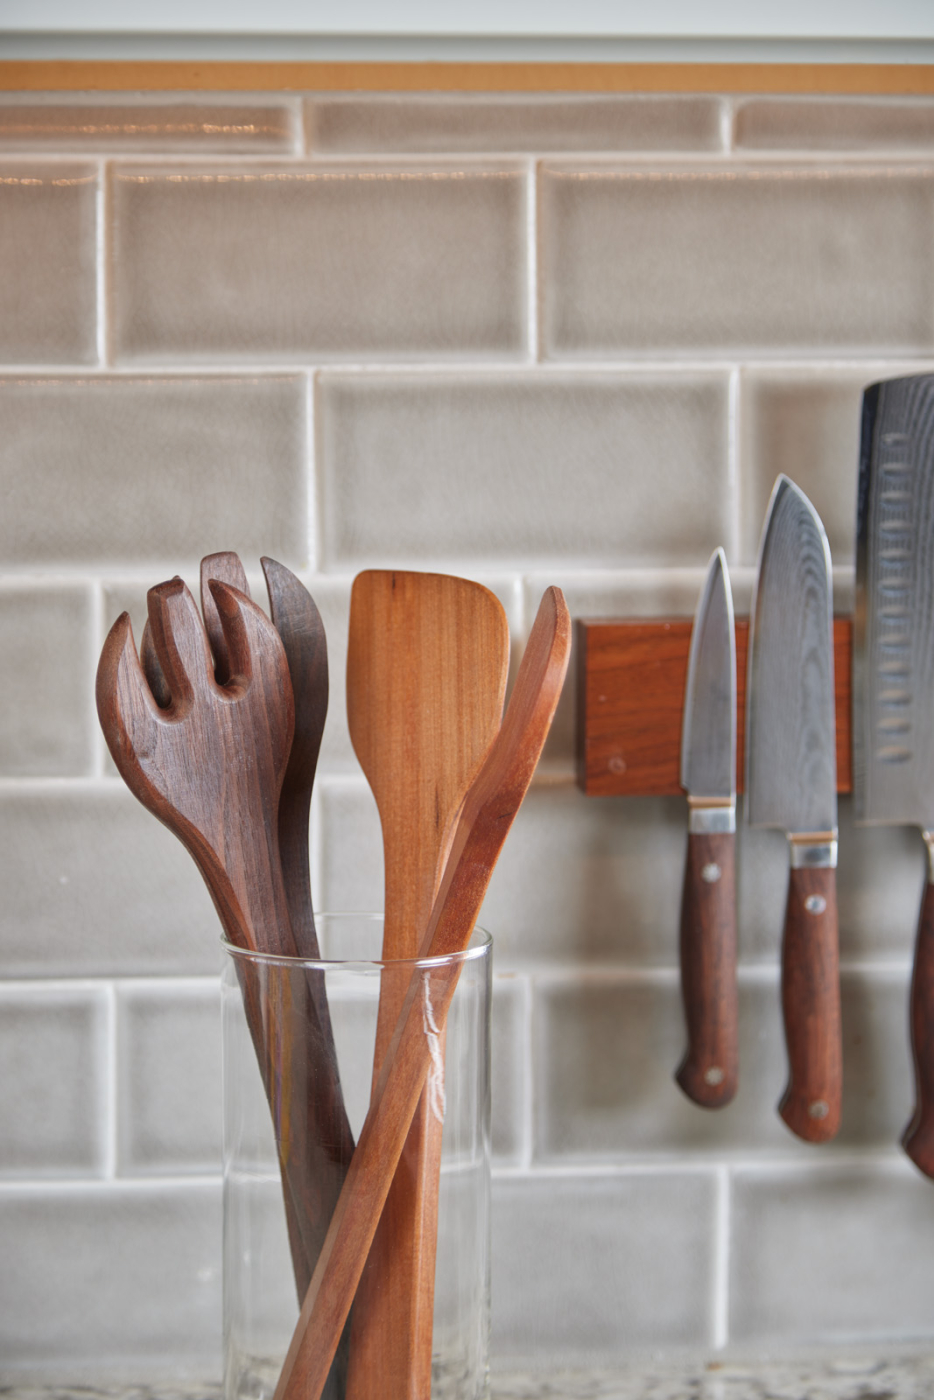
Well-crafted utensils are always useful in your kitchen. They make great gifts and if your shop is a source of income, they sell very well on the craft circuit. And using templates, they are quick and easy to make. We will create simple templates for each style and even share a template sled design for production routing. Templates allow you to make a few utensils or a larger batch anytime you want, while ensuring that sets match and your kitchen tools are the same size.
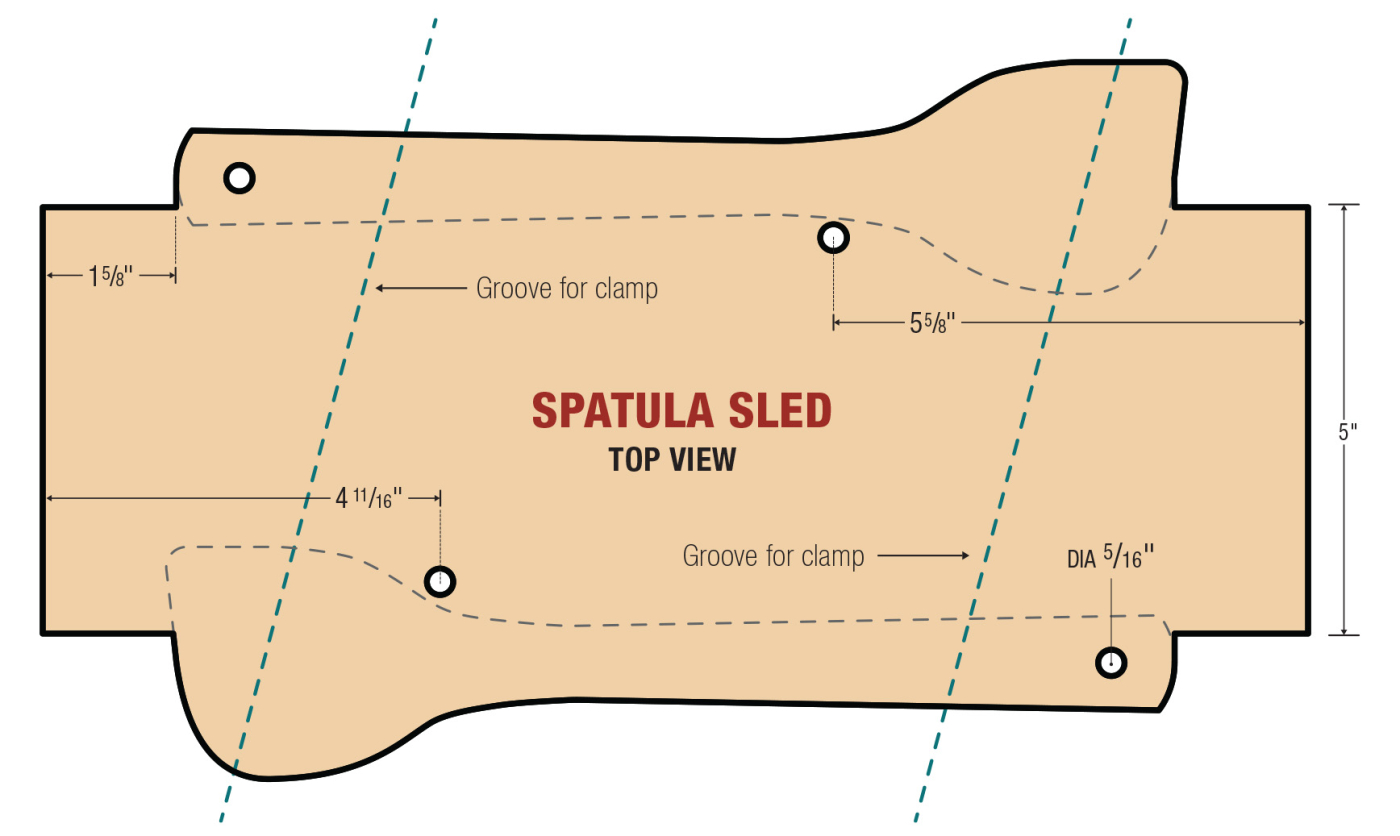
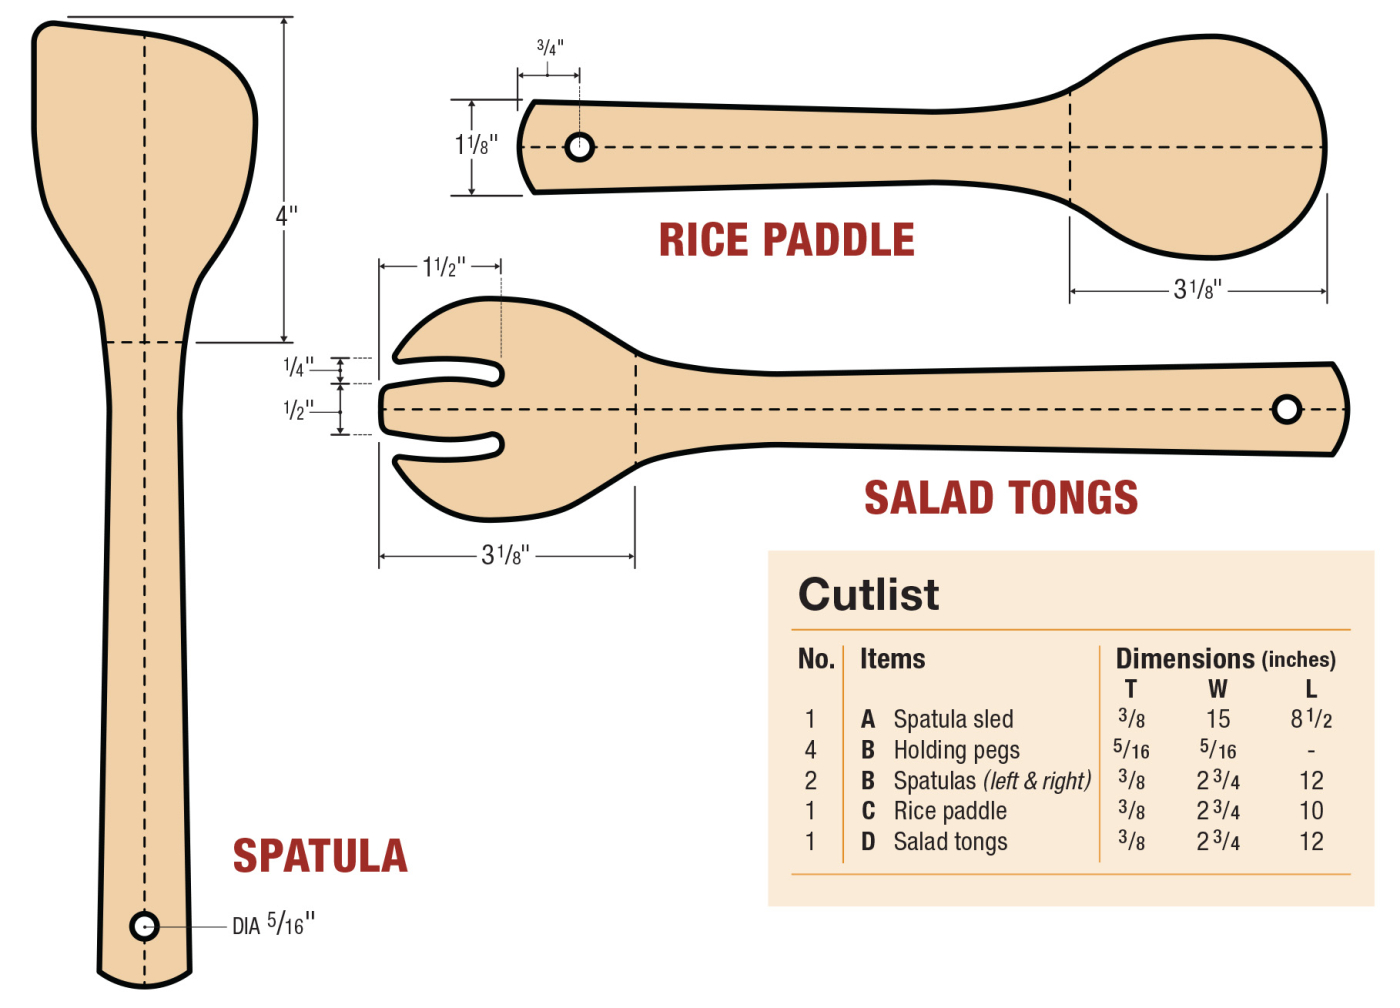
Cutlist and Diagrams

 Materials
 Materials
Clear, tight-grained hardwoods make the best utensils. Fruit woods like apple or pear are excellent if you can find them. My favorites include olive, cherry, beech, and walnut.
Your stock can be any thickness between 1/4“ (6mm) and 1/2“ (13mm). I like 3/8“ (9.5mm). Many lumber sources sell stock in these thicknesses if you can’t resaw or plane your own.
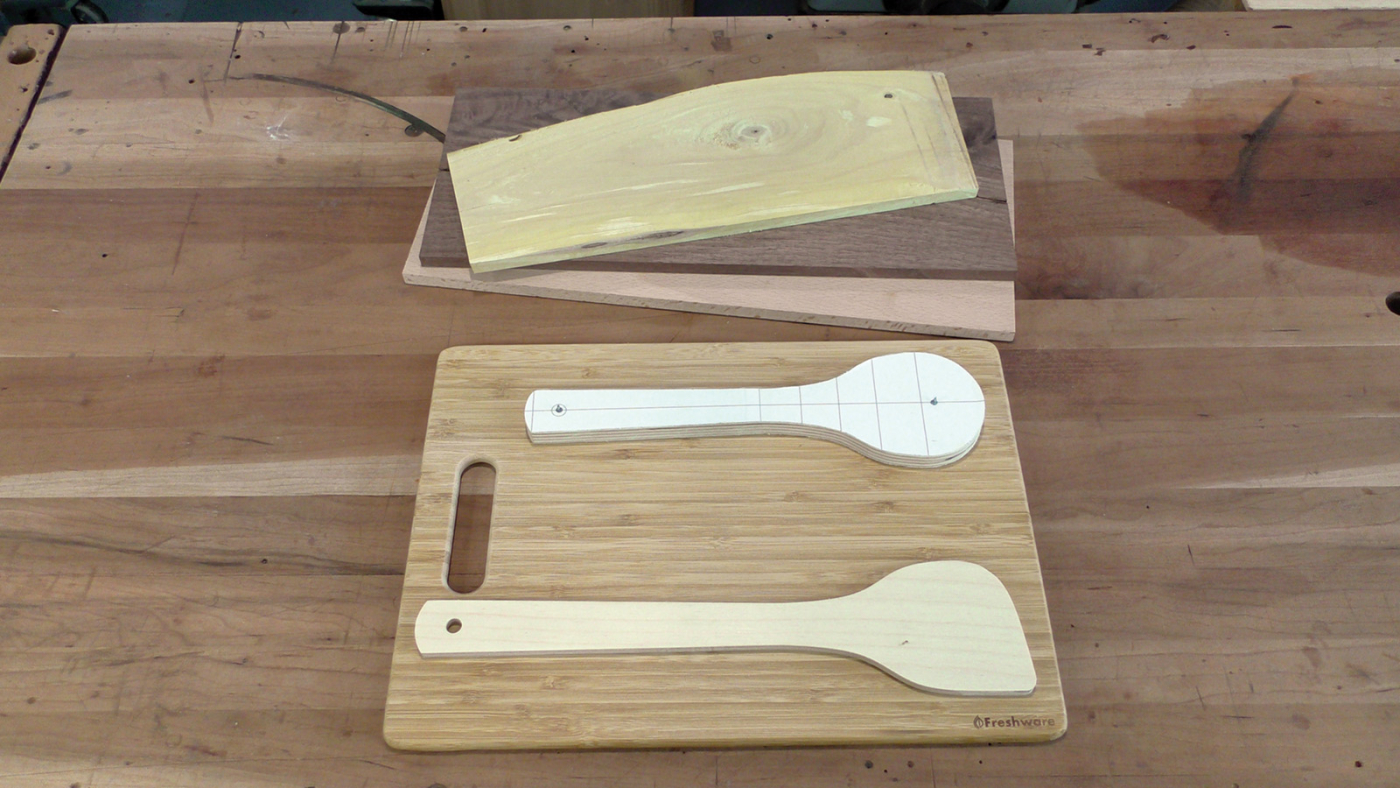
1 You can use a wide variety of wood species for your utensils, even pre-glued bamboo.
You’ll note that a couple of my examples here are bamboo. Inexpensive bamboo cutting boards are easy to find in useful thicknesses and work very well for utensils. Just be a bit careful with routing as bamboo can tear out.
Making Simple Templates
While it is possible to cut and shape utensils directly from the stock, flush trimming parts from templates greatly speeds the process if you are making more than one or two. And you can use the templates to make more utensils anytime you like.
Start by making a couple of ‘simple’ templates. These are made the same size and shape as the utensils and used to directly trim blanks to size. Templates can be made from many materials such as MDF, plywood, or plastics. Here I am using 1/2“ (12mm) Baltic birch plywood.
Begin by printing out the patterns. The print includes a ruler to let you verify the size. Stick them to your template material by using a glue stick or spray adhesive.
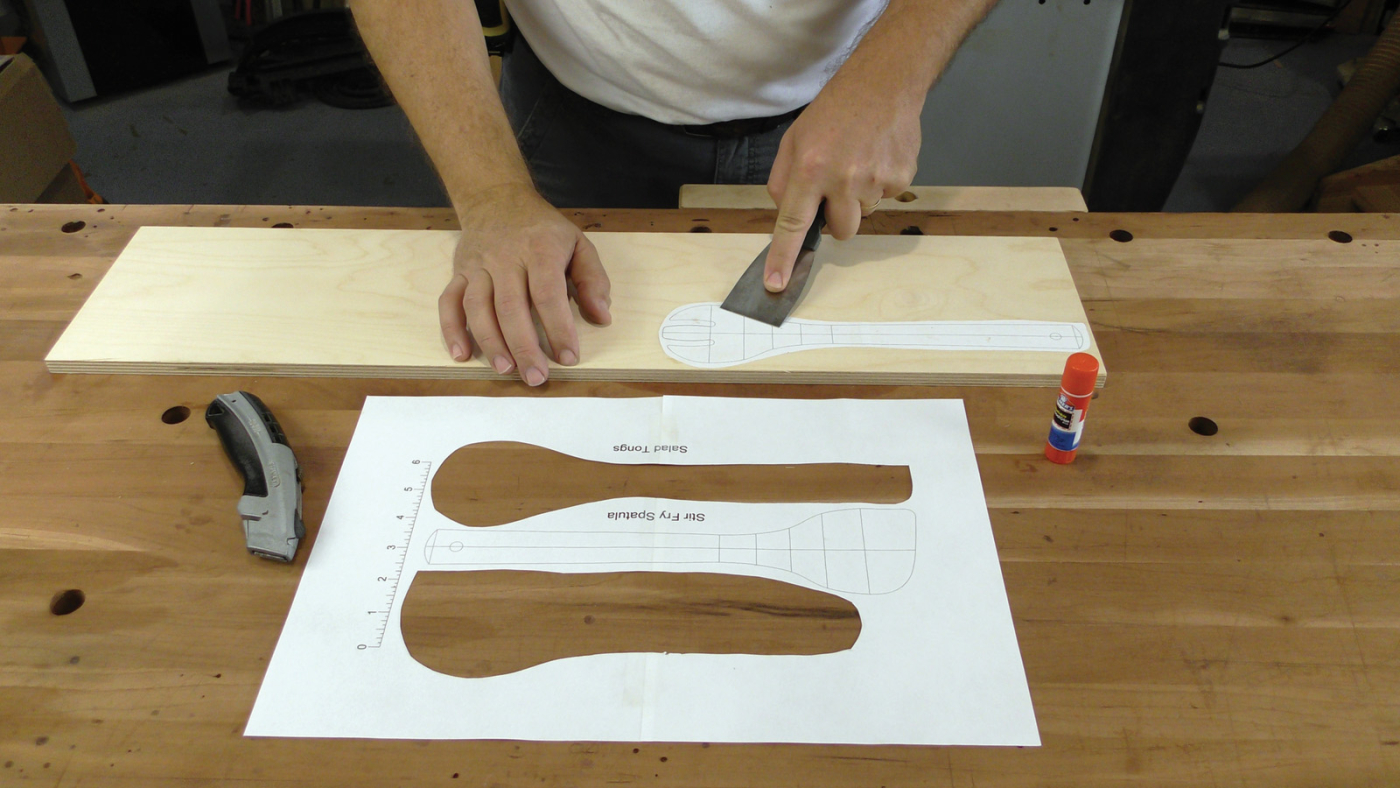
2 A drywall knife helps press the printed patterns flat onto your template stock as you glue them down.
Use a jigsaw or band saw to cut the stock to the template line. Cut as close to the line as you can without cutting into it. Sand around the edges right up to the printed border. Here I am using a sanding drum in the drill press. The faces do not matter, your flush trim bit will follow the edges and control the shaping of your parts.
3 When roughing out your template, cut smoothly and evenly around the lines to make the sanding easier.
4 Sand carefully around your template. Any bump or flaw will transfer onto every part you make with it.
I add pins to my templates to secure them on the stock for cutting. I am using FastCap’s Blind Nails. These are pointed at both ends and are inserted with a special tool that looks like a nail set. Similar pins can be made in your shop by driving wire brads or finish nails into the template, then cutting the head to a sharp point.

5
6 Pinning your templates to the parts lets you process parts quickly without the mess of double-sided tape.
To hide the pin holes in your utensils, I have located one pin where the hang hole is marked on the template. Place the second pin in the center of the working end. Later, when the hang hole is drilled and the paddle face is cut to shape, these pin holes will be removed.
Roughing Out Blanks
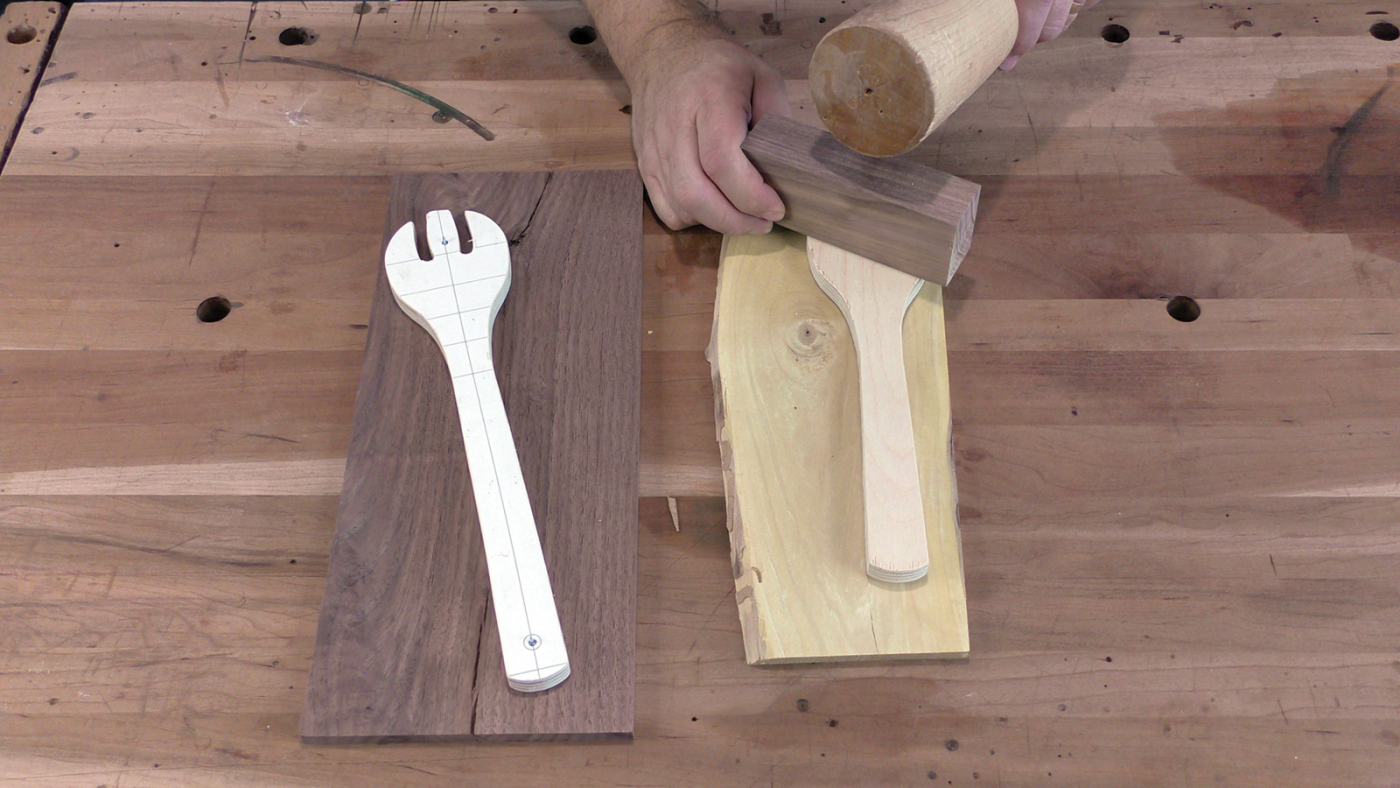
Position your template onto the stock and tap it into place engaging the blind nails. Adjust the template location as needed to select the best grain options and avoid any knots or flaws.
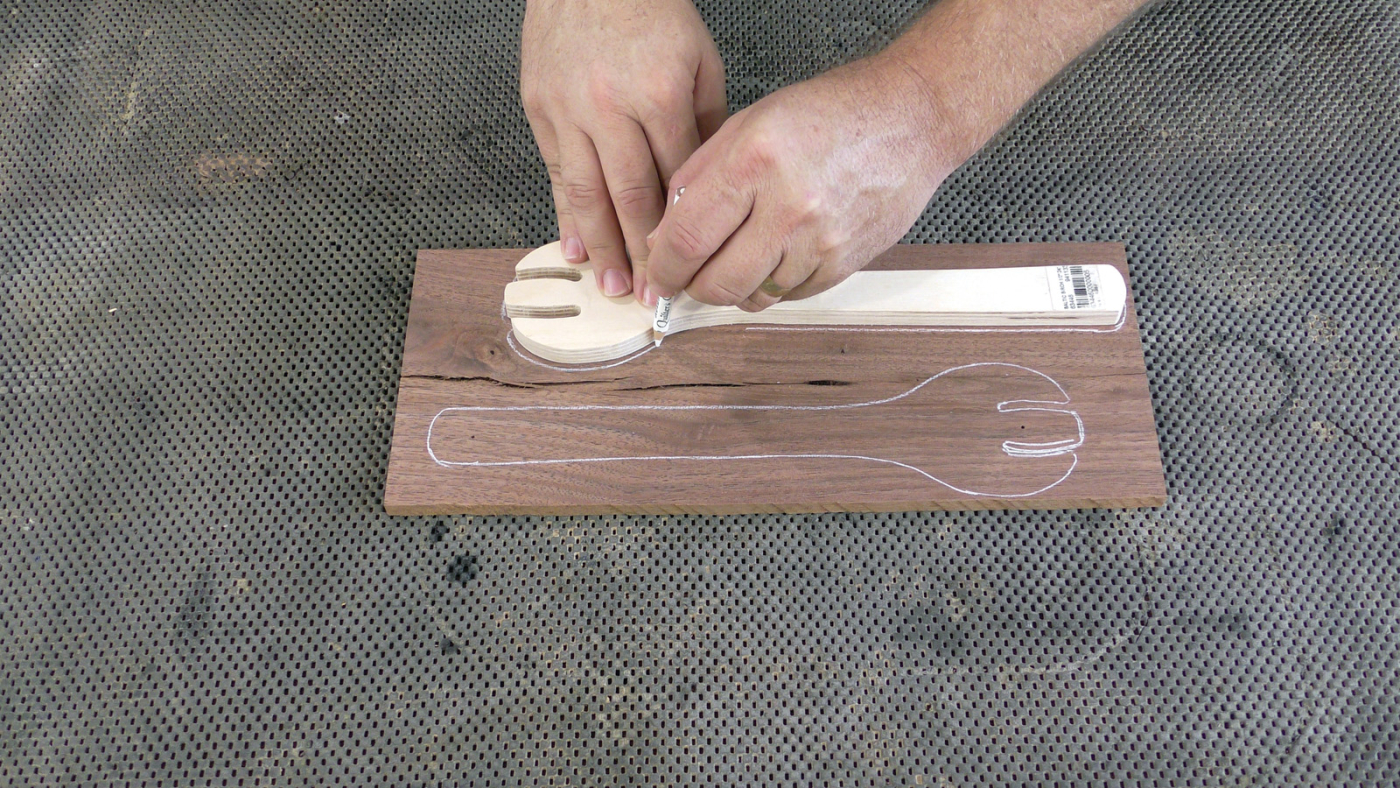
7 Use a white colored pencil for better visibility when tracing your patterns on darker wood.
Get the most out of your material by tracing multiple parts nested tightly together. Leave about 1/16“–1/32“ (2–4mm) around the template for the flush trim step.
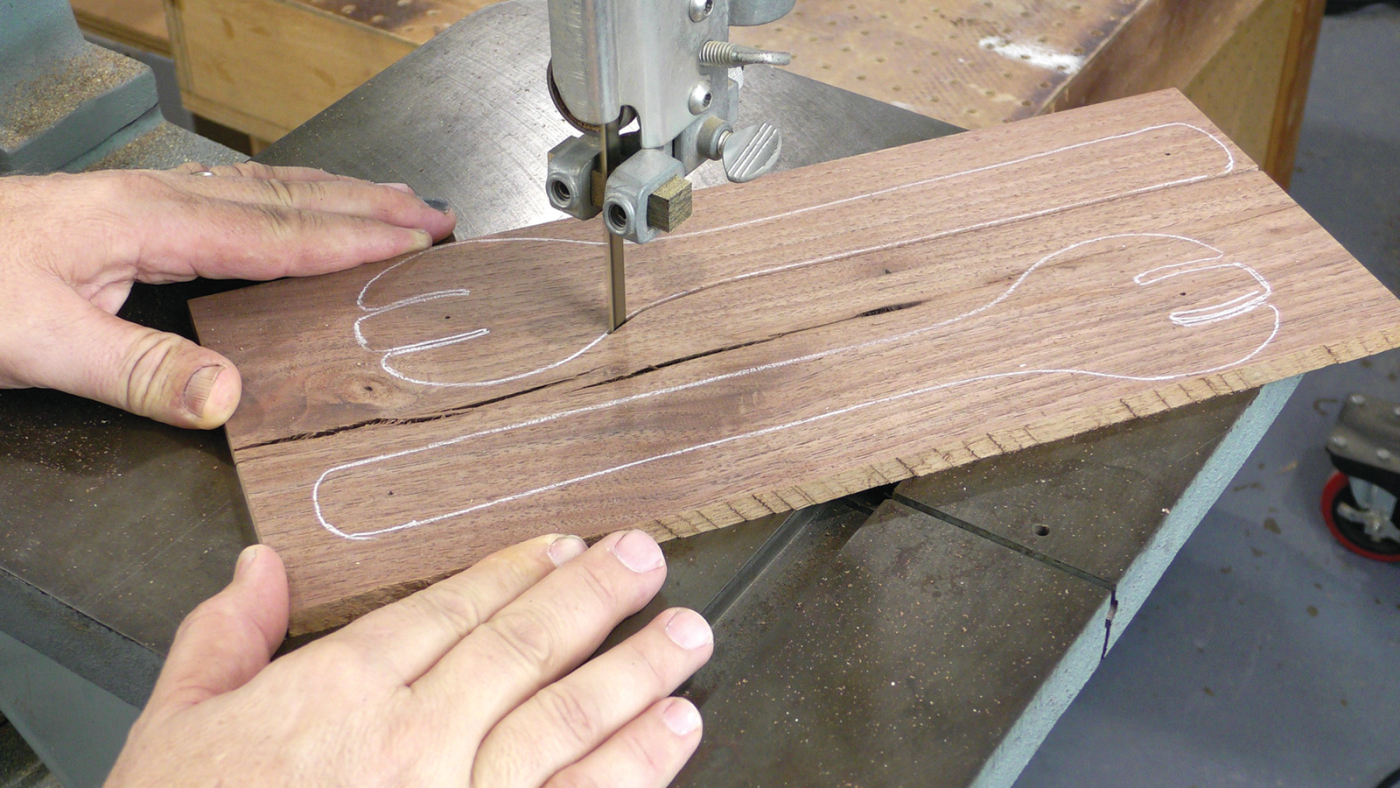
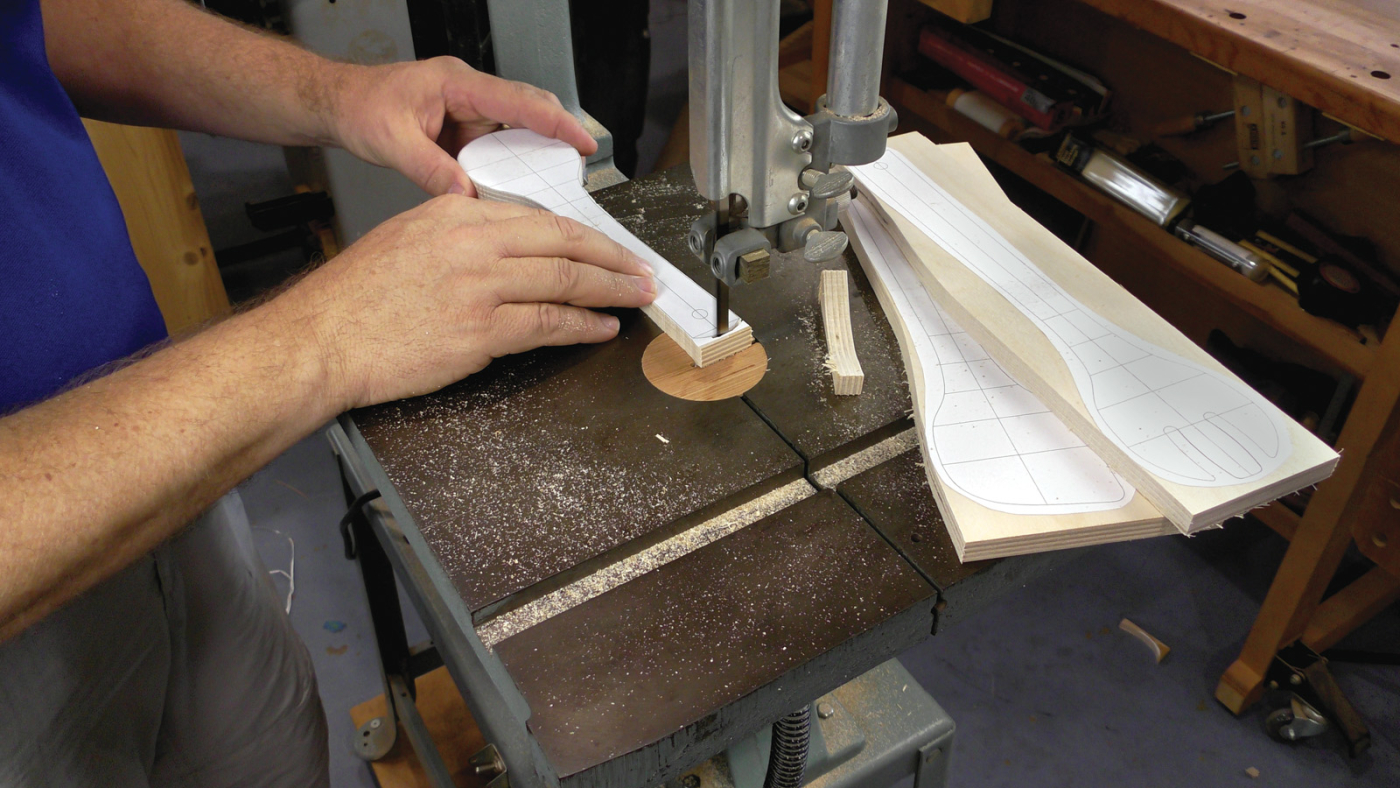
8 You can cut out as many or as few blanks as you want before moving to the router table for trimming.
Saw the parts along the lines to rough cut them for trimming. The band saw is ideal for this work, but a jigsaw or coping saw can get the job done. Work as close to the lines as possible without cutting inside them.
9 Rough cutting the blank close to the template means less stress when flush trimming, which greatly reduces the risk of the tear out.
Salad Tongs
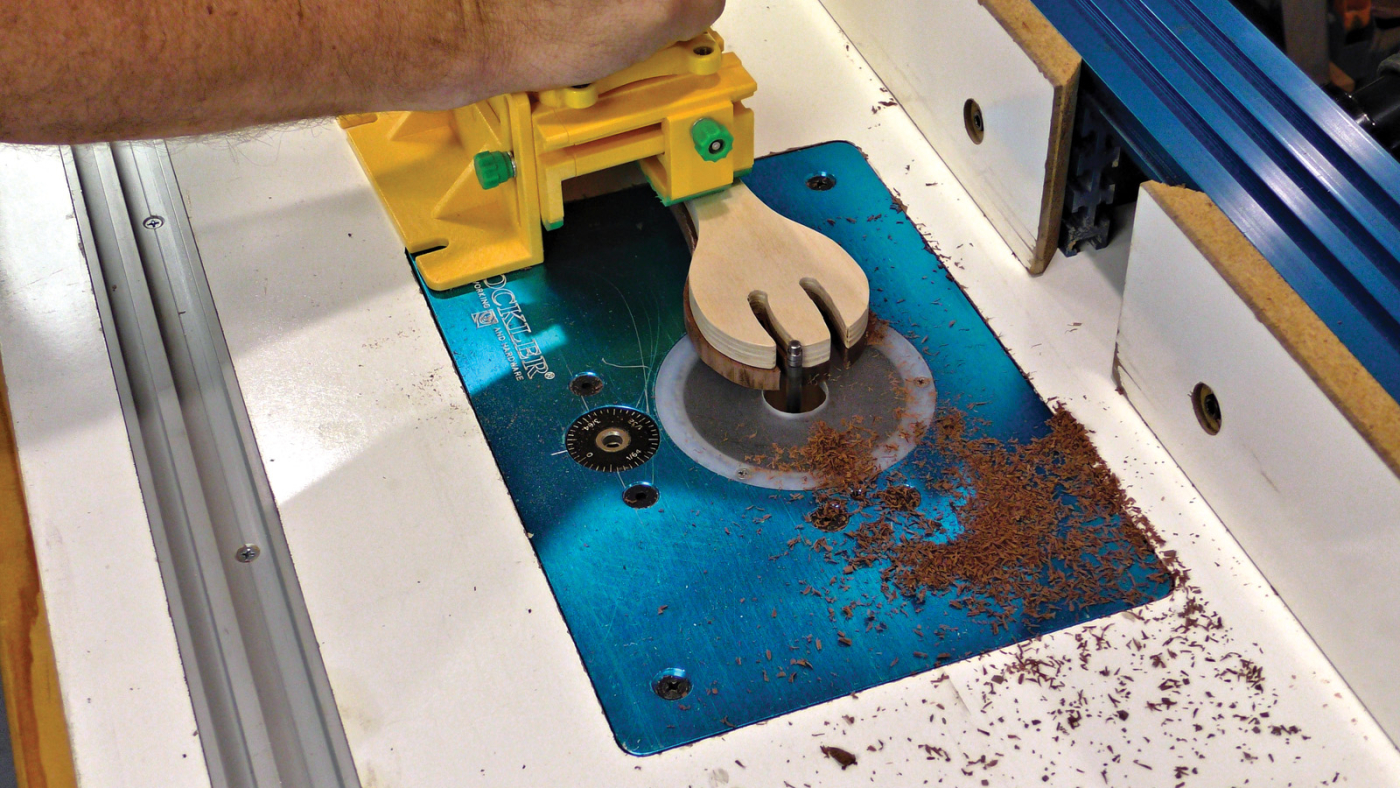
Cutting between the fingers on the salad tongs will require a 1/4“ (6mm) flush trim bit. Set the template on top of the stock and tap it to set the pins into the blank.
10 Light cuts and a sharp bit will allow you to make smooth, chip-out free parts.
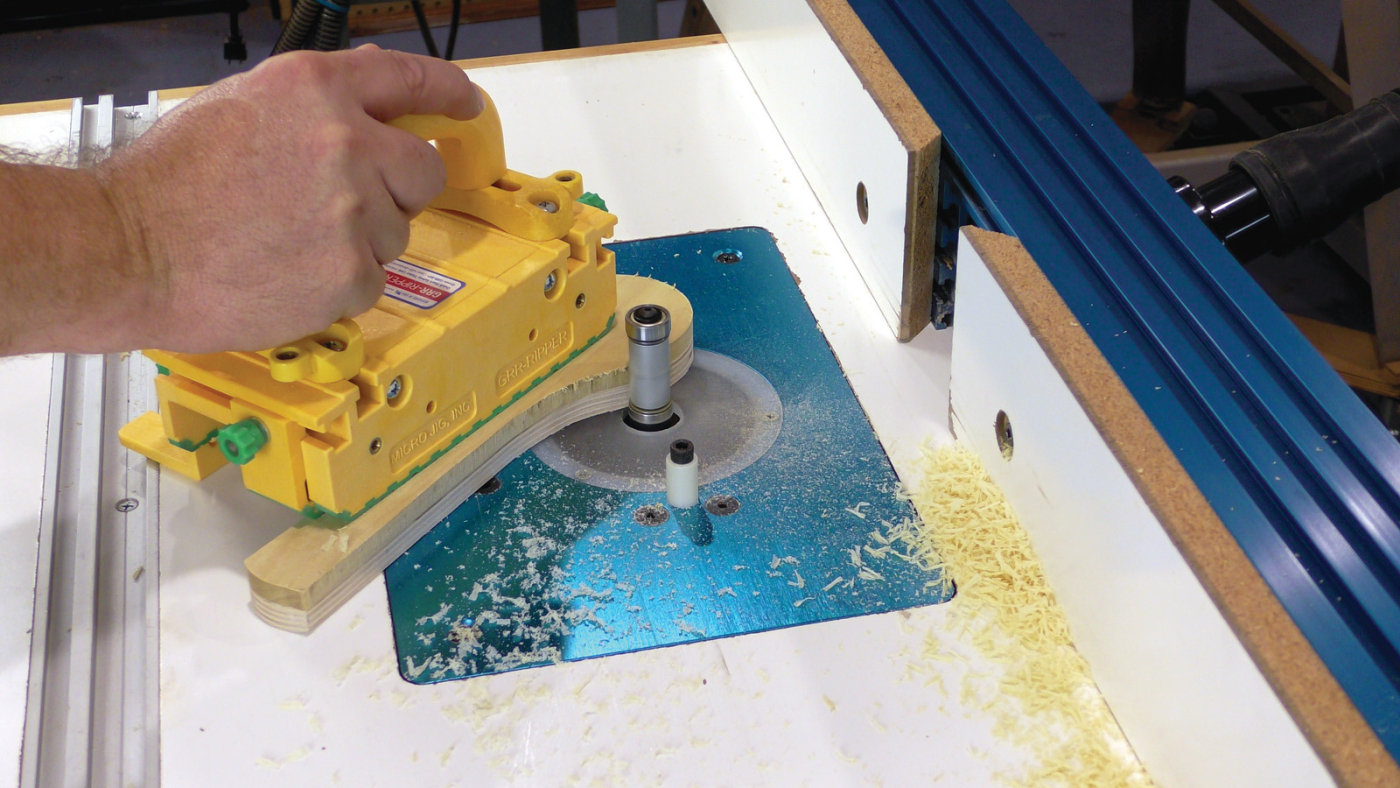
The parts here are narrow, so you may want to use a push block to hold the parts and keep your fingers out of the cut path. Keep the template tight against the bearing of the bit and be sure to move the template against the rotation of the bit (clockwise when looking down onto the table).

11 Holding your part against a start pin (shown next to the bit) while pivoting into the bit to start the cut will help you control the cut and prevent the bit grabbing the part.
12 Some flush trim bits come with bearings at both ends so you don’t need to swap bits between cuts, just reset the height.
Rice Paddle
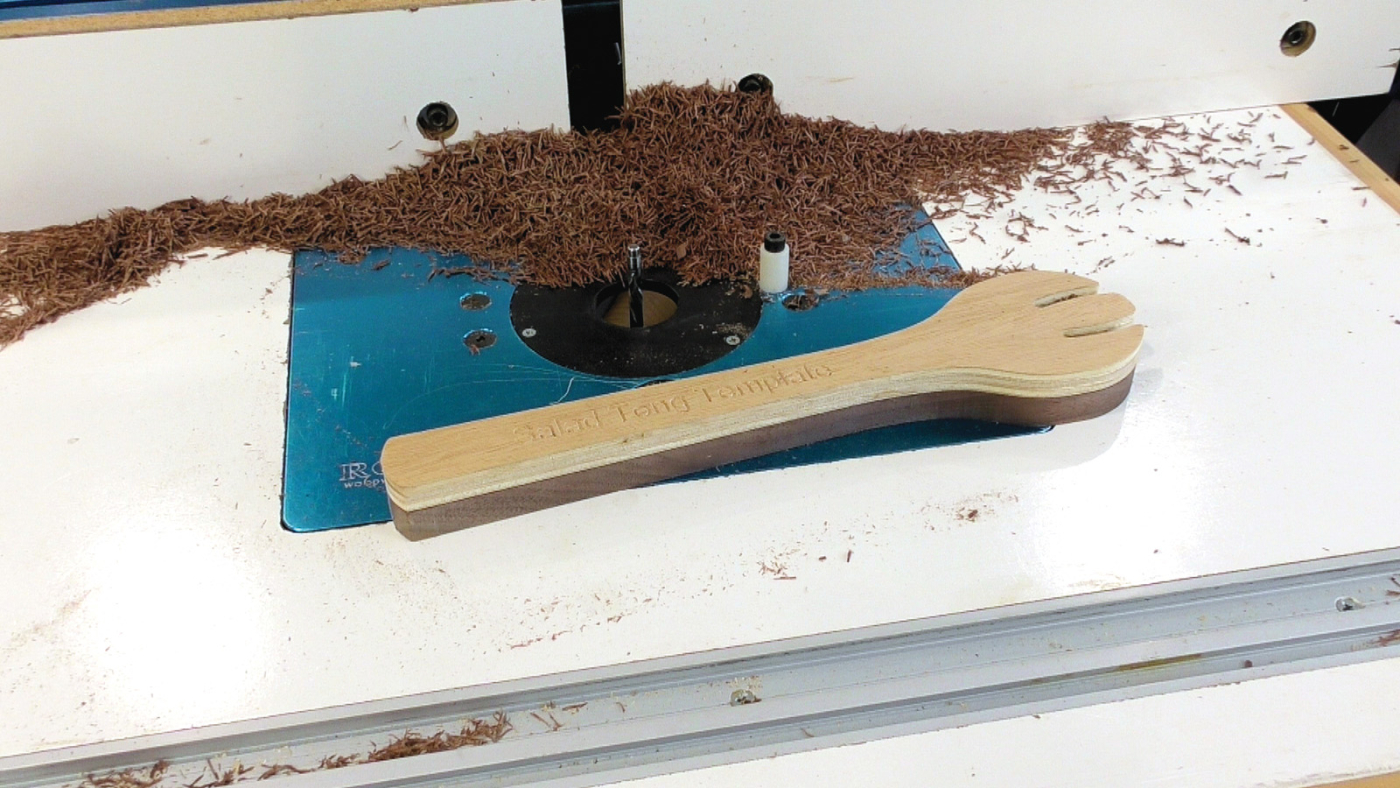
We are using a simple template for the rice paddle, the same as we did with the salad tongs. Since there are no narrow areas to cut, we can use a larger diameter flush trim bit, which cuts more easily than the 1/4“ (6mm) bit we used before.
The grain of your utensils runs along the length of the handle, which means the flush trim bit is cutting against the grain as it moves from the handle to the wider paddle. A trick to prevent tear-out here is to trim the parts in two cuts. Start with a top-bearing bit and the template above the part. Begin the cut at the end of the padding working clockwise so the bit cuts from the wider section down into the narrower handle. Stop cutting when you reach the middle of the handle end.
To cut the other half, reset the router table with a pattern bit (bearing below the cutting edge) and finish the trim again starting at the end of the paddle and cutting down into the handle. Flipping the part means all cuts are made with the grain, preventing tear out.
Left & Right-Handed Spatulas
In addition to using simple templates for trimming parts, you can build a template sled. Sleds have the advantage of size and handles to keep hands out of the cutting zone. You will still need to make a simple template to draw and rough out the blanks.
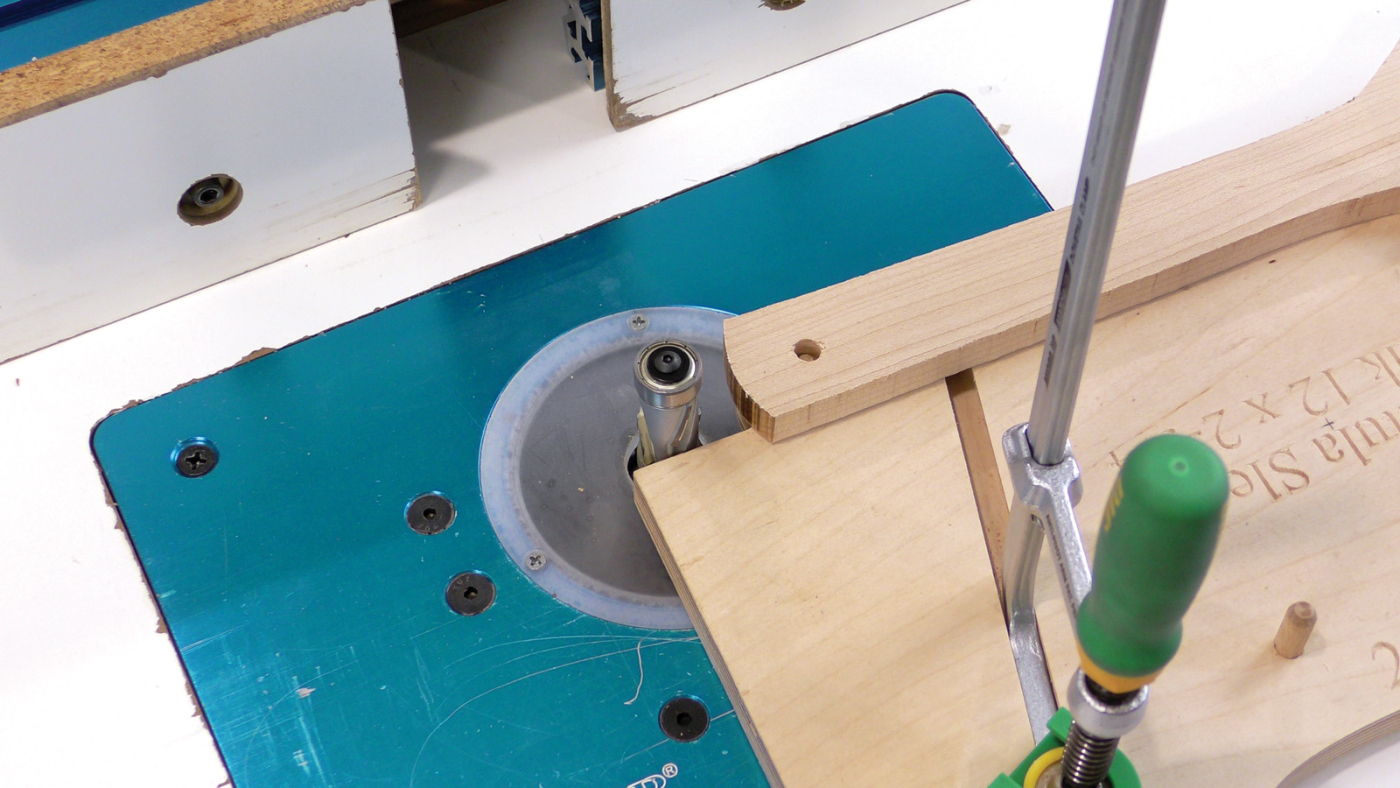
13 The template sled extends beyond the part, so the bearing engages with the template before the cutting starts.
The sled can be laid out using our drawings and your simple template, but it is the perfect reason to turn on the CNC if you have one. You can request the .DXF file here and cut it out as needed.
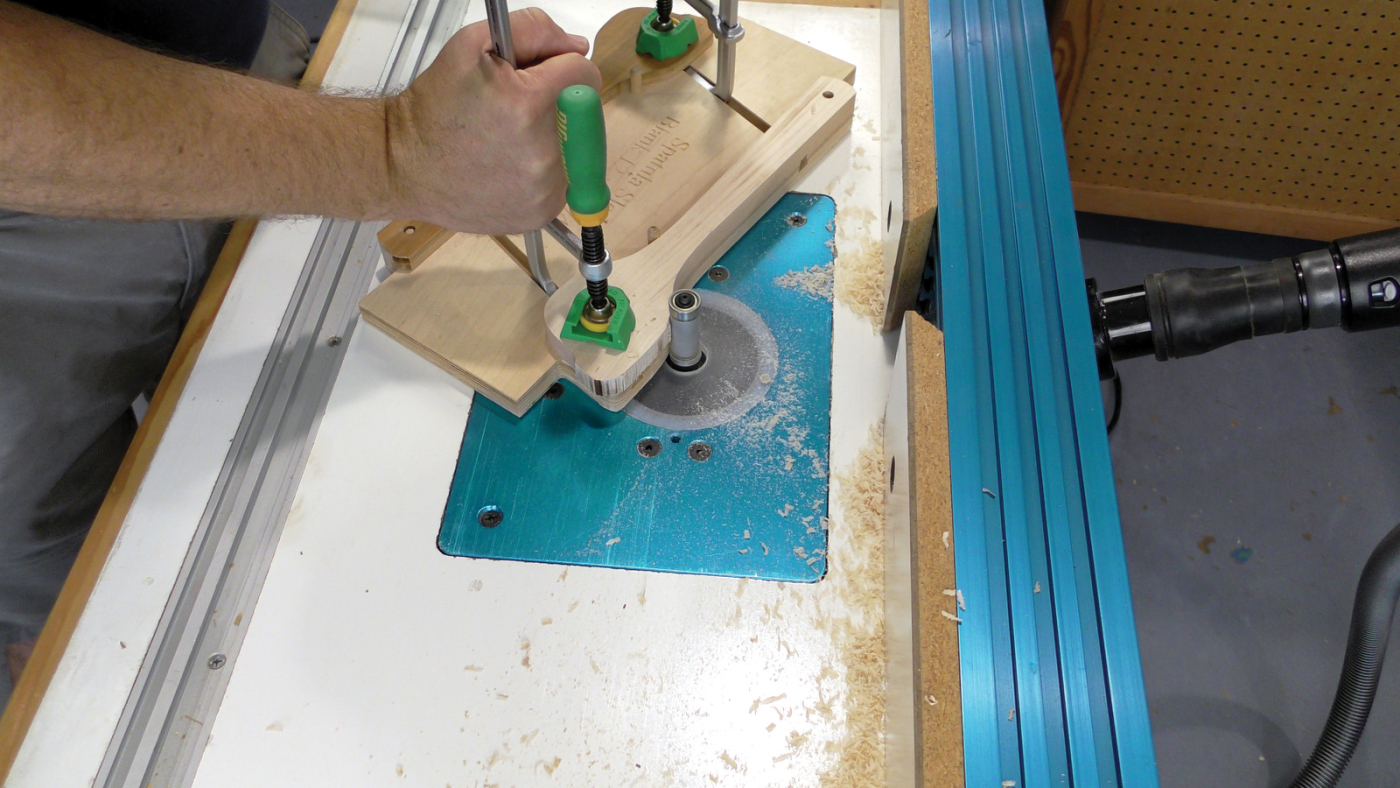
Half of the spatula profile is cut into each side of the sled with about 1/8“ (3mm) overlap on each side of the center line. Mount toggle clamps to hold the parts or cut grooves for clamps as included in the .DXF file. Mill these as “T” slots for hold downs or dovetail slots for MicroJig’s MATCHFIT clamps as shown.
14
The “first cut” side of the sled locates the blank using a dowel through the hang hole, so drill these before moving on. A dowel stop pin is located behind the blank at the other end to accommodate the extra stock that will be trimmed off in the second cut. The “second cut” side also uses the hang hole for location, but the stop dowel is precisely set to locate the already trimmed edge of the blank (see sled drawing). So, it is useful to mark these two sides. Again, the CNC makes this easy to carve in.
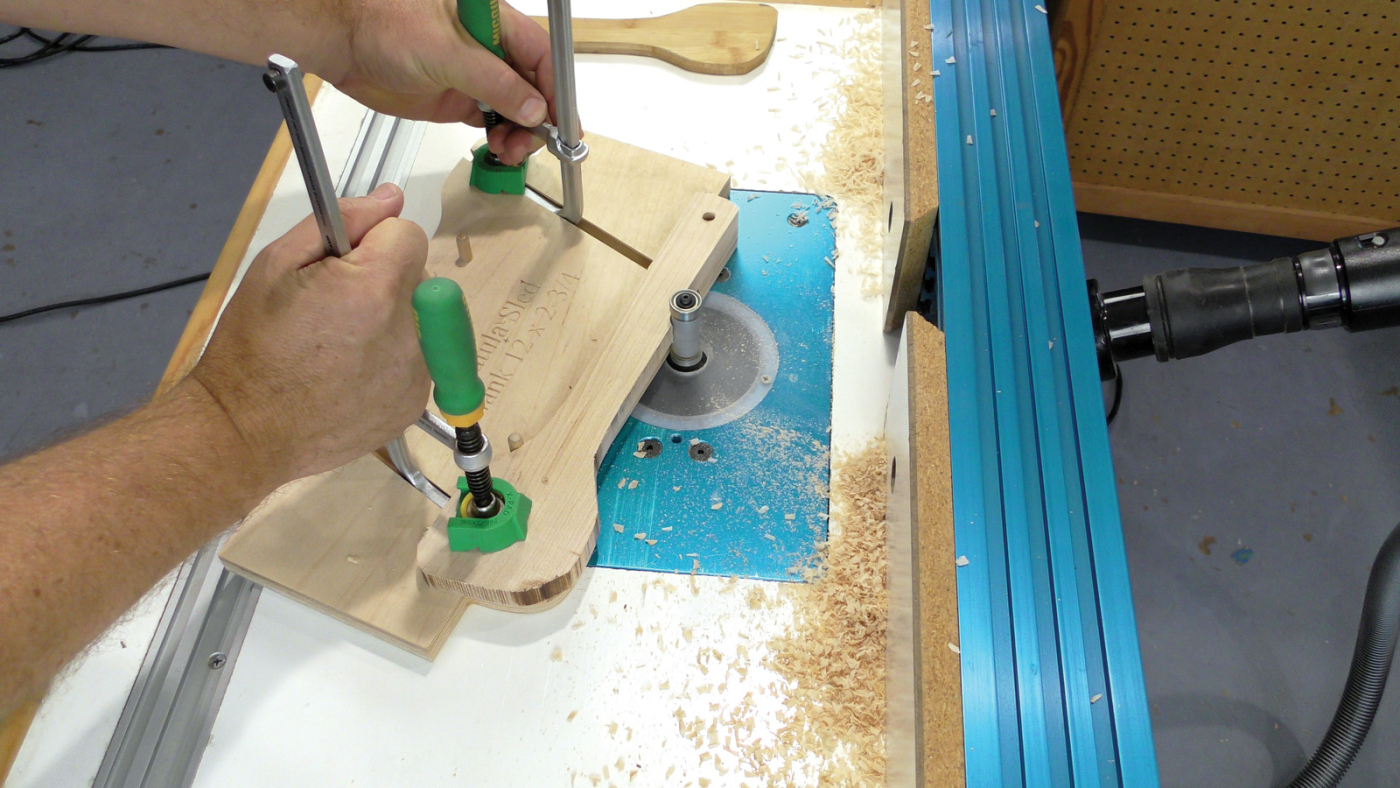
15 The template sled allows for cutting different thickness parts without needing to change the set up at the router table.
The sled holds two parts that are milled in one setup. The spatulas are asymmetrical, so you cycle the sled, “cut 2” completes one spatula, the “cut 1” part is moved to the “cut 2” side, and a rough blank is loaded into the “cut 1” position. This system allows for the rapid processing of many parts with minimal time spent changing parts between individual cuts.
Shaping the Utensils
Whichever template you use to cut out your utensils you need them once again to complete the shaping of them. Hang holes need to be drilled and all the edges eased using a 1/8“ or 3/16“ roundover bit. Be sure to ease the edges of the hang holes as well.
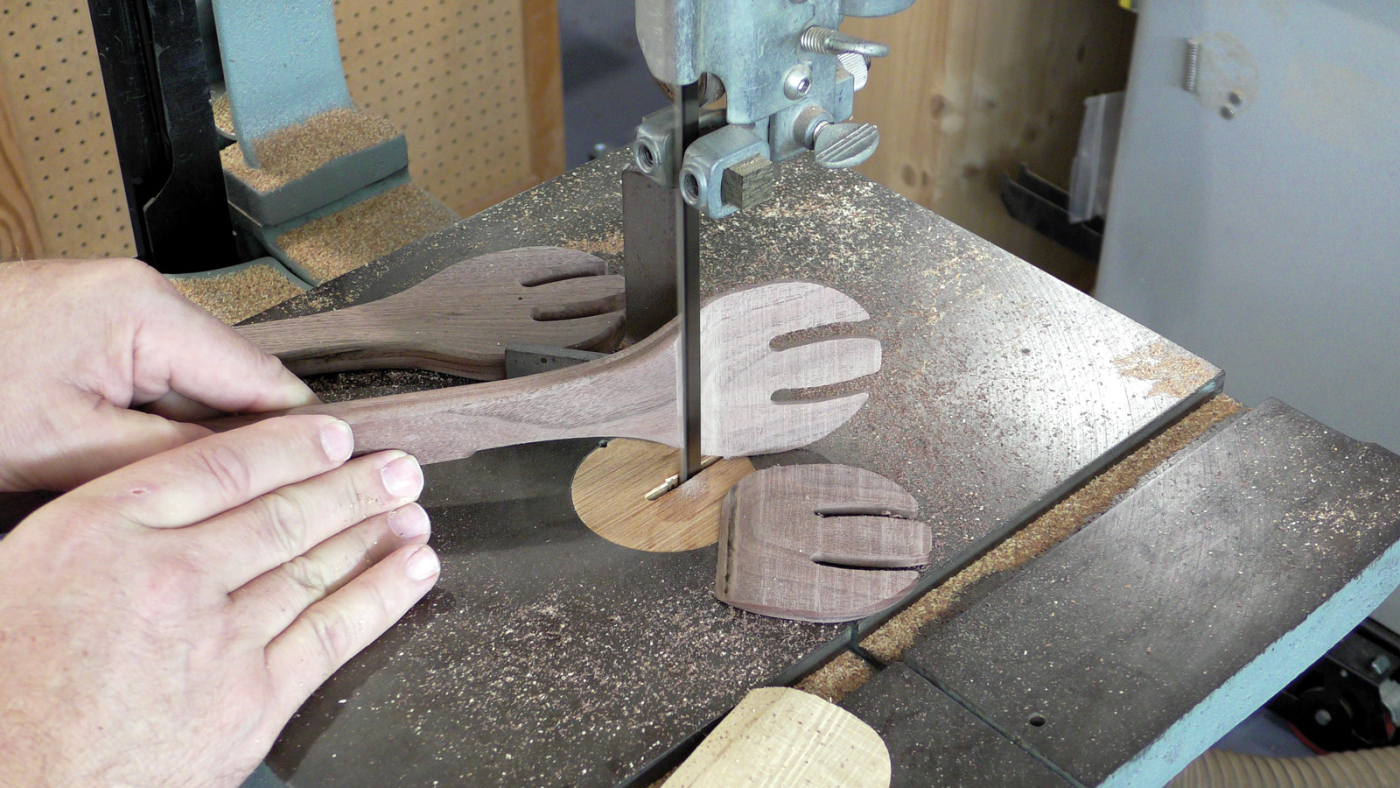
16 A magnetic square set next to the blade gives a visual reference to help hold the part vertical while cutting.
As these utensils need to be shaped at the wider “paddle” end. This is best done at the band saw. Resaw the paddle section along the center line, curving the cut back to full thickness just before the handle section. Just keep in mind that these spatulas become left or right-handled when you shape them so cut these pairs to be mirror images.
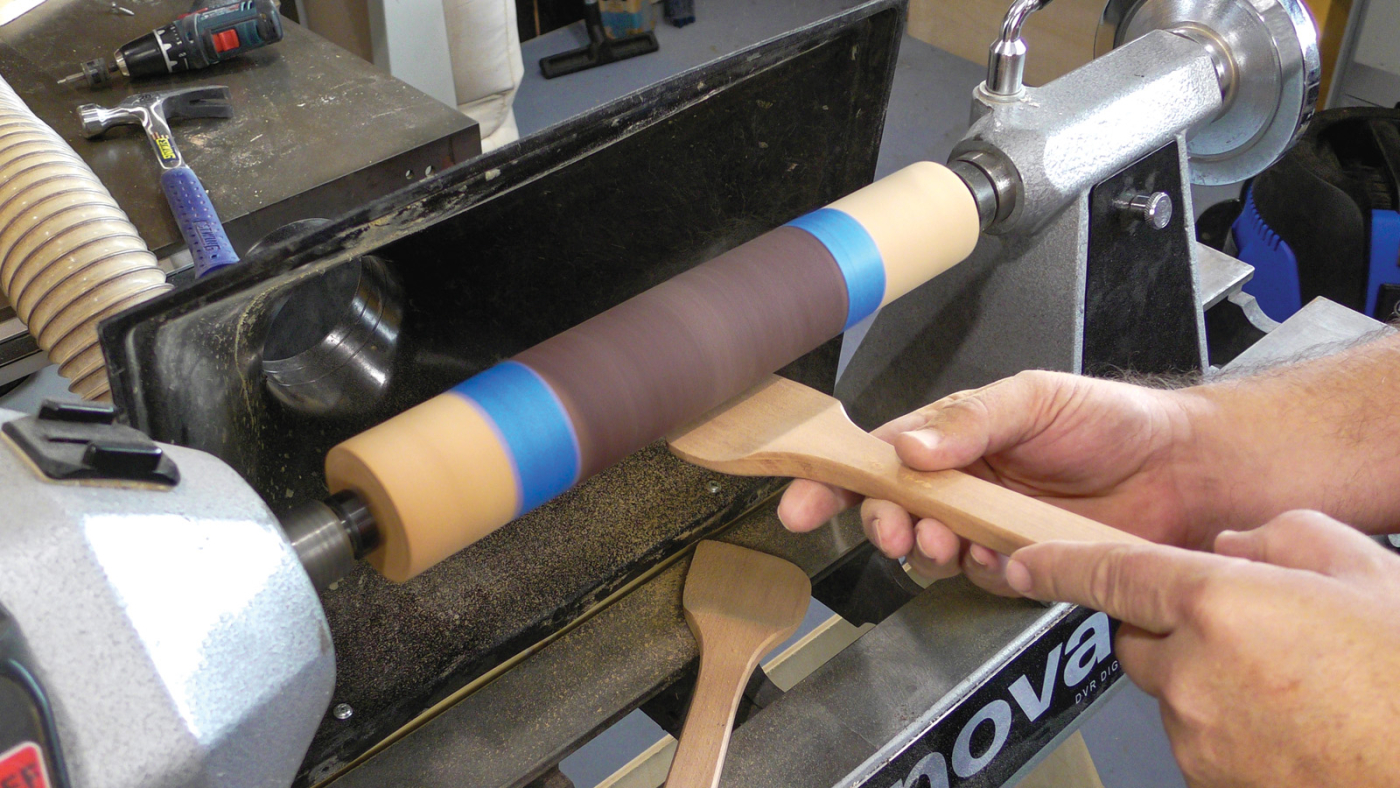
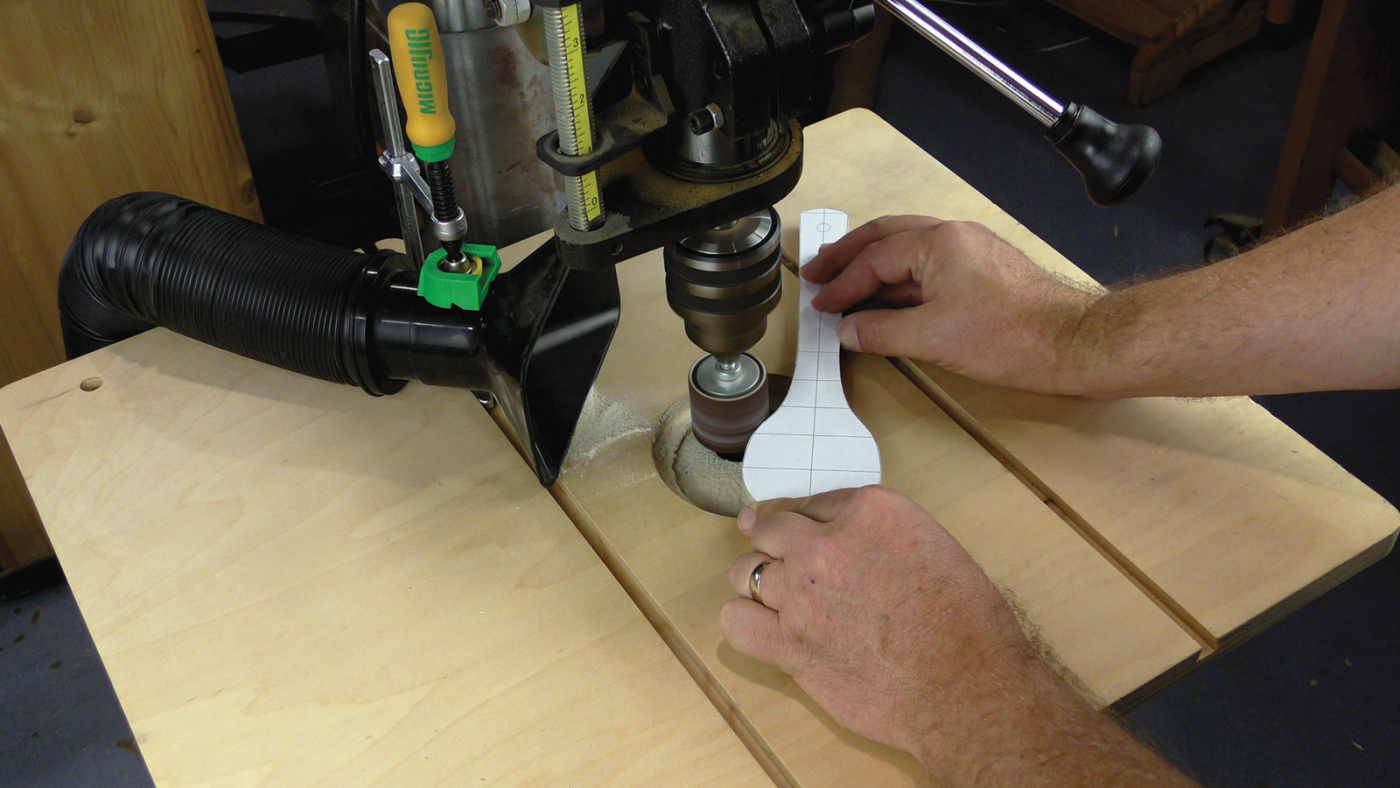
17 I do not have a spindle sander, so I tape a sanding roll around a dowel in my lathe. The drum shape lets me quickly smooth the scoop.
The final shaping and smoothing of the paddle sections can be done by hand or with a power sander. A spindle sander is ideal, just be sure to shape the matched pairs to be as similar as possible.
Finishing
For any kitchen products that will be used with food, I finish with oil. Oil repels water, resists staining, cannot chip off, and is easily renewed. There are many commercial oils available, but I still prefer mineral oil. It is inexpensive, can be bought in grocery stores, will not go rancid, and never gets sticky over time!
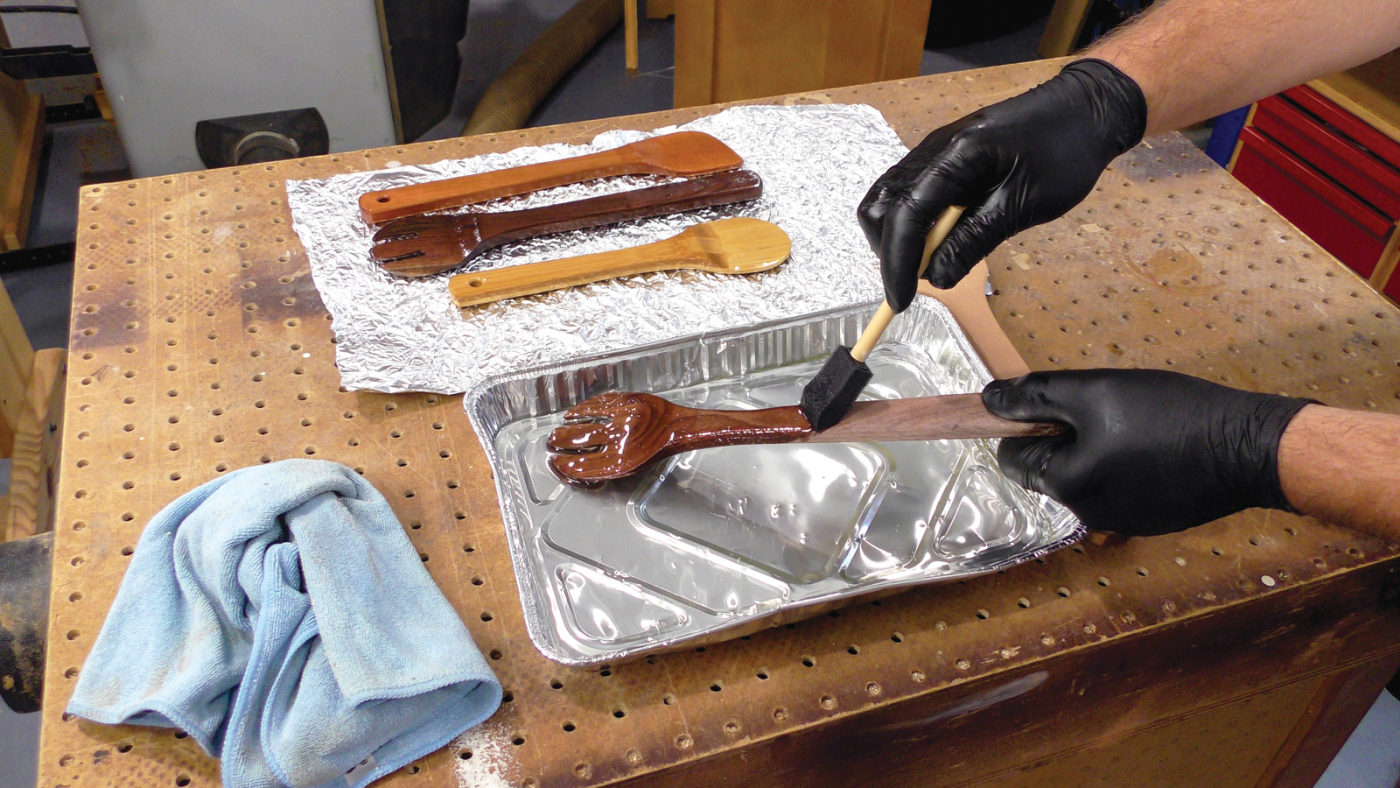
18 To help hold small parts for drying, gently crumple up some tin foil and flatten it out again. The wrinkles act as tiny standoffs to allow the parts to dry out of any excess finish.
Apply a generous coat onto the wood, let it soak in for about 10 minutes, and wipe away any excess. These utensils can be used right away but give the parts a couple of days to finish drying before wrapping them in paper or anything else that may absorb oil.
Used in your own kitchen or given as gifts, these utensils will be used and appreciated for years to come!
Here are some supplies and tools we find essential in our everyday work around the shop. We may receive a commission from sales referred by our links; however, we have carefully selected these products for their usefulness and quality.


Doesn’t look like the .dxf file is on the linked page.