We may receive a commission when you use our affiliate links. However, this does not impact our recommendations.
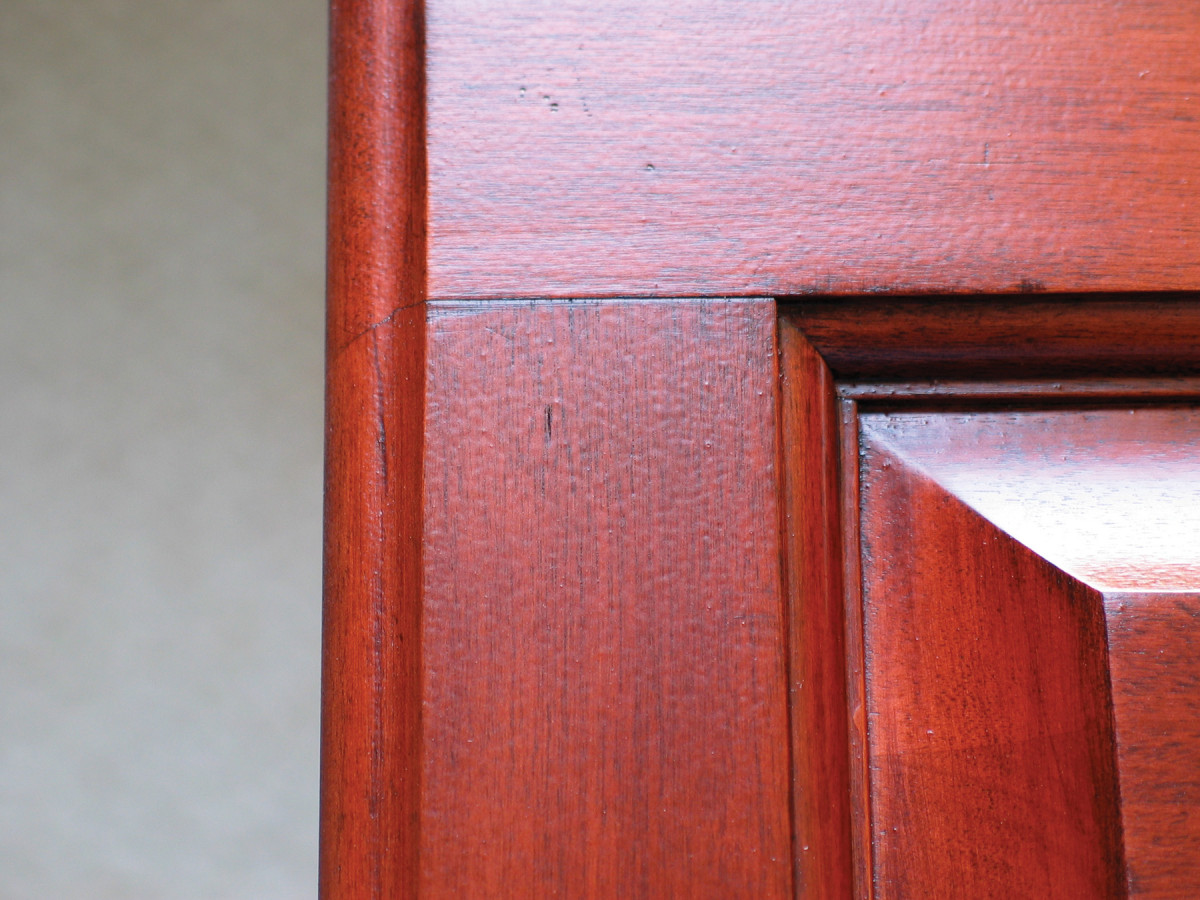
Orange peel. Once you become aware of orange peel and learn to recognize it, you’ll see it everywhere. Try to avoid it, as explained in this article; the only way to get rid of it is to sand and polish it out.
Understand and avoid this common spraying flaw.
Orange peel is the most universal defect in a sprayed finish. It is a bumpiness on the surface that resembles the skin of an orange – hence the name.
No matter what brand or quality of spray gun you’re using, or how well you clean and tune the gun, or what you’re spraying, you can still get orange peel. You want to avoid it if possible.
The problem is that there are so many causes (and thus so many solutions) that eliminating the problem can become very confusing.
Here’s one manufacturer’s list of causes:
■ Liquid material is too thick
■ Failure to deposit a wet coat
■ Spray gun is moving too rapidly
■ Insufficient air volume
■ Insufficient air pressure
■ Incorrect fluid nozzle
■ Incorrect air cap
■ Holding spray gun too far away
■ Holding spray gun too close
■ Thinner evaporates too fast
■ Too much draft
■ Temperature too high
■ Temperature too low
■ Humidity too low.
That’s a lot of causes. All can be correct, but there are so many that I’ll bet you stopped reading after the first two or three and skipped to this paragraph. The trick is to compress these causes into just three or four so you can keep them in your head. This can be done as follows:
■ The liquid is too thick for the amount of air
■ The gun is being moved too fast over the surface or being held too far from it
■ The liquid is drying too fast
■ The gun is being held too close to the surface.
These four can be reduced to three by eliminating the last one. Holding the gun so close that it causes the finish to ripple is so obvious and rare that you don’t need a separate instruction pointing out not to do it. Let’s take each of the three remaining causes in turn.
Viscosity & Air

Viscosity cup. Finish manufacturers sometimes supply you with timing guidelines for measuring viscosity, typically using a Zahn #2 or Ford #4 cup. I’ve never used these cups because the manufacturer is assuming perfect temperature and humidity conditions, which I seldom have. Nevertheless, I’m not saying not to use them.
The most common cause of orange peel is an imbalance between the viscosity of the finish and the amount of air atomizing the liquid as it exits the gun. The thicker the liquid, the more air required; the thinner, the less air needed.
So the obvious fix is to increase the air pressure or thin the material.
Increasing air pressure is the most efficient way because there’s no solvent waste or loss of finish build. Both compressors and turbines produce enough air to atomize most finishes in normal conditions. But turbines are limited on the topside if you need more than the usual amount of air. Compressors are not limited. You can increase the air pressure well beyond that obtained by a turbine.
Thinning is often the easier method of reducing orange peel, however. But the price is reduced build, which may cause you to have to apply more coats.
There are two additional possible solutions: Warm the finish before spraying, or use a smaller-diameter fluid nozzle and corresponding needle.
Liquids are more viscous – that is, thicker – in colder temperatures and less viscous in warmer temperatures. Keep this in mind because in cold weather, your finish will likely be thicker in the morning unless you keep the thermostat up all night.
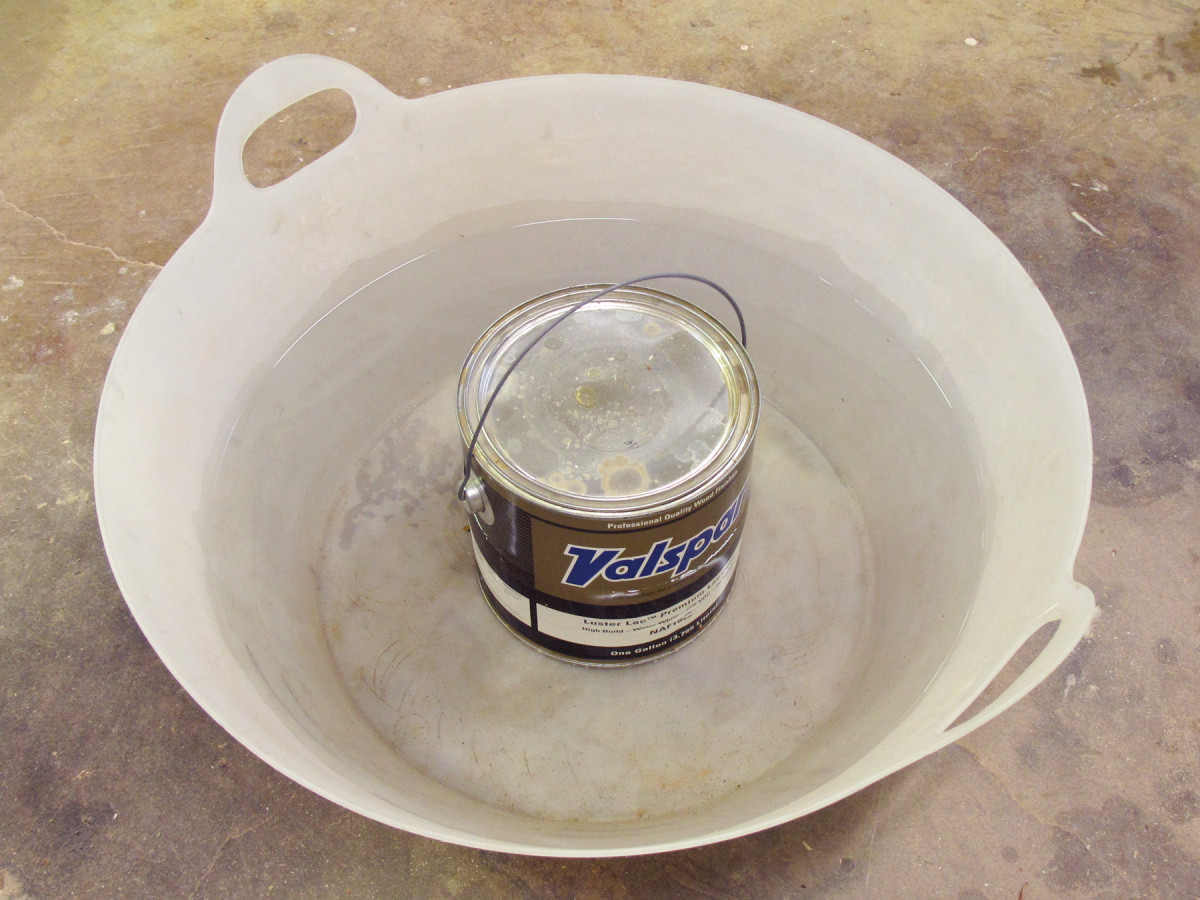
Warming a finish. You can reduce the viscosity of a finish by warming it, as I’m doing here with a bucket of warm water. A thick finish, possibly caused by cold temperatures, then requires less thinning and less air pressure to be sprayed with no orange peel.
There are a number of methods of warming a finish. These include putting the container of finish in a larger container of hot water or using a bucket warmer or even an electric blanket (if you’re careful) wrapped around the container of finish. You can even use an oven or microwave if the amount of finish is small.
Smaller-diameter needle/nozzle sets spray less fluid material, so less air is required to achieve good atomization. There are two problems, however. These sets are usually fairly expensive and may not even be available for your spray gun. And more importantly, they will cause your spray pattern to be narrowed and slow your production.
Speed & Distance
Dry spray. The next level up from orange peel caused by the finish drying too fast to flow out well is dry spray. Some of the spray actually dries before it hits the target. The result is that the finish feels rough and loses transparency because of random light reflection.
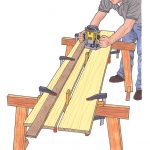
The second most common cause of orange peel is moving the gun too fast over the surface or holding it too far from the surface. The result is that you don’t fully wet the surface so the finish can’t level out. There is no proper speed or distance because there are too many variables: how fast the finish dries, what volume of finish is exiting the spray gun, whether the pattern is narrow or wide, etc.
The goal is to spray a wet-enough coat so the finish flows out and levels well, but not so wet that it puddles or sags. The only way you can know the correct speed and distance is to watch what is happening in a reflected light.
Doing this is more difficult when spraying vertical and complex surfaces. It’s also harder to arrange enough lighting. But working with reflected lights is probably the single-most important rule in finishing, whether spraying or brushing, and it is rarely mentioned.
To get the best results, arrange your position and lighting so you can see how the finish is behaving at all times. A reflection is always necessary to see orange peel developing.
Drying Rate
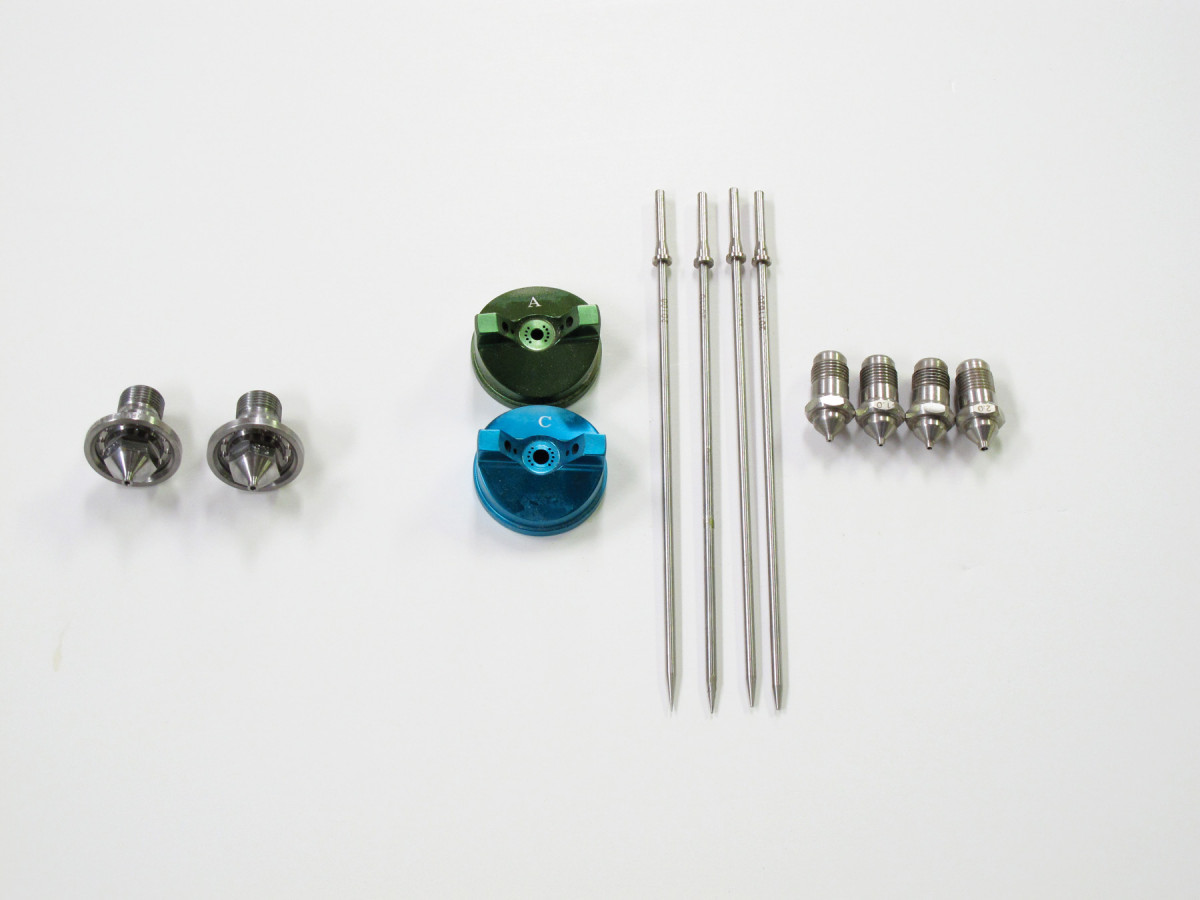
Needle nozzle sets. Some brands of spray guns come with, or have available, a choice of fluid nozzle sizes and even entire sets of needles, nozzles and air caps. On the left are alternative sizes of fluid nozzles supplied for compressed-air DeVilbiss guns. On the right are air caps, needles and nozzles supplied for Apollo turbine systems.
A finish needs time to level before it begins setting up. If the balance between the temperature and the evaporation rate of the solvent (or solvents) isn’t right, there may not be enough time for leveling. You will need to either lower the temperature in the spray area or add a slower evaporating solvent.
Lowering the temperature, usually with air conditioning, can be quite expensive because the cooler air is being exhausted so quickly. Thinning with a slower solvent, or retarder, is usually the easier way. But this, of course, could cause you to have to apply more coats.
One step past orange peel caused by the finish drying too fast is “dry spray,” which has a sandy texture. The fix for dry spray is to thin the finish with retarder or hold the gun closer to the work.
Here are some supplies and tools we find essential in our everyday work around the shop. We may receive a commission from sales referred by our links; however, we have carefully selected these products for their usefulness and quality.