We may receive a commission when you use our affiliate links. However, this does not impact our recommendations.
 At least that’s the way I do them. I cut the tenons first, and then use them to layout the locations on the mortises. Once I’ve mark where they will be, I use a Marking guage to mark the sides of the mortise. Next, I use a narrow chisel to start the cuts. Bevel is towards the waste area. I make one “chop” at one end of the mortise, then go to the other end and work my way back to the start cut. I make a series of small chops as i work along. These “chips” are easier to pop out.. Once I reach the depth of the mortise, I grab a nice sharp wide chisel, and clean up the sides. Really doesn’t take all that long to do. I keep a tenon nearby, just to test the fit as I go. A few pictures?
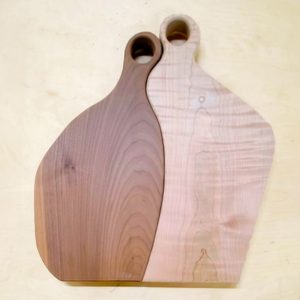
a few work in progress. this is for the end of a mission style table.
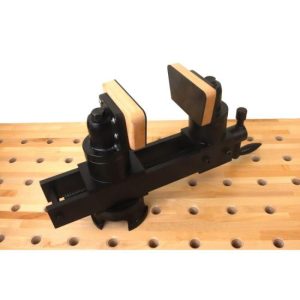
Test fit. Those pencil lines show where the mortise is. Like the old vise?
More work in progress. Some of the chisels I use. That old screwdriver laying there is to “pop out” stubborn chips. Looking at about 30 minutes of work. The first picture, at the top is that old marking gauge. Just a single “cutter” on it. I usually make about three strokes per layout line. This gives a reference line for the chisels to work from. ready to chop some mortises, cordless style?