We may receive a commission when you use our affiliate links. However, this does not impact our recommendations.
Save on clamps with this traditional technique for panel glue-ups.
A “spring joint” is a traditional method where you join the edges of two boards to make a wider panel and leave a tiny gap in the middle of the joint. The gap reduces the number of clamps you need to make the panel and can help keep the completed panel intact through dramatic seasonal changes in humidity.
The 21st-century wisdom on spring joints is that they are not necessary. Modern glues, the wide availability of clamps and humidity control have rendered the method obsolete.
I completely agree that you can make an edge-to-edge joint without any “spring” and with any glue and have it last indefinitely. Yet the spring joint remains an effective way to work faster and with fewer clamps. And so I use it regularly in my shop to make my work more efficient.
If you are interested in how to make a proper spring joint based on my 20 years of making them, read on.
The Theory
There are lots of theories about why spring joints work and are helpful. The most common one is that the ends of boards take on and release humidity faster than the middles. So it’s best to keep the ends under pressure throughout the seasonal humidity changes.
While true in theory, I have had good luck making joints without any spring, so I don’t push this theory down the throats of my students. Though if dealing with wet woods, I think a spring joint can keep things in place as the panel reaches equilibrium with its environment.
For me, the more compelling reason to use a spring joint is to reduce the number of clamps needed to glue up a panel. A typical 48″-long panel with two perfectly flat edge joints can require about five bar clamps to get the job done. If I spring that same joint, I’ll use one (maybe two) clamps.
Clamps are expensive.
The Practice
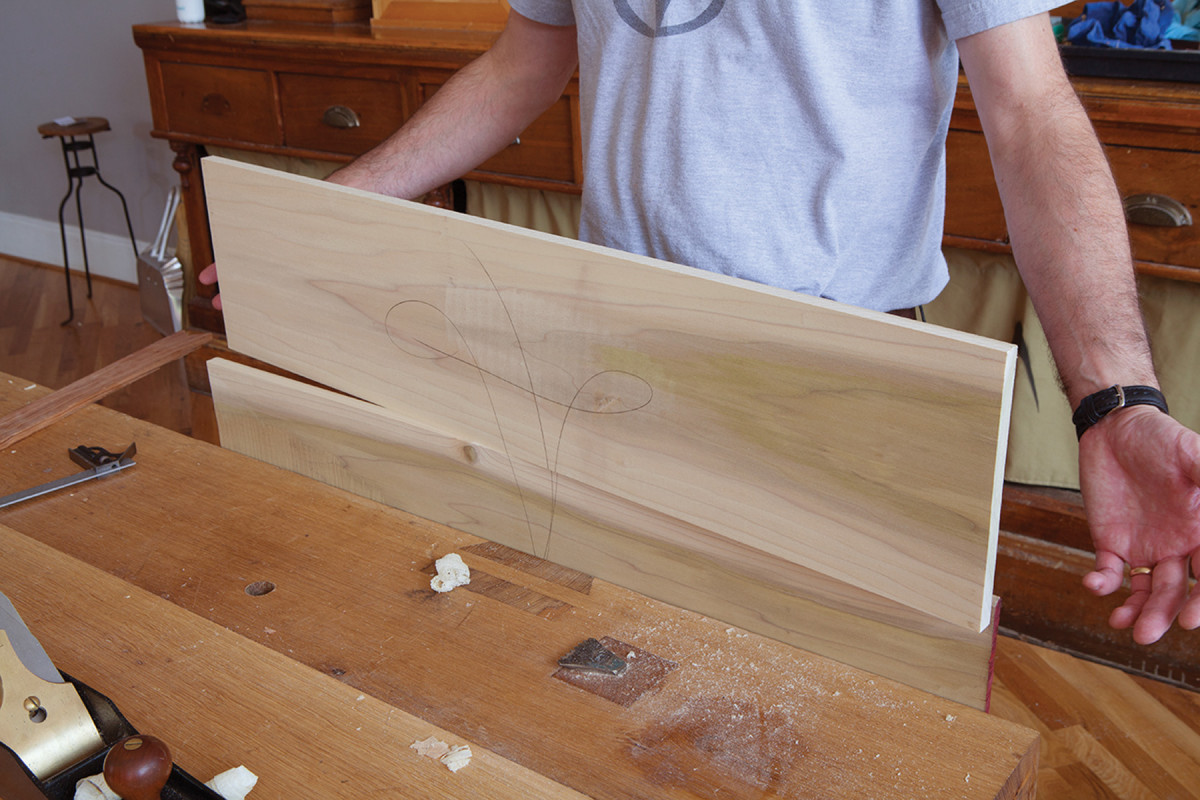
Making a spring joint is easy: Make the edges of the boards you plan to join slightly concave. But how? And how concave should they be?
I make the spring joint with a jointer plane using a “stop shaving.” A stop shaving is where you begin the cut on an edge about 4″ to 6″ away from the end of the board and stop it (by lifting the heel of the plane) about 4″ to 6″ away from the end. You are, essentially, planing away the middle of the edge and creating a concavity.
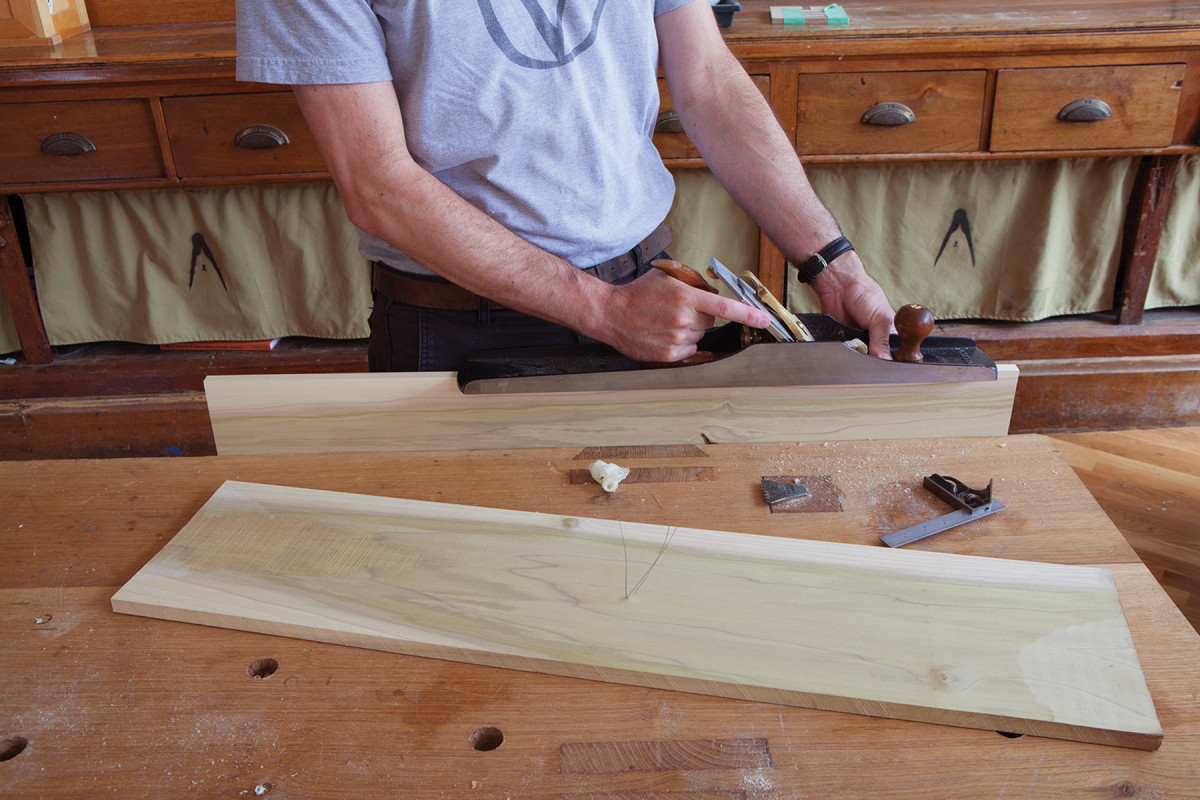
Here’s the scoop. A stop shaving makes the edge of a board slightly concave. Start the cut 4″ to 6″ away from the end of the board. As you get 4″ to 6″ away from the other end of the board, lift the heel of the plane to stop the cut.
With a panel 48″ long or shorter, I’ll make the spring joint with one stop shaving on each edge. That should make a gap between the two boards of about .004″ to .006″, depending on the depth of cut of your plane. For longer boards, I’ll use two strokes on each edge.
The goal is to get a gap in the center of the two boards that you could put a piece of typing paper into, or maybe a business card. In any case, the ultimate test for me is to see if I can close the spring joint with hand pressure. If I can, then the spring will be easily closed by clamp pressure.
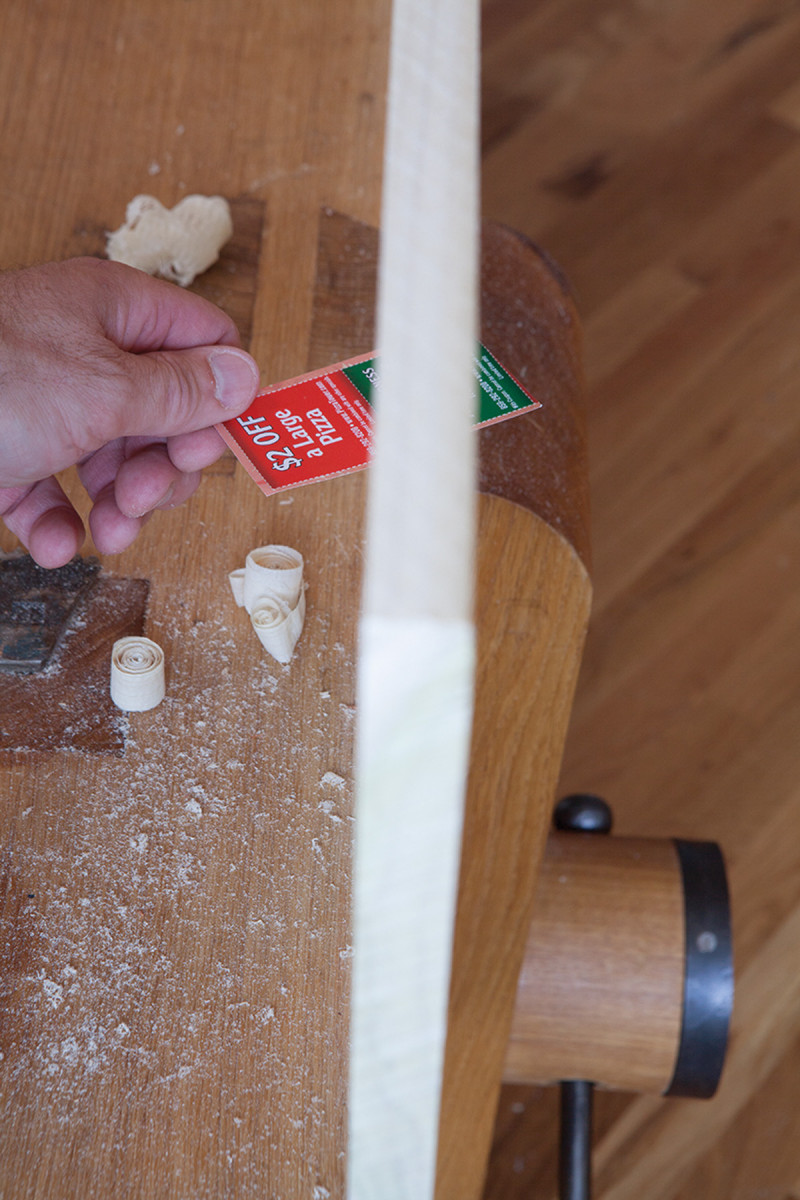
A little pressure now. A spring joint should be slight. You should be able to get a piece of paper or, at most, a business card in between the panels.
The Procedure
Begin with one of the boards clamped in your face vise. True the edge with your jointer plane, making sure the edge is square to the true face of the board and is not convex.
You can determine if the edge is convex by placing a wooden straightedge on top of your board’s edge. If the ends of the straightedge don’t drag against the board – the straightedge tends to spin a bit like a top – then the edge is convex. Use stop shavings to make the edge flat or ever-so-slightly concave. Finally, take one long stop shaving to introduce a concavity to the edge.
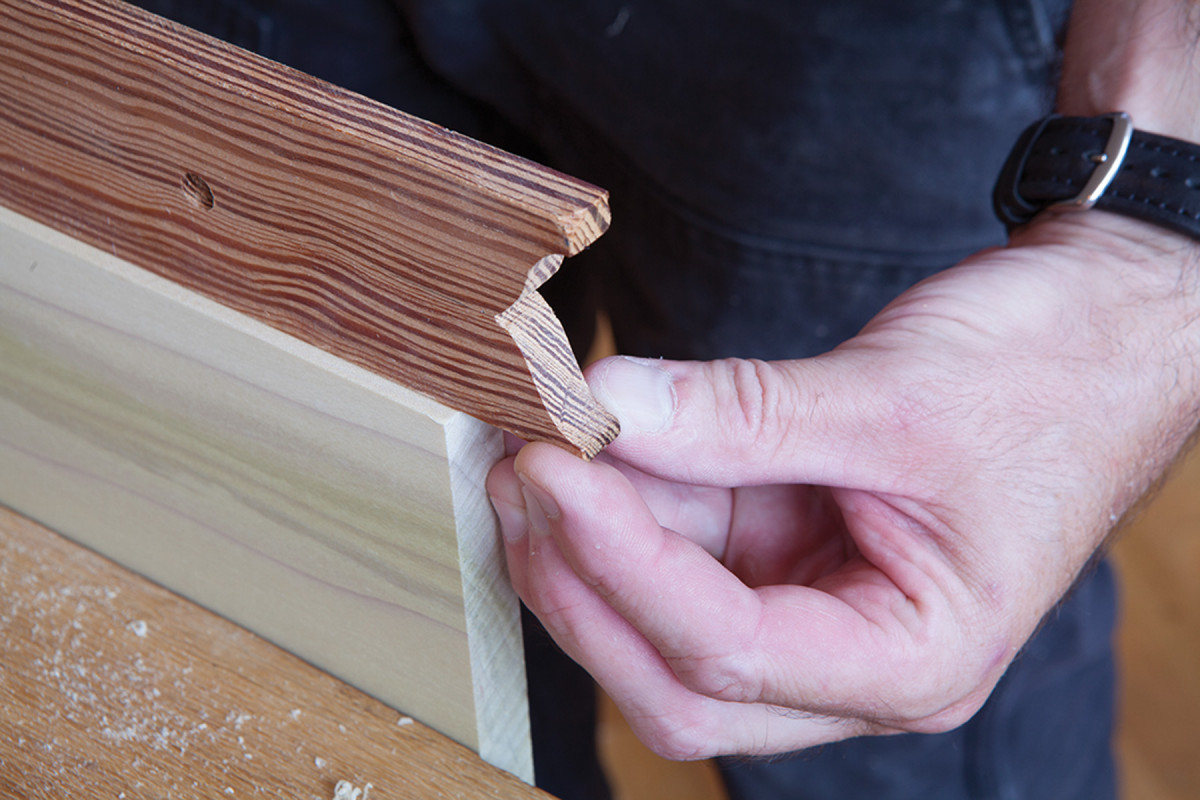
No drag. A straightedge placed on a second edge can tell you if the edge is convex, or if it is flat or concave. If the straightedge spins on the work, the work is convex. If the ends of the straightedge drag, then the edge is flat or concave.
Once that edge is complete, remove it from the vise. Put the mating board in the face vise and make it straight and true. Show the edge of your first board to the one in the vise. The ends should meet tightly and drag against one another when you pivot the top board. If the top board spins, then one of the edges is convex and more stop shavings are needed.
Spin it. Here one of the two mating edges is convex, so the top board spins on top of the bottom board with amazing ease.
Look at the middle of the joint. You might see a tiny sliver of light. If this is your first spring joint, try to get a sheet of typing paper in there. Try to close the joint with hand pressure.
If you can see a sliver of light and can close the joint, glue up the panel. If you cannot, take some stop shavings on the board in the vise until the concavity appears.
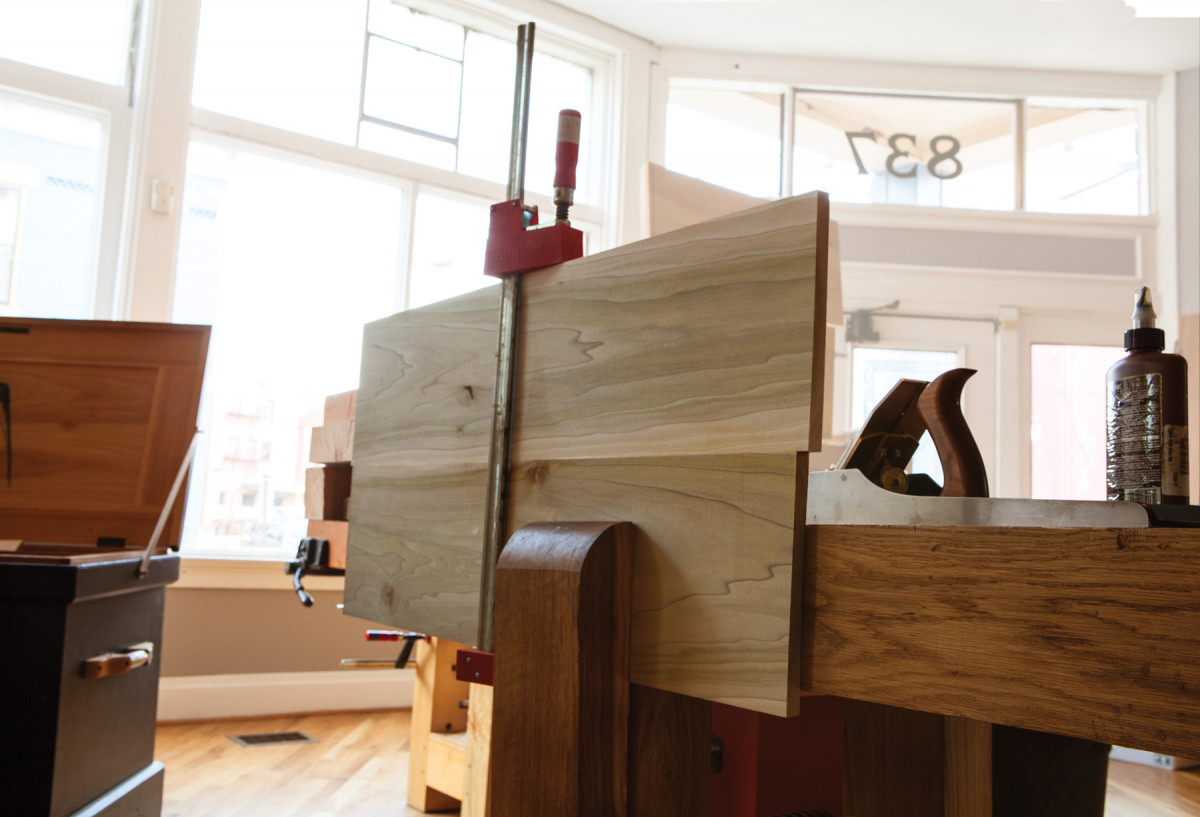
To glue up the panel, paint a thin film of glue on the edge of the board in the vise. Position its mate in place. With the panel still in the face vise, apply one clamp to the center of the panel (thanks to Bob Van Dyke for showing me this dodge). Apply a little pressure, make adjustments to the seam of the panel, then apply full pressure that will close the spring.
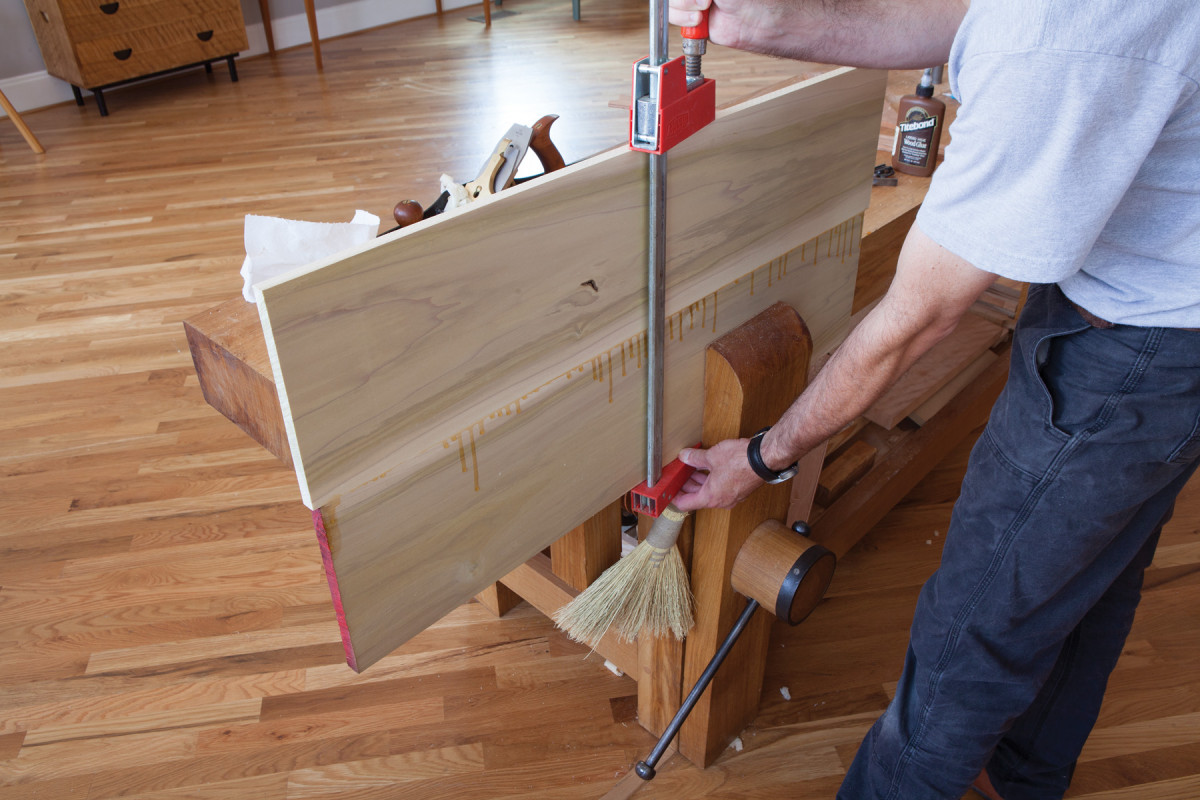
A little drip. The glue squeeze-out will tell you if you have done your job. Don’t be ashamed to add an extra clamp with long panels.
You can now remove the panel from the face vise and move to the next panel.
That’s all there is to it. Give it a try before you dismiss it, because it could change the way you work (and save on clamps).
Here are some supplies and tools we find essential in our everyday work around the shop. We may receive a commission from sales referred by our links; however, we have carefully selected these products for their usefulness and quality.