We may receive a commission when you use our affiliate links. However, this does not impact our recommendations.
 Milk Paint is one of my most favorite paints. I like it for the fact that it is a water-based medium, that it dries to a hard and chalky-like surface, that it is easy to sand, and that it is heterogeneous and unique among opaque finishes.
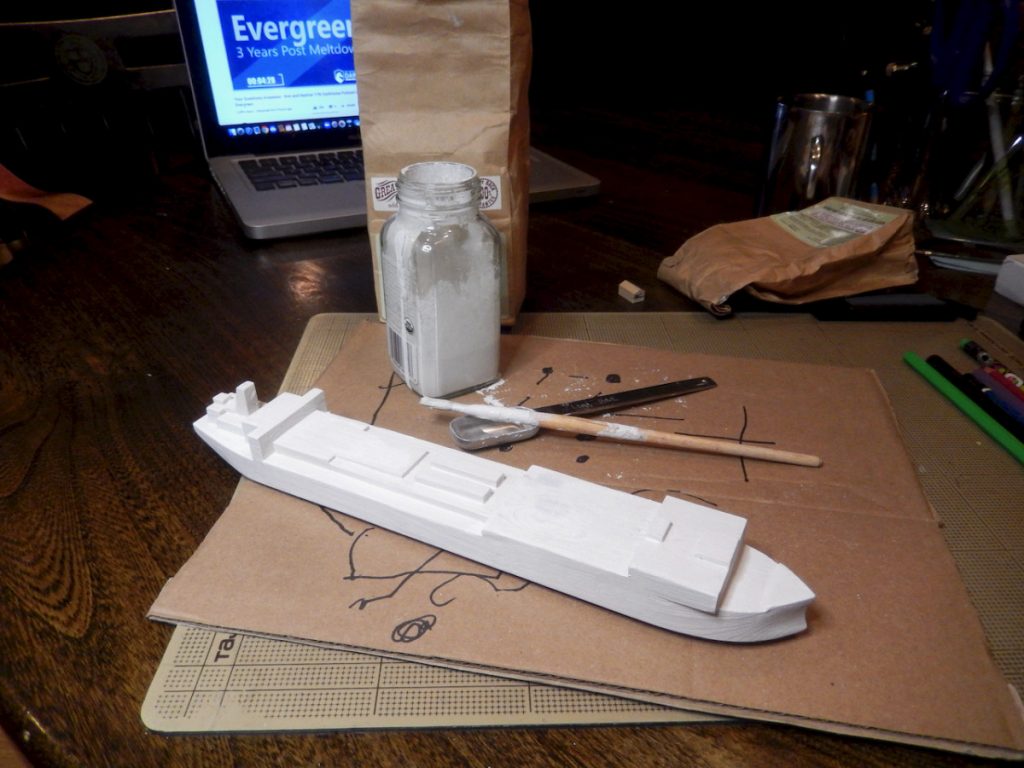
So after I finished sanding the wooden scale model of the USNS Comfort (Here you can read parts one, two, and three of the story) I knew that white milk paint will be my paint of choice for this hospital ship.
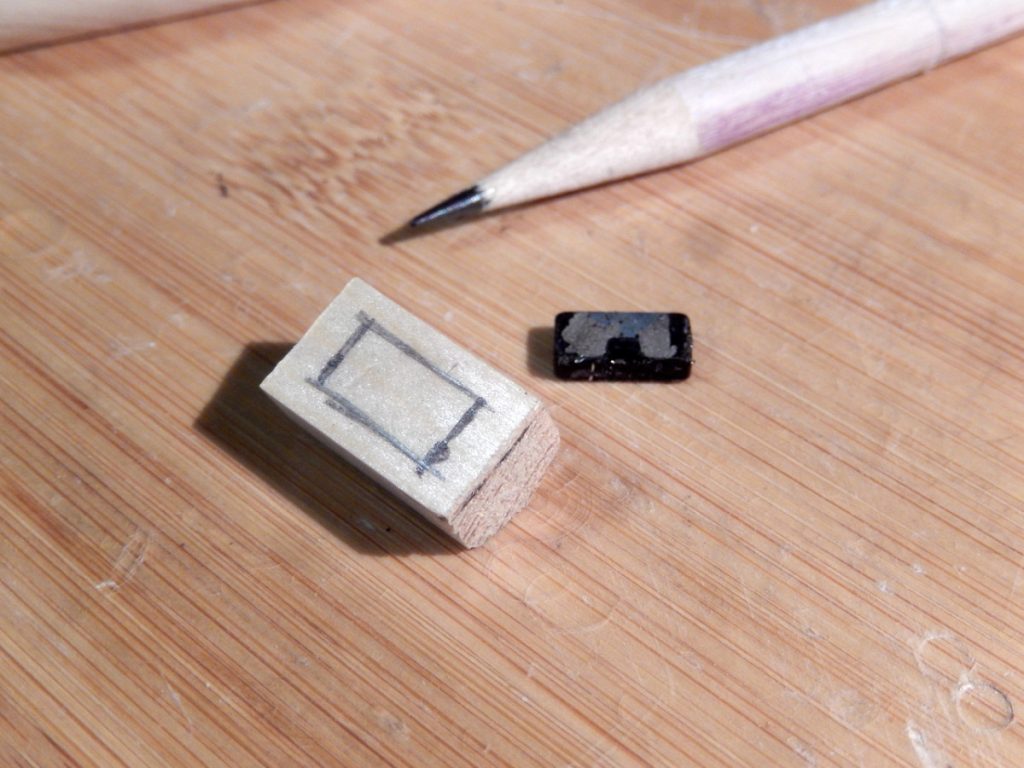
But just before I was about to begin painting I decided to add one more detail to the ship’s deck – a two helicopter hanger. In many of the pictures that I saw the ship’s helicopter deck also accommodates what seems to be a temporary tent that is used as a helicopter hangar. This structure can be erected or dismantled easily. So since I wanted my model to reflect the ship as accurately as possible and still remain a toy for my son, I decided to add the tent in a way that echos the reality on the real ship. So I decided to make a small hanger from wood, embed a magnet in it (and a second one on the deck) to allow for a playful engagement or detachment.
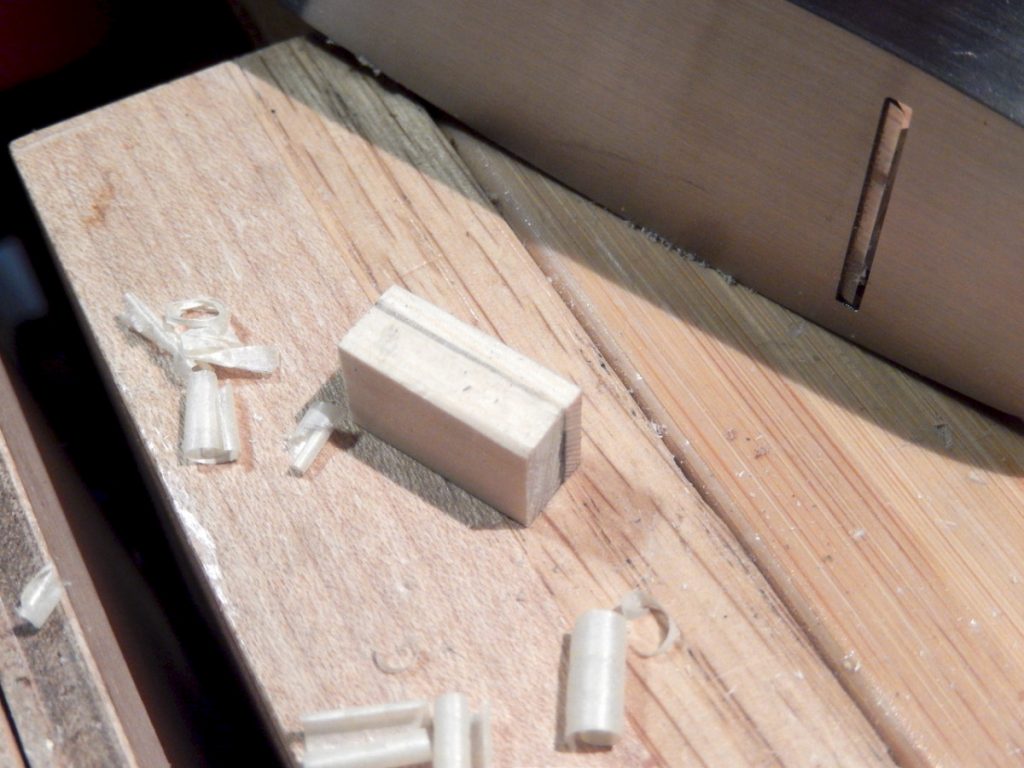
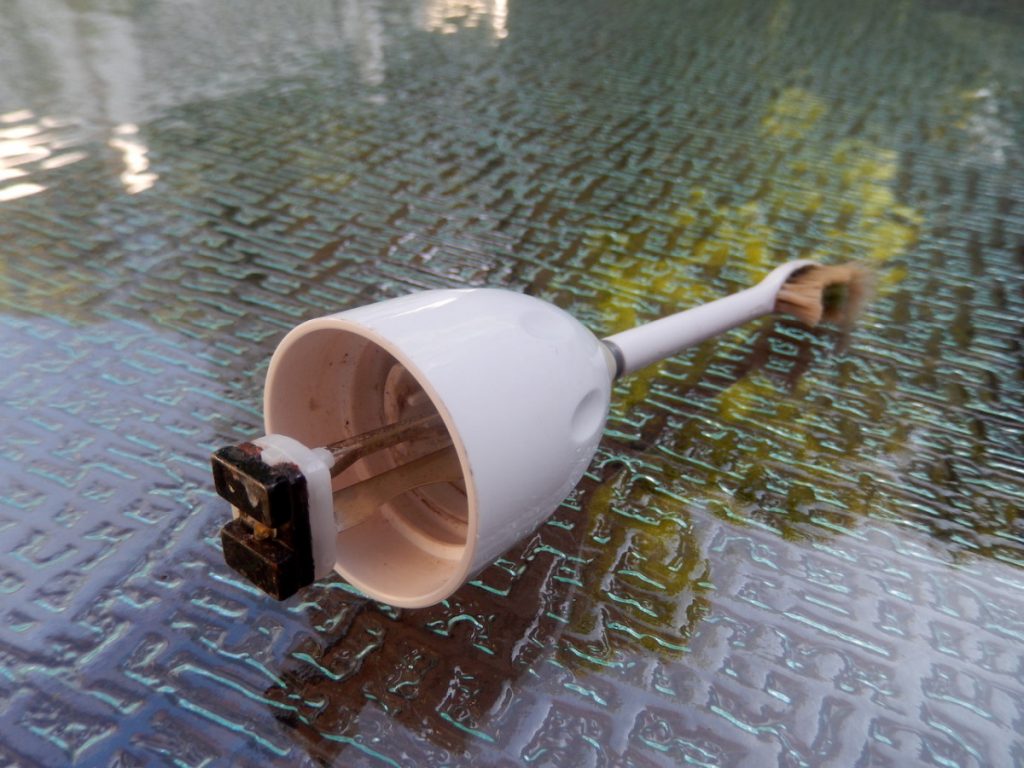 For magnets I used two reclaimed electric toothbrush’s rare earth magnets that I yanked out from an old brush’s head with a set of pliers.
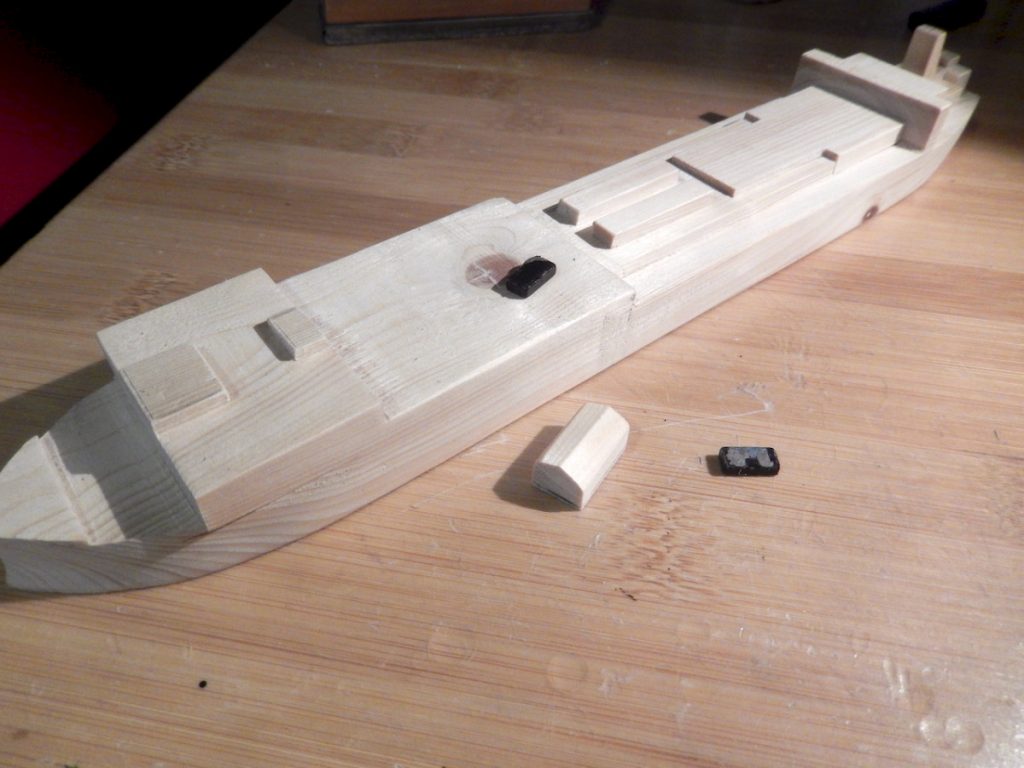
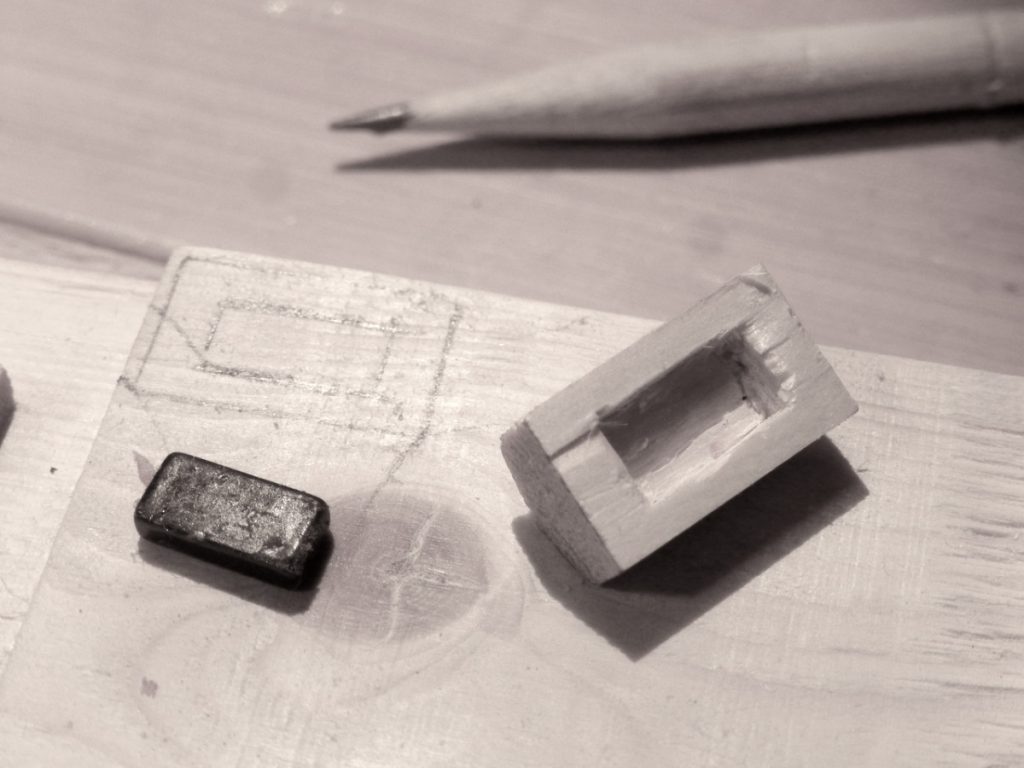
I excavated two complimentary mortises, one on the deck and one on the underside of the hanger.
The two magnets, the hanger and the deck.
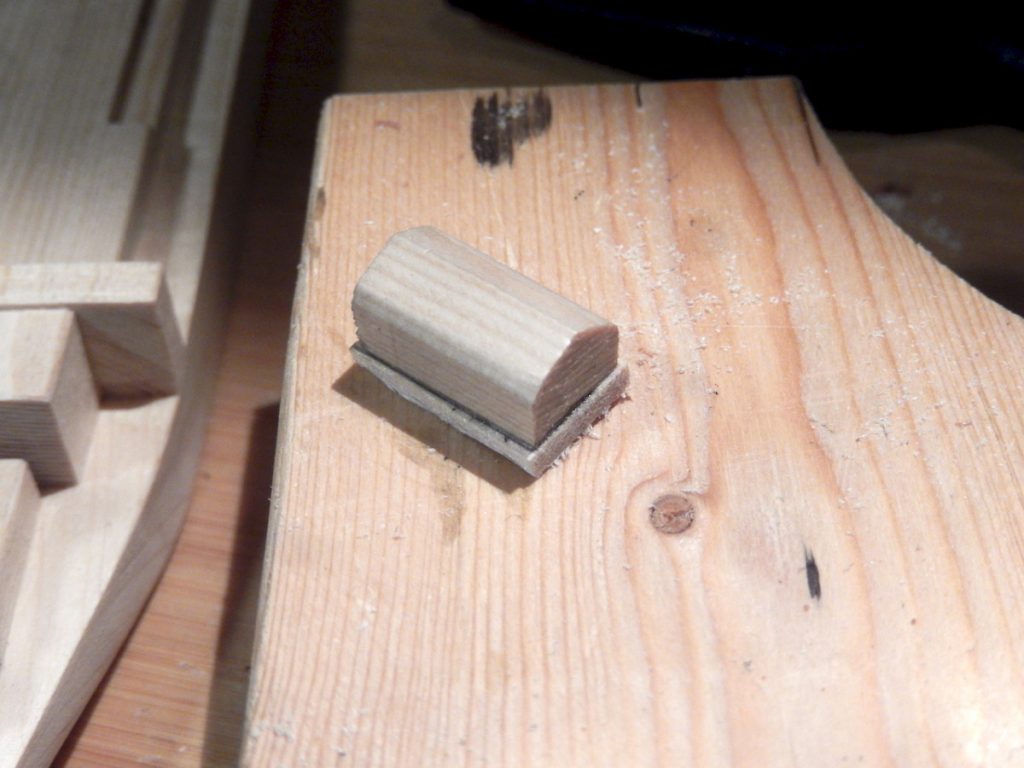
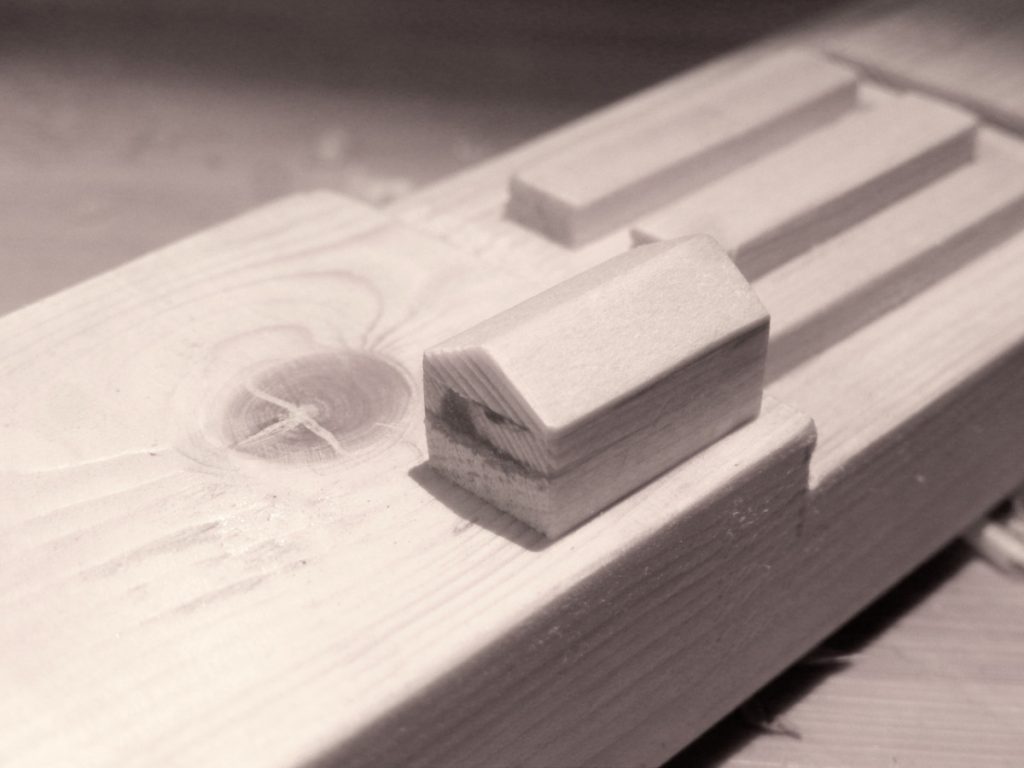
After I embedded the magnet in the hanger I glued a strip of wood to conceal the magnet, and then trimmed it flush, only to discover later on that I embedded the magnet incorrectly.
I covered and leveled over the magnet that I embedded inside the deck with a mixture of CA glue and fine sanding dusk. This putty dries fast and hard and is easy to shave and sand.
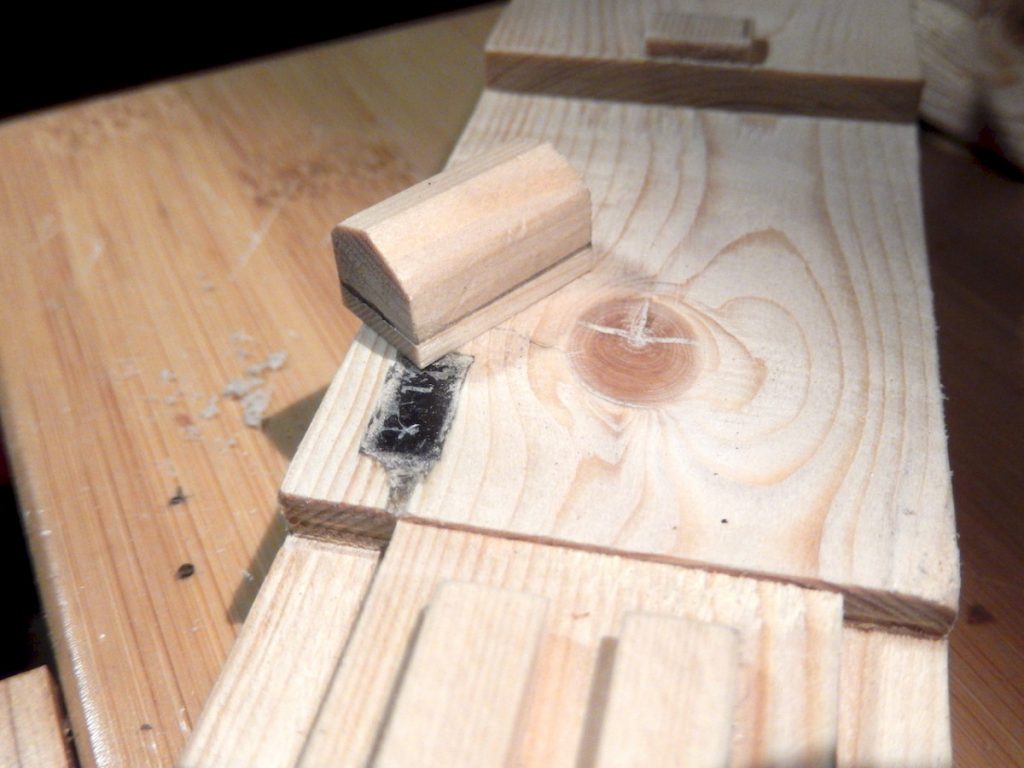
It all went well until I tried to connect the two and discovered to my griff that I glued the magnets in opposition to each other so instead of attraction between them I got rejection. After thinking about a possible solution for some time I decided to keep the hanger that I made, flatten the gable and turn it into the base and then glue over a piece of wood that will become the new gable. I knew that this is the only way that the embedded magnet polarity will act in my favor.
To rectify my mistake I “decapitated” the gable and added a strip of wood over the old base. Then I slapped that addition to look like the hanger’s gable.

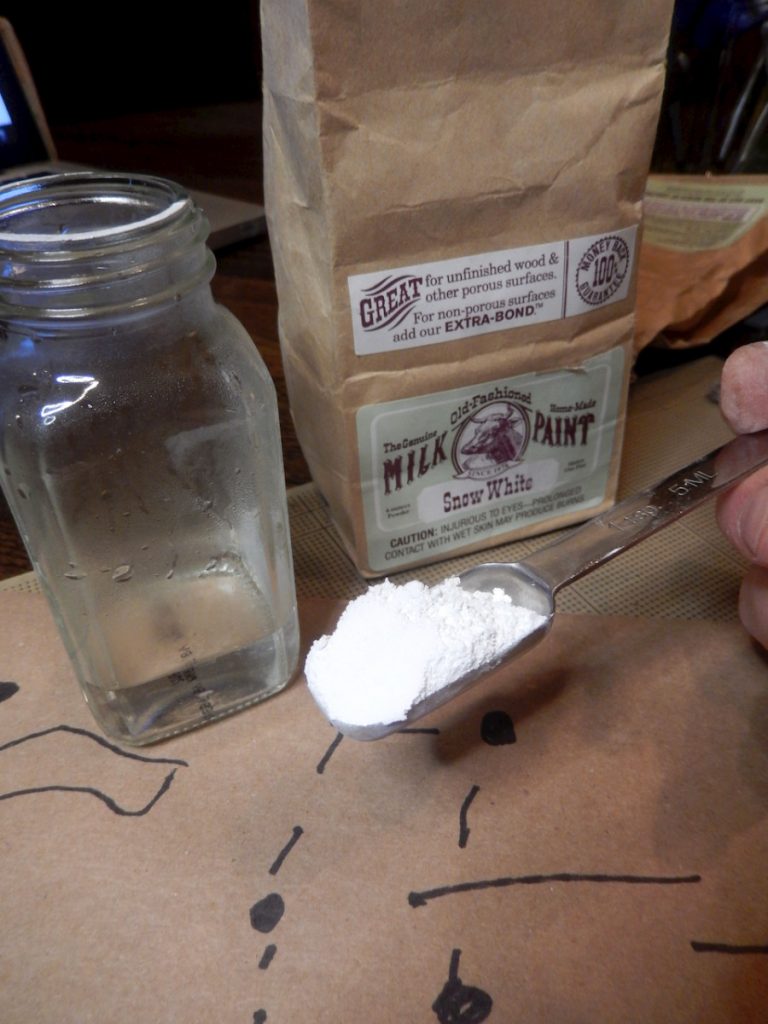
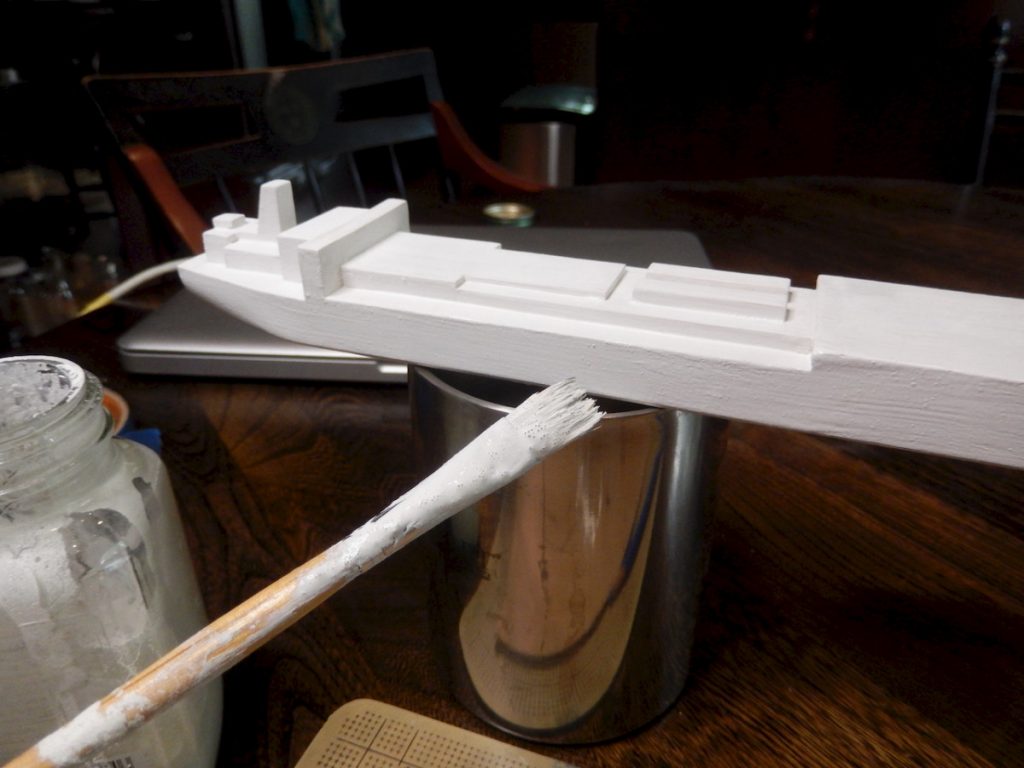
After I completed the hanger everything was ready for the first layer of milk paint. I mixed some paint in a few spoons of lukewarm water, allowed the paint to sit for some time, mixed again and then brushed it over the wood. I allowed the paint to dry for an hour and when it felt dry I lightly sanded it with 220 grit sandpaper, and applied a second coat.

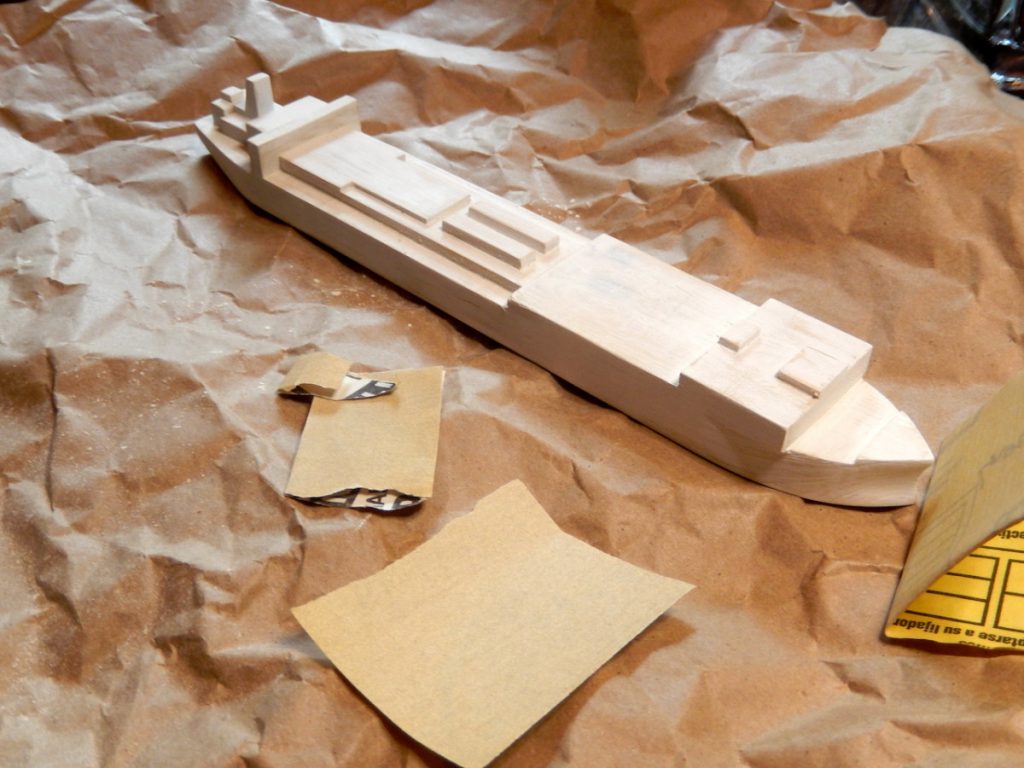
Sanding in between coats with 220 grit sandpaper.

Second coat of milk paint
Now was the time to begin adding color details. After masking tape the areas carefully I used black milk paint for the exhaust ends of the ship’s funnel, the bridge’s windows, and in one more location. But because I did not have the kind of Red Cross red in milk paint I had to use acrylic instead. I also used acrylic for the strips on the smokestack and for the keel.
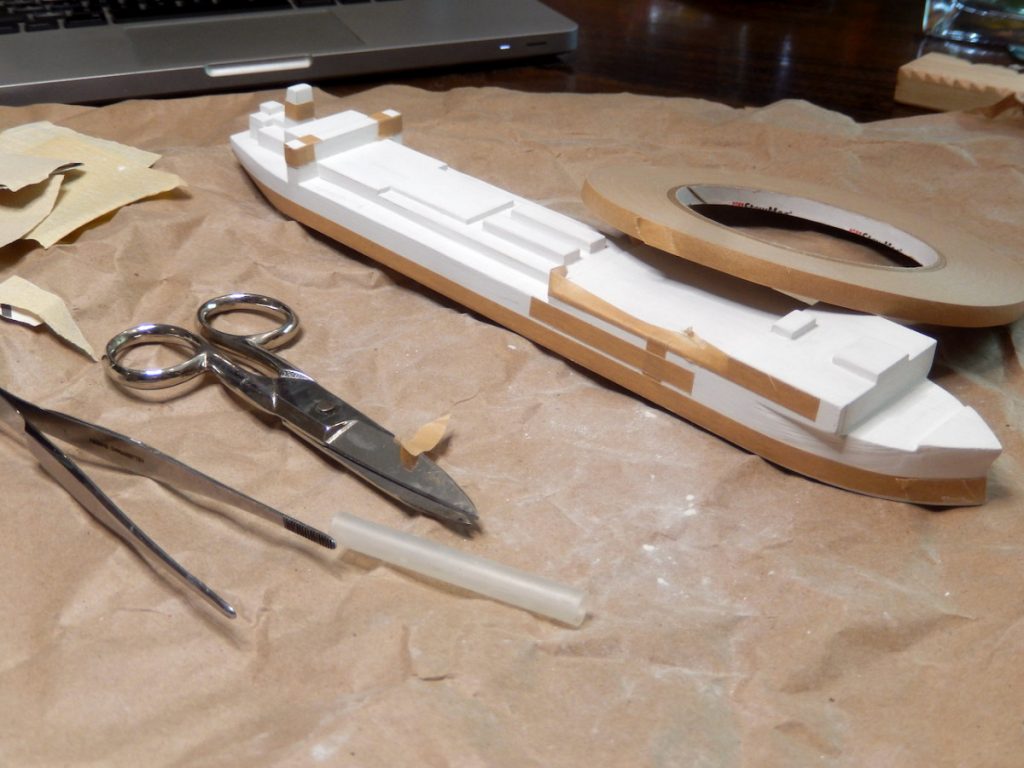
Masking-taping in preparation for painting the details of the ship. I masked over the accommodation funnel and exhaust stacks, and some of the helicopter deck details before painting them black.
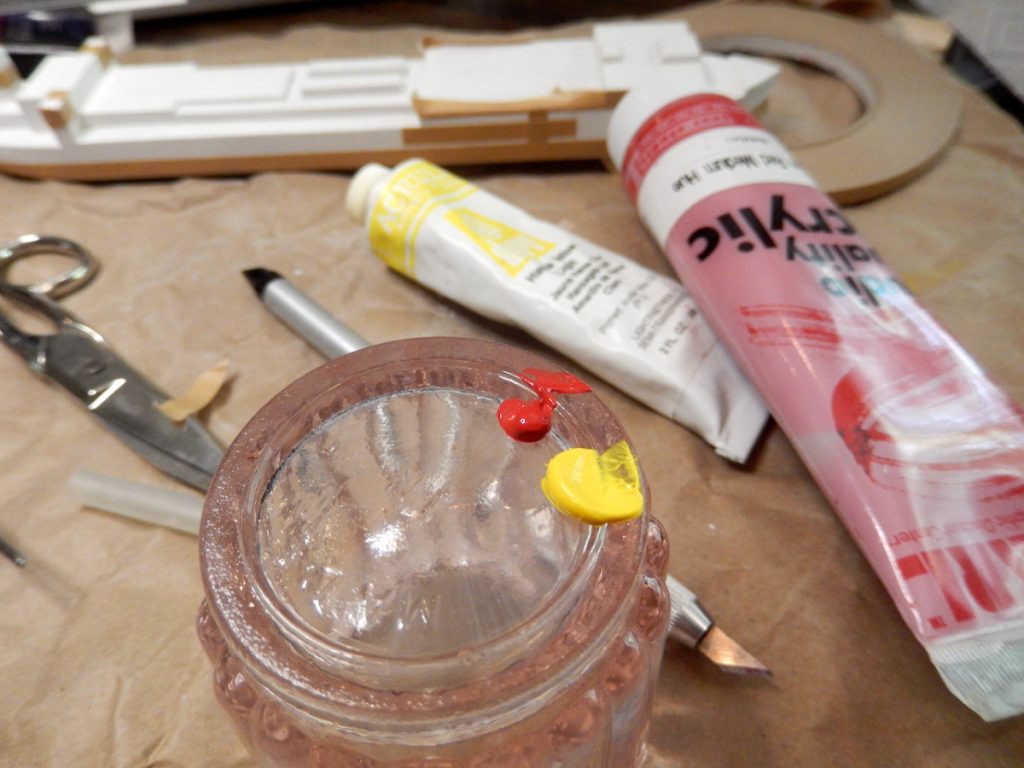
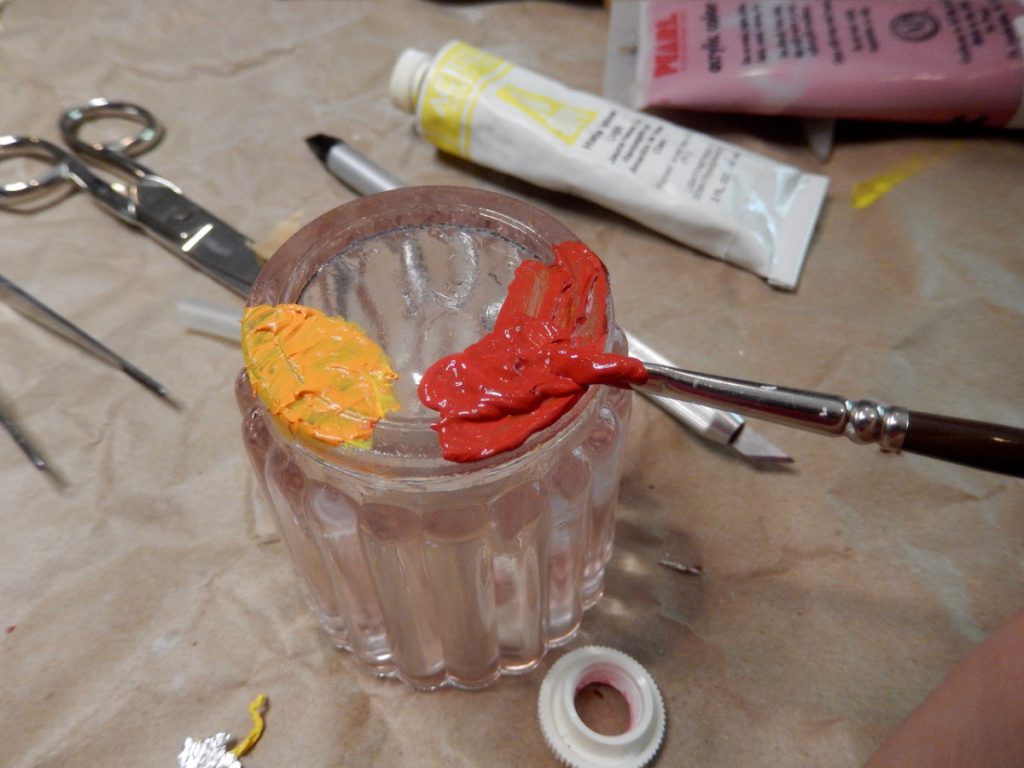
Mixing yellow and red acrylic colors to create the golden strip on the ship’s funnel.


The blue and gold stripes on the funnel of the USNS Comfort denote that belong to the Military Sealift Command. Above I am paining the gold strip. I first masked off the lower part of the funnel and then mixed some yellow and red acrylic paint and brushed the funnel all around. I then re-masked over the gold strip and painted the blue or turquoise color.
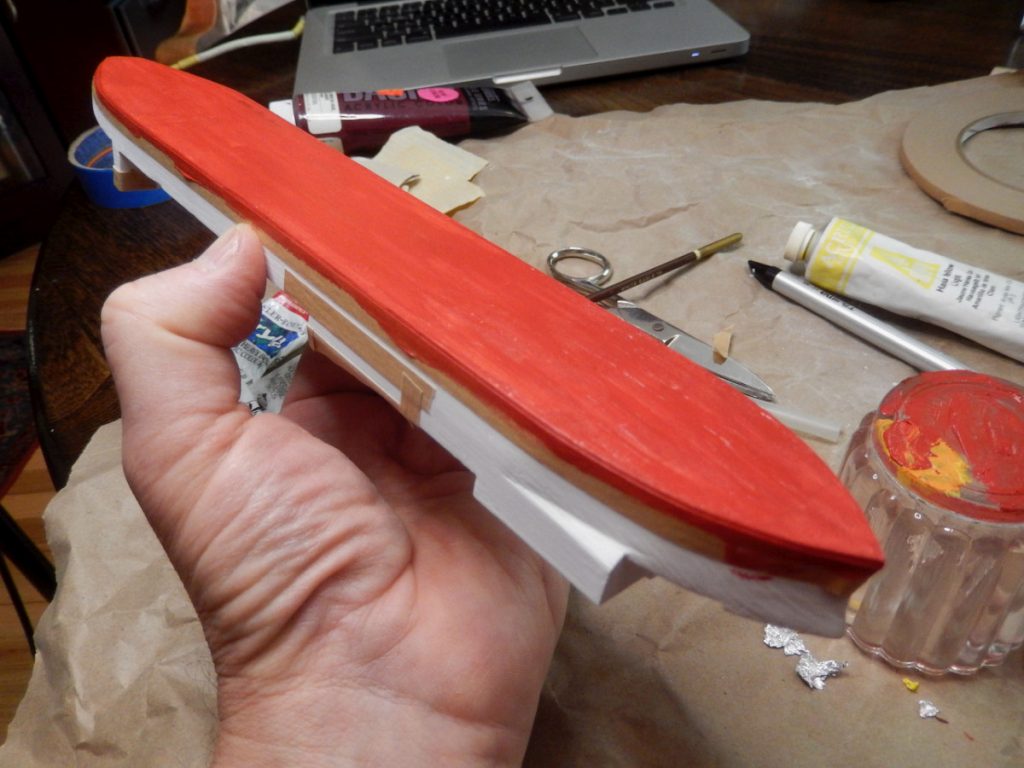
I masked over above the waterline to allow for accurate paining of the ship’s faux keel in brown-red color.
Next time I will talk about the decal work and the conclusion of this project.
Here are some supplies and tools we find essential in our everyday work around the shop. We may receive a commission from sales referred by our links; however, we have carefully selected these products for their usefulness and quality.