We may receive a commission when you use our affiliate links. However, this does not impact our recommendations.

USNS Comfort (T-AH 20) is anchored off the coast of La Brea, Trinidad and Tobago. Source: https://www.flickr.com/photos/usnavy/48677005558/
As a resident of New York I was heartened by the sight of the USNS Comfort, the beautiful white ship marked with the emblem of the red cross, as she rolled in the NY Harbor to help in the fight against the Coronavirus.
Ever since I was a young boy I was taken by ships, their shapes, size, function and even smells. As a boy of six years old I was already a veteran of three transatlantic voyages on board of a merchant ship. My dad was a chief engineer serving on board of a small merchant vessel that flew the Israeli flag, and over a few consecutive summers my brother, my mom and I were invited to join him on the long lag from Haifa to New York and back.
My research begins
When a few weeks ago I heard the news that the US Navy is dispatching a Hospital Ship to help New York, my interest in ships sparked up again and I decided to devise a plan to build a replica of the ship for my son, and to share this experience with my readers. I have built many ship models in my life but not too many wooden ship toys. A year ago I built a small RMS Titanic toy for Asher, including the infamous iceberg, which I will share with you in future posts.
 But for the Comfort project I planned to take it a few extra steps and make it less of a toy and more as an accurate scaled model. Because I could not find a complete set of detailed drawings, which I could adopt for the project, I had to do some research and develop my own. The system that I came up with can be implemented when designing and building other scaled naval, aeronautic and other transportation objects too. So I hope that the process that I developed will help you when you decide to embark on similar projects.
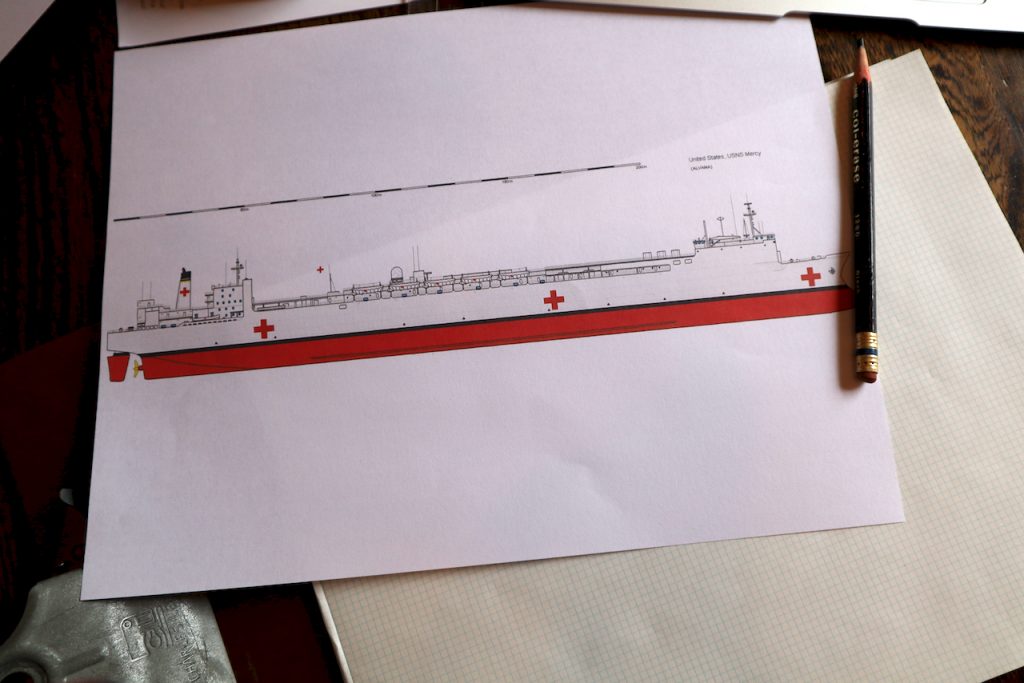
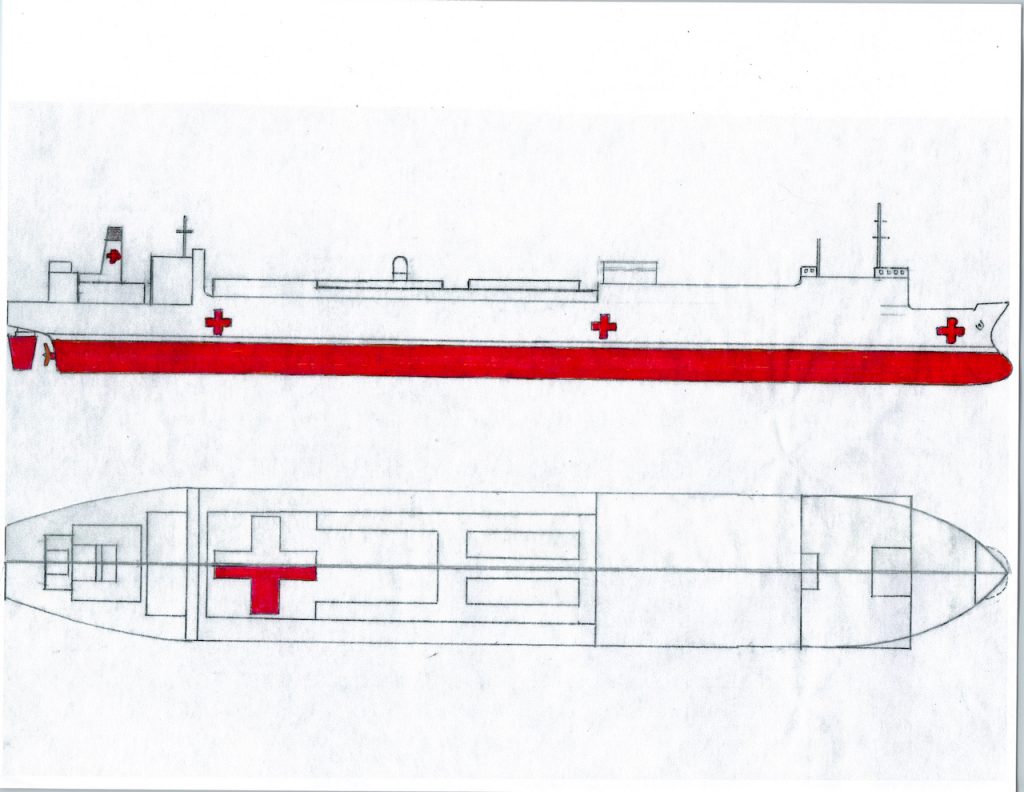
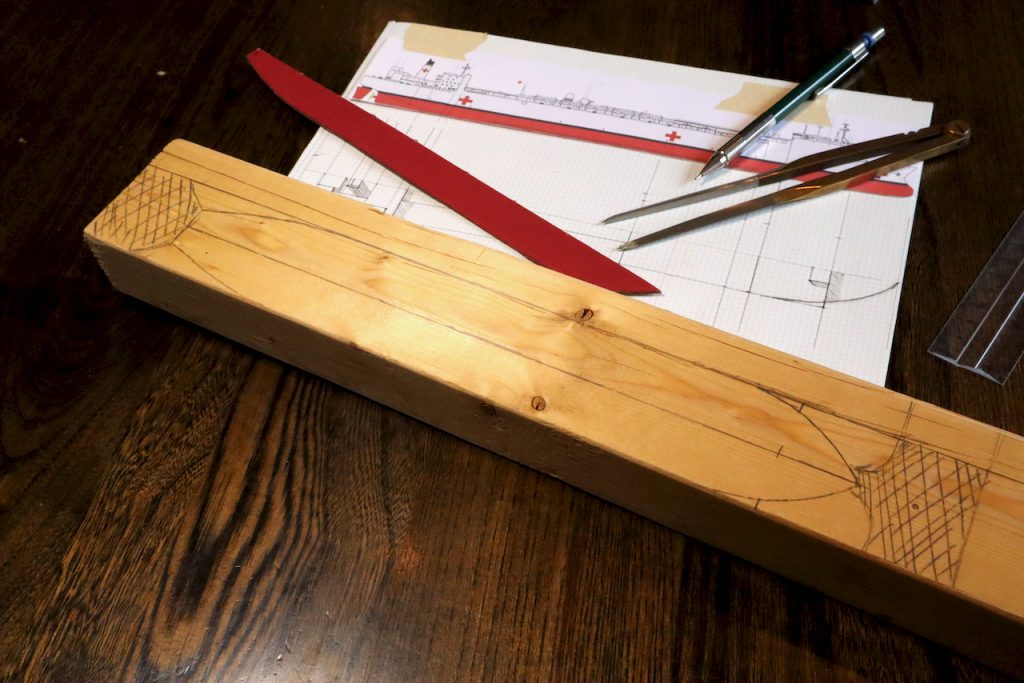
A printout of the side view or elevation was my design starting point in the.
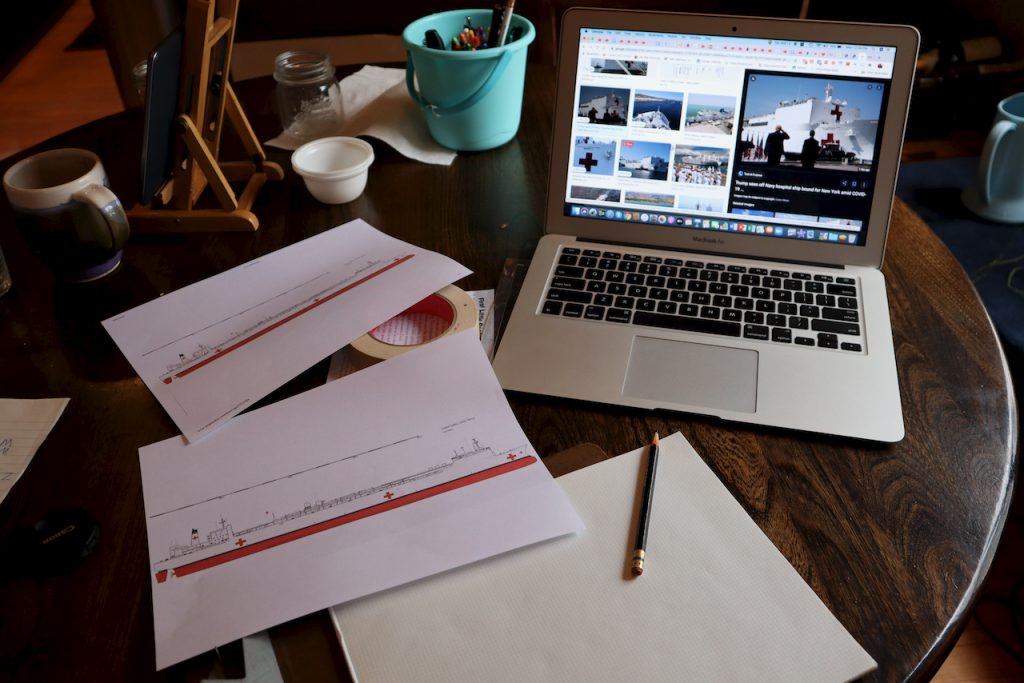
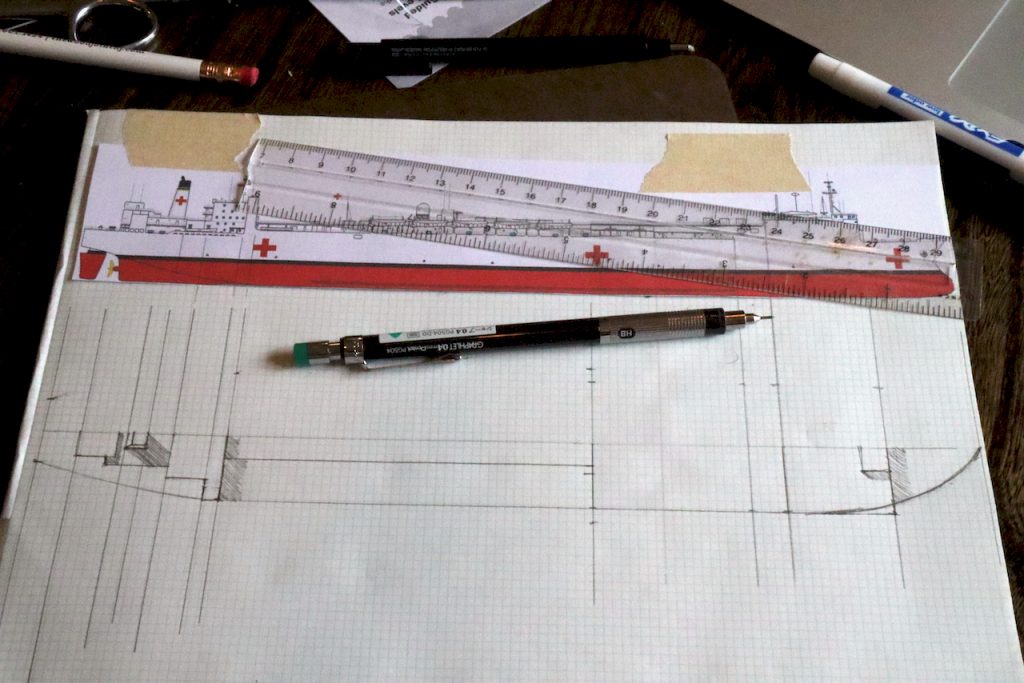
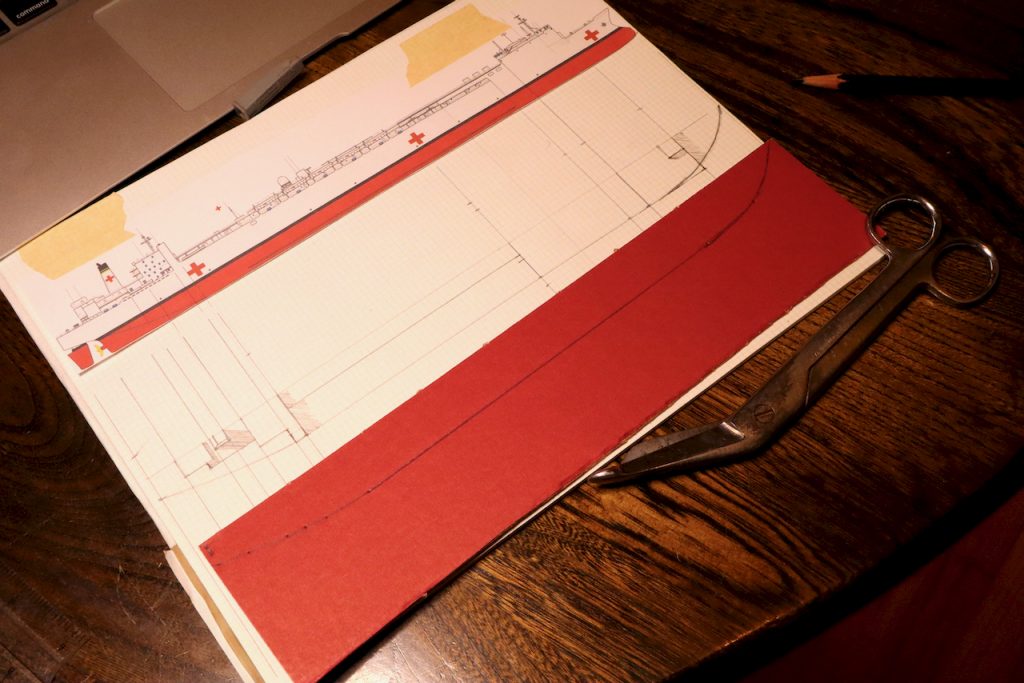
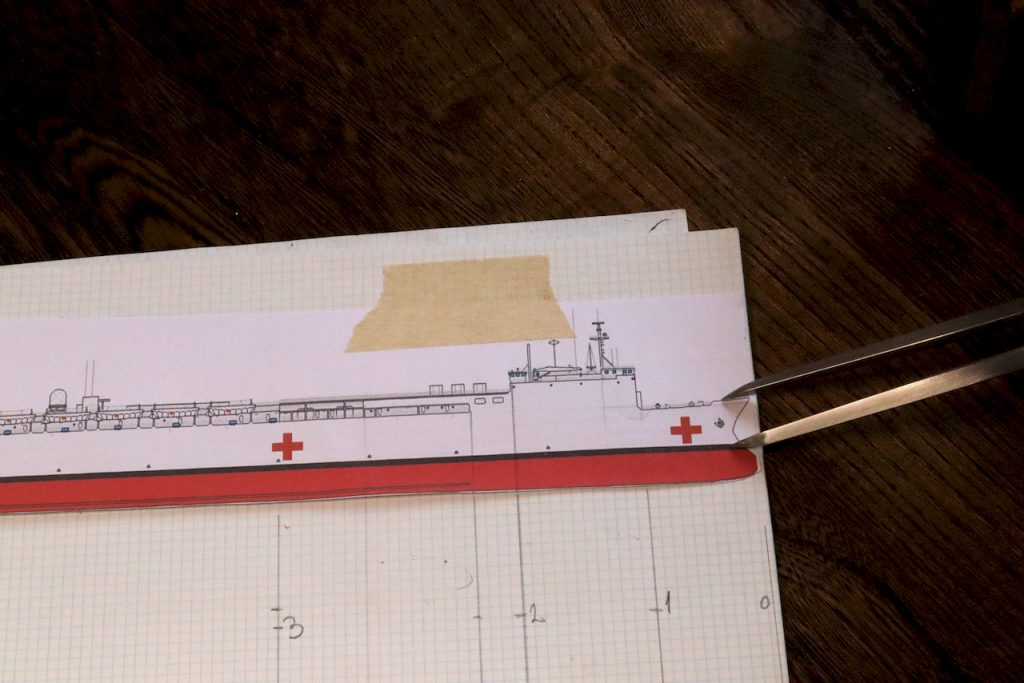
To begin my research I googled for “USNS Comfort drawings”. Since Comfort has a sister ship named Mercy my google search yielded much info on both. What I found was a sea of knowledge, pictures, and drawings (I included some links below). Perhaps the most helpful link was a digital 3D model of the ship, from which many great derivative views were generated and are available to scroll through online. I also found one color elevation of the ship which I printed out and glued over a graph paper.
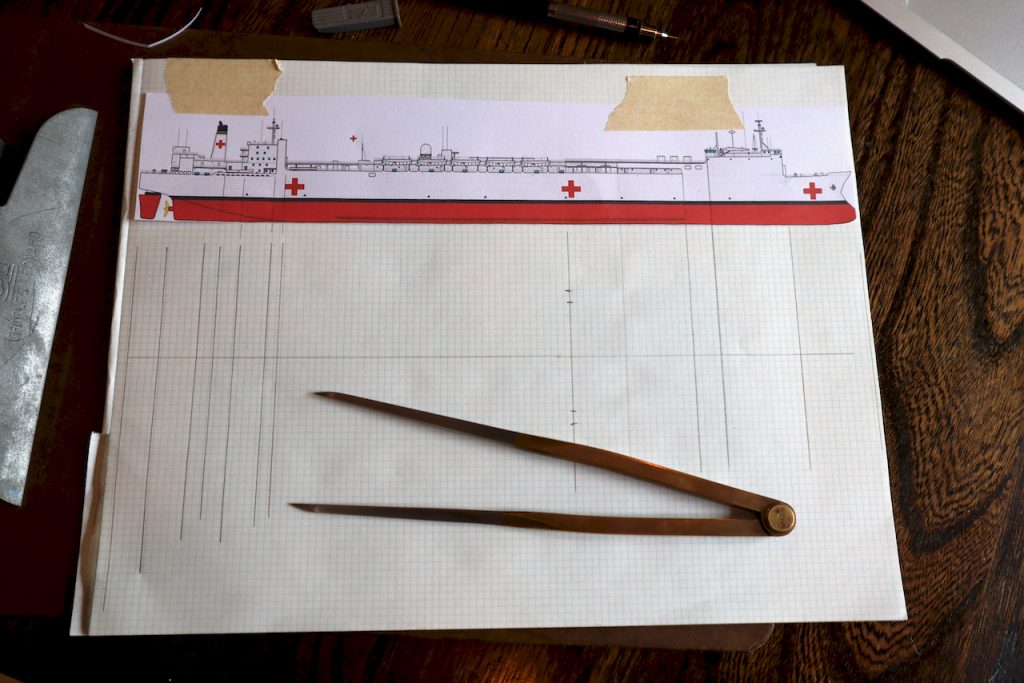
I cut and affixed the elevation onto a graph paper and dropped or traced the important lines downward.
Since I could not find a top view, or a deck plan, I had to extrapolate one from the side elevation and the available aerial pictures. At first I drew only half of the deck plan, since I knew that this half would be used as a template to draw the other (mirror) half too.
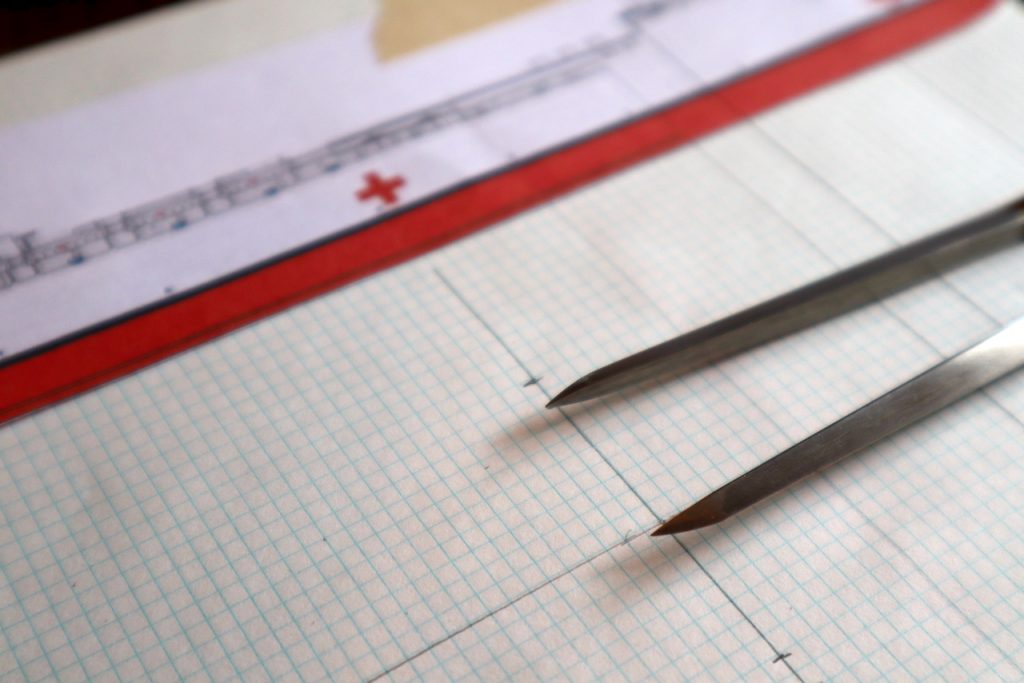
Using a divider (this one actually is a vintage nautical divider made in the UK) I plotted the deck line.
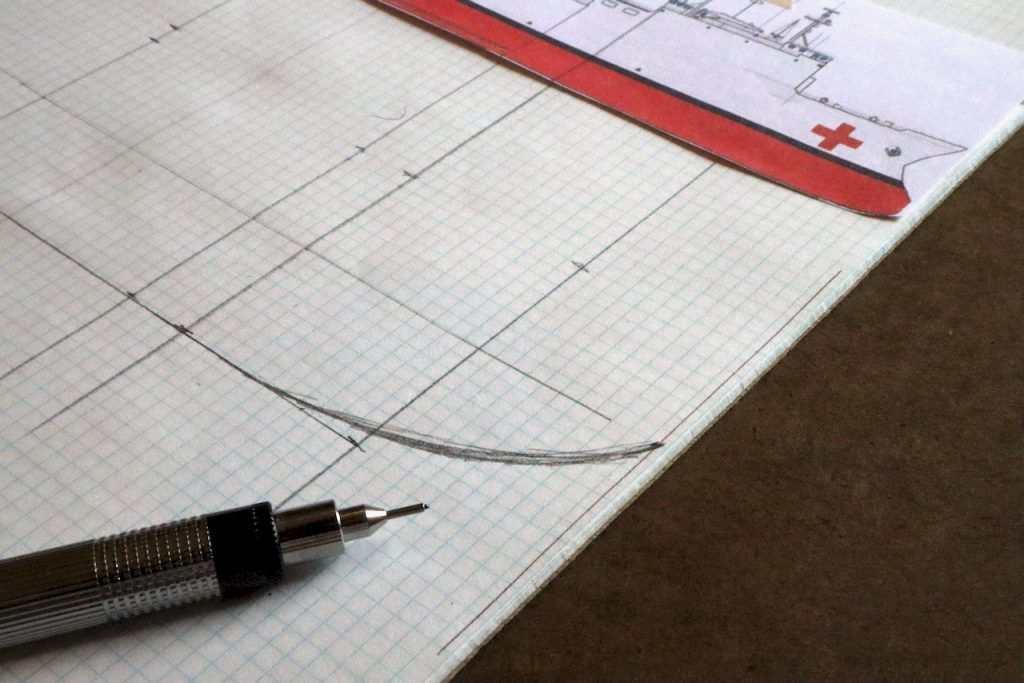
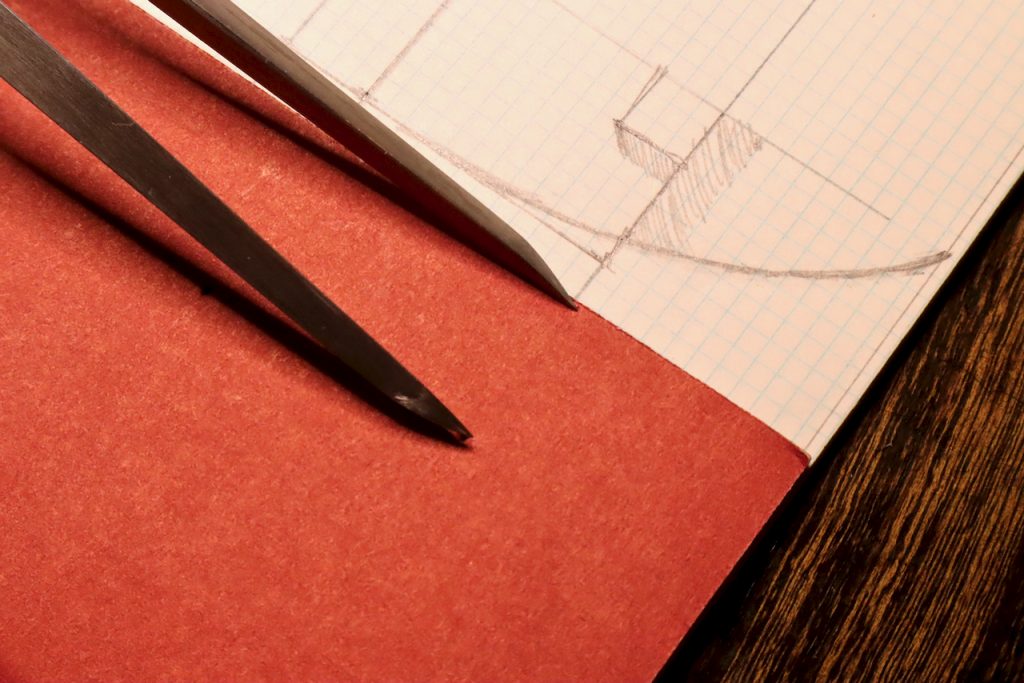
An educated guess to figure out the bow’s curvature.
Half the deck plan is ready.

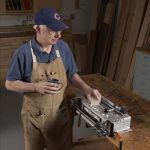
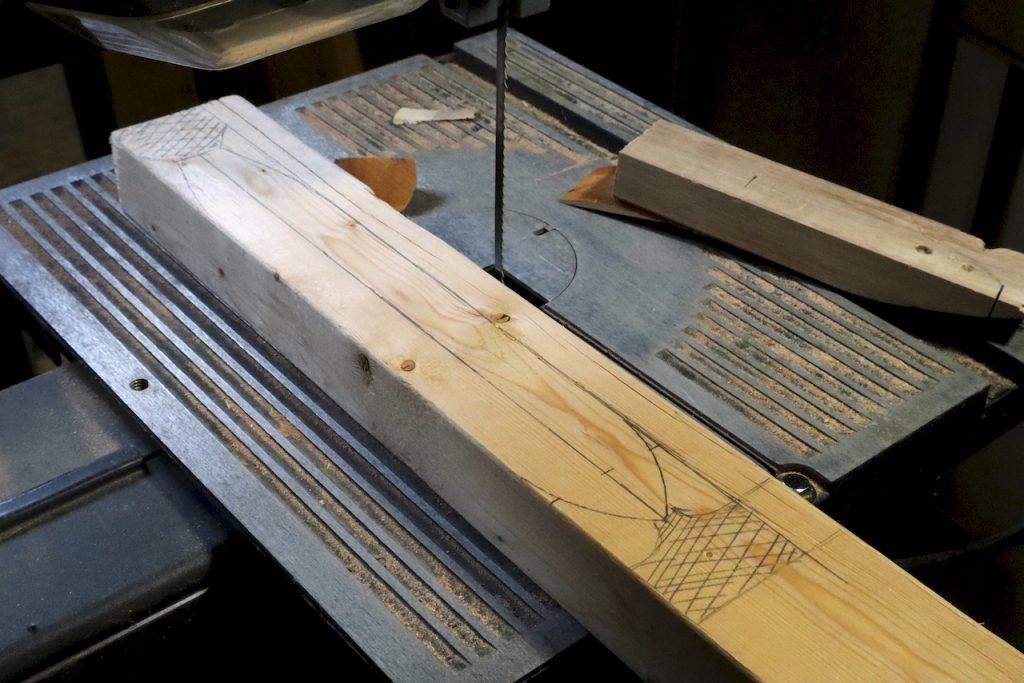
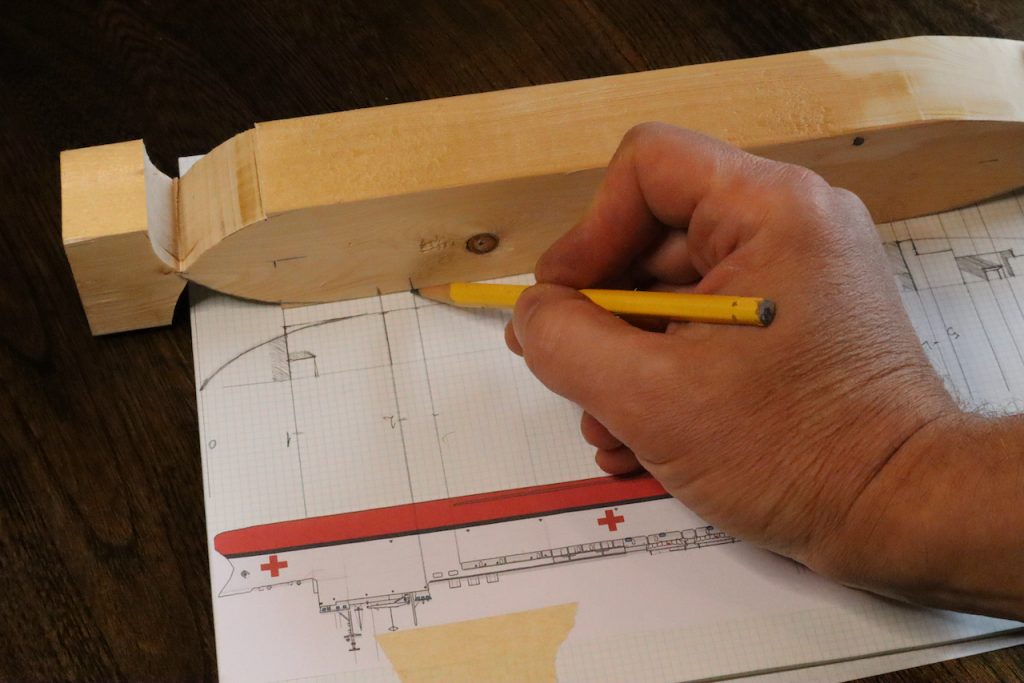
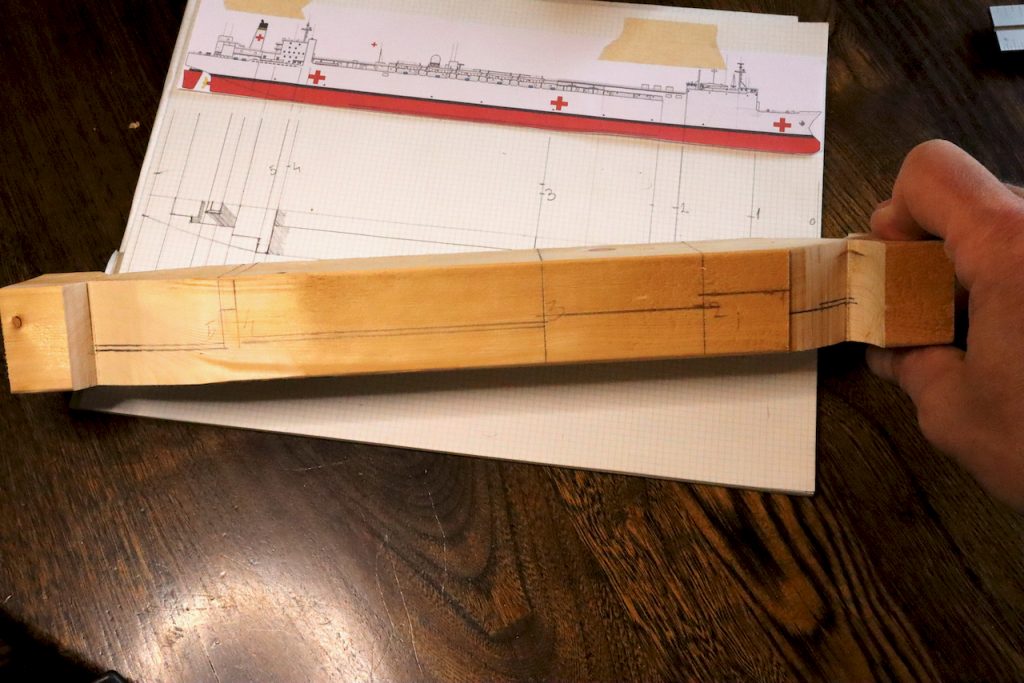
When translating the drawing onto the wooden blank, I recommend making and using cutting templates. Making a good template goes a long way and will help you speed up the process. I like to outline the deck plan first, cut it on the band saw and then draw the elevation.
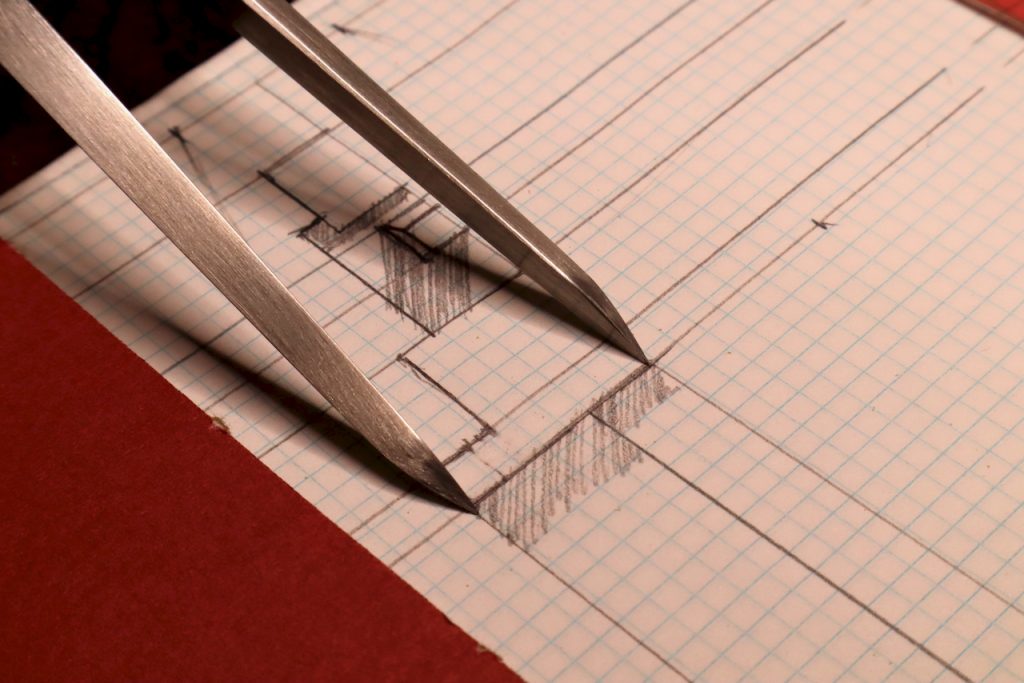
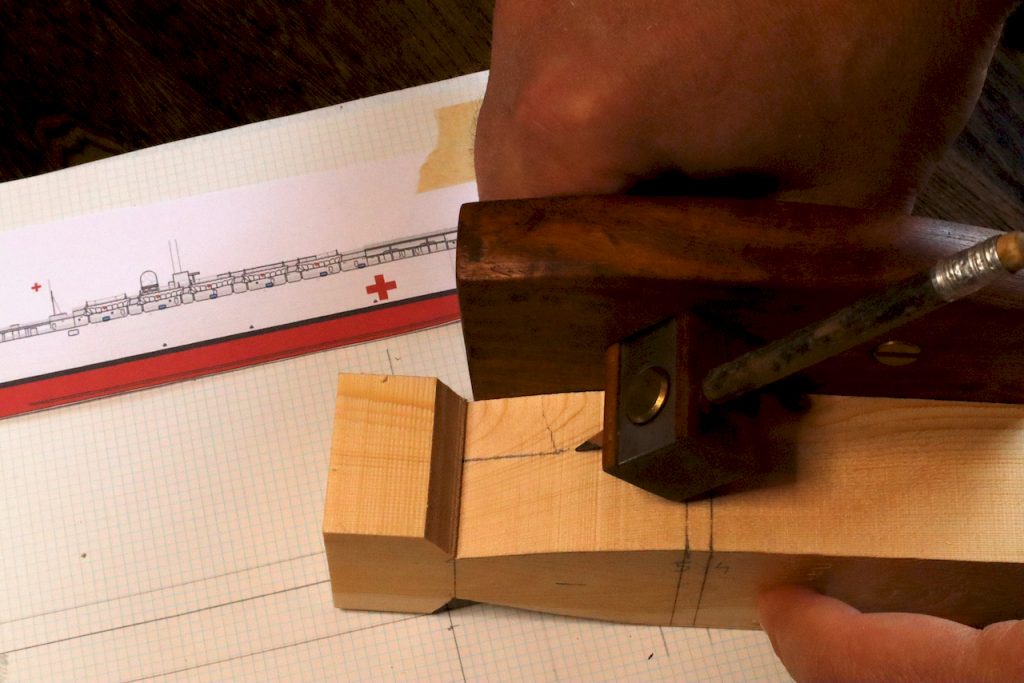
Working on the template included a lot of measurements transfers.

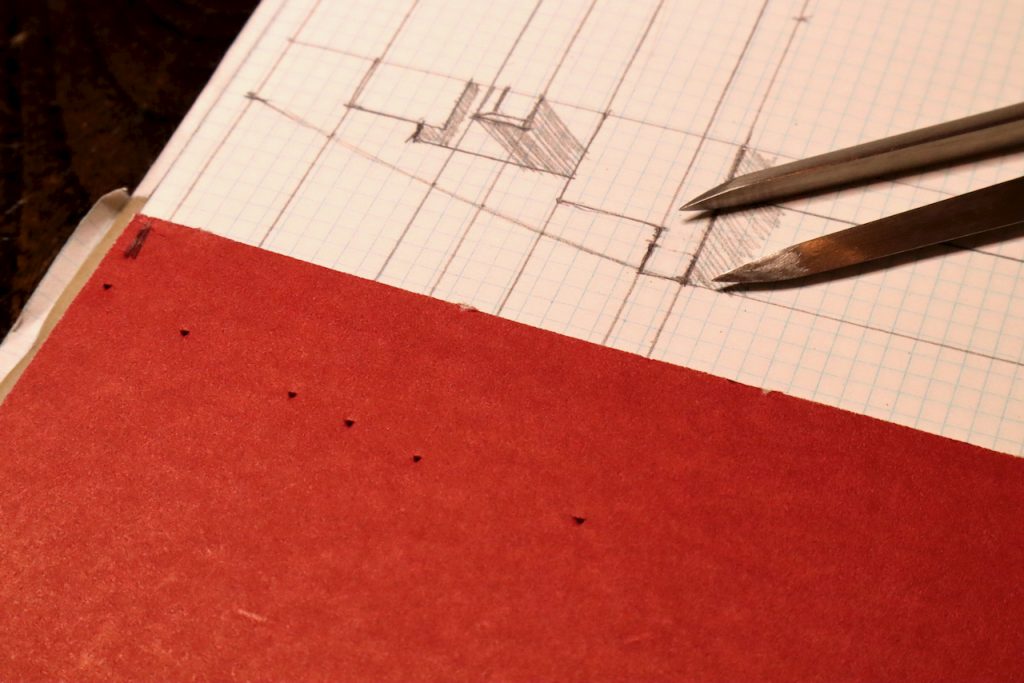
Connecting the pocking points with a pencil. 
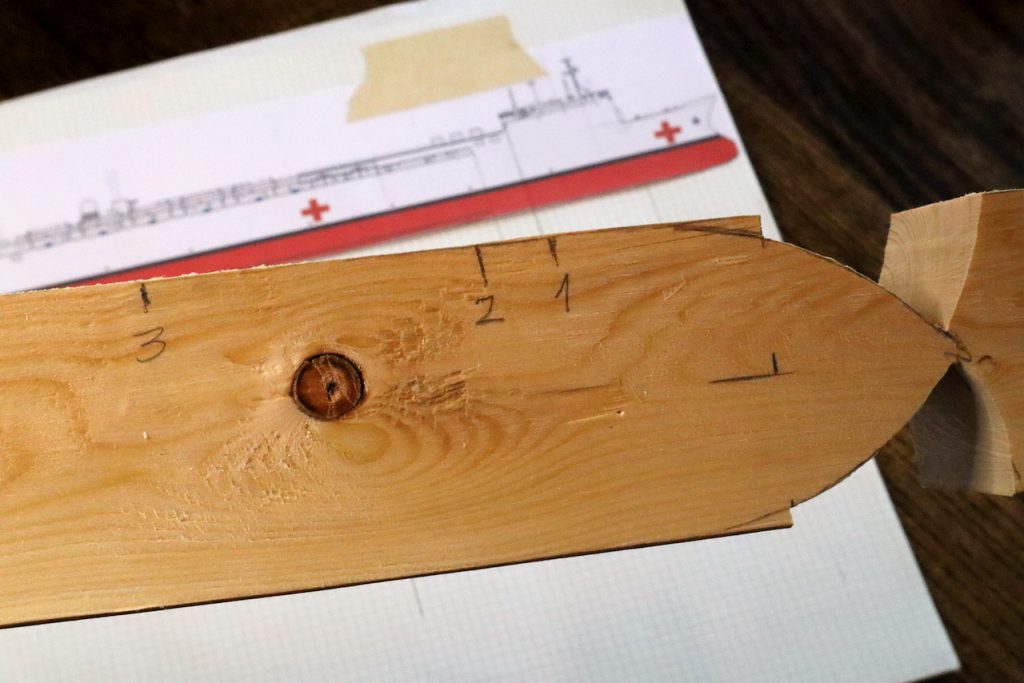
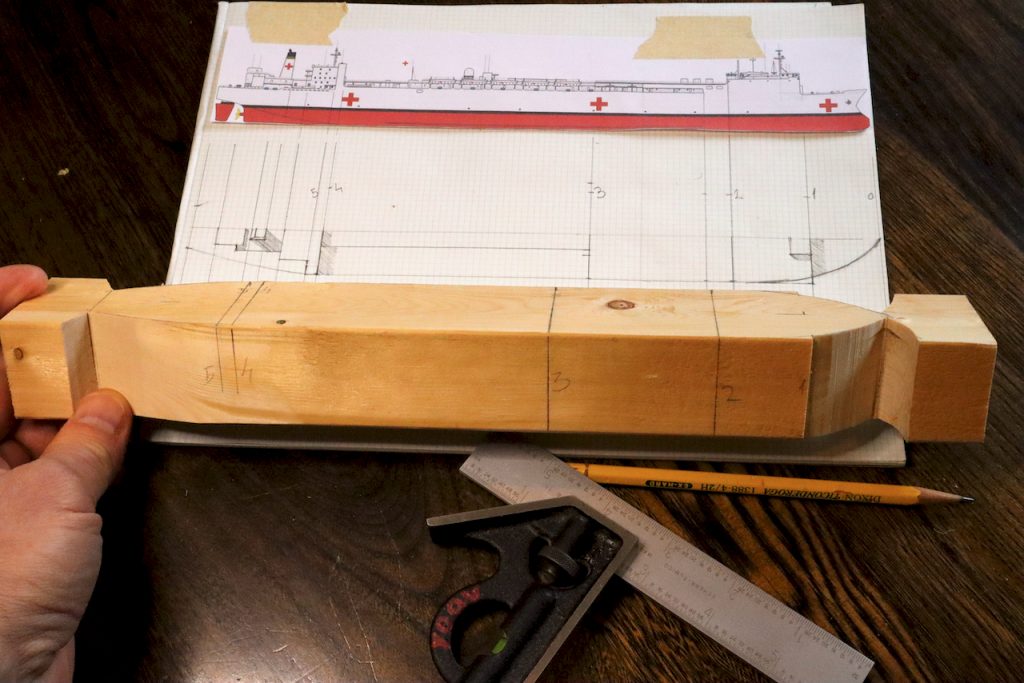
Below you can see how I laid out, and then cut the deck or plan view, using the bandsaw.


Notice that how I like to leave a little extra wood on the bow and stern to help in stabilizing the blank when sawing off the elevation later on.

And now the fun begins.

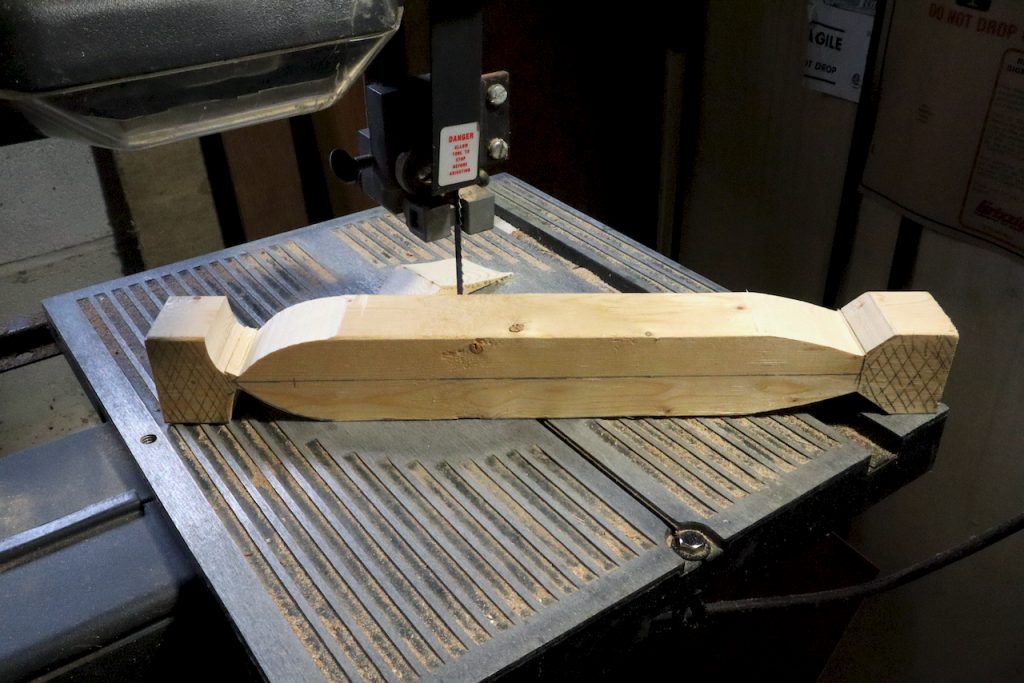
If you check the elevation, which I provide here plus the images online, you can notice that most of the ship’s side (Highlighted in red) belongs to one flat plane, while the areas highlighted in orange extend from the red plane and curve inward towards the center line. The remaining parts of the superstructure belong to a few inner, or receding, planes. So when reshaping the blank for the second time on the bandsaw to reveal the elevation I draw the entities that belong to the front plane (red) and the two that curve from it on the bow and stern (orange). To draw the basic elevation I like to use a storyboard template, or just employ rulers, a pencil gauge, and a square. I also like to leave a little extra wood on the bow and stern to help in stabilizing the blank when sawing off the elevation.

Projecting the important elevation details onto the blank. 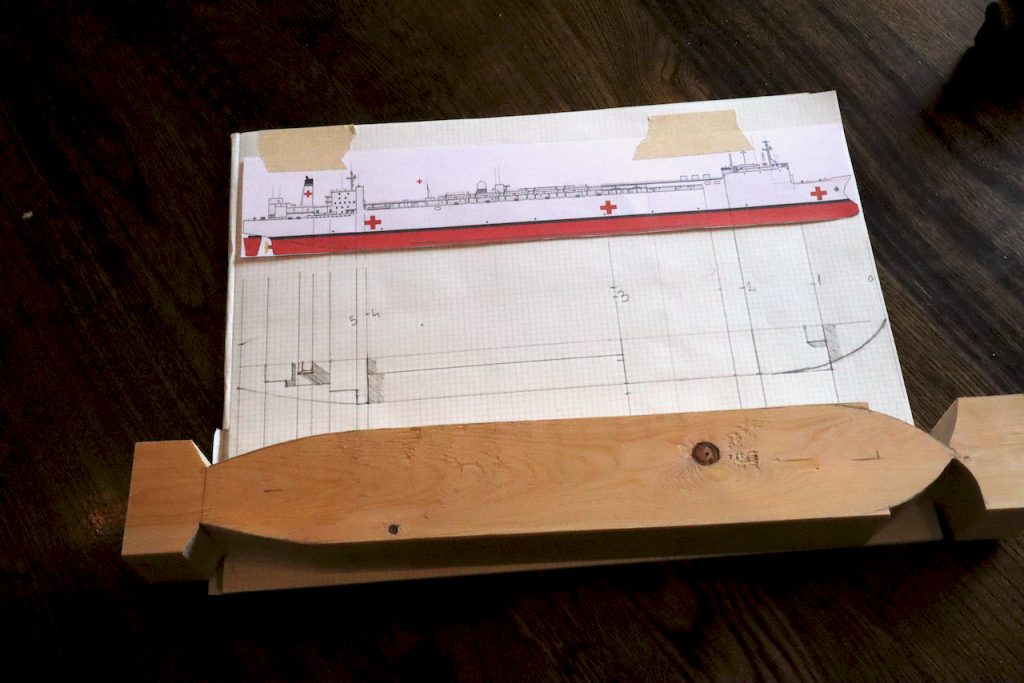
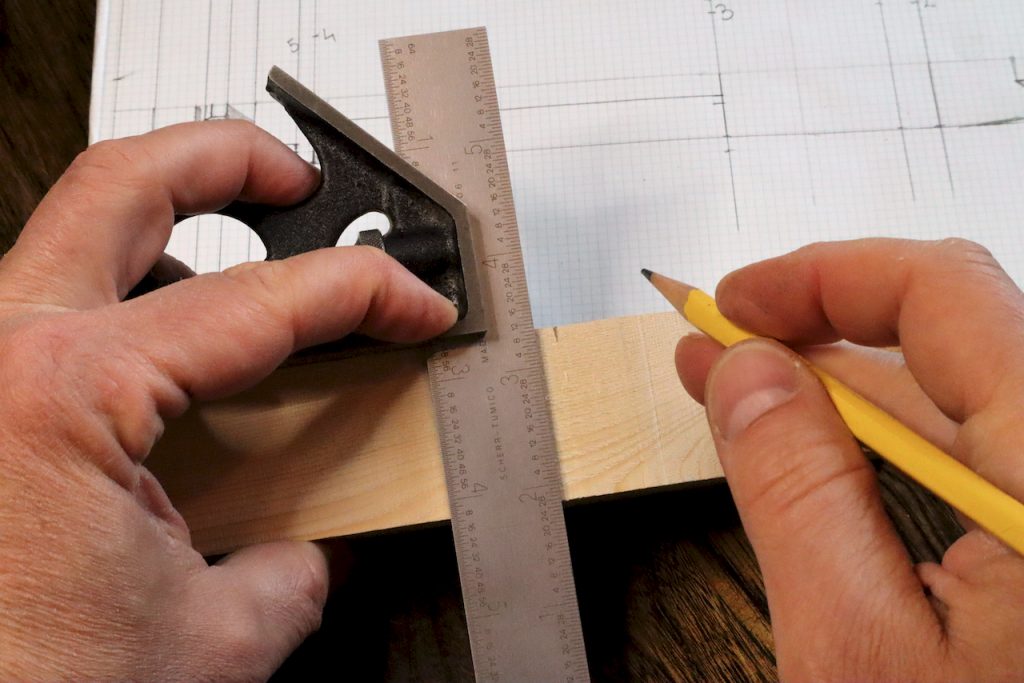
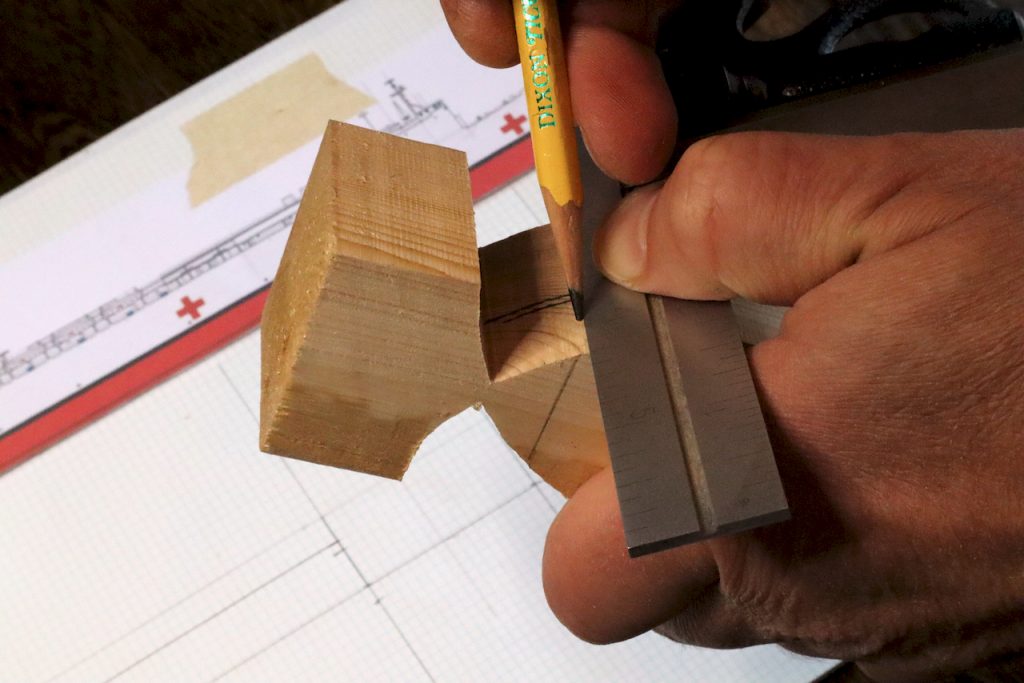
Transferring the hight of the different decks from the elevation to the blank.
All is ready for revisiting the band saw.
Stay tuned for next time as I intend to show how I shaped the elevation, the hull’s curvatures details and began working on the remaining parts of the supper structure.
USNS Mercy Google search for deck plans
A large image of the USNS Comfort
Here are some supplies and tools we find essential in our everyday work around the shop. We may receive a commission from sales referred by our links; however, we have carefully selected these products for their usefulness and quality.