We may receive a commission when you use our affiliate links. However, this does not impact our recommendations.

We’re in the middle of our CNC Video Series, created in partnership with Axiom Tool Group, and we’re posting the third video on making a sign using CNC design and equipment. Before you sarcastically say, “oh boy!” I need to stop you. These aren’t boring signs, and we’re only scratching (routing?) the surface of what’s possible for these machines. Sure, watching a video on making a sign doesn’t sound sexy, but the videos are offered as an example of the precision techniques that are available for much more than just making signs … and they are kind of sexy!
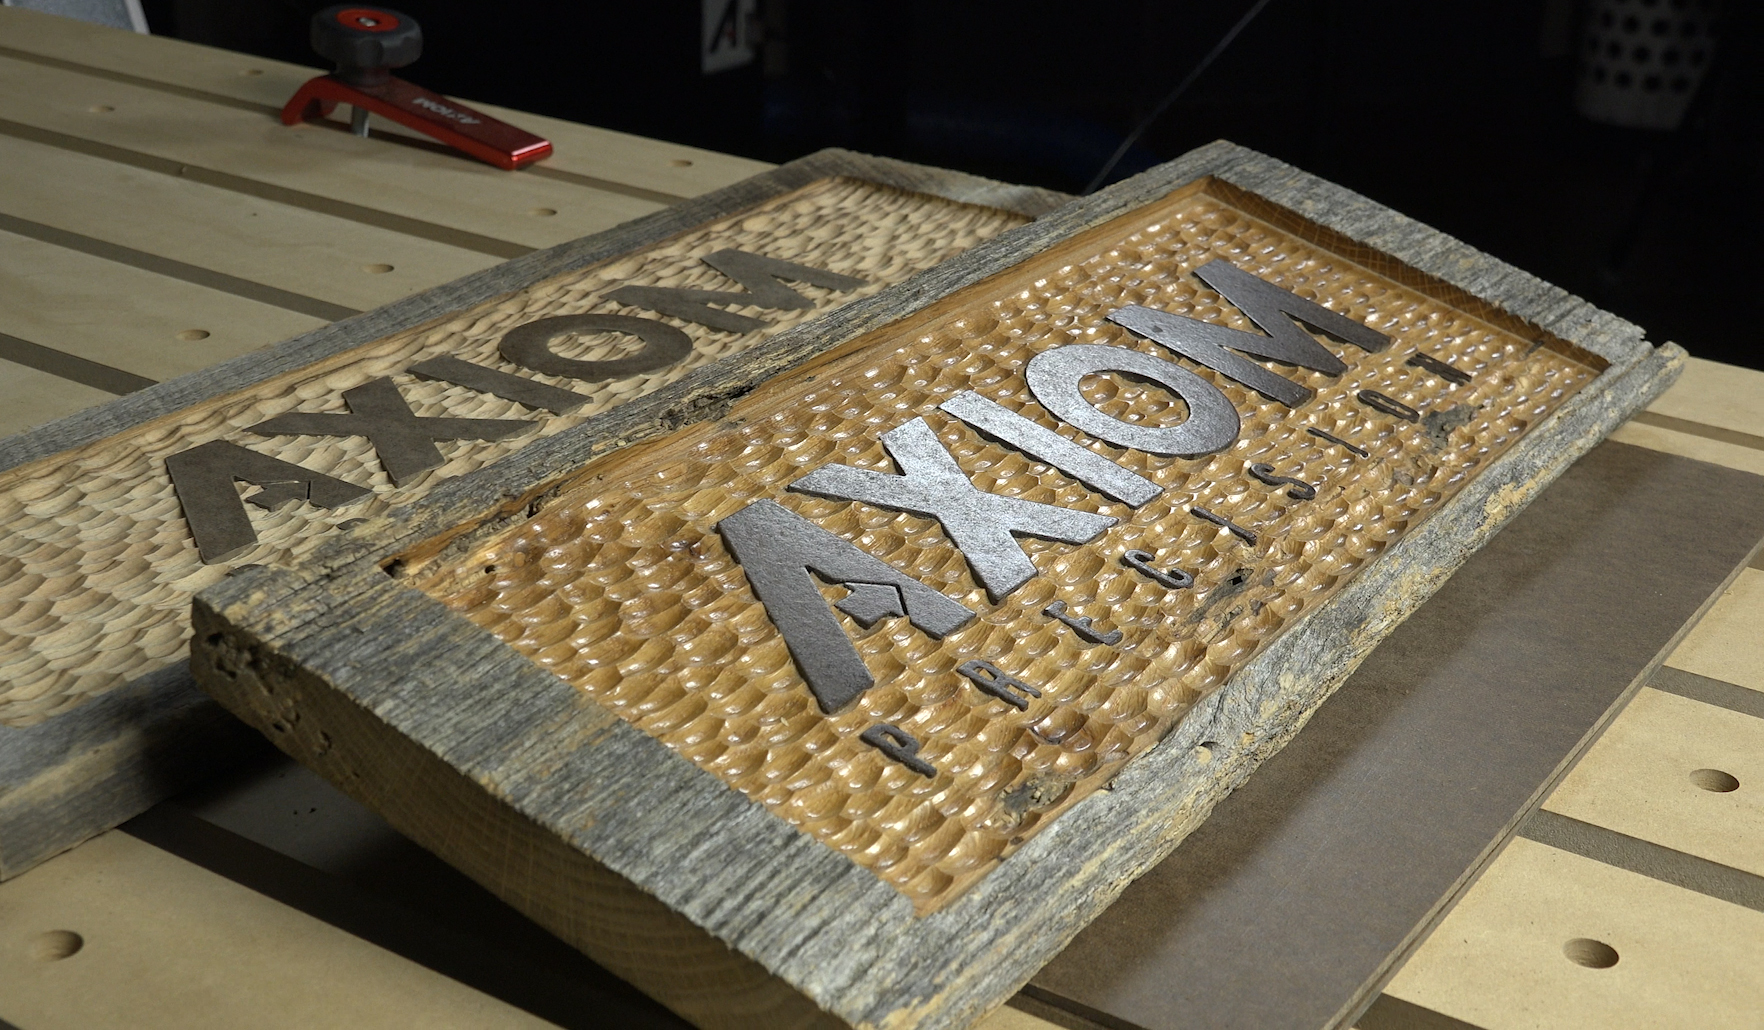
One of the most satisfying techniques shown (in videos three, four and five) was how to sculpt a background for the sign. Now I hadn’t thought much about this, but we took a rough piece of barn wood, set up a simple pattern using the easy software and let the core-box bit in the router go to town. It was mesmerizing watching the bit tip in-and-out of the sign creating an organized, but random pattern that looked great!
Next, we changed bits to a fine, straight bit and created a recess for the letters of our sign. Why a recess? This is another very cool part. For the lettering itself we used a really simple contrasting material (hardboard), but rather than just plant them on the sign, the recesses allow the lettering to become an integrated part of the field! Even more amazing was the precision press fit of the letters into the recesses. You can’t help but think of other applications for these different techniques as you watch the sign come to life.
We’ve got a few more CNC routing tricks up our sleeve in the next few weeks, so check back and enjoy the show!
Here are some supplies and tools we find essential in our everyday work around the shop. We may receive a commission from sales referred by our links; however, we have carefully selected these products for their usefulness and quality.


