We may receive a commission when you use our affiliate links. However, this does not impact our recommendations.
Use the power of the sliding dovetail.
PROJECT #2002 • Skill Level: Advanced • Time: 5 days • Cost: $500
The Shakers were a Protestant sect of English Quakers that immigrated to the U.S. in 1774. They founded largely self-sufficient communities from Maine to Kentucky and lived by the three guiding principles of honesty, utility, and simplicity. To support their communities, the Shakers would sell the food they grew, but also made furniture for sale to the world outside of their communities. For the Shaker furniture makers, their mission was to instill utility and longevity to the pieces they sold, all while sticking to their devout religious beliefs without adorning the pieces with any veneers, which they considered dishonest, flashy brass hardware, which they considered prideful, and simple lines without much adornment. They utilized stout joinery, and wooden pulls, giving Shaker furniture a distinct style. When the last shaker villages were dwindling in the 1930s, Faith and Edward Deming Andrews recognized the Shaker movement disappearing from history and sought to document it before it disappeared. It is no coincidence that around this time the famous Arts and Crafts movement centered around craftsmanship and form over production, post-industrial revolution, followed by the Modernist movement of the 1930s, and the “mid-century modern” style found so ubiquitous today. All of these styles draw from the work ethic and design elements found in Shaker furniture with an emphasis on clean lines, attention to detail, and furniture that will last.
Prepping Stock
As with any project, stock preparation is key. I’m using cherry, a favorite of the Shakers. The majority of my stock is rough sawn 4/4 cherry that I milled flat and true in my shop, but you could also use S4S lumber. I prefer to mill my own stock so I can acclimate the rough sawn lumber to my shop, so it doesn’t move very much while I’m working with it. I also like to lay out all of my parts before milling, keeping in mind I’ll want to have grain continuity across my drawer fronts. Laying out different project parts in pen, marker, or chalk is a helpful visualization to maximize your lumber so there’s less waste and you can utilize different grain patterns that lend themselves to components.
Gluing the Top
Panel glue-ups shouldn’t be too stressful if you’ve properly prepped your stock. Face jointing then planing the opposite face, then edge jointing and finally ripping your stock to width at the tablesaw will provide a stress-free glue-up. I used a biscuit joiner to help me align the pieces, but you can skip this step if you pay close attention to board alignment.
When gluing up panels, make sure you spend most of your efforts on properly jointed boards and not applying too much clamping pressure, while also alternating clamps on the top and bottom of the glue up. This will help ensure a flat panel after balanced clamping pressure. My top finished at 197/8″ deep by 60″ long.
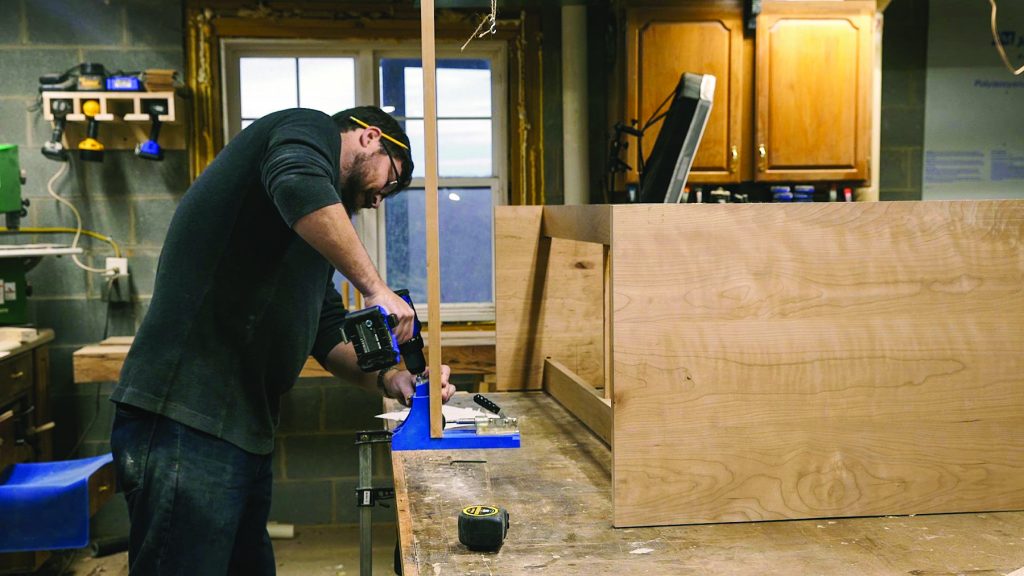
Casework
With the top glued up I started work on the casework of the base. The two sides of the carcass were glued up in the same manner as the top measuring in at 19″ wide and 30″ tall.
I ripped some more Cherry stock down to 3″ wide for the stretchers of the casework. I’m using the power of the sliding dovetail to make the assembly of the carcass much less stressful. With a shop-made parallel jig clamped square and perpendicular to the case side and a dovetail bit installed in the router, I cut the dovetail dados that would house the sliding tails into the sides equally spaced along the front edge of the interior of the two case sides.
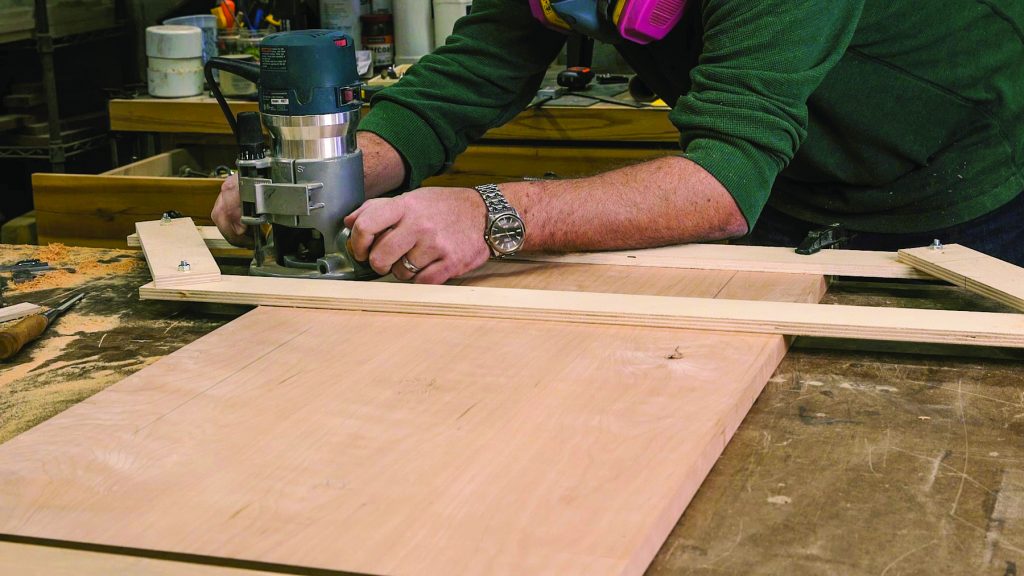
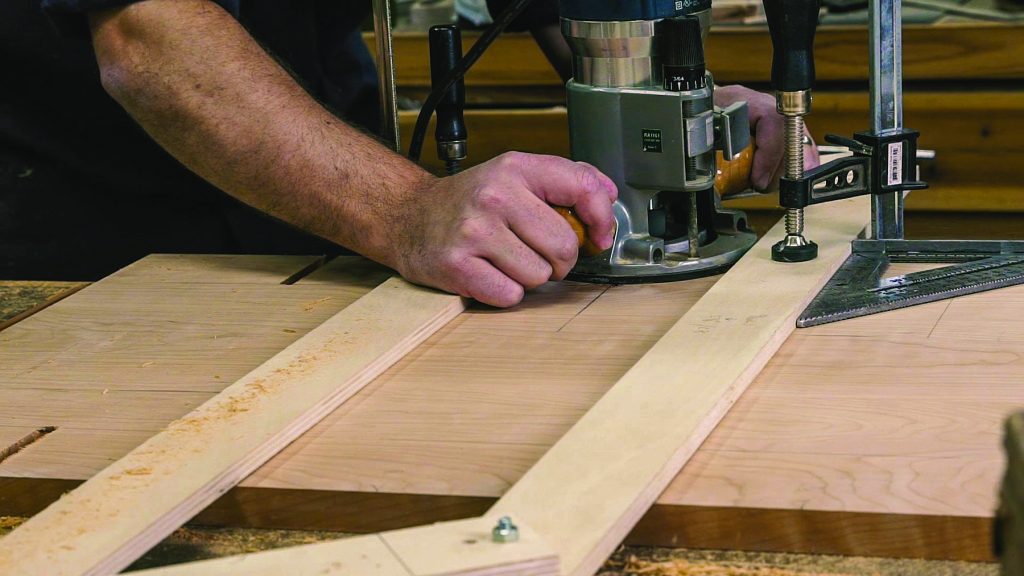
I used a shop-made parallel jig and my router with a dovetail bit to cut “dovetailed dadoes” in the sides of the case.
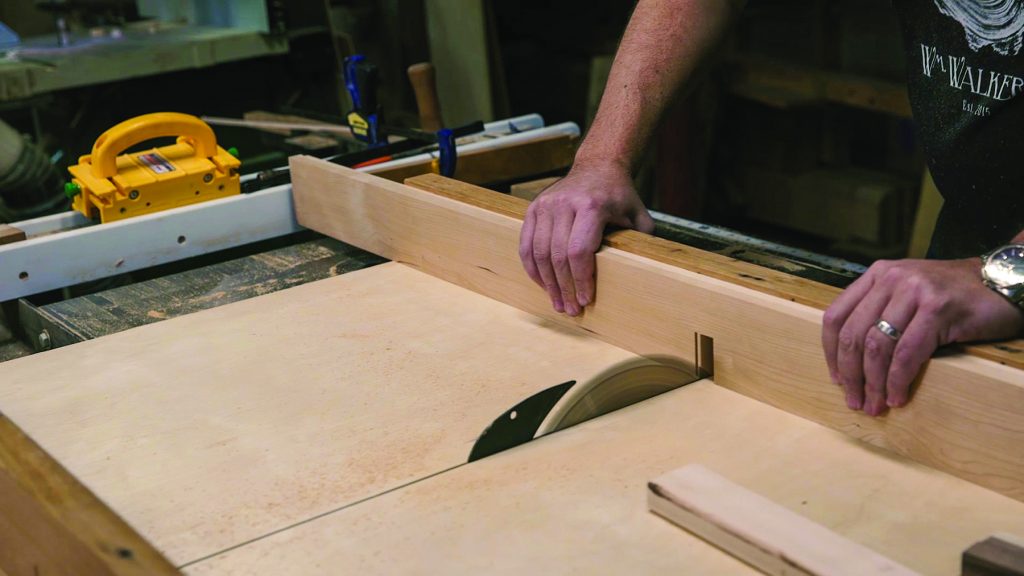
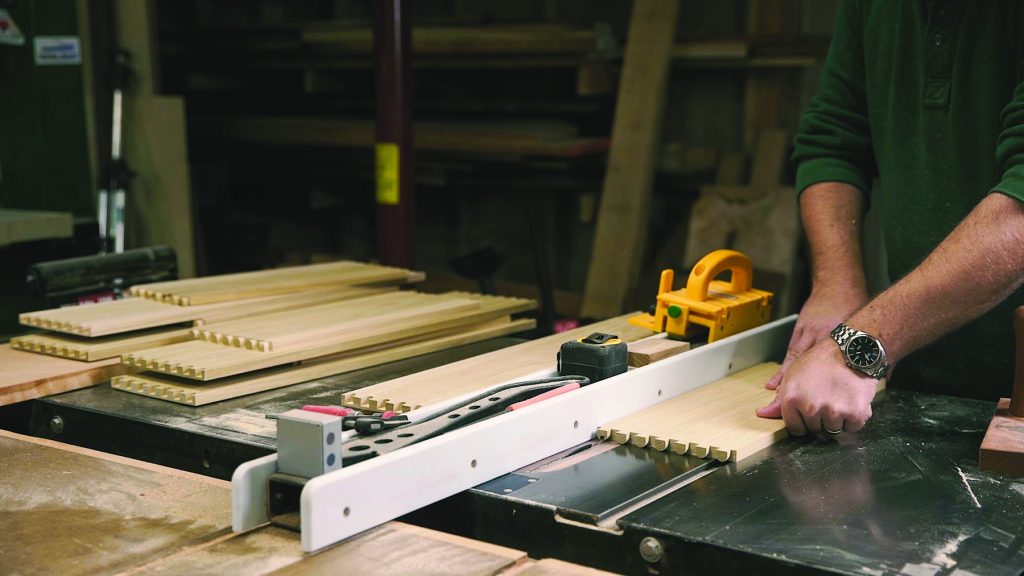
Once I had my dovetailed dados cut, I could install the same bit into my router table and use a sled that rides over the fence of my router table/tablesaw to safely cut the sliding tails on the ends of the stretchers. I snuck up on this cut using matching thickness scrap to get a perfect fitting tail before committing to using my actual stretcher stock.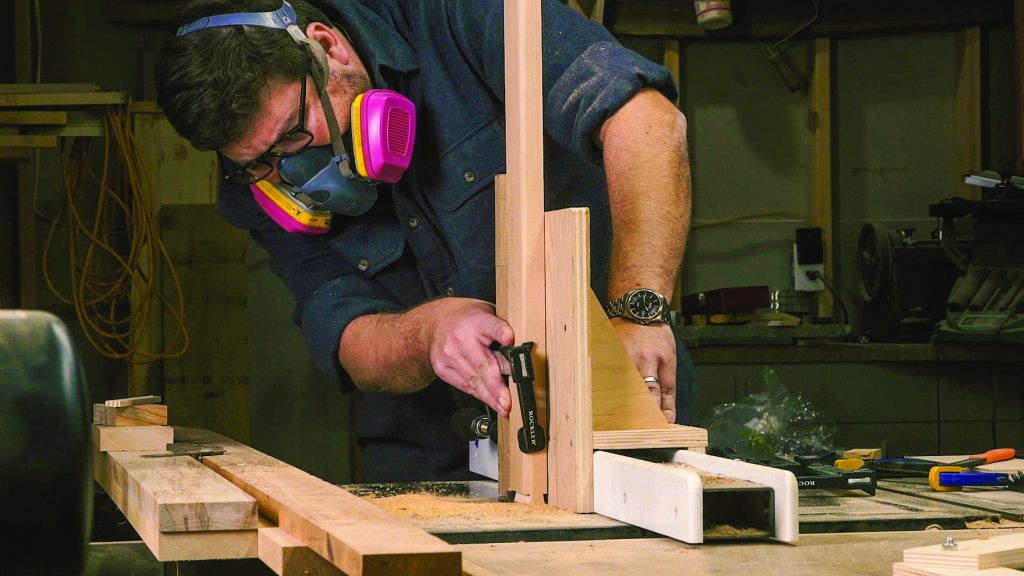
At the router table (in the wing of my tablesaw), I cut mating parts to fit. The jig that holds my parts in place rides on the tablesaw fence.
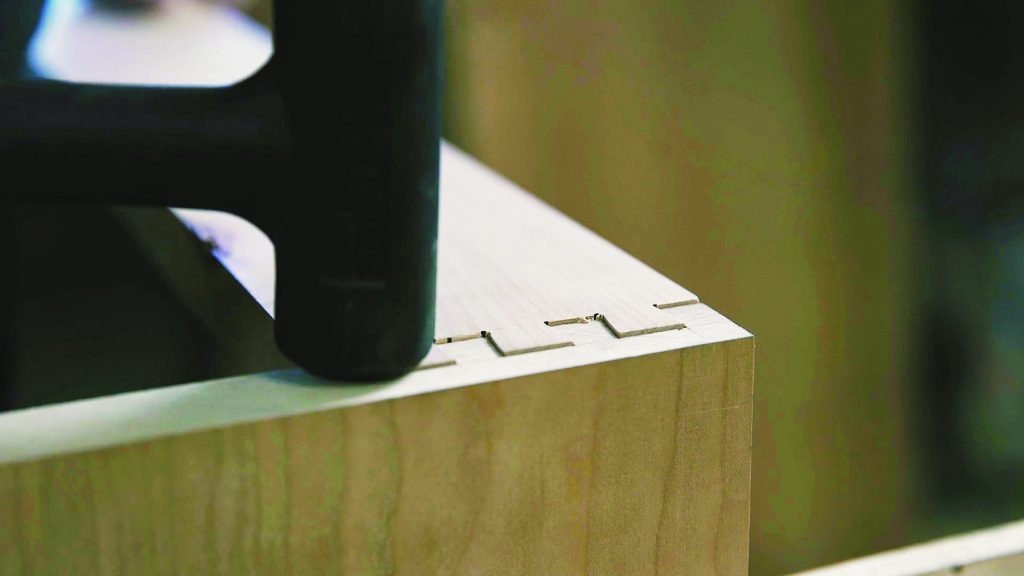
With the tails cut, I put a small chamfer on the leading edge of the tail for easier installation.
A dry fit of the casework thus far is essential to laying out the top stretcher. In the case of the top stretcher, a sliding dovetail was not an option since the top stretcher would be flush with the top of the case sides. In this instance, I used half-blind dovetails to keep in the same theme of a clampless glue-up. Pocket hole screws could also be used in place of the dovetail, but these dovetails will likely never be seen by anyone, so this is a great excuse to practice cutting your dovetails.
I did a dry fit of the parts once everything is milled. This is also essential to lay out the top stretcher, which uses half-blind dovetails.
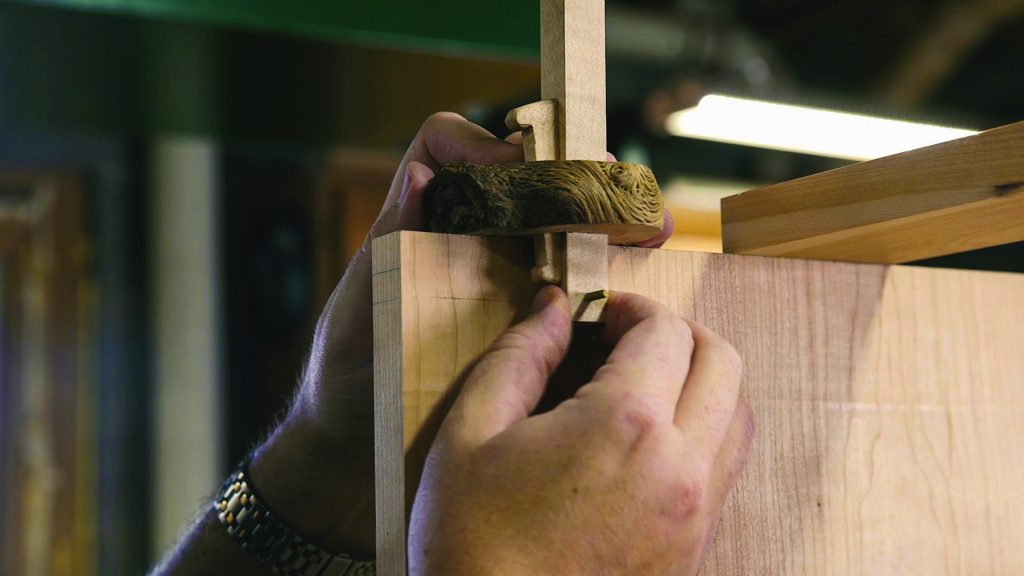
I used a marking gauge to establish a baseline for the dovetails.
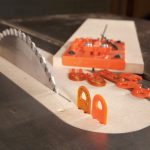
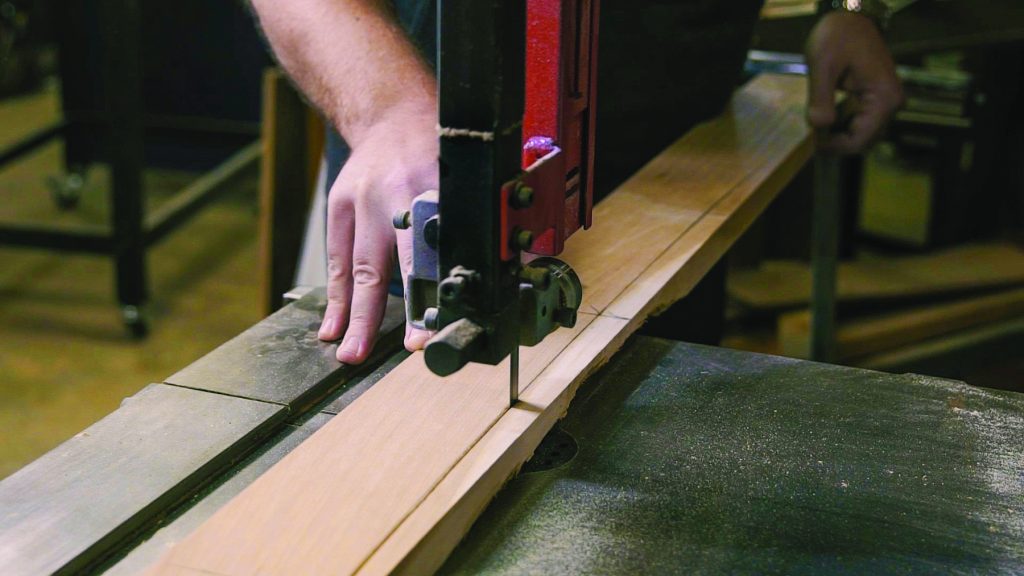
After laying out my tail and socket boards, I gang cut my tail boards at the bandsaw. You could easily do this by hand, but the bandsaw saves time.
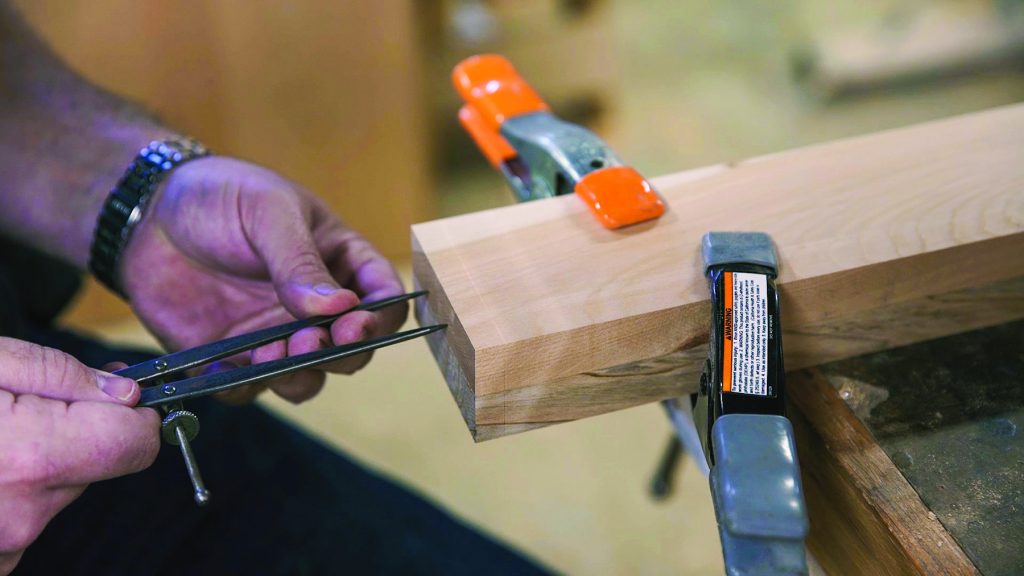
Use dividers to lay out the pins on your stock.
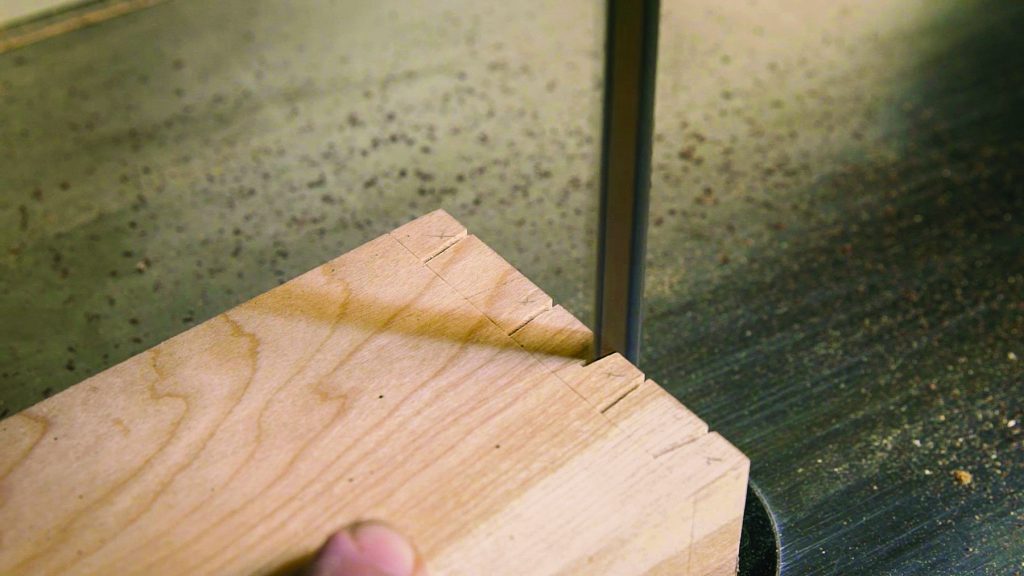
I then go to the bandsaw to quickly cut the tails.
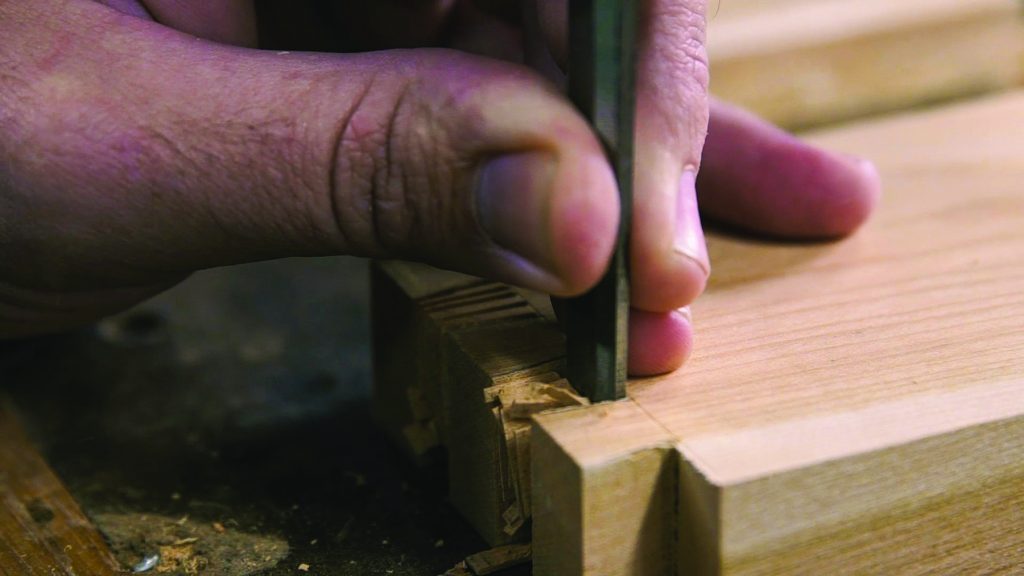
Chop out the waste between the tails with a chisel.
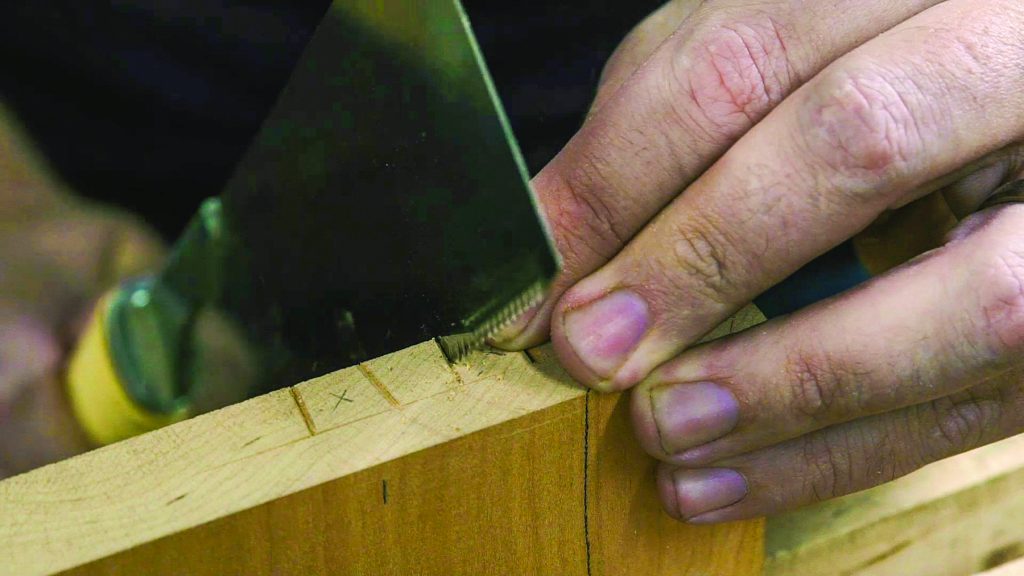
Transfer the tails to top of the carcase sides.
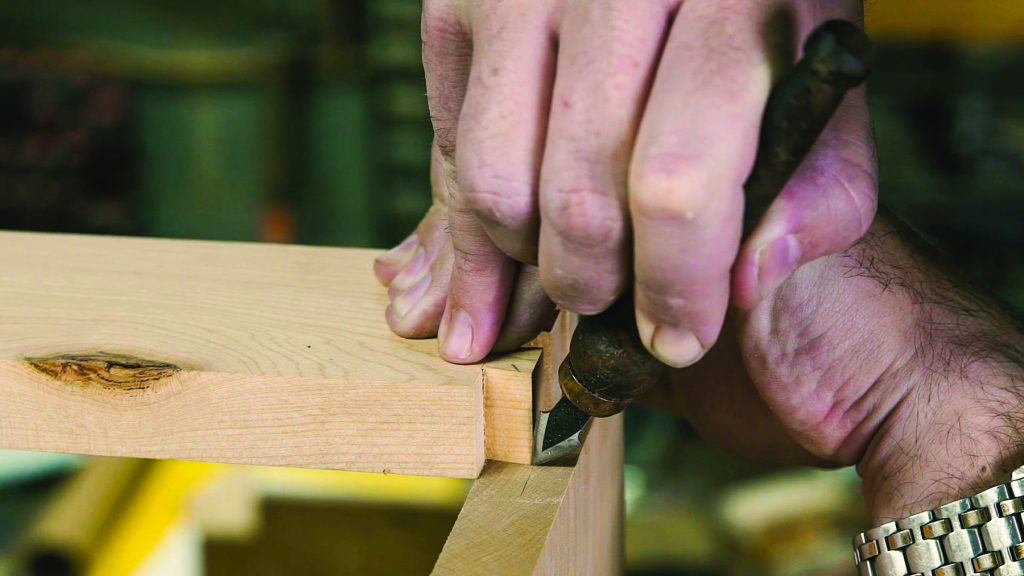
Mark your waste, then cut until you’re just shy of the baselines.
Then it’s all chisel work.
Carefully chop out the rest of the waste and pare to the layout lines.
Once your tails are cut and the waste removed with a mallet and chisel, transfer your tails to the socket board (case sides), and start to cut your sockets. A lot of people are intimidated by half-blind dovetails but in reality, they are far more forgiving than “through” dovetails since there is one less show face to be concerned about.
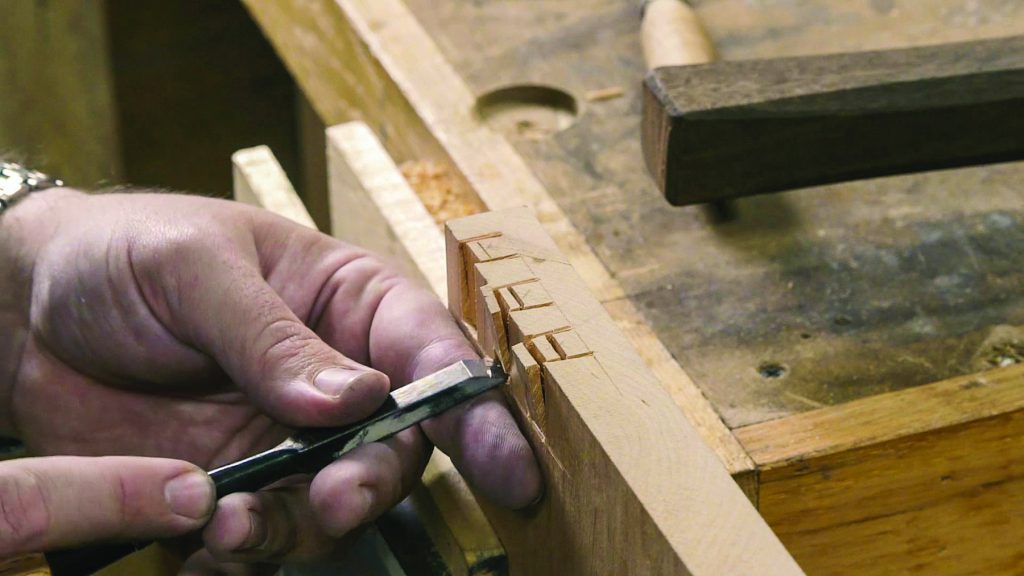
Sawing on an angle, with either a Japanese pull saw (Dozuki or Ryoba) or a Western dovetail or rip filed backsaw, cut down to your layout lines and finish the rest of the work with a chisel. Within the waste portion of your dovetail sockets, a firm blow of the mallet to the back of the chisel in the baseline of the socket to severe the fibers of the wood, followed by a tap of the chisel into the endgrain working in shallow passes evacuates the waste efficiently.
PRO-TIP: A cardscraper and mallet can be used in the kerf of the saw cut to help finish severing the fibers in the bottom of the dovetail socket.
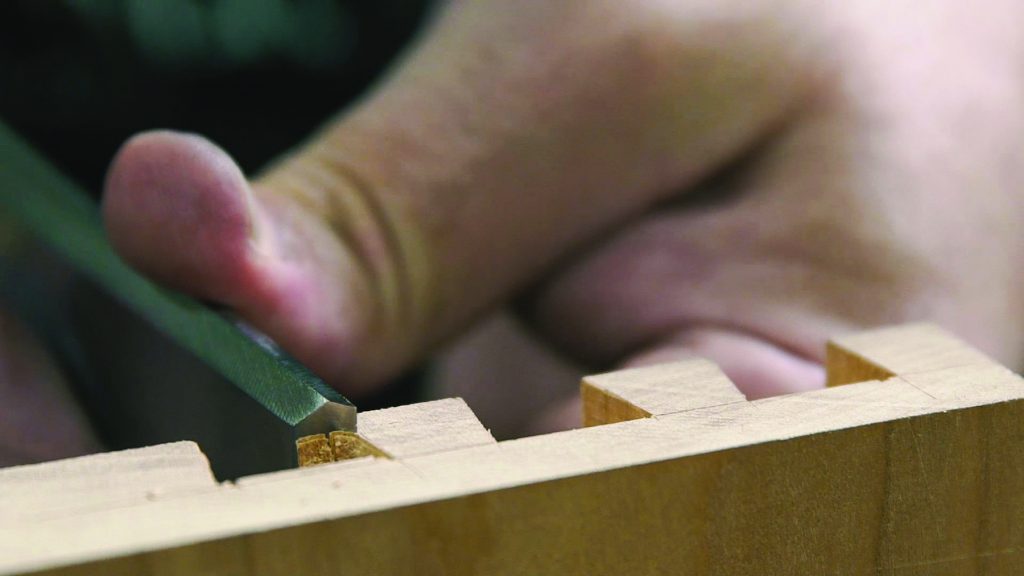
Once the majority of the waste is cleared out, pare back to your knife lines to result in tight-fitting half-blind dovetails.
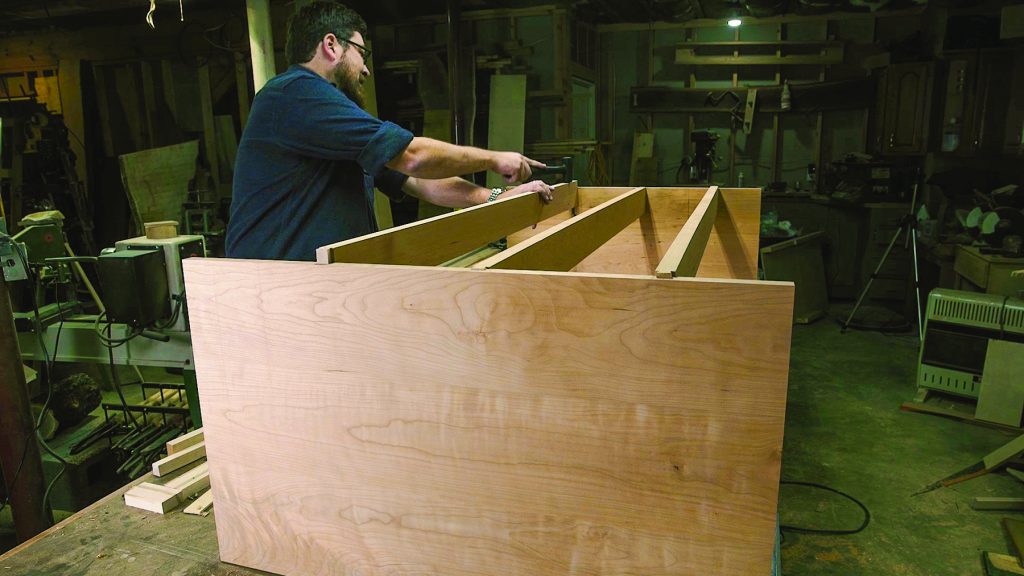
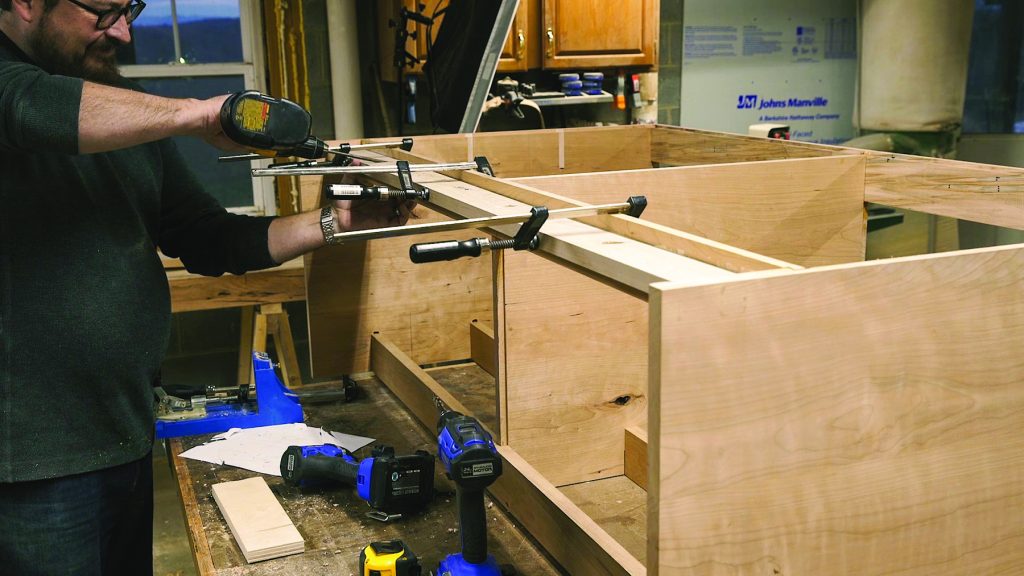
With the casework dry-assembled I marked the center divider of the case and the two middle stretchers for halved joints to be cut at the tablesaw utilizing a shop-made crosscut sled. The top and bottom stretchers would be getting the same sliding dovetail treatment as the case sides.
Dry-fit the half-blind dovetail stretchers on the top of the case, then layout the center divider joinery.
Cut the halved joints in the two center stretchers at the tablesaw, sneaking up on a perfect fit.
The center divider is held in place with sliding dovetails on the top and bottom stretchers, and halved joints in the middle stretchers.
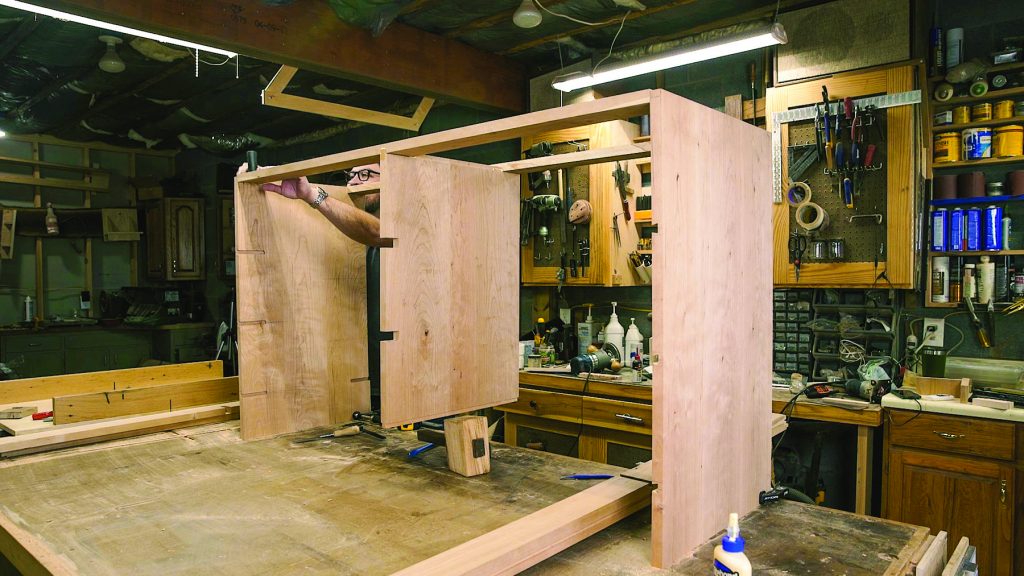
With all of the joinery cut for the casework I started the assembly. This is where the power of sliding and half-blind dovetails is very apparent. At 5′ long, I would have been starved for long enough clamps in my shop. These dovetails provide a stressfree, clampless assembly taking advantage of opposing geometry to bring these joints together.
Making the Drawer Boxes
As the glue dried on the carcass, I started work on the drawer boxes. For the drawer boxes I chose to use poplar, an excellent secondary wood that is affordable and easy to work. I started with 5/4 rough sawn stock and milled it flat and smooth at the jointer and planer. I find that 4/4 S4S lumber is too bulky for drawer boxes so I like to resaw my 5/4 stock at the bandsaw giving me box sides of 1/2″-5/8″. Resawing, for a lot of woodworkers, is daunting due to poorly setup bandsaws. With a properly set up bandsaw, and a sharp blade, resawing is easily one of the most satisfying tasks I do in my shop and opens up the quality of work you can produce with bookmatched panels. I follow the method of Alex Snodgrass. A quick web search should provide ample results.
Back at the tablesaw with my crosscut sled and a stop block on the fence, I cut all of my box sides at once. I do a lot of commissioned work so, while I could have cut the half-blind dovetails for the boxes by hand, I invested in a commercially available router jig for dovetails. It has paid for itself many times over with the time it has saved me. It’s a fairly clever design in that it cuts the tails and sockets at the same time. With six drawers adding up to 24 corners to dovetail, you can see how this is a timesaver. After all the dovetails were cut, I cut a quarter inch groove to accept the 1/4″ drawer bottoms, being sure to cut through the bottom dovetail so the groove didn’t show on the outside of the box.
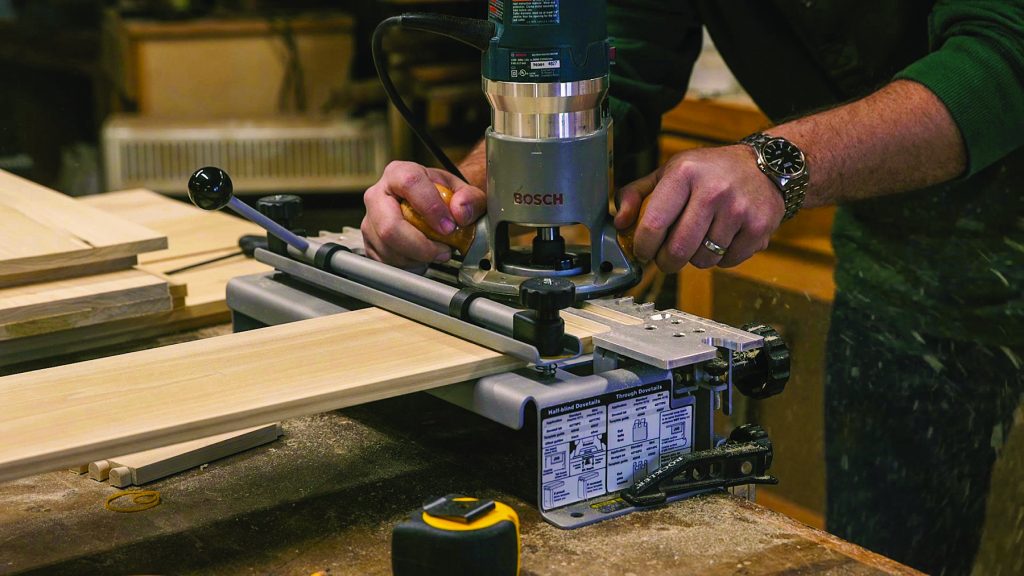
I turned to a router jig to cut the half-blind dovetail drawer joinery.
I cut a 1/4″ groove around the bottom of the drawer parts, making sure it’s centered on the bottom tail so it doesn’t show on the outside.
Assembly of the drawers goes fairly quickly assembling three sides of a box with glue, sliding in the 1/4″ Maple ply bottoms and installing the fourth side. I always pull diagonal measurements to ensure the boxes are square before the glue dries. If there is any discrepancy, a clamp placed diagonally over the offending corners pulls the box into square.
The Bottom Aprons
For the bottom of the carcass, a decorative and functional bottom apron is added. For this piece, I paid close attention to grain and found a piece of Cherry with an arching grain and followed that. A piece of scrap 1/4″ plywood is used to make a makeshift drawing bow to trace out a sweeping curve. I cut close to my line at the bandsaw and cleaned up the cut with a spokeshave to get down to my line.
I added a subtle curve that follows the grain on the bottom apron.
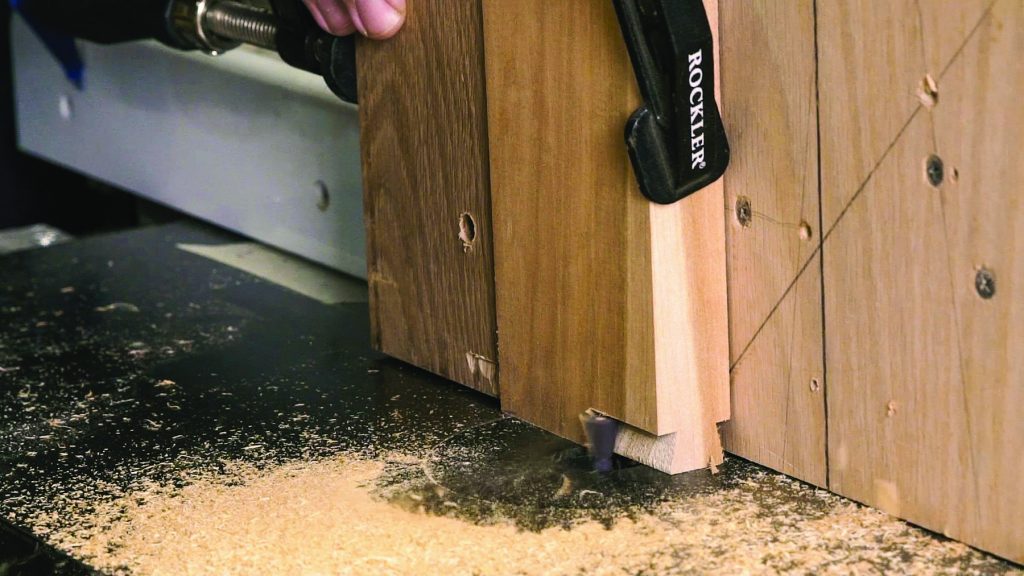
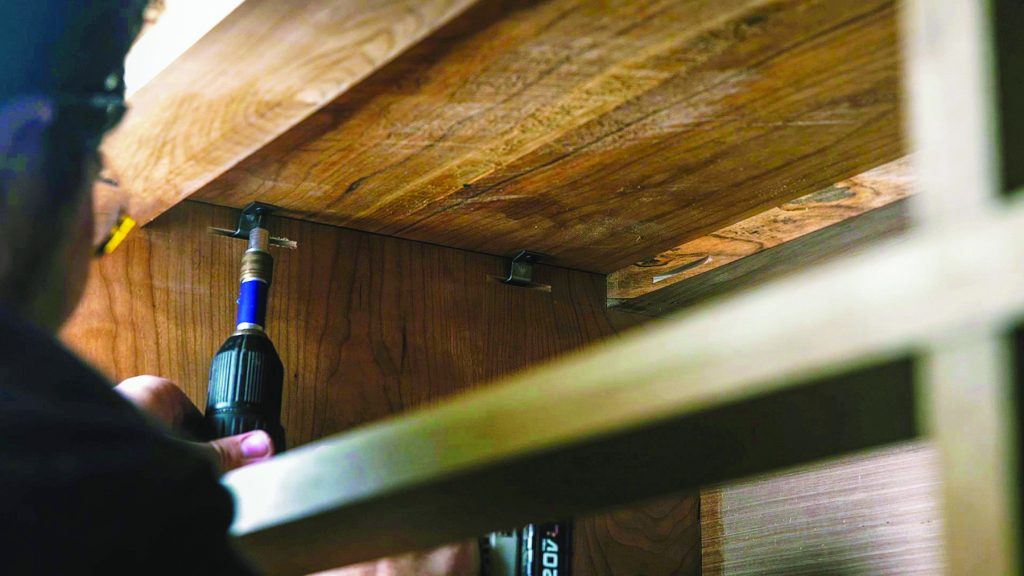
The Shakers were a pragmatic culture. They used pocket hole joinery in their furniture and so, I decided that I would too. The bottom apron, both front, and back, is secured with glue and pocket holes. I then added a Luan back to the casework.
In true utilitarian fashion, I attached the bottom aprons with pocket holes and screws.
I attached the back apron with pocket holes and screws, then added the Luan back panel.
Finishing the Casework
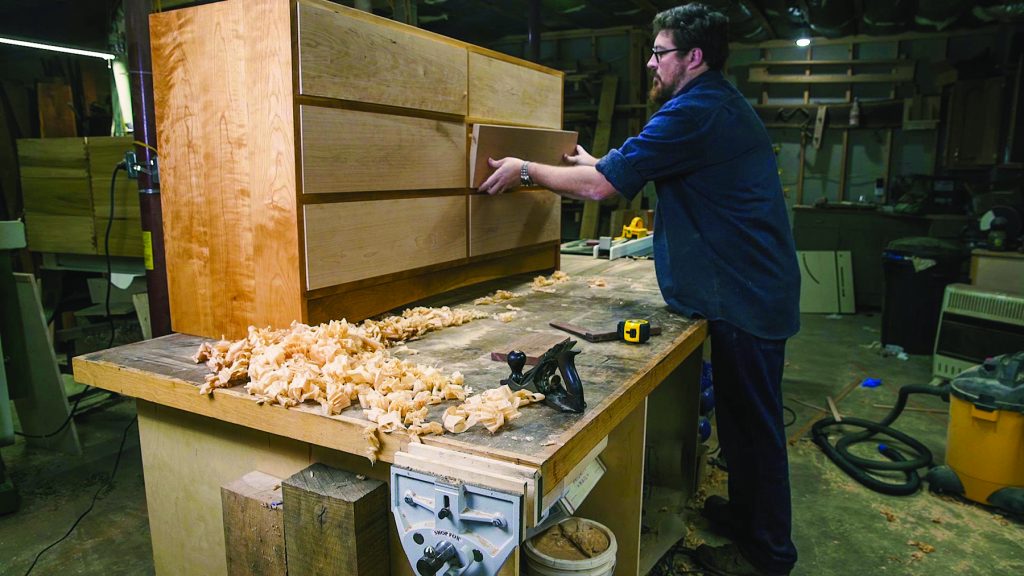
On the underside of the case sides, I added a small chamfer to mitigate the chance of the grain splitting out as the piece of furniture is surely going to be slid along a floor at some point in its life. This Cherry had some beautiful subtle curly figure that could only be enhanced by the use of a card scraper or smoothing plane.
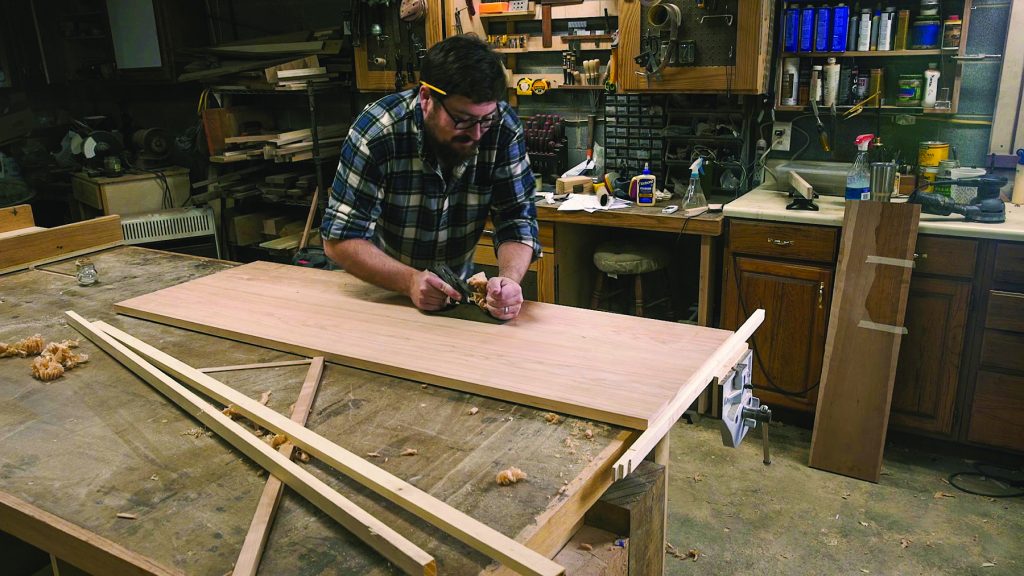
The top of the dresser got extra love with a plane and scraper to reveal some beautiful grain.
The underside of the dresser top received a light cove profile cut with the router and cove bit. The case and top were finished with Danish Oil. This is a very easy finish to apply though it isn’t as bulletproof as say a wiping varnish or polyurethane, it’s easily renewable which is always a plus.
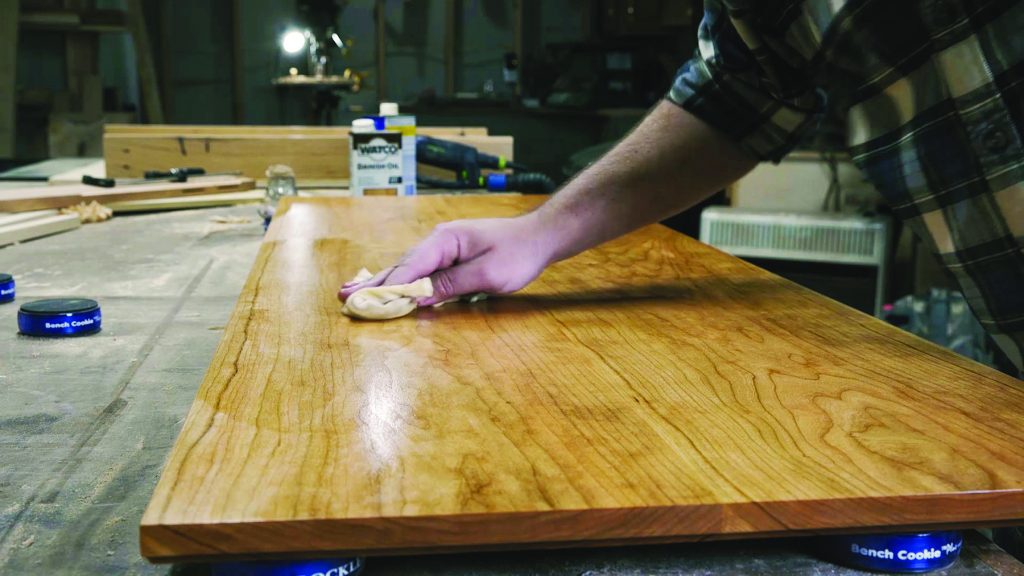
I finished the whole dresser with Danish oil. While not as protective as other finishes, it’s easy to apply and renew.
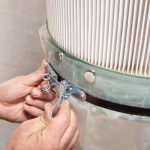
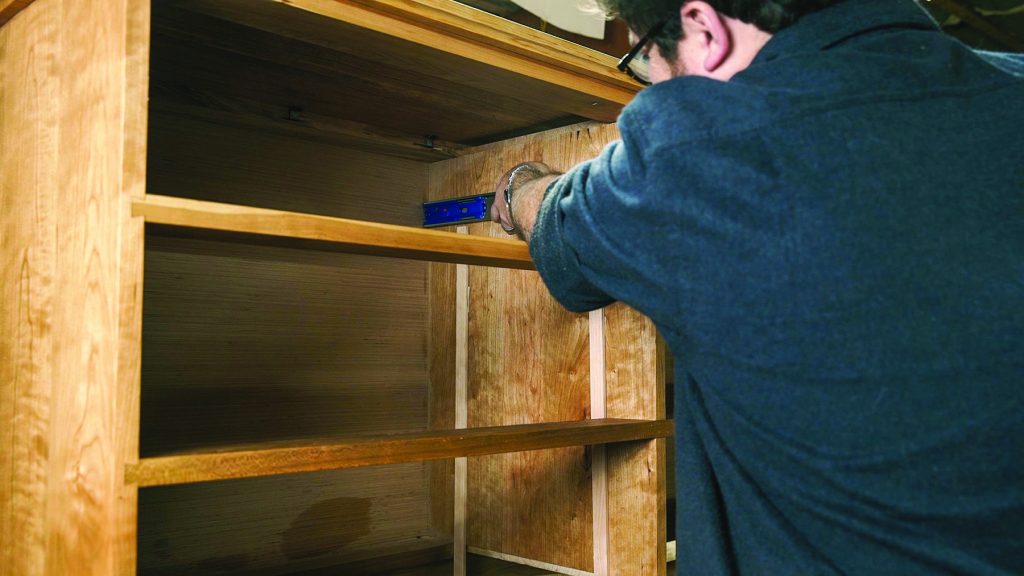
The dresser top is mounted using metal Z-clips to allow for seasonal wood movement. Slots are cut around the perimeter of the inside of the carcass with a biscuit joiner, though a router and slot cutting bit would also work.
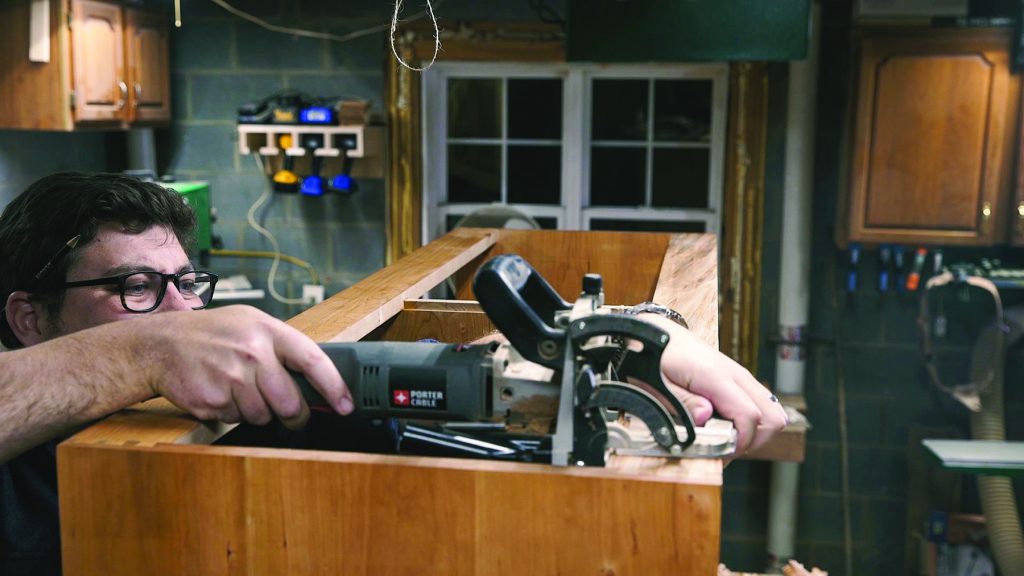
A biscuit joiner makes perfect slots to attach the top with Z-clips.
Installing the Drawers
I installed the drawer boxes using soft-close side-mounted ball-bearing drawer slides, though you could use more traditional wood slides, or the sleek undermounted ball-bearing slides depending on your budget. With the boxes installed I could then fit the drawer faces. The drawer faces feature a continuing grain pattern across the front of the dresser. Attention to details like this show you put thought and care into your furniture which can help your work stand apart. To fit the drawer fronts, I use playing cards as shims to get an equal reveal around the drawers.
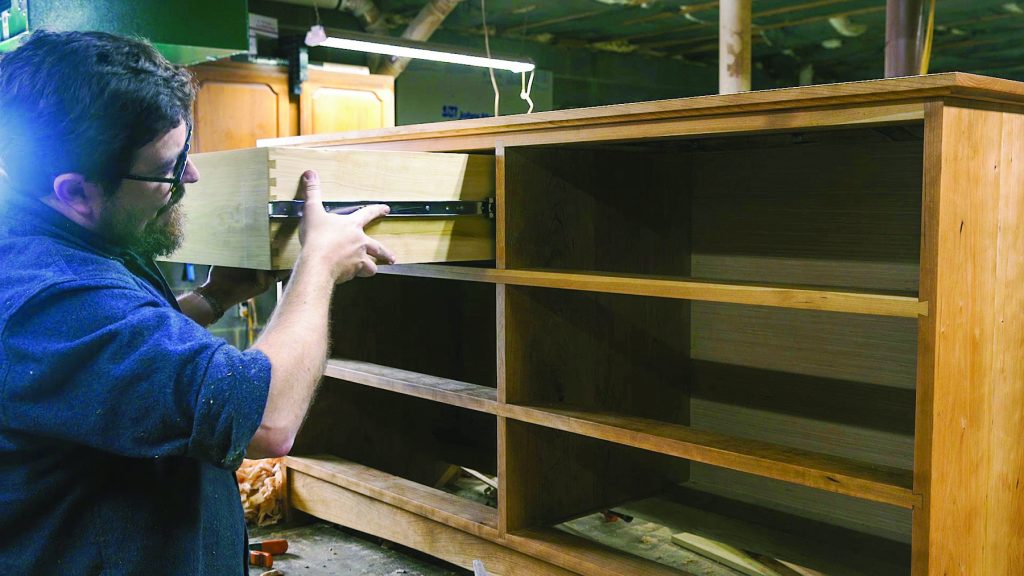
I used side-mount ball bear-ing drawer slides for the drawers to make sure the drawers open and close effortlessly during all of the seasons here in Virginia.
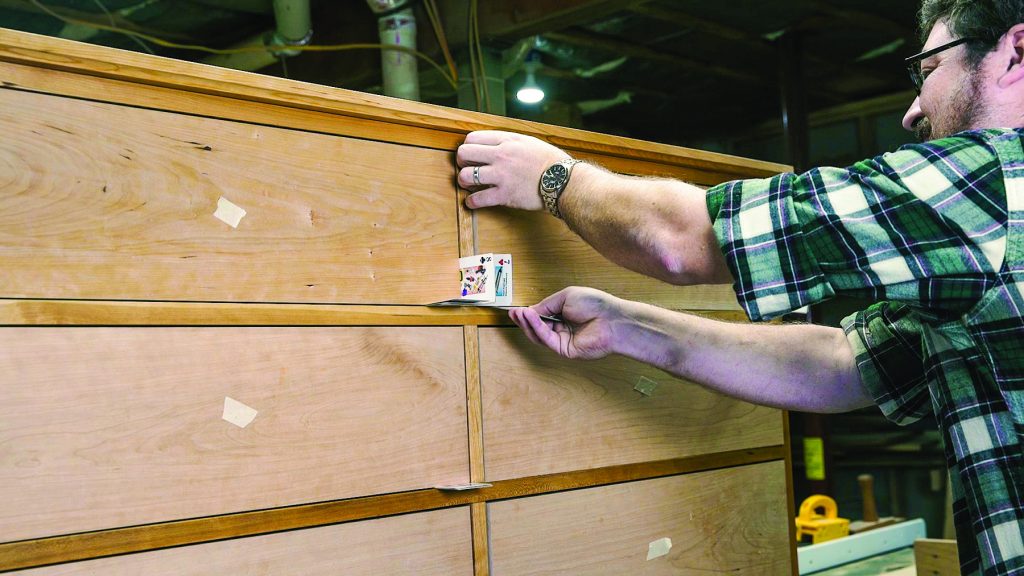
Playing cards help me get the perfect reveal around the drawer fronts.
I attach the drawer fronts with hot-melt glue, then drive in screws from the back to secure them.
Once the drawer fronts had been fit, I installed traditional wooden shaker pulls, cutting the round mortises at the drill press. A good trick for removing any glue squeeze-out is using a disposable drinking straw to get into hard to reach places. The way I like to temporarily secure the drawer fronts is with hot melt glue to hold them in place until you can open the drawer and permanently secure them from the inside with screws.
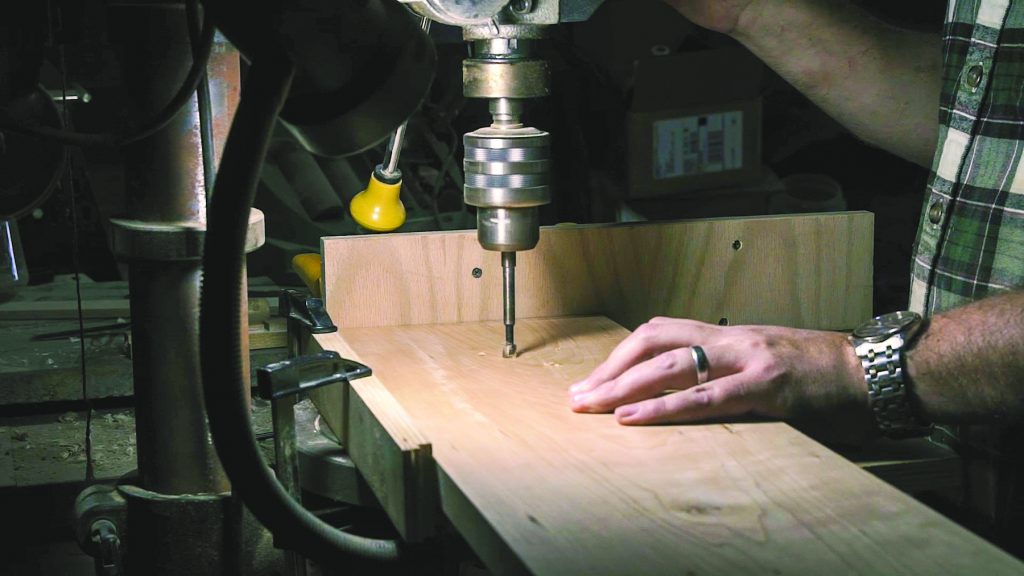
I made circular mortises for traditional wooden pulls at the drill press.

The wooden pulls are just glued in place. A drinking straw cut at an angle is the best way I’ve found to remove glue squeezeout in close quarters like this.
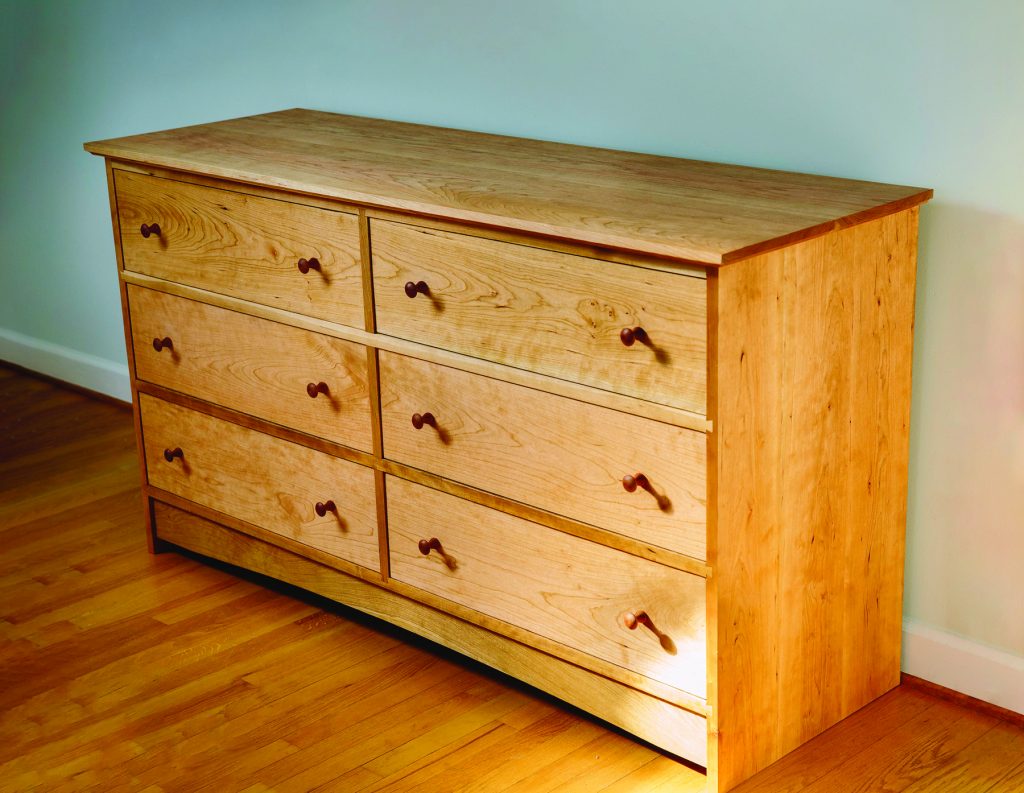
After the drawer fronts were installed the only thing left to do was apply the same danish oil finish to the fronts and pulls and call this a completed Shaker dresser.
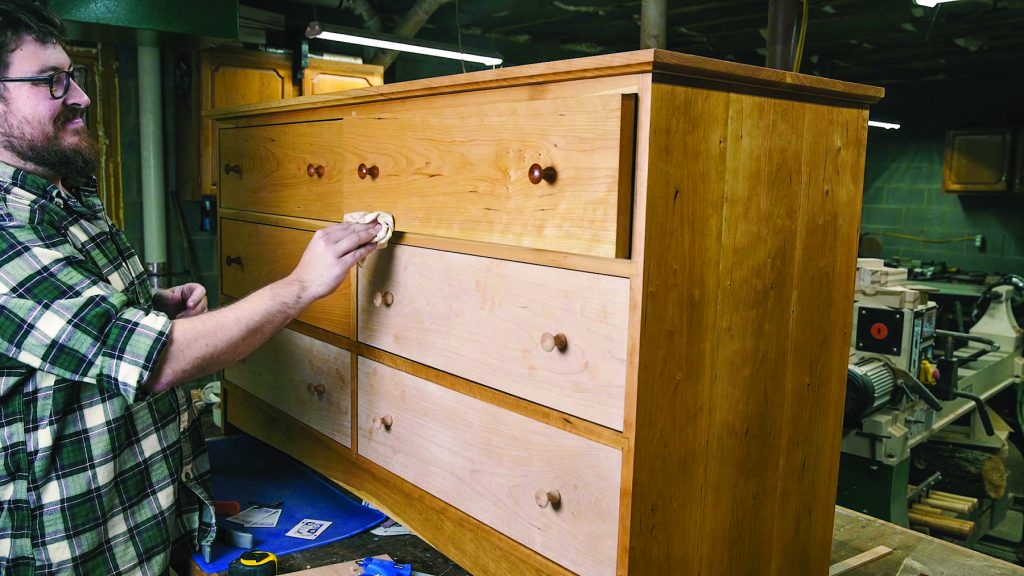
Add finish to the drawer fronts and touch up the rest of the dresser, and it’s done.
![]()
Here are some supplies and tools we find essential in our everyday work around the shop. We may receive a commission from sales referred by our links; however, we have carefully selected these products for their usefulness and quality.