We may receive a commission when you use our affiliate links. However, this does not impact our recommendations.
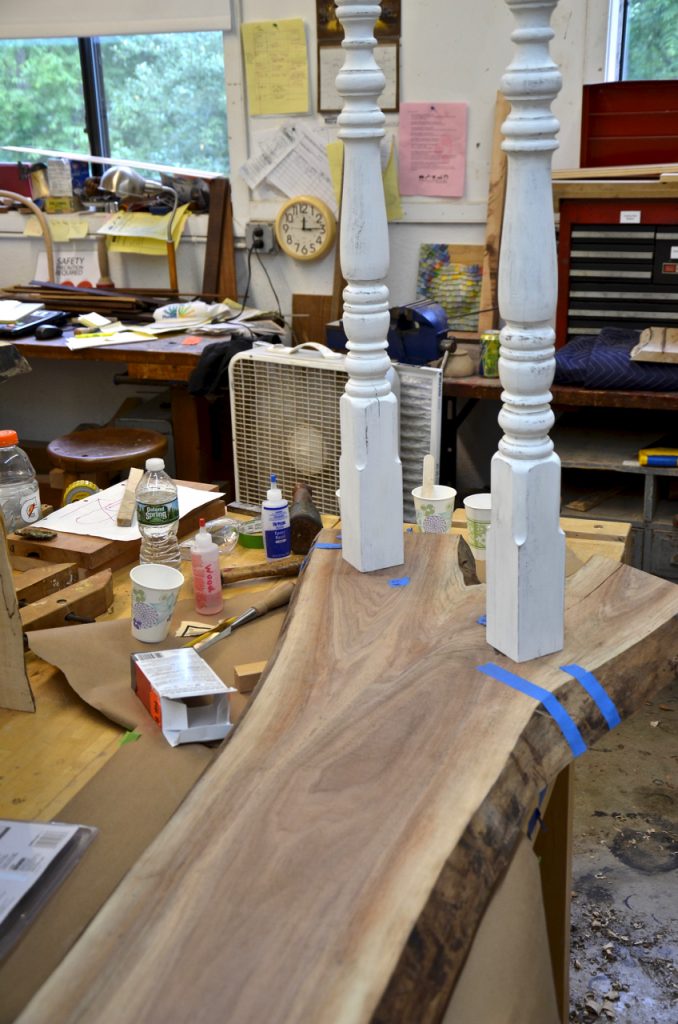
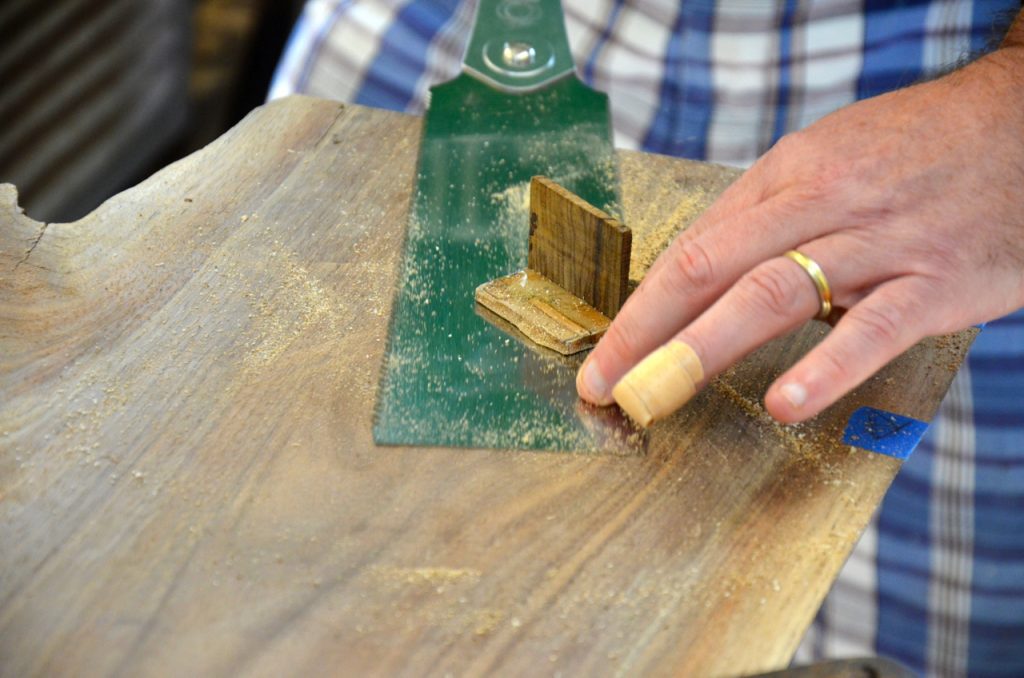
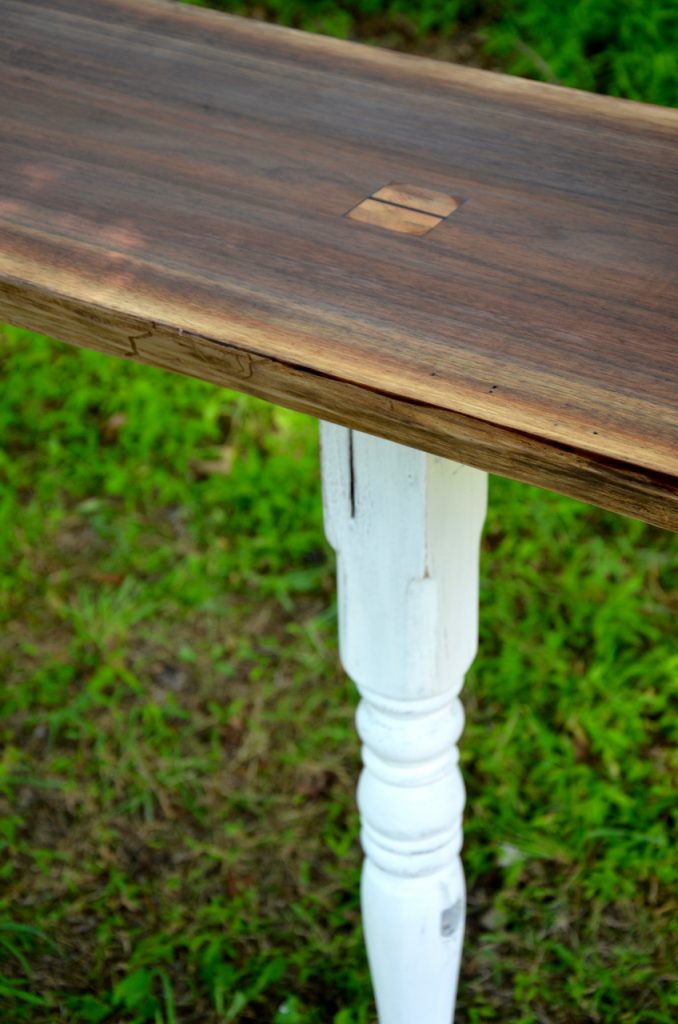
 After surfacing the Y table slab, cutting the tenons, excavating the mortises and sanding and painting the legs, Colm mixed some slow setting epoxy adhesive in a cup and was ready to glue the legs. He brushed the epoxy on the tenons and inside the mortises, and then tucked the legs in. Next he put some adhesive on the wedges and drove them firmly down to expand the tenons and also to add a visually pleasing geometrical accent to the exposed joint.
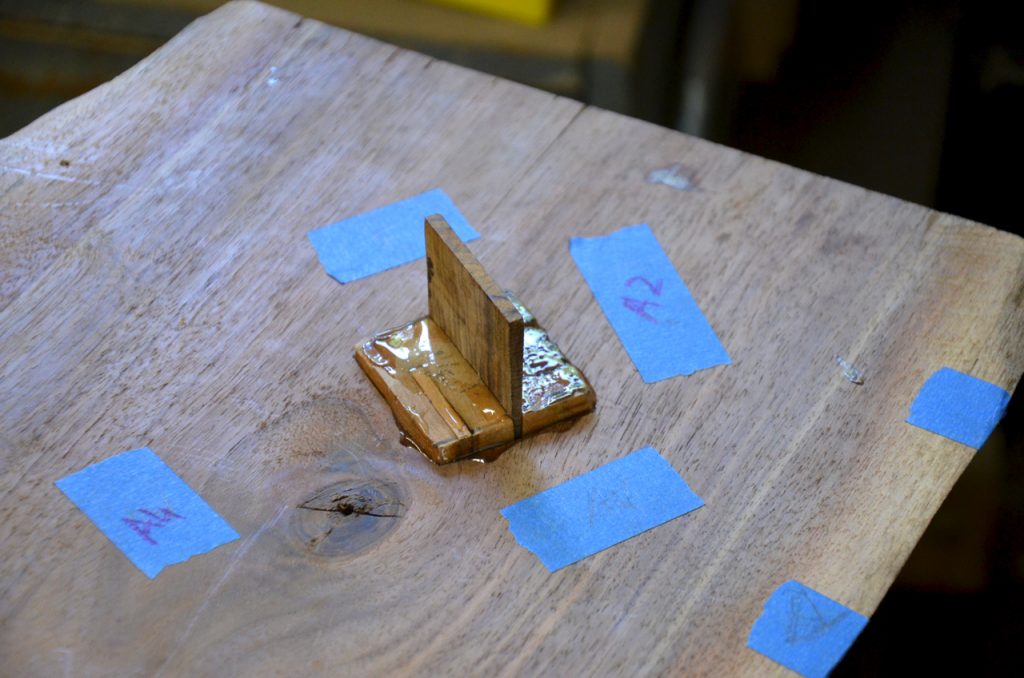
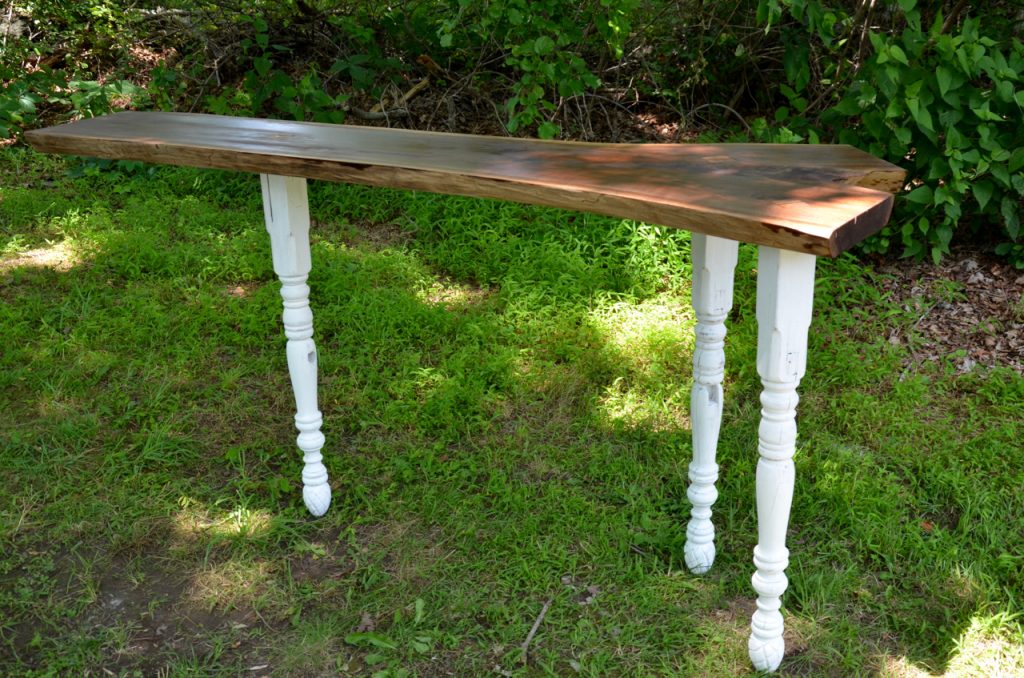
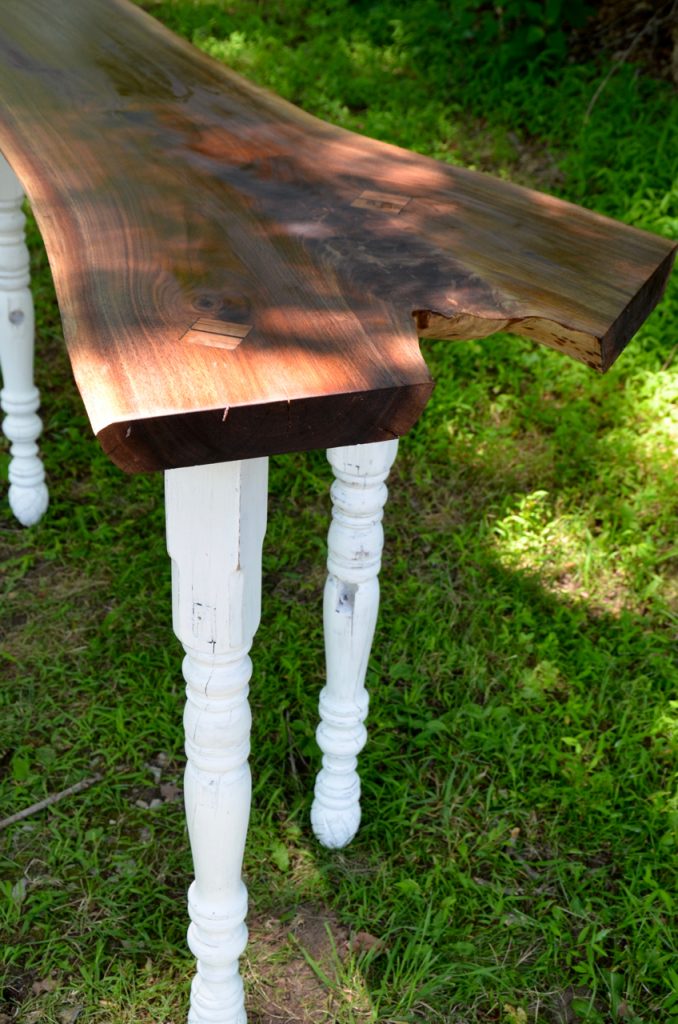
After the epoxy cured he used a flush-cut saw and trimmed the excess wood off. Last, he sanded the top and applied a few coats of wipe-on varnish.
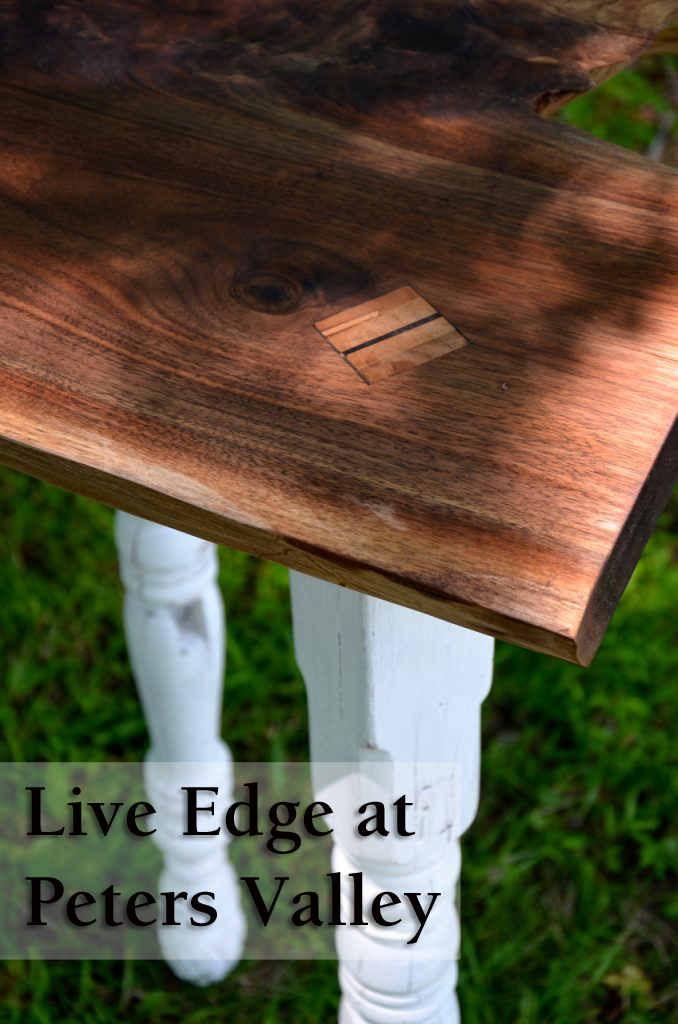
His table is a wonderful composition of natural wood top (the walnut) with neutral monochromatic white legs. The stylistic differences between the table’s top and base provide appealing contrast, complementing each other while highlighting the intrinsic uniqueness of each.
Check out the pictures below to see Colm’s finished table.

Here are some supplies and tools we find essential in our everyday work around the shop. We may receive a commission from sales referred by our links; however, we have carefully selected these products for their usefulness and quality.