We may receive a commission when you use our affiliate links. However, this does not impact our recommendations.
Without a doubt, yellow woodworking glue has adhered its place in the Woodworker’s Hall of Fame. But for complex joinery, veneer work and bent laminations, there is a better choice.
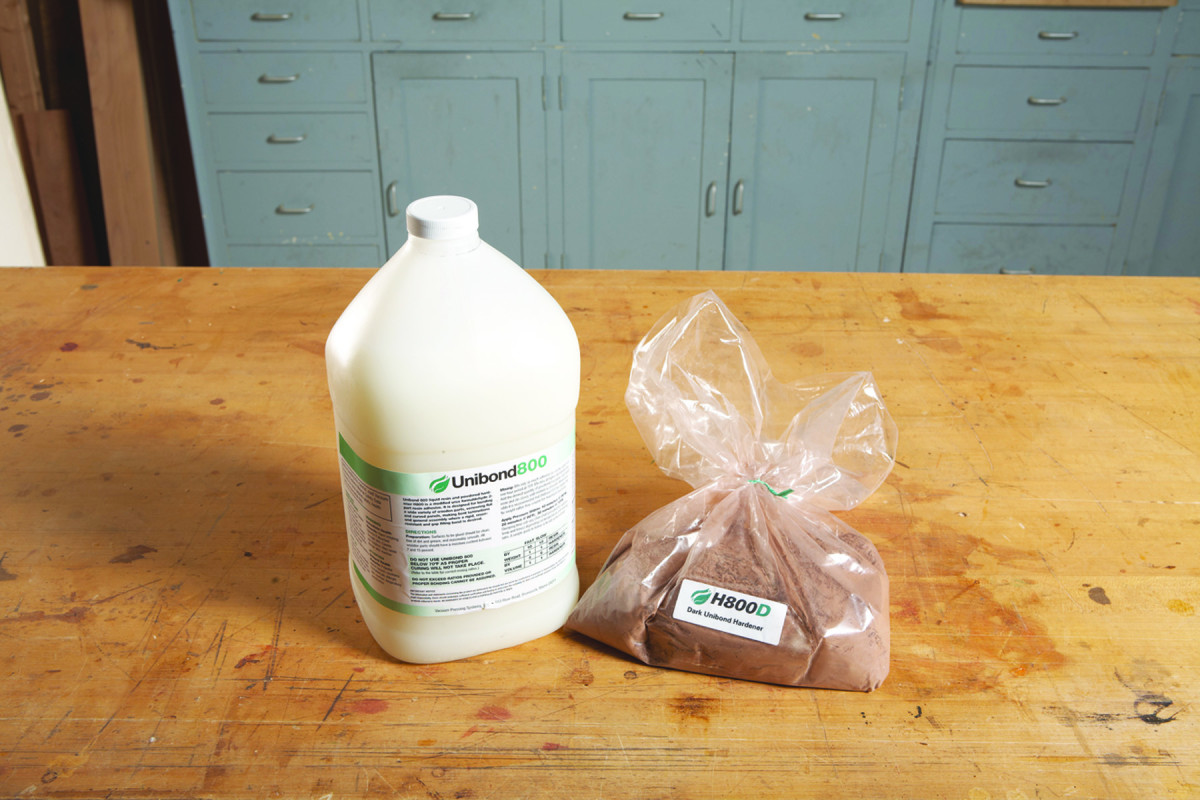
Urea resin adhesives are an industry standard for veneering. Many, however, require high temperatures for proper bonding, so they aren’t suitable for small shops and individual woodworkers. That’s why my choice is Unibond 800; it’s formulated to provide the same bond quality at room temperature (70°) as those “hot” industrial glues. That makes it an excellent choice for just about any small-shop veneering job.
Why Unibond 800 rather than other cold-press urea resin adhesives for use at room temperature? The others I’ve researched have a higher water content. That could be a problem when veneering. Plus, other urea resins, when the powder is mixed with water, can leave a visible glue line in laminations, depending on your project wood. With Unibond 800, you have the ability to tint the adhesive to match your wood.
When fully cured, Unibond 800 forms rigid glue lines. This eliminates glue “creep,” an unwanted characteristic commonly associated with yellow glue, which forms glue lines that remain flexible. Such flexible glue lines cause problems in a bent lamination, because they allow the lamination (which is under stress) to move after it’s removed from the bending form.
The long open time of this adhesive eliminates the chance of poor adhesion in glue-ups that take awhile to assemble and clamp – one with multiple parts and numerous joints, for example. In addition, this product contains much less water than yellow glue, so it doesn’t cause swelling that can make a well-fitted joint bind up at the worst possible time. Instead, Unibond 800 actually makes such a joint slide together more easily. This glue also has more gap-filling capability than yellow glue, although not nearly as much as epoxy.
Working Properties
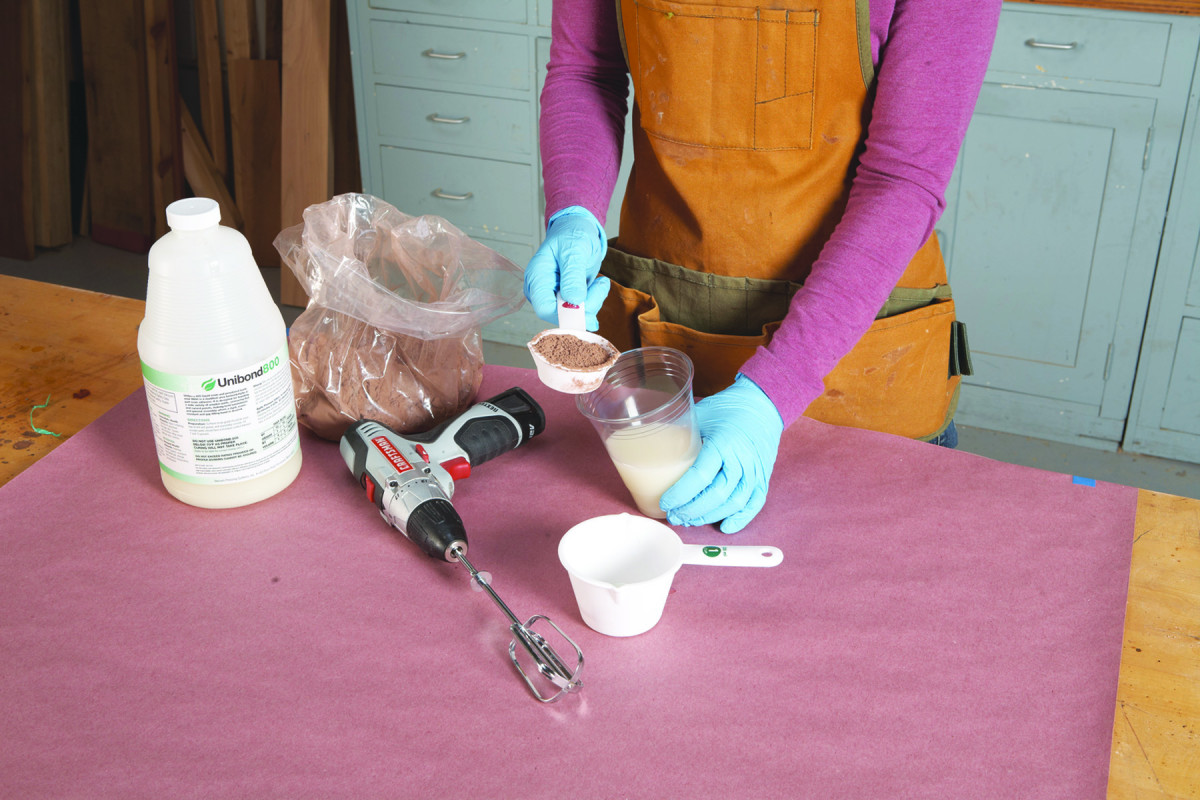
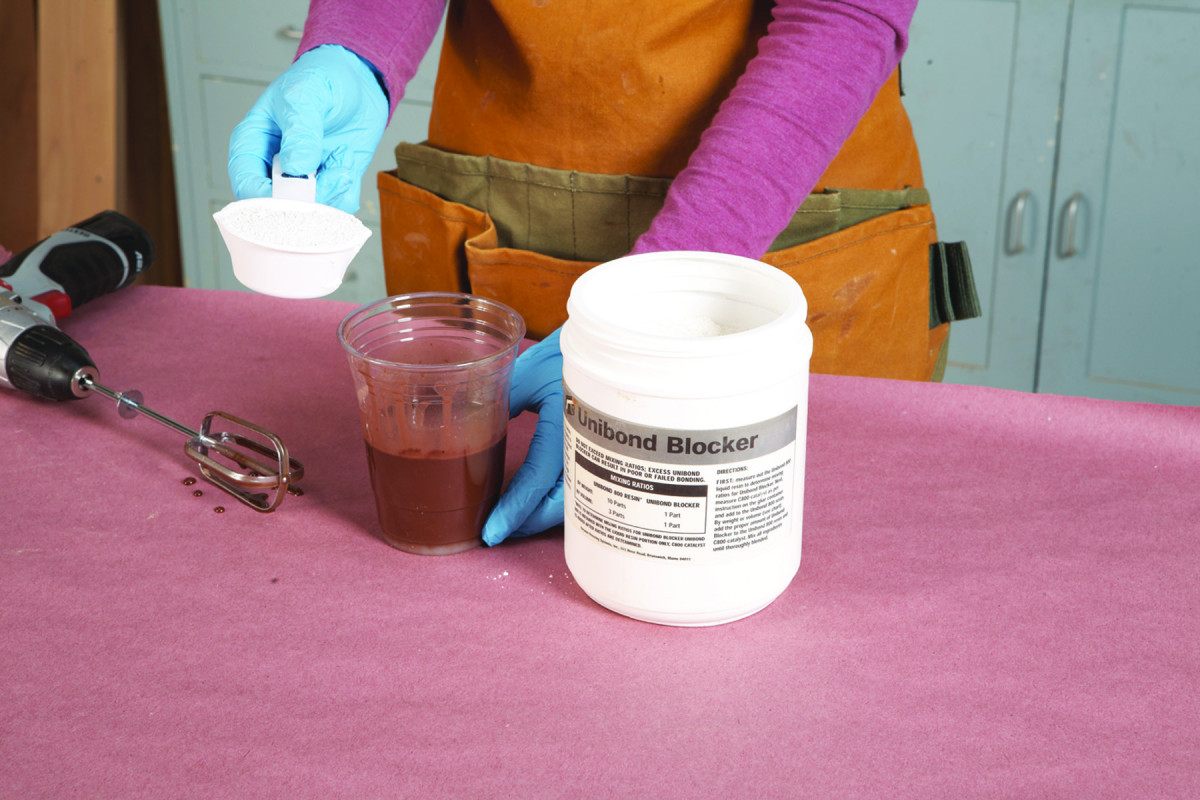
Mixing instructions. Blend the Unibond 800 powdered hardener into its liquid resin. You can mix by volume or by weight, and you can manipulate the working properties by adjusting the ratio.
The shelf life, pot life, open time and clamping time of this adhesive are affected by the ambient temperature. In general, as the ambient temperature increases, the working time of these properties decreases (see the chart below). It’s also important to note that Unibond 800 will not cure properly if the ambient temperature is too low.
Shelf life (which pertains only to the glue’s liquid resin) indicates how long the adhesive remains usable when it’s properly stored. The best way to store it is in a refrigerator that’s not used for storing food. When the resin has thickened to the consistency of molasses and changed from an off-white color to yellow, throw it out – its shelf life has ended.
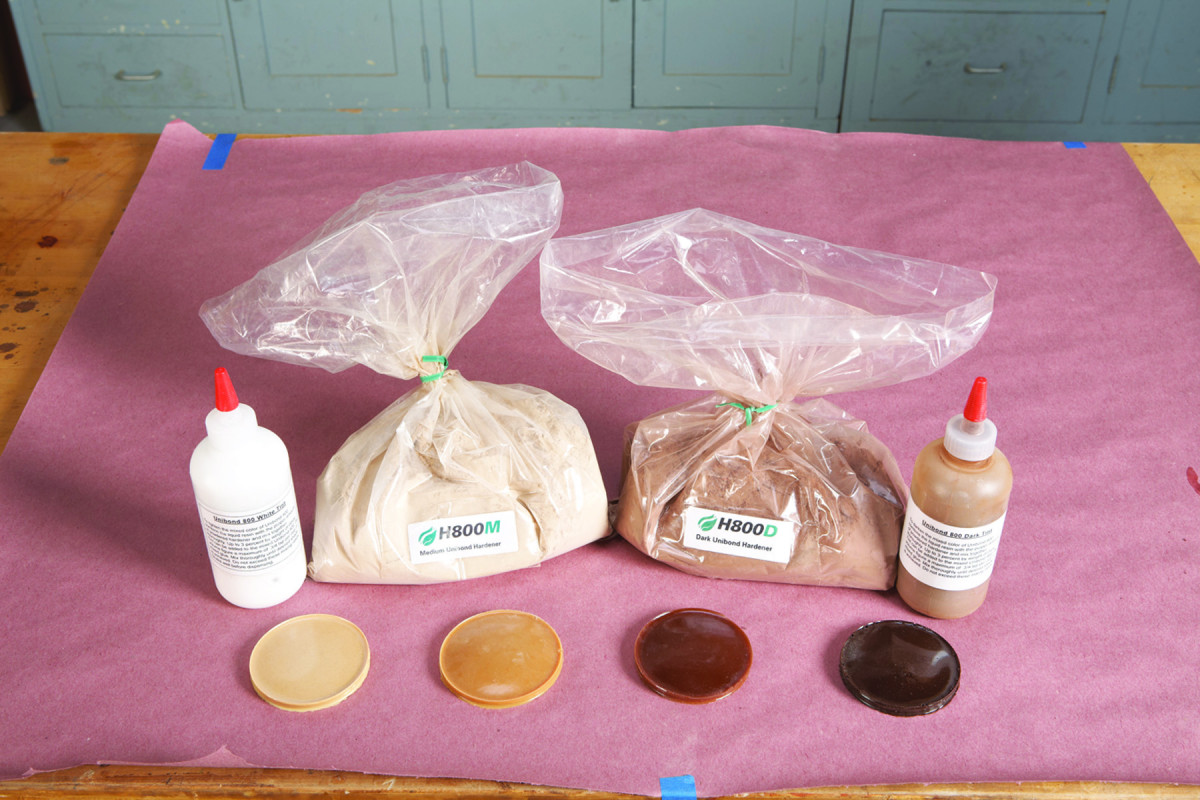
Match colors. Choose or mix a color that matches the wood. Unibond 800 hardener comes in two standard colors that can be tinted to match almost any shade.
Pot life measures the amount of time the adhesive remains workable after its two parts are mixed together. Open time rates the length of time that glued parts can be left exposed to the air before they must be assembled. Clamping time marks how long the glued joints must remain clamped. The clamping times stated in the chart are for joints that are not unduly stressed.
Unibond 800 Working Properties
Pot Life Open Assembly Time Clamping Time Shelf Life
2 hours @ 65° F 45 minutes @ 70° F 3 hours @ 70° F 12 months @ 60° F
1 hour @ 75° F 30 minutes @ 80° F 2 hours @ 80° F 6 months @ 75° F
45 minutes @ 85° F 5 minutes @ 90° F 1 hour @ 90° F 3 months @ 90° F
30 minutes @ 95° F
Mix & Tint
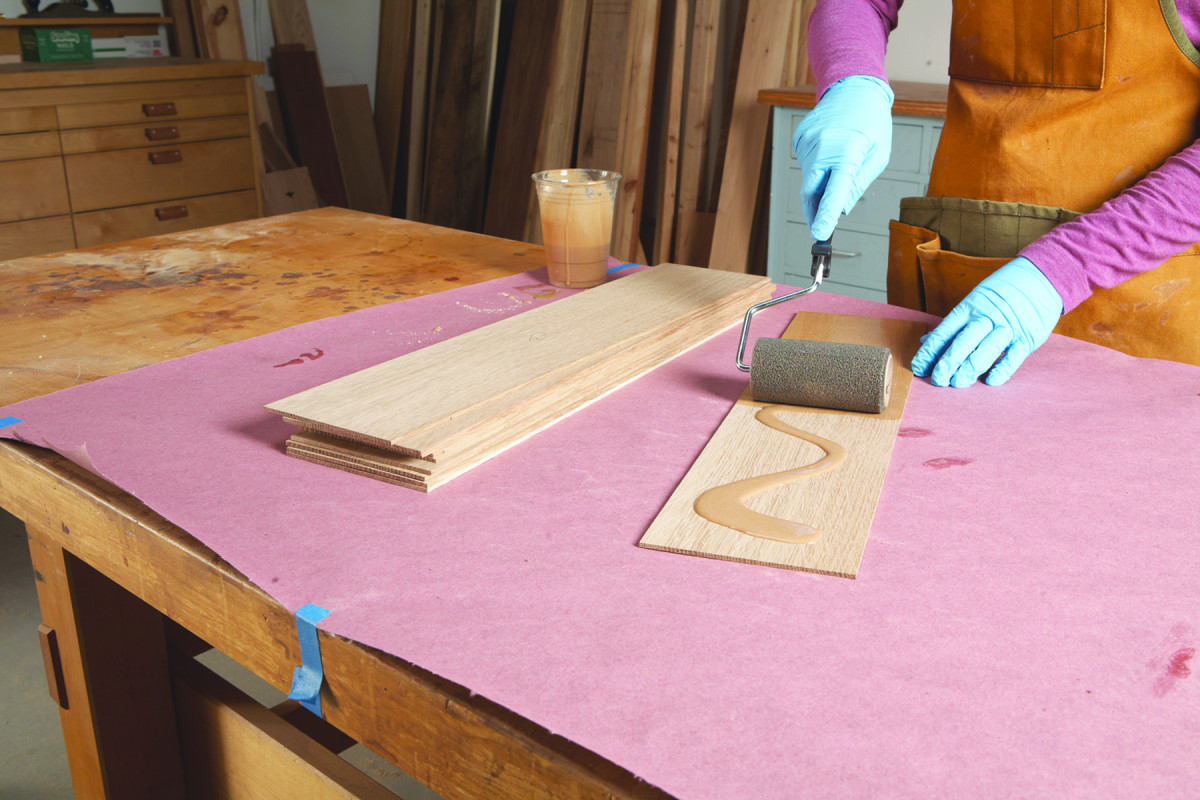
Best technique. Use a foam roller to spread the adhesive quickly and evenly.
Having to mix Unibond 800 is a small price to pay for it’s utility and versatility. The manufacturer recommends mixing the adhesive’s powdered hardener and liquid resin by weight for maximum accuracy, but also provides guidelines for mixing by volume. I prefer mixing by volume.
The powder blends easily into the liquid. Small batches can be mixed by hand. A mixer blade mounted in a hand drill works well for large batches. Make sure the powder mixes in completely. If a clump appears while spreading the adhesive, break it up with a finger and remix. When mixing large batches, let the mixture stand for a few minutes then mix it again.
And be sure to wear a respirator while doing this – you don’t want to inhale any of the powder. The mixture emits a small amount of formaldehyde, so work in a well-ventilated area. After mixing, promptly clean any tools with soap and water.
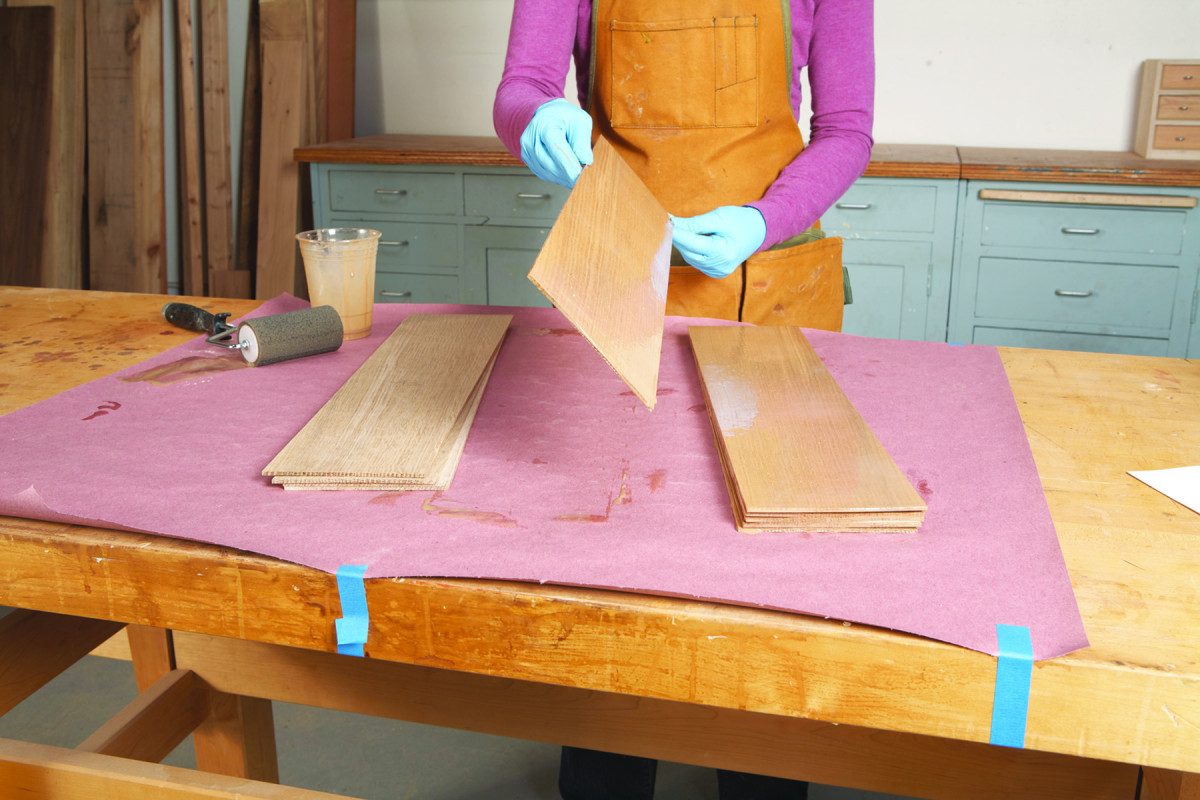
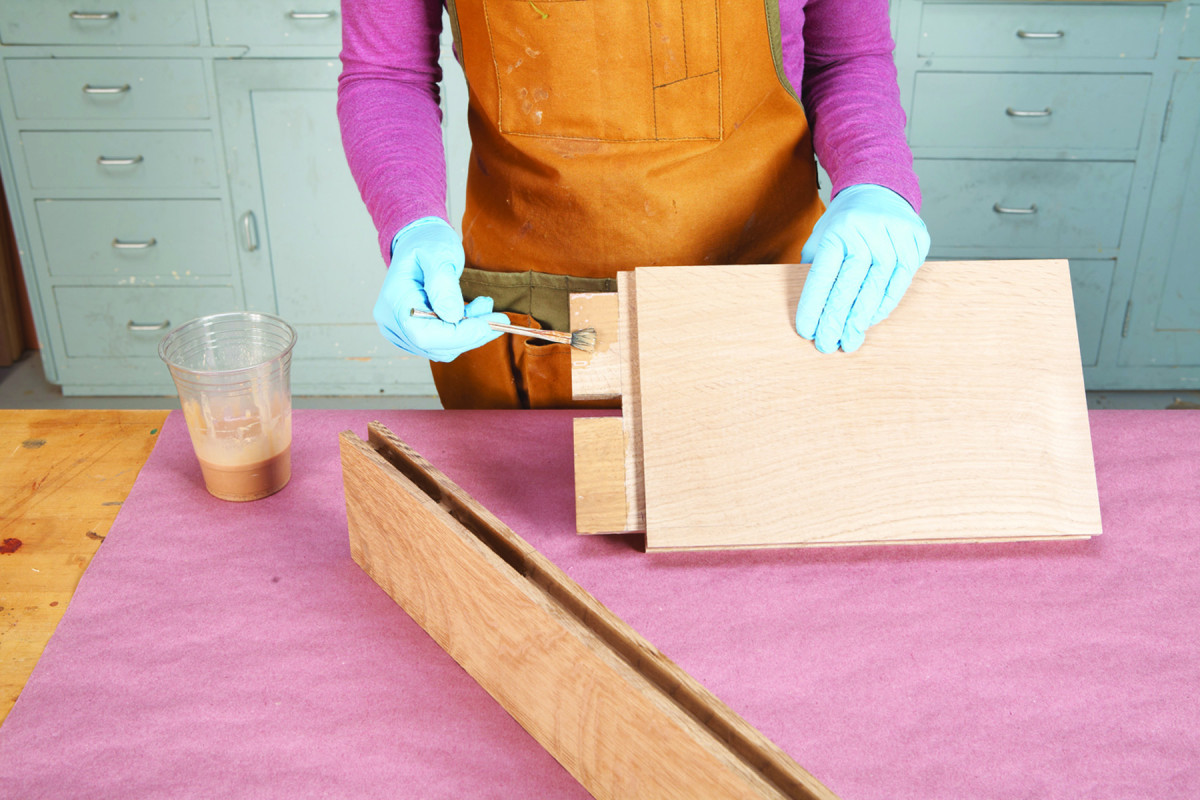
One face, or two? Apply the adhesive to only the substrate when gluing raw veneer. When gluing paper-backed veneer, which is less absorbent, apply adhesive to both surfaces.
Whether you mix by weight or volume, you can manipulate the adhesive’s curing action by adjusting the ratio of hardener to resin. So doing affects the pot life, open assembly time and clamping time. One reason to adjust the ratio is to increase the open time for a complex glue-up, but such adjustments are just as useful when the temperature is less than ideal. In cooler temperatures, for example, a faster reaction time shortens the clamping time.
Unibond 800 comes in two standard colors and can be tinted to match almost any wood. This is important when working with veneers and laminations in which the adhesive might be visible. Bent laminations, for example, show a layer of glue at each lamination; exceptionally thin veneers may allow the adhesive’s color to telegraph. Adjusting the color is easy and well worth the effort to avoid headaches later on.
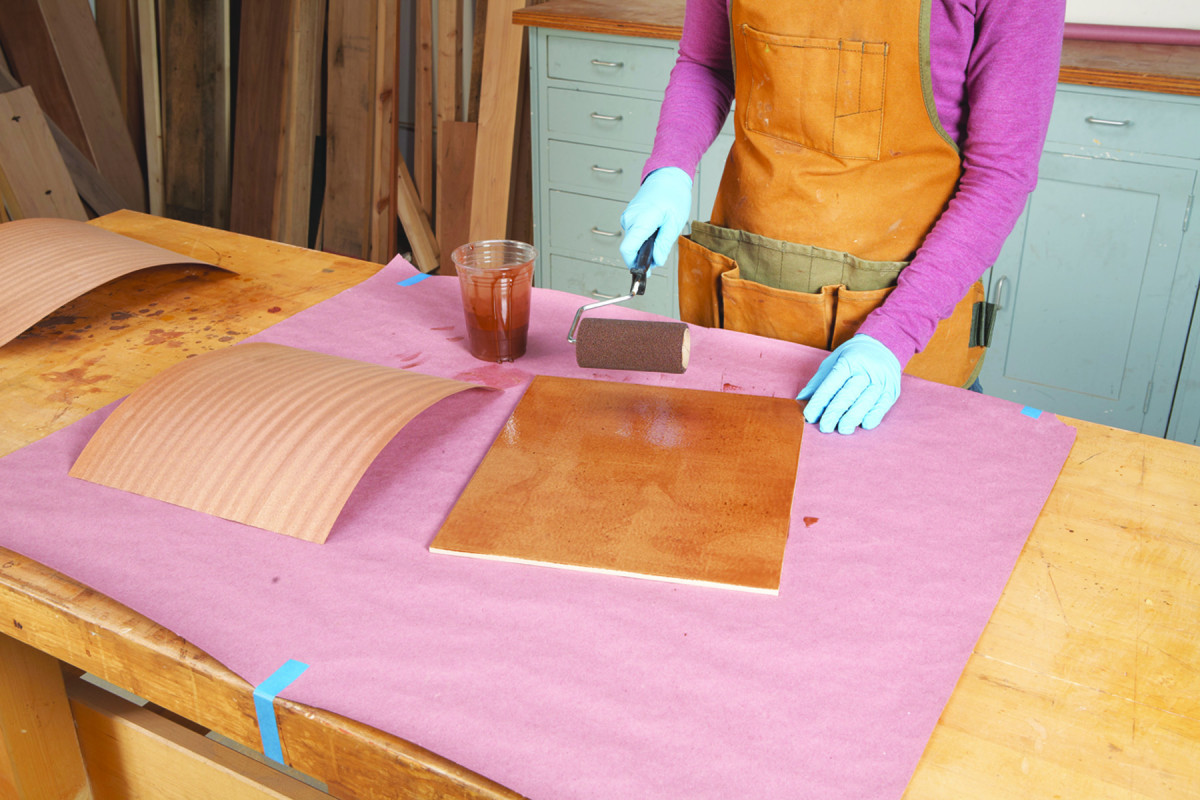
Set a damn. To avoid bleed-through when gluing raw veneer, add a powdered blocking agent that thickens the adhesive so it can’t wick through the wood.
The color is contained in the powdered hardener. Medium hardener is similar to oak or cherry (once darkened). Dark hardener resembles mahogany or walnut. Available white and dark tints allow adjusting the color of either hardener to create a perfect match for lighter woods such as maple or darker woods such as cocobolo. You can also match colors by adding aniline dye (water or alcohol based). Add just enough solvent to the powdered dye to make a paste. Then mix that paste into the mix of resin and hardener.
 The color darkens as the adhesive cures, so I keep hardened samples of both standard colors and all the colors I’ve custom mixed (as well as the recipes). They’re great for color matching.
Glue Comparison
Urea formaldehyde glue has many uses and should become a part of your woodworking glue arsenal. But when should you choose it over other more traditional glues? Is your assembly complicated so you need extra open time? Are you working under a short deadline and need a quick set time?
To better select the glue or glues for your woodworking needs, a comparison is needed. Below is a listing of important glue characteristics of some other woodworking glues.
Open Time at 70° F:
Polyvinyl acetate (PVA or white glue) 15 minutes
Aliphatic resin (yellow glue) 5 minutes
Liquid hide 10 minutes
Clamping Time
Polyvinyl acetate 30-60 minutes
Aliphatic resin 30 minutes
Liquid hide 10 minutes
Fully Cured
Polyvinyl acetate 18-24 hours
Aliphatic resin 12-18 hours
Liquid hide 12 hours
— Glen D. Huey
Application
Lamination application. Roll a thin coat of adhesive on both surfaces of each piece when working with bent laminations. Quickly rub the two parts together, then move on to the next piece.
It’s most efficient to pour a zig-zag line of adhesive onto the surface and use an inexpensive foam roller to spread it. I cut a 9″ roller to create two 4″ rollers. When working a large area, I sometimes pour the glue into a paint tray.
When gluing raw veneer, apply the adhesive to the substrate only. It’s good practice to glue a test piece to see if the adhesive’s color telegraphs through the veneer, or if the adhesive itself wicks all the way through and ruins the surface. This occurrence, called “bleed-through,” is common with many veneers, including oak, maple, cherry and walnut. One way to stop bleed-through is to add a blocker that thickens the adhesive.
When gluing bent laminations, coat both surfaces and press them together. When gluing complex joints or assemblies, apply the adhesive as you would apply yellow glue. If the adhesive gets on other surfaces during glue-up, resist the urge to remove it. Unlike yellow glue, Unibond 800 is easy to remove by sanding after it has dried.
Clamping Strategies
Better benefit. Unlike yellow glue, Unibond 800 doesn’t cause the wood to swell so you can apply the adhesive to both surfaces of each joint when gluing complex joinery.
Clamping times are for flat work that is not unduly stressed. This includes flat veneer pressing and complex glue-ups where clamping pressure is not required to keep the parts in place. Bent laminations and curved veneer panels, on the other hand, require longer clamping times.
I leave all bent laminations and curved pieces clamped (or pressed, as in a vacuum bag) for at least 12 hours. To know for sure that the adhesive has cured, the manufacturer recommends pouring a small amount in a plastic bag and laying it flat near the glue-up. (Don’t use adhesive poured into a cup, because a thick layer won’t be an accurate indicator.) When the adhesive in the bag can be removed in one piece and is the consistency of firm rubber, a non-stressed glue-up can be removed from the clamps. Wait until the adhesive is completely hard and brittle before unclamping a “stressed” glue-up.
Sanding Properties
When this adhesive is fully cured, sanding will completely remove any residue left on the surface or in the wood’s pores. Because the adhesive is tinted to match the wood, it’s easy to miss a spot. I keep a chisel handy so I can easily remove any dried glue that appears when I’m applying finish. Sanding also creates a very fine dust that you don’t want to breathe, so be sure to wear a dust mask. And be careful when working near exposed glue lines: my favorite urea resin adhesive dries glass-hard, so you can easily cut yourself. PWM
Laurie designs furniture that is, she says, “simple, honest and direct” – and she’s been a professional woodworker for more than a decade. You can see more of her work at lauriemckichan.com.
Here are some supplies and tools we find essential in our everyday work around the shop. We may receive a commission from sales referred by our links; however, we have carefully selected these products for their usefulness and quality.