We may receive a commission when you use our affiliate links. However, this does not impact our recommendations.

One of the best things about going to an exhibit of new or antique furniture is getting to examine the joinery , closely and from the inside of the piece. I will pull every drawer out (if allowed), stick my head in a carcase and send my fingers probing into the darkest voids.
I’m deeply interested in how the level of the joinery matches up with the level of the design of the piece. I’ve seen stunning and elaborate designs that have what I would consider unacceptable gaps, misalignments and poorly scaled joinery components. And I’ve seen boring pieces that exhibit a seamless fit that is beyond my efforts.
I think I do this because I’m constantly trying to appraise my skills, not only as a designer but as a joiner.
So when I began building the Creole Table, I promised myself I would write this post. Turnabout is fair play.
The photo above is a composite of all my hand-cut dovetails for the drawer. The photos have had no significant alteration. In fact, the only change I made to them was to apply “unsharp mask” and to bump up the contrast so that the flaws would be in higher relief.
This is not the best set of dovetails I’ve ever cut, but nor is it my worst. This is what I get without too much fussing. (I also hope to post photos of all the tenon shoulders next week if I can. Those joints are really quite good and quite boring to look at, however.)
Here you can see my No. 1 flaw as a dovetailer: I struggle when it comes to paring my baselines. In the first two photos on the left you can see the gaps where the tails hit the end grain of the pin board. Of course, these were my warm-up dovetails (always start at the back), and this is the back of the drawer. So I’m disappointed with the gaps, but I’ll rarely see them.
The two middle photos show the tail side of the same through-dovetail joint. While I’m happy with the overall fit, you can see how I chipped out some of the tail when I was planing the joints flush. Idiot.
And the last two images show the joints at the front of the drawer. Again, the baselines aren’t perfect, especially on the last image. And I know what cased my problem: I undercut the baseline on the inside of the joint in an effort to ease the fit of the joint at assembly. The joints looked good at assembly, but when I planed the drawer to fit the carcase, I planed down to the area I undercut. Dotard.
So the lesson here is to watch my baselines next time. Of course, I’ve been saying that mantra for years.
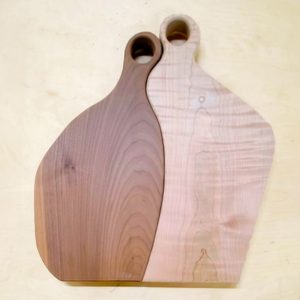
Today I got to make a couple sample boards and I have my finishing strategy set: I’m going to apply a couple coats of Indian amber shellac and then spray on a couple coats of lacquer using my HVLP system in my driveway. Though I really like the color of shellac, I struggle with getting the sheen right because I don’t like glossy finishes (and shellac is glossy only, as far as I can tell).