


We may receive a commission when you use our affiliate links. However, this does not impact our recommendations.
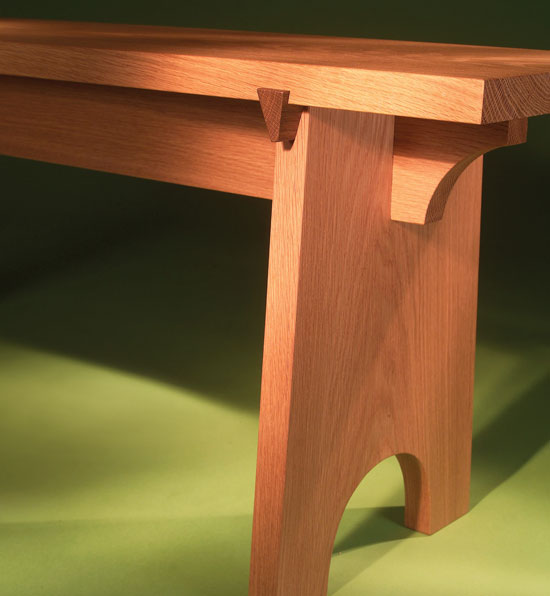
Sliding Dovetail Bench
Super-strong router joints give it elegant simplicity.
By Tim Johnson
|
This elegant bench has humble origins: Its forebears have been sat upon, stepped on and dragged about for centuries. Utilitarian ancestry is readily apparent in our bench. It features simple construction and strong interlocking joints. The pieces fit together like a puzzle, with sliding dovetails and half-lap joints. Sliding dovetails may sound difficult, but I’ll show you how to master this tricky joint with a simple jig, a router and a router table. The bench is sized so you can mill all the pieces with your 12-in. planer. I’ll show you how to cut perfectly fitting half-lap joints and how to make the tapered keys that fill the dovetail sockets. You can build this bench in a weekend or two. And once you’re set up to build one, multiples are no sweat. So don’t worry if you can’t decide whether this bench would look best in your front hall or at the foot of your bed—build two! |
You may also like… |

|
Sliding dovetail joints are the key to this project, and the best way to make them is to start with the sockets. It’s easier to fit dovetails to sockets than vice versa. In this bench, the sockets must be consistently wide and parallel to one another. These requirements are easily met with a shop-made routing jig. |
Click any image to view a larger version.
|

|
Fitting sliding dovetails is fussy. If routing leaves yours a bit tight, a little sanding may do the trick. Lightly sand one bevel (on either the socket or the dovetail) end-to-end, being careful not to alter its angle, and test the fit. If the joint is still too tight, sand another bevel and test again. |
|

|
Saw notches in the rail. Cutting deep notches like these is less nerve-wracking on the bandsaw than on the tablesaw. Glue sandpaper to your miter gauge so the rail doesn’t slip during the cut; cut well inside the lines and then remove the waste. |
|

|
Saw notches in the legs, using the same approach as with the rail. This time, trim to the lines by tweaking the position of the fence. |
|

|
Saw arches and tapers in the legs. Tip: For sawing smooth tapers, start at the shallow end, allowing the blade to gradually bite into the edge. If you start at the wide end, the blade is likely to break out as it approaches the shallow end, leaving a bumpy edge. |
|

|
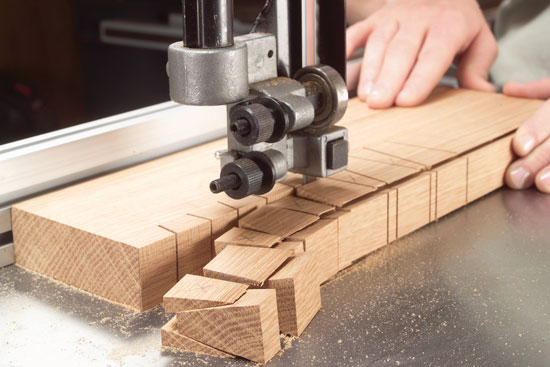
Dovetailed keys fill the ends of the sockets. The secret to making them safely is to keep them attached to a large blank while you make all the angled cuts. First, saw the tapered sides. It’s best to make these deep cuts in several passes, rather than all at once. |
|

|
Free the keys with a rip cut. Making this cut on the bandsaw eliminates the risk of dangerous kickback that exists whenever you cut small pieces on a tablesaw. |
|
|
This story originally appeared in American Woodworker March 2005, issue #113.
|
|

Here are some supplies and tools we find essential in our everyday work around the shop. We may receive a commission from sales referred by our links; however, we have carefully selected these products for their usefulness and quality.


