We may receive a commission when you use our affiliate links. However, this does not impact our recommendations.

Harvest green wood saplings, bend ’em, nail ’em and sit yourself down.
You can make a pretty good case for bending and attaching green wood sticks as the second oldest wood-furniture making method (after sitting on a log). Today, this type of furniture is labeled “rustic,” so exposed nails, screws, and other hardware are acceptable for joining the individual pieces. Larger pieces can be joined using mortise-and-tenon joints cut by hand, a drill, or a commercially available tenon cutter. Nails or leather straps also work well for joining the wood together.
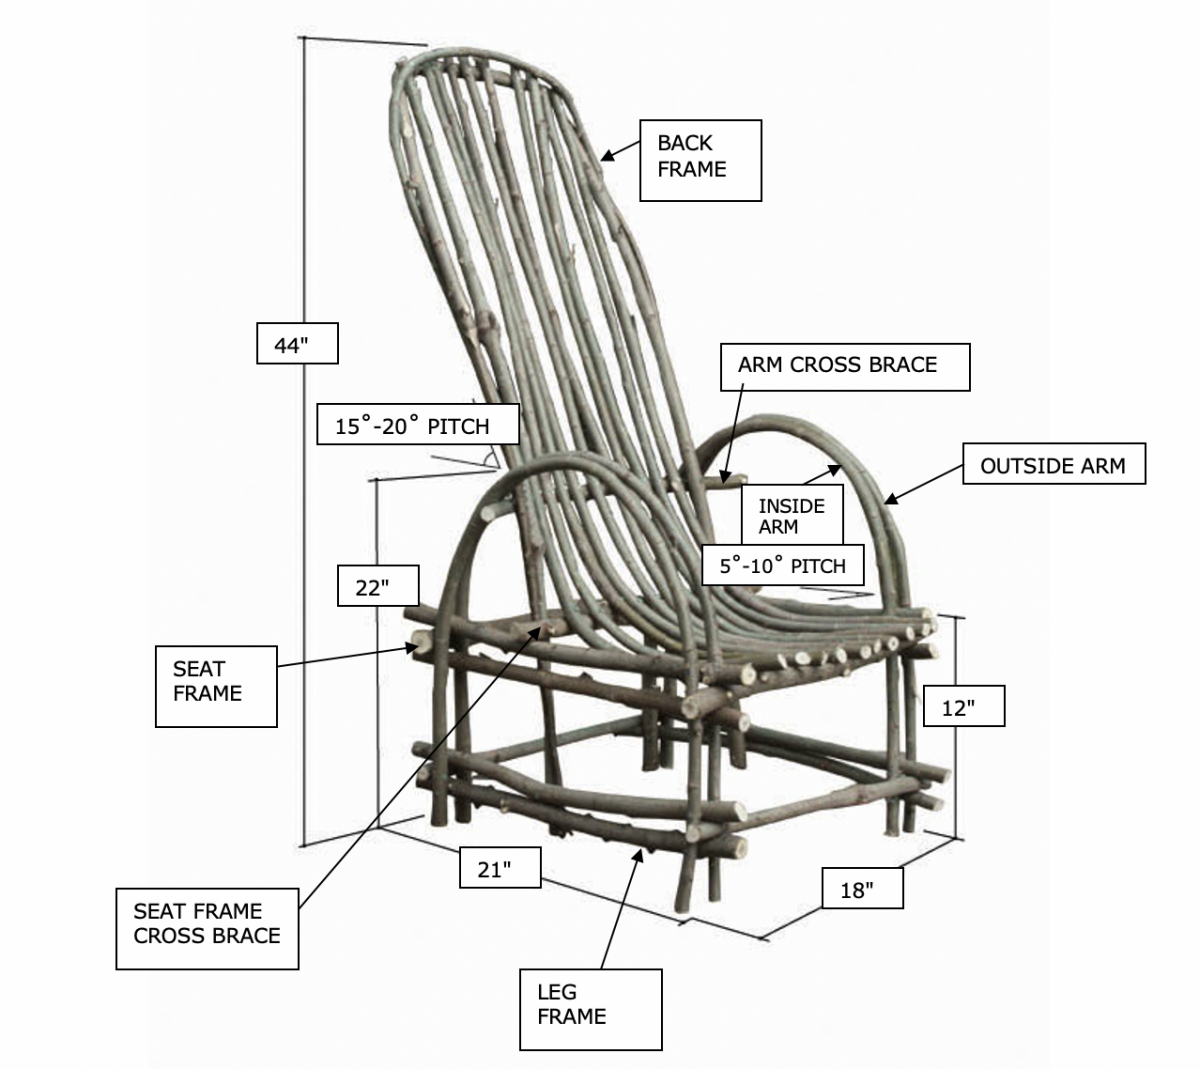
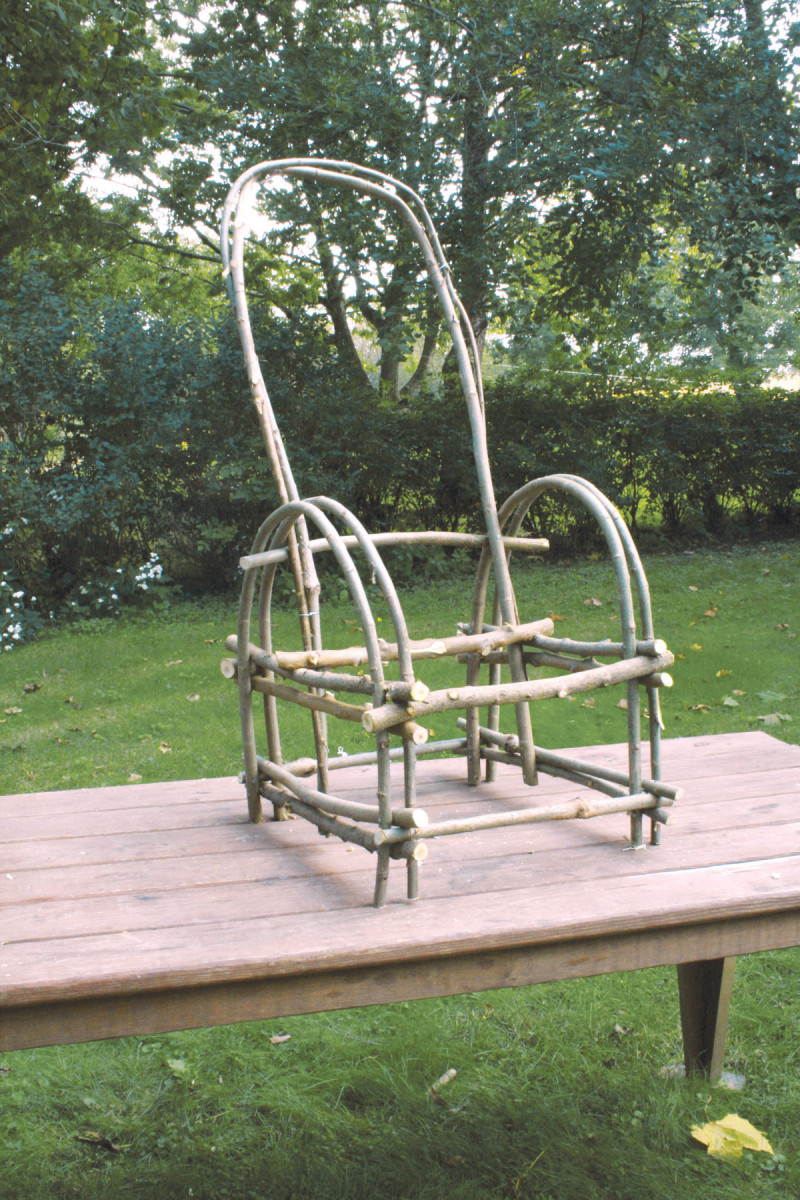
Fig. A: Rustic Child’s Chair
Building this chair (see Fig. A) is a good introduction to rustic chairmaking and a testament to the great bending properties of willow. With rustic furniture, there are often no drawings or set plans. The shapes and sizes of the wood at hand and the maker’s eye are often the determining factors when creating a design.
A few basics are important, however. For rustic chairs, they include the height, width and depth of the seat, and also the height of the arms. (see Fig. B) The chair I’m building here is designed for a child (the seat is about 12″ high, 15″ wide, and 15″ deep), so it is smaller than an adult-size chair, but both chairs are made the same way.
 Working with Green Wood
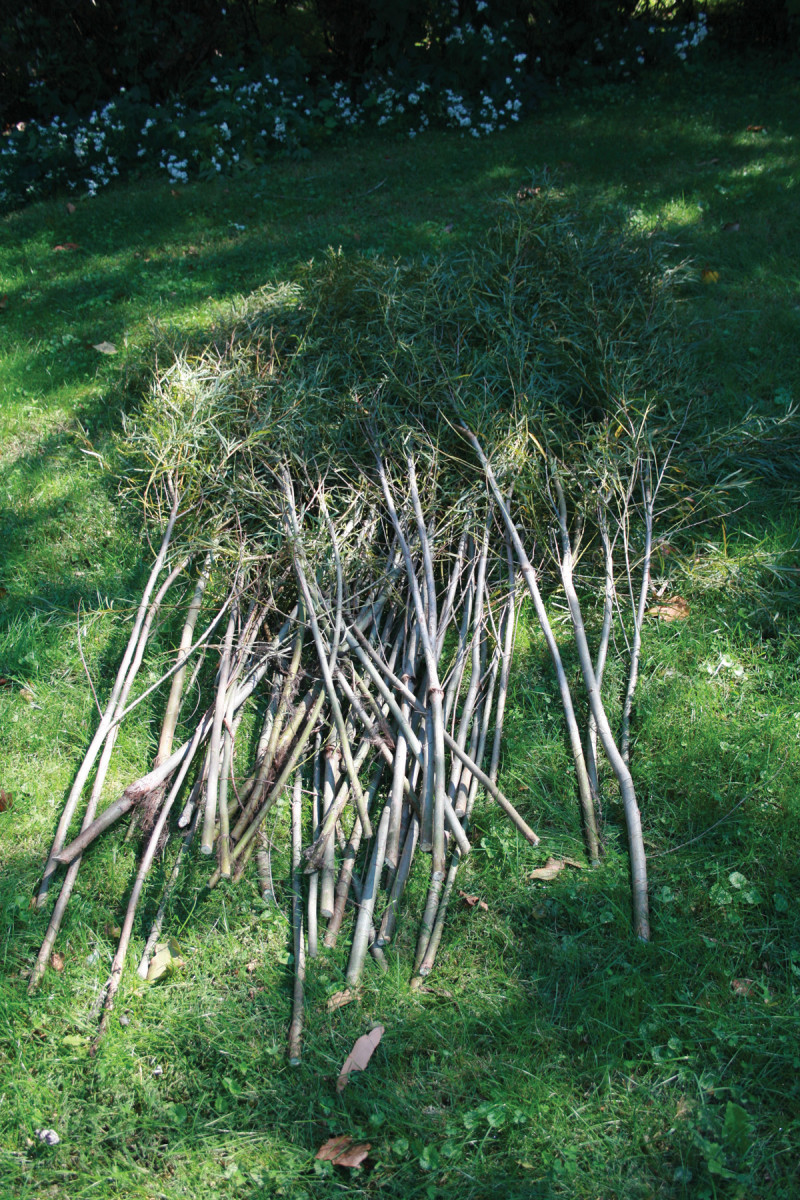
Willow saplings and branches about 1″ in diameter make suitable bending material.
Green wood is either freshly sawn or has not undergone any formal drying process. It retains moisture and the wood’s natural resins, which makes it easier to bend than wood that has been thoroughly dried. Alder, birch, beech, hickory, and willow are commonly used to make bentwood rustic furniture.
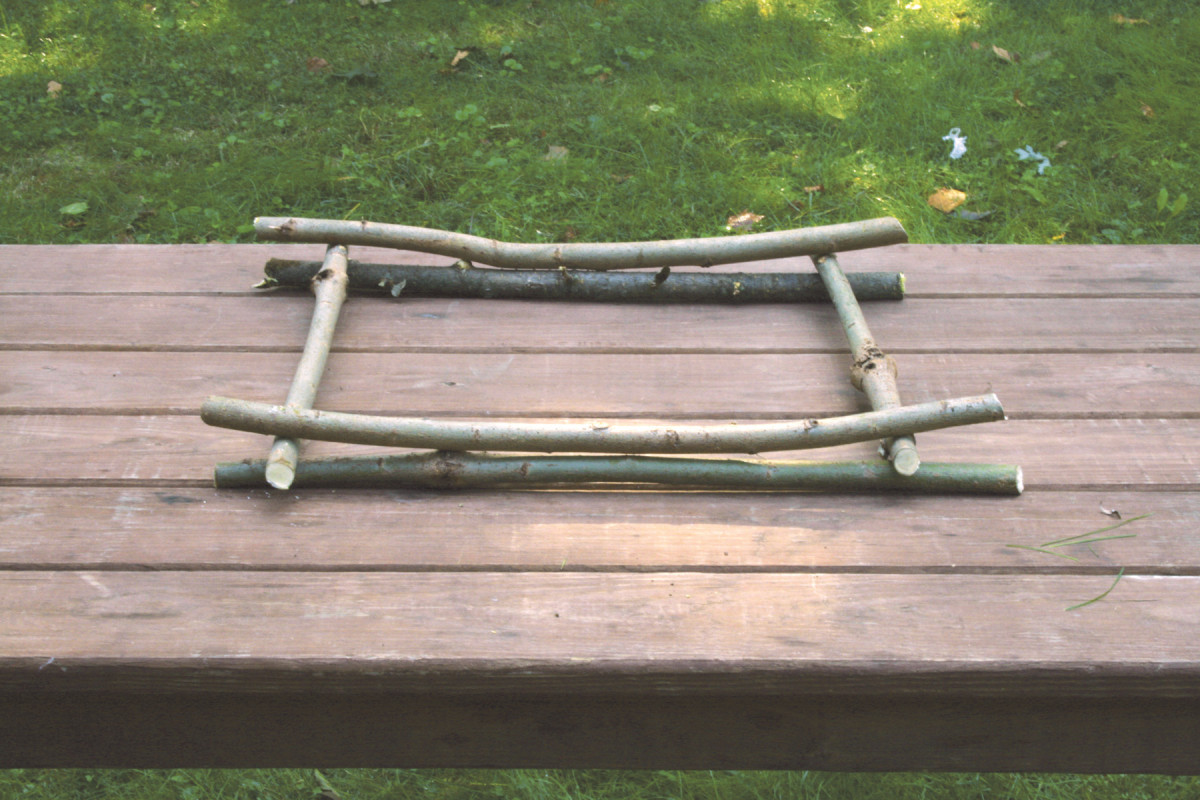
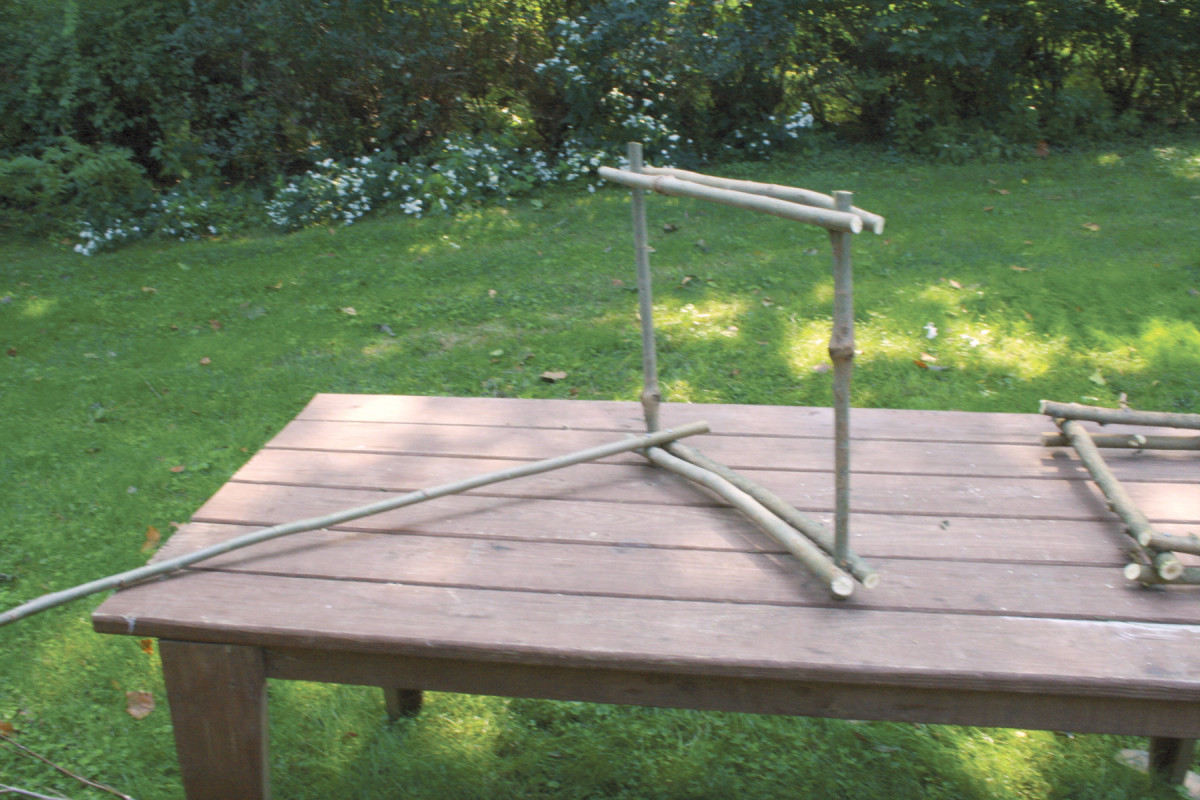
Start by making a pair of frames roughly to the dimensions in Fig. A. One frame supports the seat; the other frame supports the legs.
Willow may have the best qualities of all because it bends easily, stays in place, and the bark usually doesn’t come off when the wood dries. It can also be a reliable source of material—a good stand of willows near a creek or river will yield new saplings year after year.
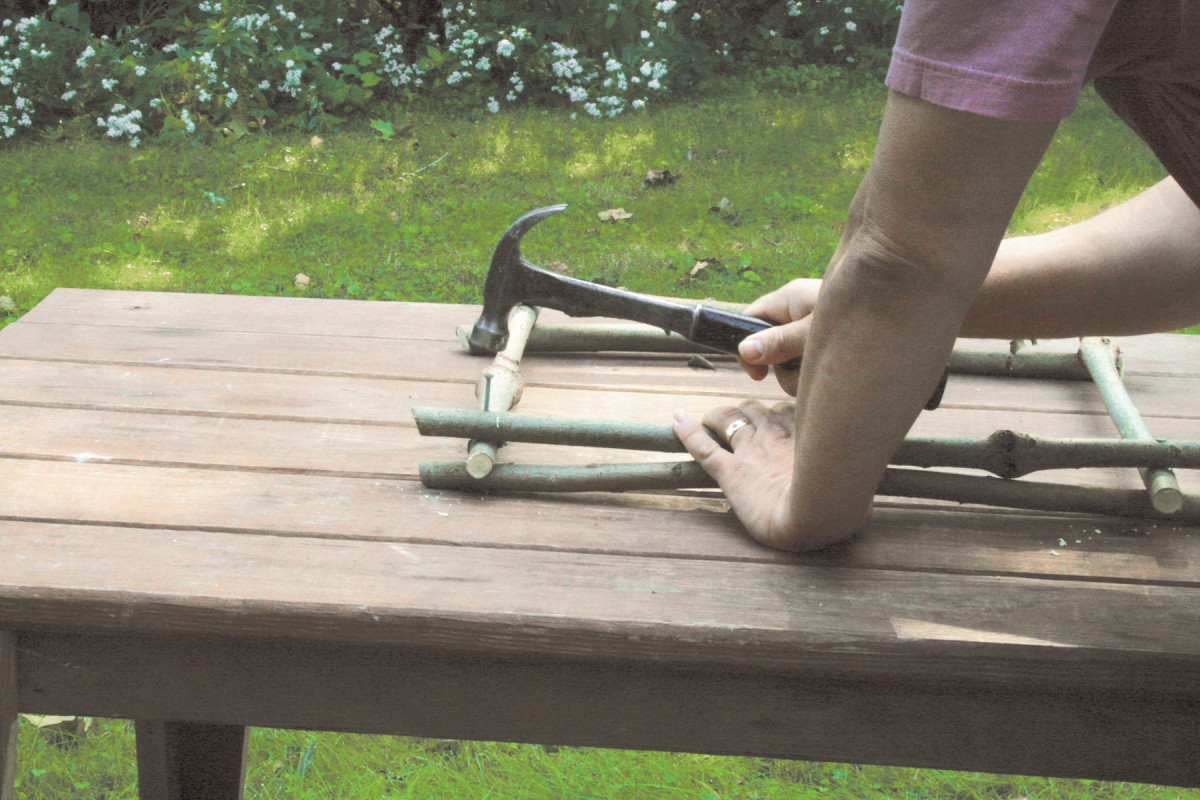
Nail each frame together after pre-drilling each hole to avoid splitting the wood. Orient the pieces firmly against the bench so the force of the hammer is directly transferred through the nail to the bench.
Saplings work best for bending, because they are relatively straight and have few offshoots and leaves, so they’re easy to prepare. Use saplings and small branches to construct bent components, such as the arms and seat of this chair. Use thicker branches to construct the support structure.
Nail the first arm inside the leg frame.
When you cut live branches and saplings, it’s best to use them right away, before they have a chance to dry out. The sticks can be wrapped in plastic and stored for a while, but they’ll continue to dry and mildew can be a problem.
Bend the arm inside the opposite rail and nail it in place. Then trim the ends. This chair has a total of four bent arms. Pre-bending the branches before installation makes their curves more uniform.
For the bent pieces in this chair, I cut willow and Osage-orange saplings that were about 1″ in diameter at their thickest. The structural members were cut from branches of willow and Osage-orange and were slightly more than 1″ in diameter.
Install the second inside arm. The remaining two arms are attached on the outside of the frame.
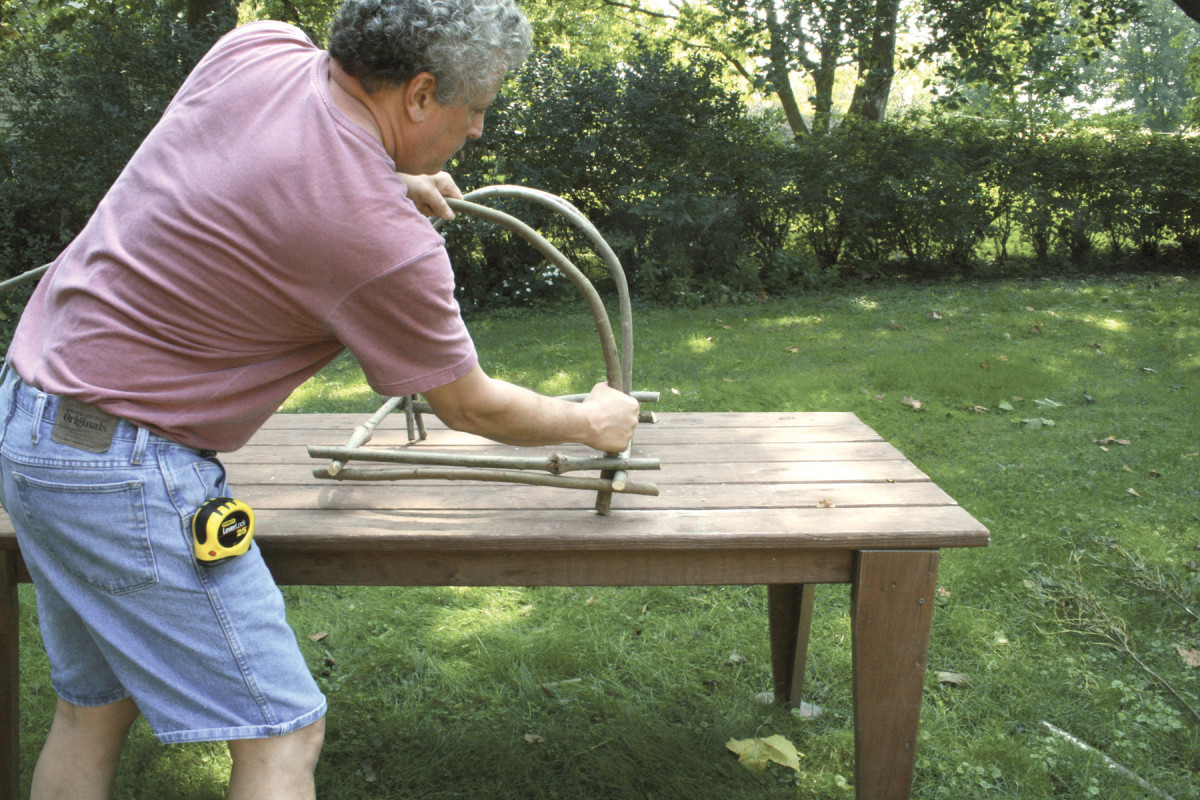
This chair’s structural frames hold the bent elements in tension, which adds much strength to its overall structure. To create bent pieces that are uniformly shaped, you must pre-bend the thick end of each piece by hand or over the edge of a bench.
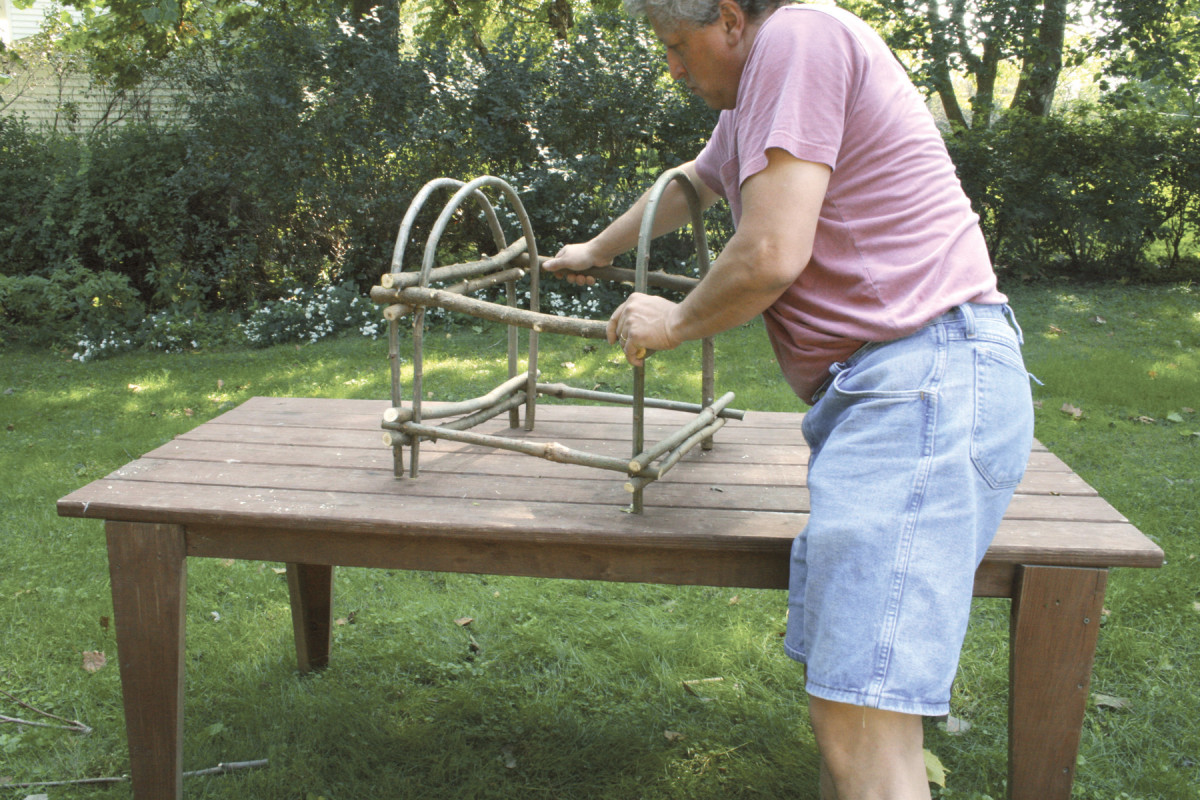
Install the seat frame. Angle it 5˚ to 10˚ from front to back, to make the chair more comfortable. Here I’ve installed one of the outside arms to help with positioning. Once the seat frame is securely nailed between the four arms, it’s time to start working on the frame for the back.
Otherwise, the pieces will tend to bend more where they are thinner and less where they are thickest, resulting in uneven curves.
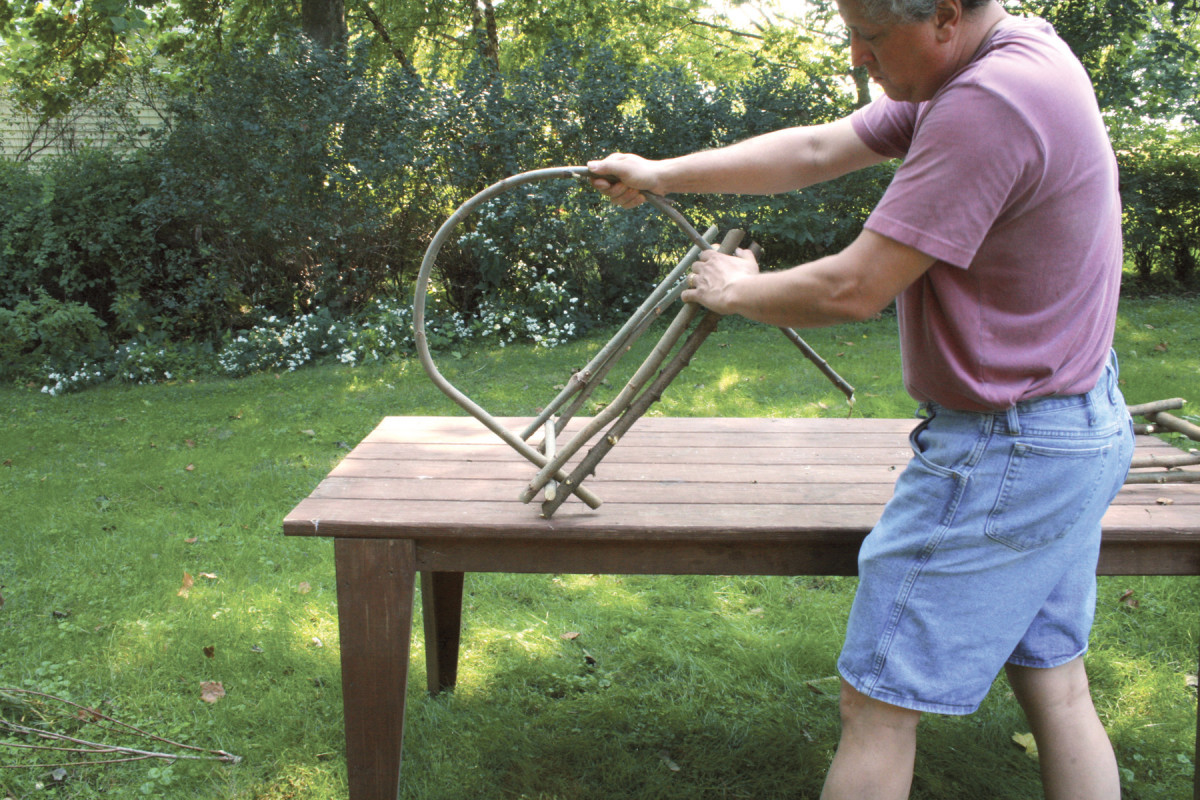
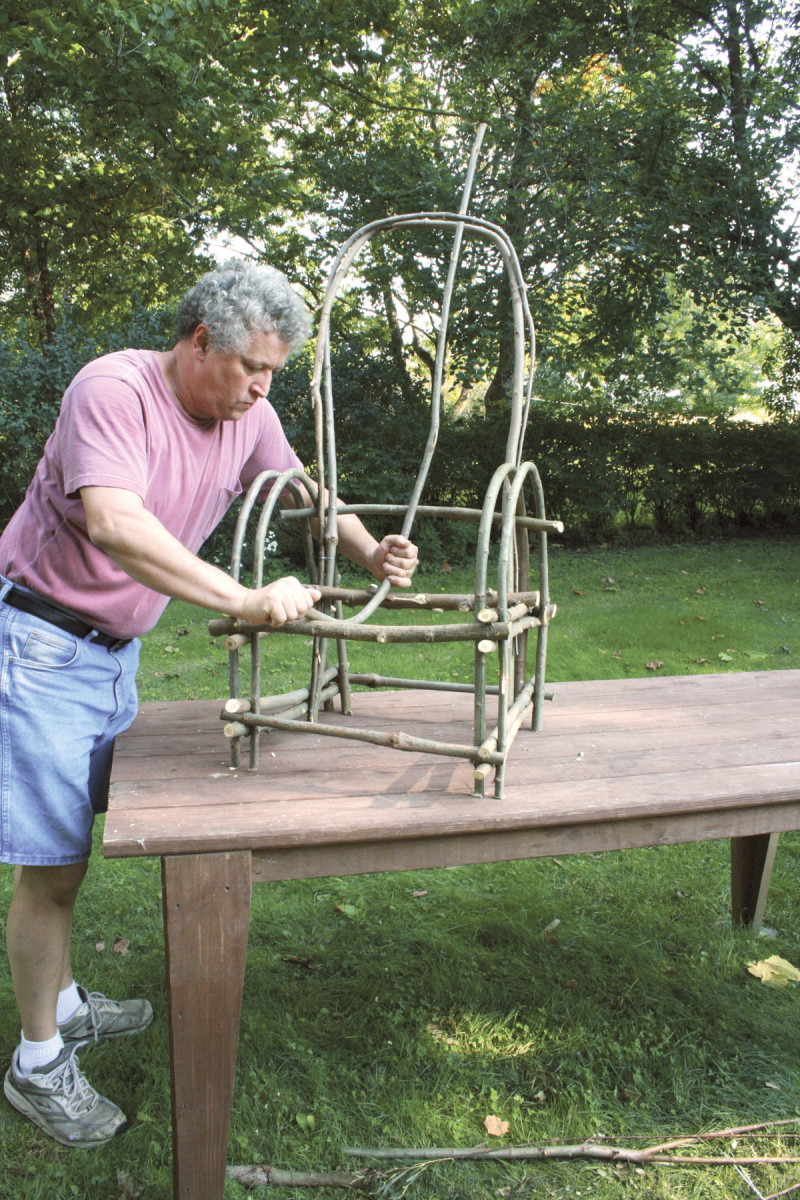
Construct the back frame by bending two long branches into a loop and threading them through a pair of nailed-on cross braces. The brace on the seat frame determines the seat’s depth. The arm brace determines the pitch of the back—usually between 15˚ and 20˚. Slightly bending this brace makes the back more comfortable.
Use galvanized nails (with heads) to fasten the pieces. Some joints could be wrapped with leather to add strength and detail.
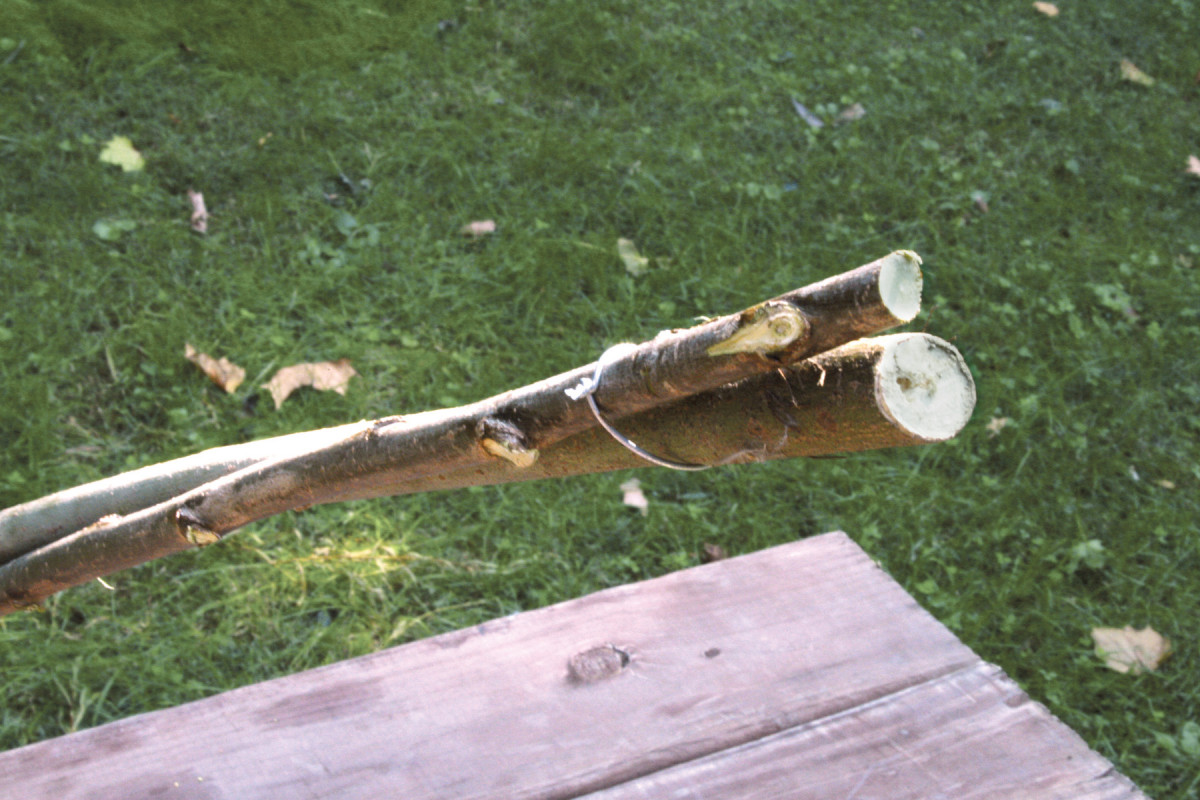
Create the back’s U-shaped frame by wiring together two long branches, so the thick end of one branch is attached to the thin end of the other. The wire helps the two branches bend uniformly. Remove the wire after you’ve nailed the back frame to the cross braces, the arms, the seat frame, and the lower frame.
Fill in the seat and back to complete the chair. Pre-bend the first branch to create a comfortable seat and back, after passing it between the two pieces that form the back’s frame. Center the branch and make sure it’s vertical. Then nail it in place, to the front rail, cross braces and back frame.
Install the remaining branches, working from the center to the sides. Space the branches as far apart or close together as you want, depending on your design and how much wood you have. These branches are spaced about 3/4″.
From the book Woodworker’s Guide to Bending Wood by Jonathan Benson. Reprinted by permission of Fox Chapel Publishing.
Here are some supplies and tools we find essential in our everyday work around the shop. We may receive a commission from sales referred by our links; however, we have carefully selected these products for their usefulness and quality.