We may receive a commission when you use our affiliate links. However, this does not impact our recommendations.
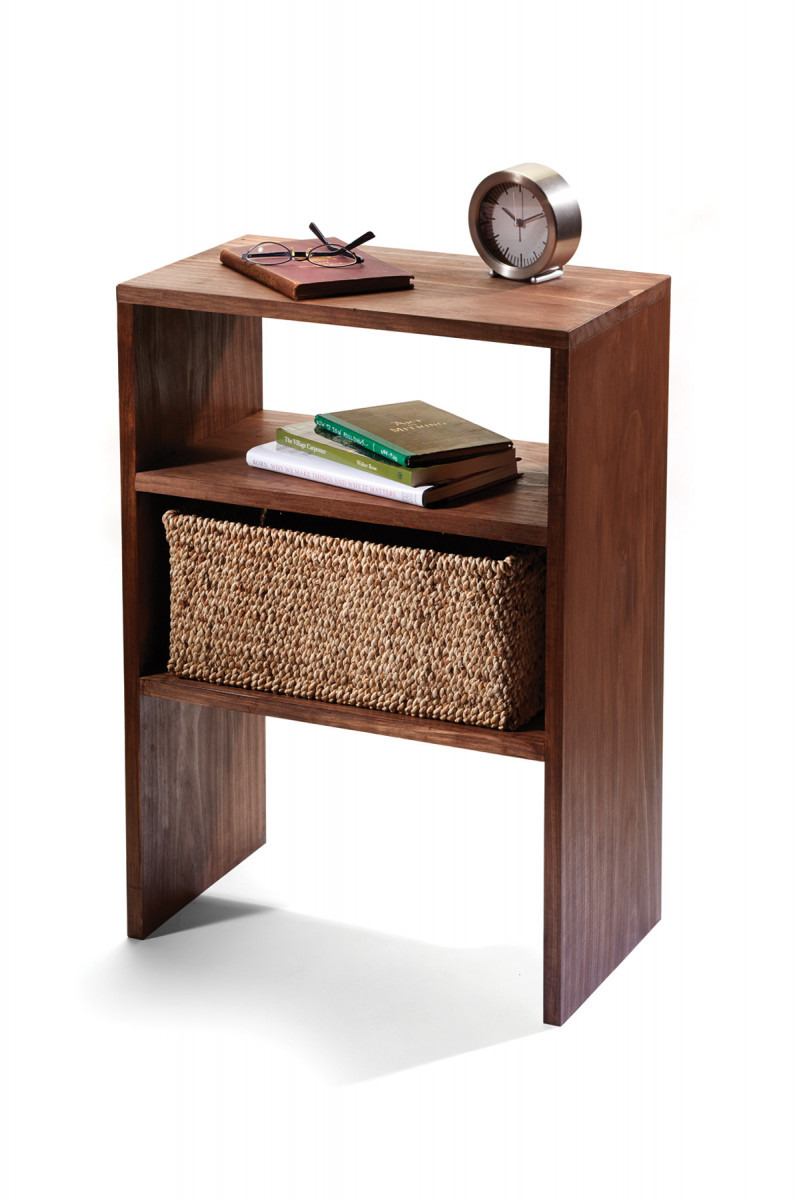
Simply change the ‘drawer’ and finish to change the look of this easy piece.
The first step in building this contemporary side table is to go shopping for the basket that serves as a drawer – then adjust the plans as necessary to fit your choice.
The one shown here is an 11″-deep, 7″-tall, 17″-long seagrass basket from Organized Living – but a basket, tray or cloth tote of many sizes and shapes would work (and you can easily change the style of the project with your “drawer” and finish choice).
The key thing is that your basket/tray/tote not be deeper than 11 1⁄4“, which is the actual width of 1×12 – the widest dimensional lumber available at the home center.
So, with my basket selected, I headed to the home center for No. 1 white pine.
This project is dirt-simple and, including the $24 basket, cost around$100. It took just a couple of hours to shop, build and apply the finish – yet I’ve seen similar projects in various catalogs and stores priced anywhere from $200 to $600.
I know it’s easy to fall into the trap of “I could just build that,” then never get around to it – but with this side table, there’s simply no excuse.
Stock Layout
Matched sets. Measure, mark, then cut the first shelf and use it to lay out the length of the second shelf. Do the same for the two sides.
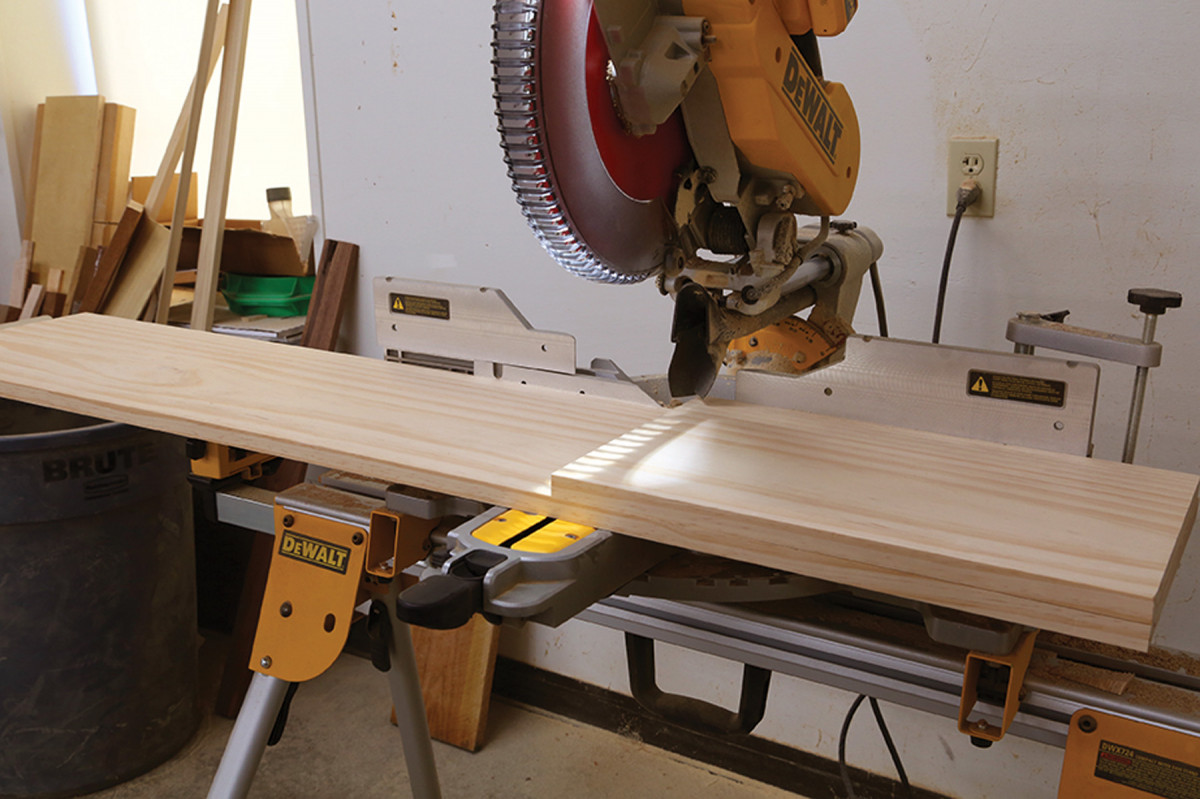
The shelves, sides and top are all the full 111⁄4” width of the 1×12 stock, so all you need to do is cut the pieces to length.
I started with the shelves, so I marked then cut one 18″-long piece at the miter saw, and used it to mark the length of the other so they’d match. Then I did the same with the 271⁄4“-long sides. After making your cuts, confirm the parts match their partners; if they’re off even a little, stack them flush at one end, then trim them simultaneously at the miter saw. They need to match.
Note that if you don’t have a miter saw, or if yours won’t make an 111⁄4“-wide cut, you can easily use a circular saw, running it along a straightedge to keep the cut square.
Hold off on cutting the top to length until you’ve assembled the base.
Now lay out the shelf locations. I decided on a 7″ opening at the top for books and the like. My basket is also 7″ – but I wanted a little room at the top to be able to easily reach in to pull it out, so that took an 8″ opening.
After I marked the shelf locations, I showed the basket to the side to make sure it would fit. Trust, but verify.
Before moving on, sand the sides and shelves to #150 grit or more to remove mill marks. (You can probably get away with stopping at #120 grit if you’re going to paint your side table.)
Contemporary Side Table Cut List

Elevation

Grab Your Drill
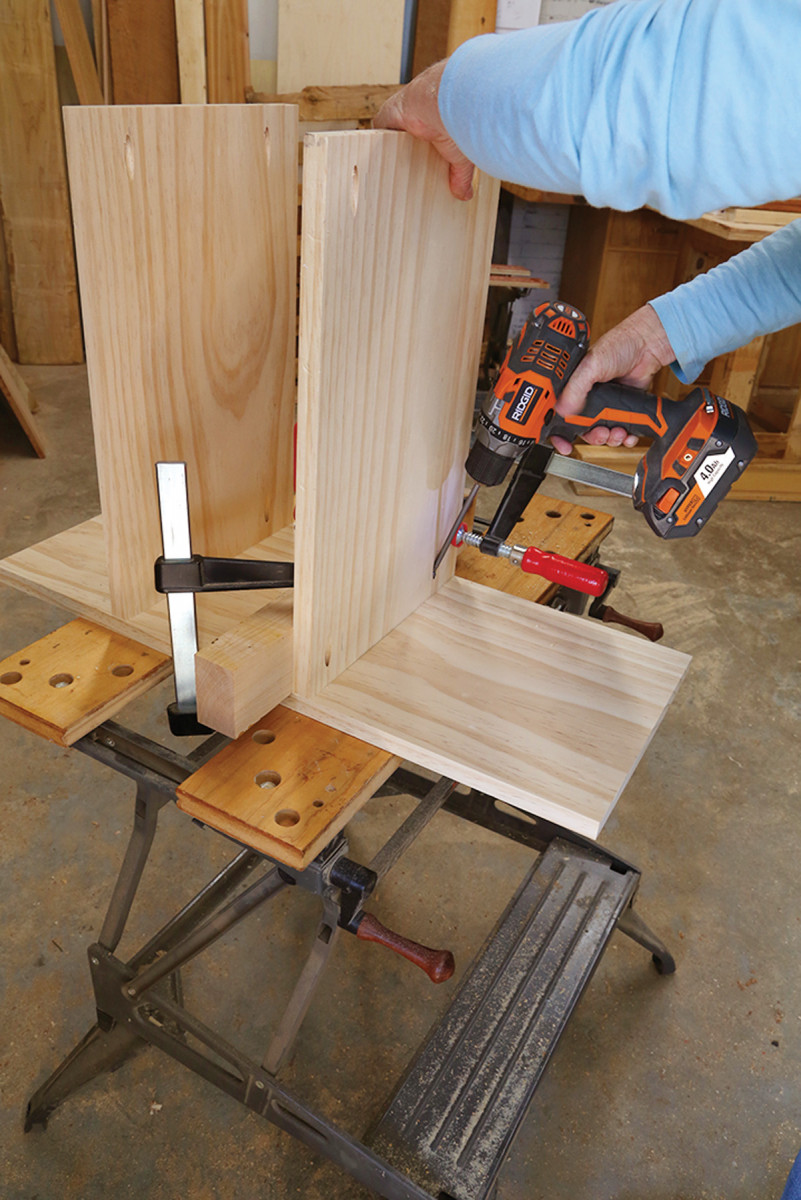
Easy driving. A block clamped in place to the layout lines makes it simple to hold the shelves perfectly in place as you drive the pocket screws. (Note: Because I’m using pine, a softwood, I used coarse-thread screws.)
The joinery is simply two pocket screws on the underside of each end of both shelves. But because this was all moving along far too quickly, I decided to add a dash of fuss (two minutes’ worth) by measuring and marking locations for the pocket screws before drilling. I hope the cats and bugs are impressed by the perfect symmetry that no person will ever see.
The only (slightly) tricky thing about using pocket screws for assembly is making sure your parts stay perfectly aligned as you drive the screws. But clamp a thick, straight piece of wood along the layout line (and to the bottom of the Workmate to keep the side from shifting), and the challenge is overcome. You’ll also see in the picture at right that I’ve another clamp pulling the shelf to the block – that’s because the shelf boards developed a slight but noticeable warp after I cut them to length; the clamp pulled the warp out to make the shelves nice and level.
After you drive the pocket screws on one side, flip the piece on top of the second side and again clamp the block to your layout lines to keep things in place as you finish assembling the base.
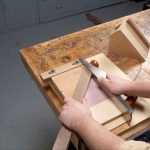
But before you tighten the clamps, grab a 12″ combination square and confirm that the setup is indeed square.
Once the base is all together, set it on the ground and confirm the length for the top. Yep – in this case, 191⁄2” as planned. But you never know.
Cut the top to length at the miter saw and use a sanding block on the ends to remove any mill and burn marks from the saw blade. Then – if like me, you’re persnickety – use your combination square to mark a line 3⁄8” in along each end, and mark nail locations symmetrically along that line, then align the top with the base and drill pilot holes for 6d finish nails.
Drive each nail so it’s almost flush to the surface, then use a nail set for the final hammering of each to sink the heads slightly below the top and not damage the wood.
The Finishing Steps
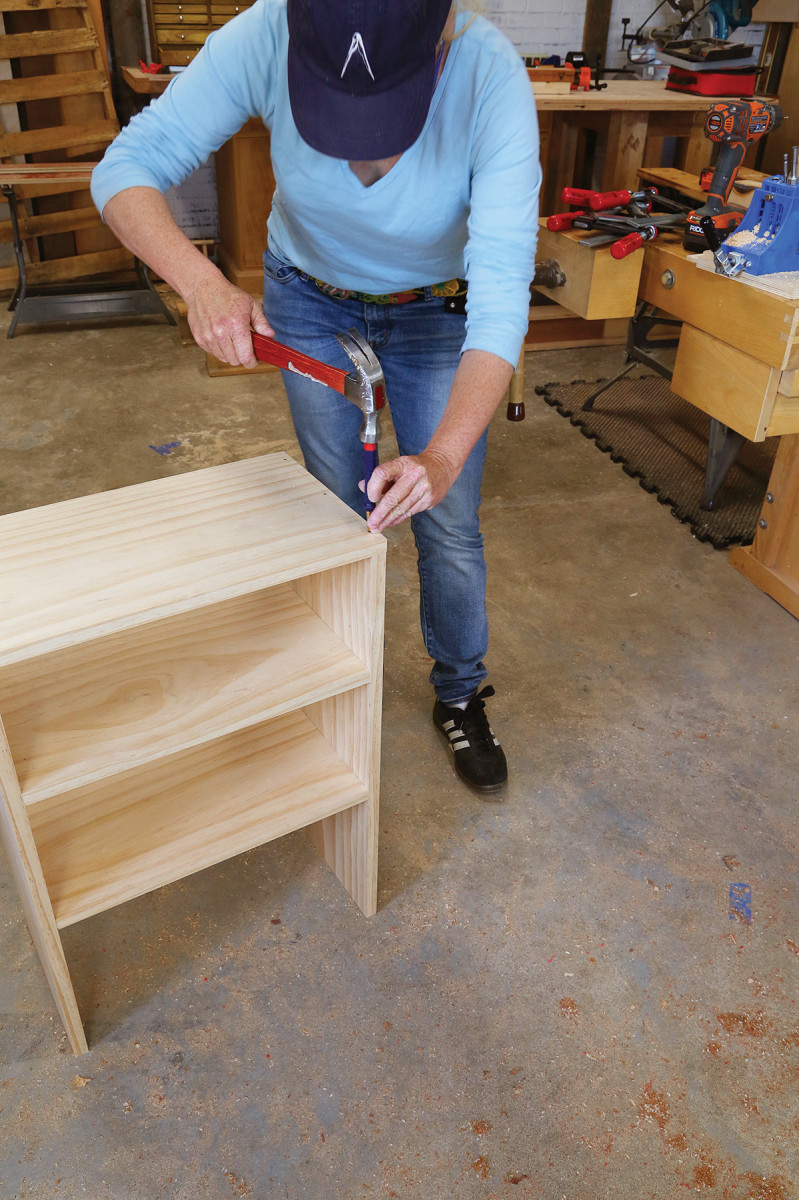
Eschew ‘Frenching.’ A nail set helps you avoid inadvertently marring (“Frenching”) the tabletop as you drive the nails slightly below the surface.
Sand the top to the same grit as you did the sides and shelves, check the entire build to make sure everything is smooth to your satisfaction, then ease all the edges with sandpaper.
Now break out the stain or paint. I chose a gel stain (in hickory) because gel stain basically sits on top of the surface and thus tends to blotch less on pine than a penetrating stain. And it’s the consistency of pudding, so it doesn’t drip and run. It also imparts a deeper color than penetrating stain…which is why some people don’t like it – it obscures the grain more than a traditional stain.
After donning gloves, rag on a coat (not too thick – but sufficient to cover everything), let it sit for about five minutes, then wipe off the excess with a clean rag.
Wait for the stain to dry (it can take as long as 12 hours), then apply a topcoat (I used a satin polyurethane). After it dries, slide your basket in place, and voilá – an easy contemporary side table for little cash and little time, but with a lot of style.
Here are some supplies and tools we find essential in our everyday work around the shop. We may receive a commission from sales referred by our links; however, we have carefully selected these products for their usefulness and quality.