We may receive a commission when you use our affiliate links. However, this does not impact our recommendations.
 And so we arrive at the final stage of our boat project. By now, the hull has been carefully shaped, the spars have been crafted, and the masts and booms assembled. What remains are the final touches that bring the vessel to life: rigging, sails, and paint.
Part 1 • Part 2 • Part 3 • Part 4
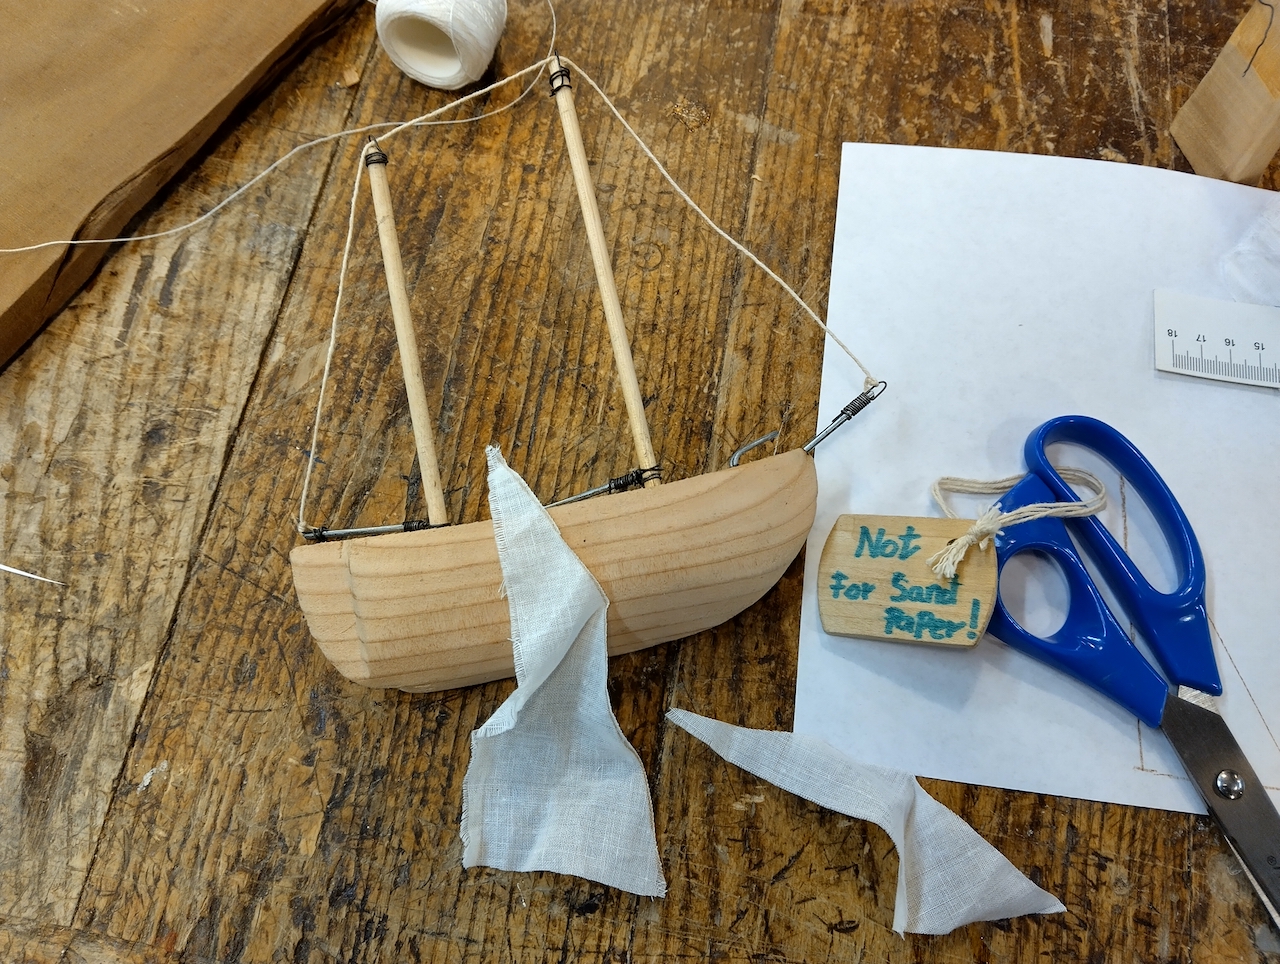
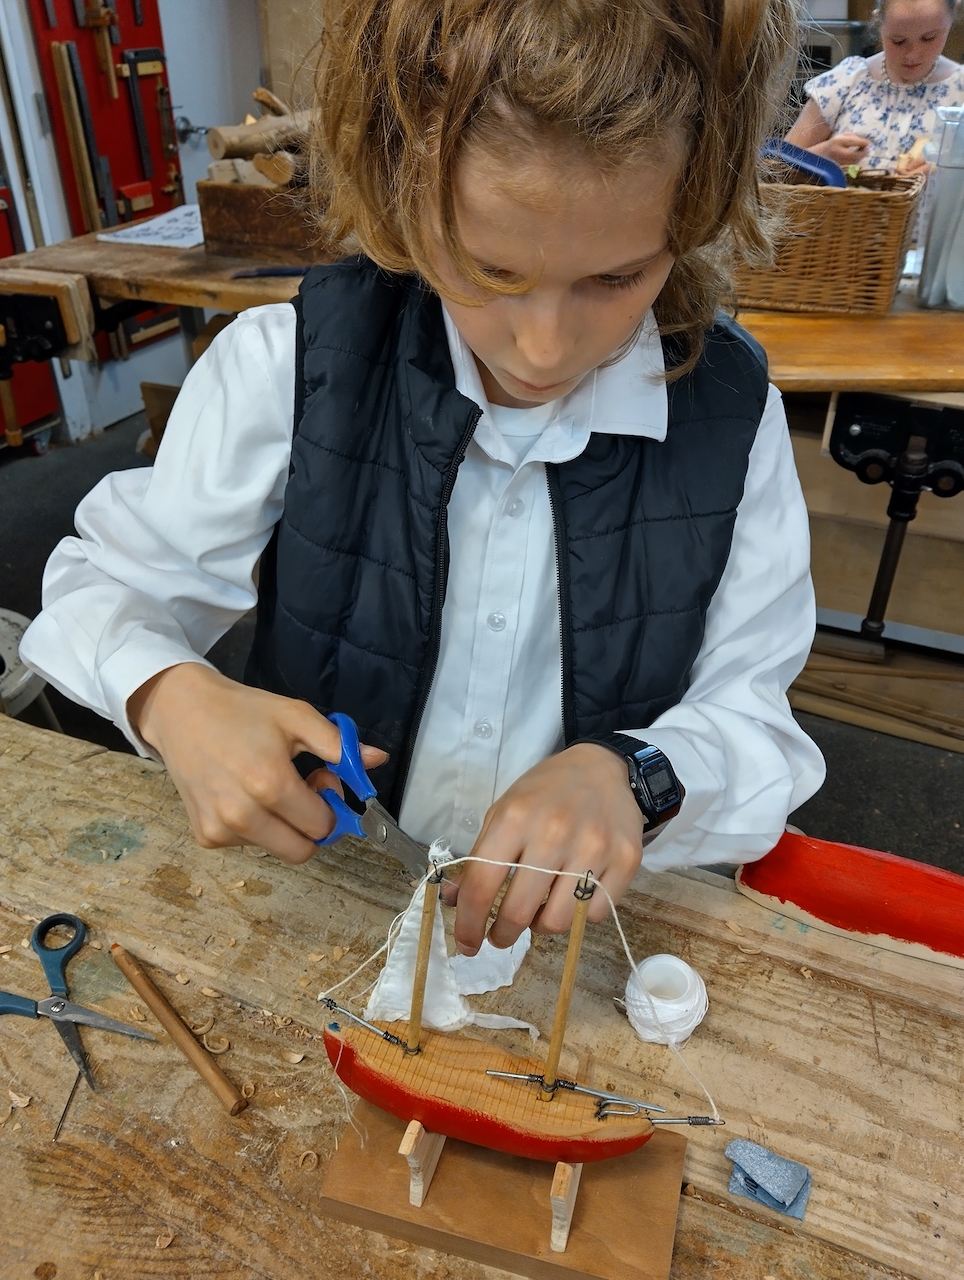
The rigging is straightforward but essential. We begin by tying a rope that runs from the forward spar at the bow, up to the first mast, then to the second mast, and finally back toward the stern—either to a rear boom, a small flagpost, or simply anchored to the deck. To secure the rigging, we again make use of thin wire, bending it into small hooks that attach to the deck or mast. Students are free to add more rigging lines if they wish, especially if their inspiration comes from historical drawings, but I emphasize that rigging doesn’t need to be overly complex. Its purpose here is twofold: to suggest the character of a real sailing vessel and to hold the booms and yards in their proper positions, since their wire hinges allow them to pivot.
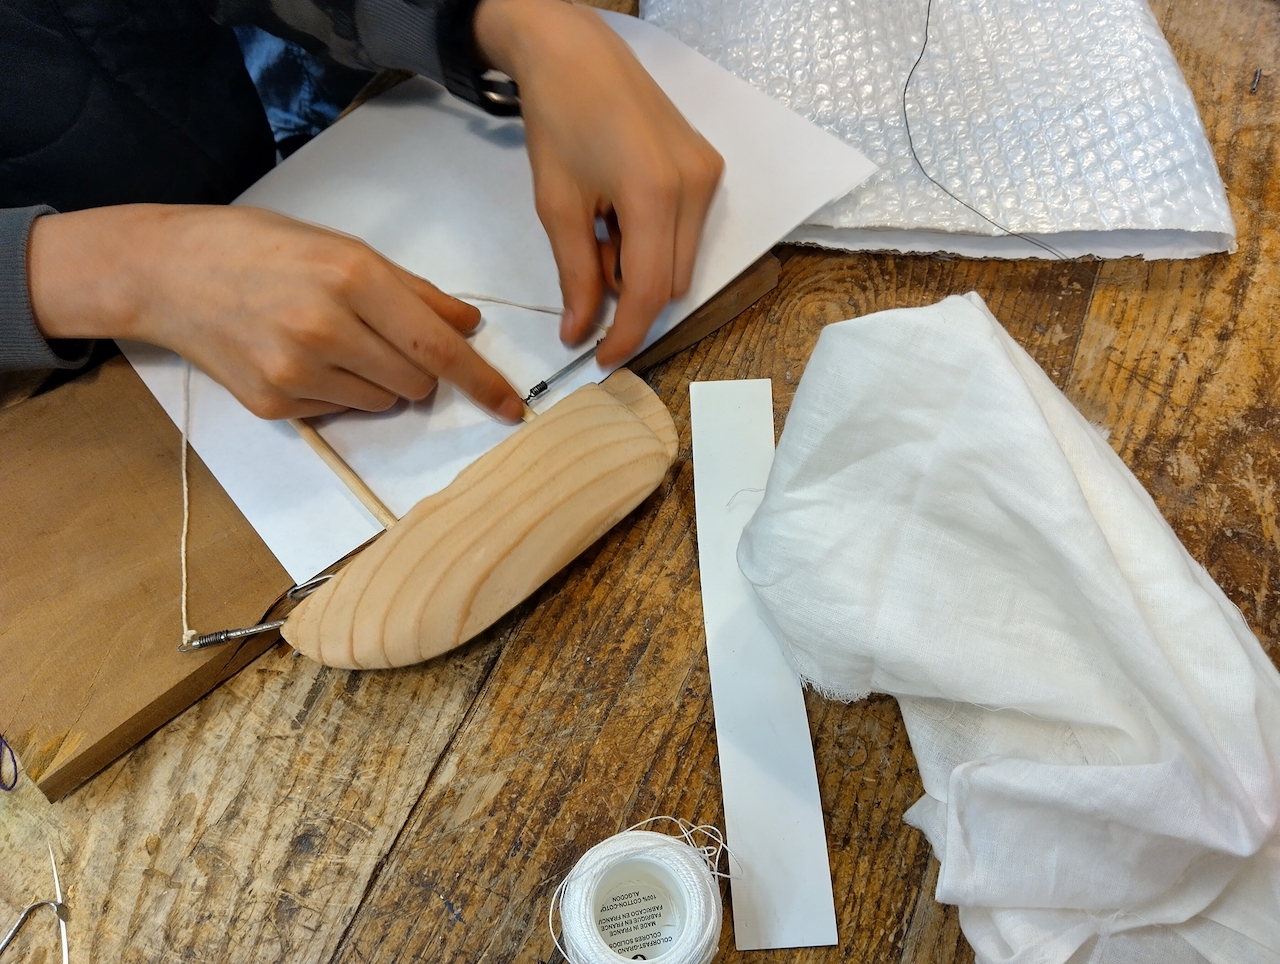
For sails, my students draw on another skill taught as part of their Waldorf curriculum: sewing. Many are already comfortable with fabric arts, so making a sail becomes a natural extension of their learning. The process begins with a paper template. Once satisfied with the shape, they transfer the outline onto fabric, adding an extra half inch around the perimeter for a hem. The hem is folded and hand-stitched, and the finished sail is then attached to the spars with rope and needle. This is a satisfying step for the students, as the boat suddenly begins to look alive and ready for the wind.
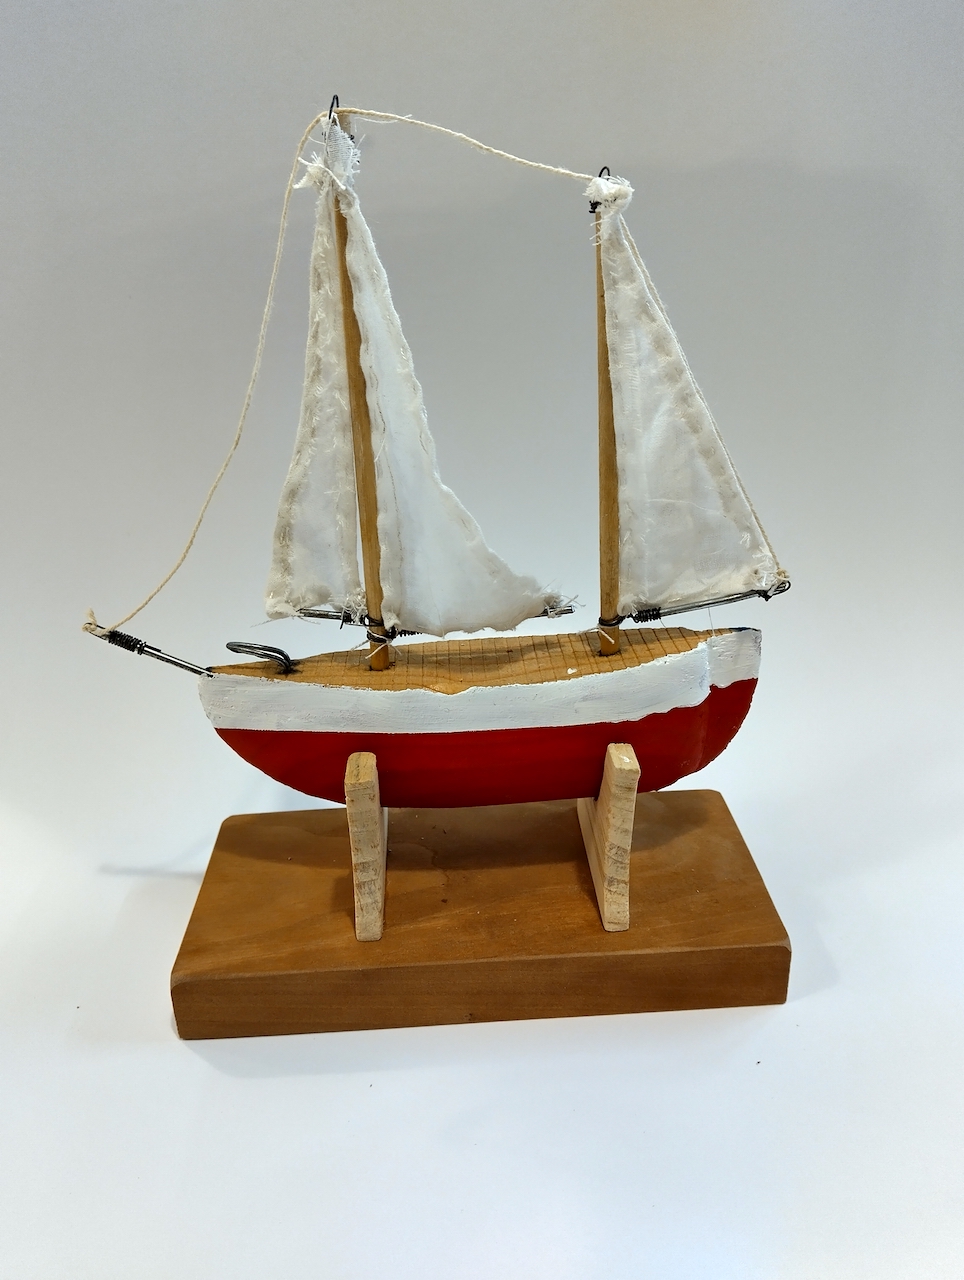
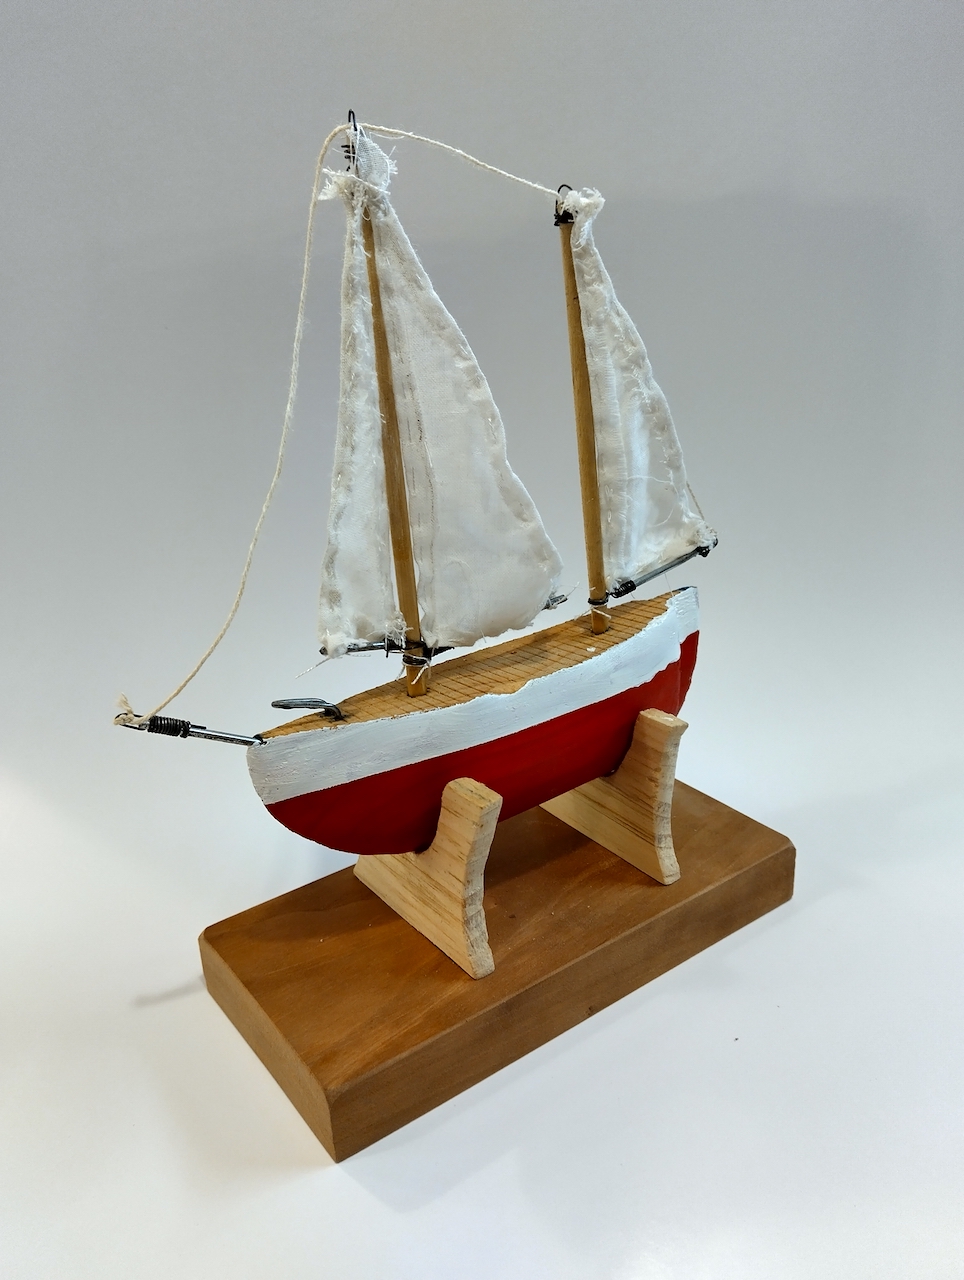
Painting the hull is often the most exciting stage. I recommend keeping the scheme simple and balanced, as real boats often are. Typically, we choose one solid color—blue, red, or black—for the hull, then add a contrasting band above the waterline and below the deck, perhaps white, yellow, or another maritime shade. To help children paint accurately, I suggest drawing a guiding pencil line around the hull. Students first paint from the keel up to that line using steady, careful brushstrokes. Even if the brush goes a little beyond, it’s not a disaster—the next coat will be guided by masking tape.
Notice the red hull from keel to under the deckline.
Once the first color is dry, masking tape is applied along the pencil line, with the upper edge defining the boundary. If the entire section up to the deck is to be painted, students can work carefully from the tape upward. If a second contrasting band is desired, we add another strip of tape just below the deck line, so the paint is confined neatly between the two guides. When the tape is peeled away, crisp paint lines appear, and the hull looks finished and proud.
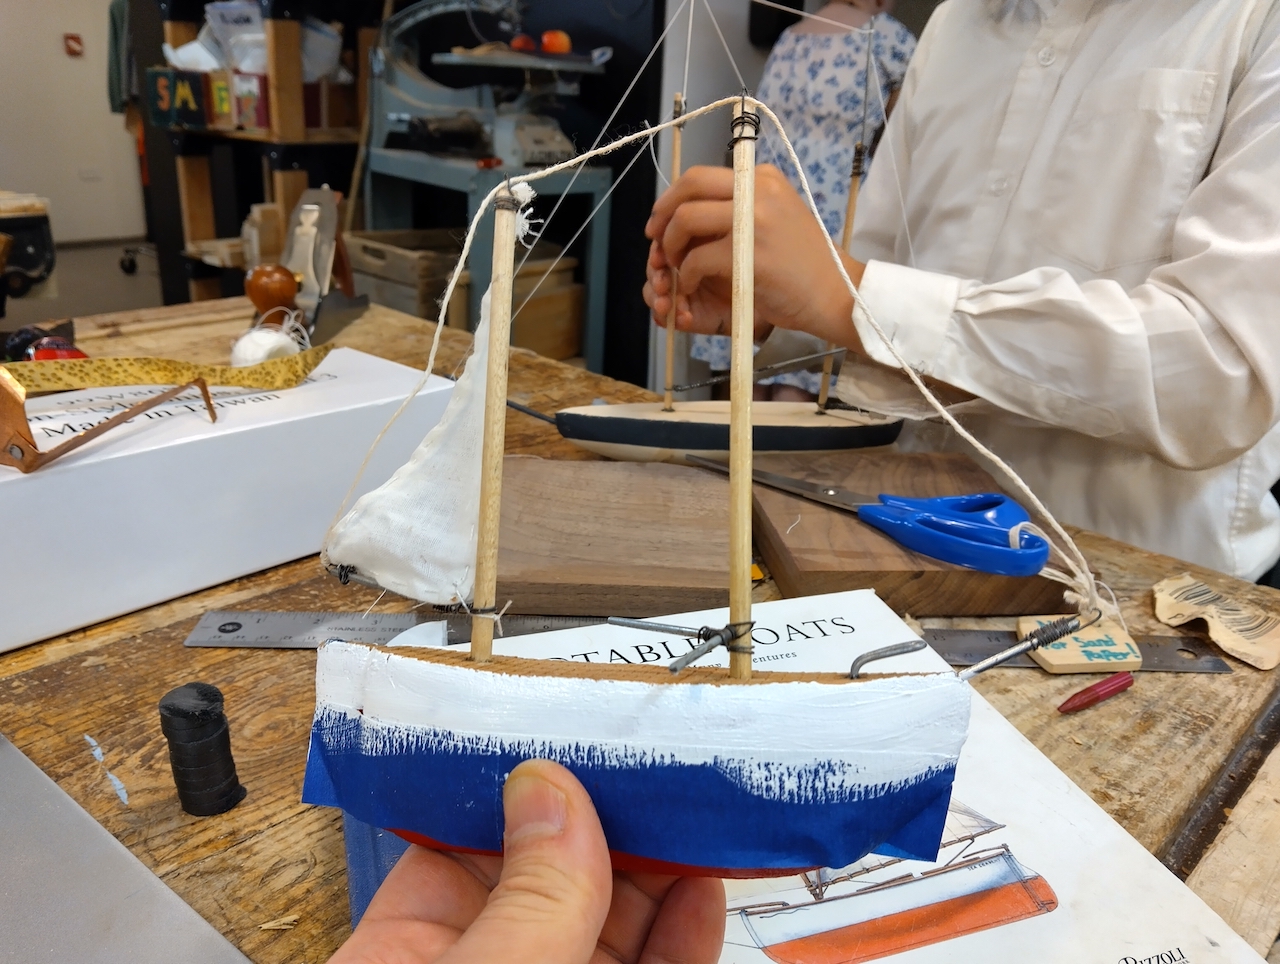
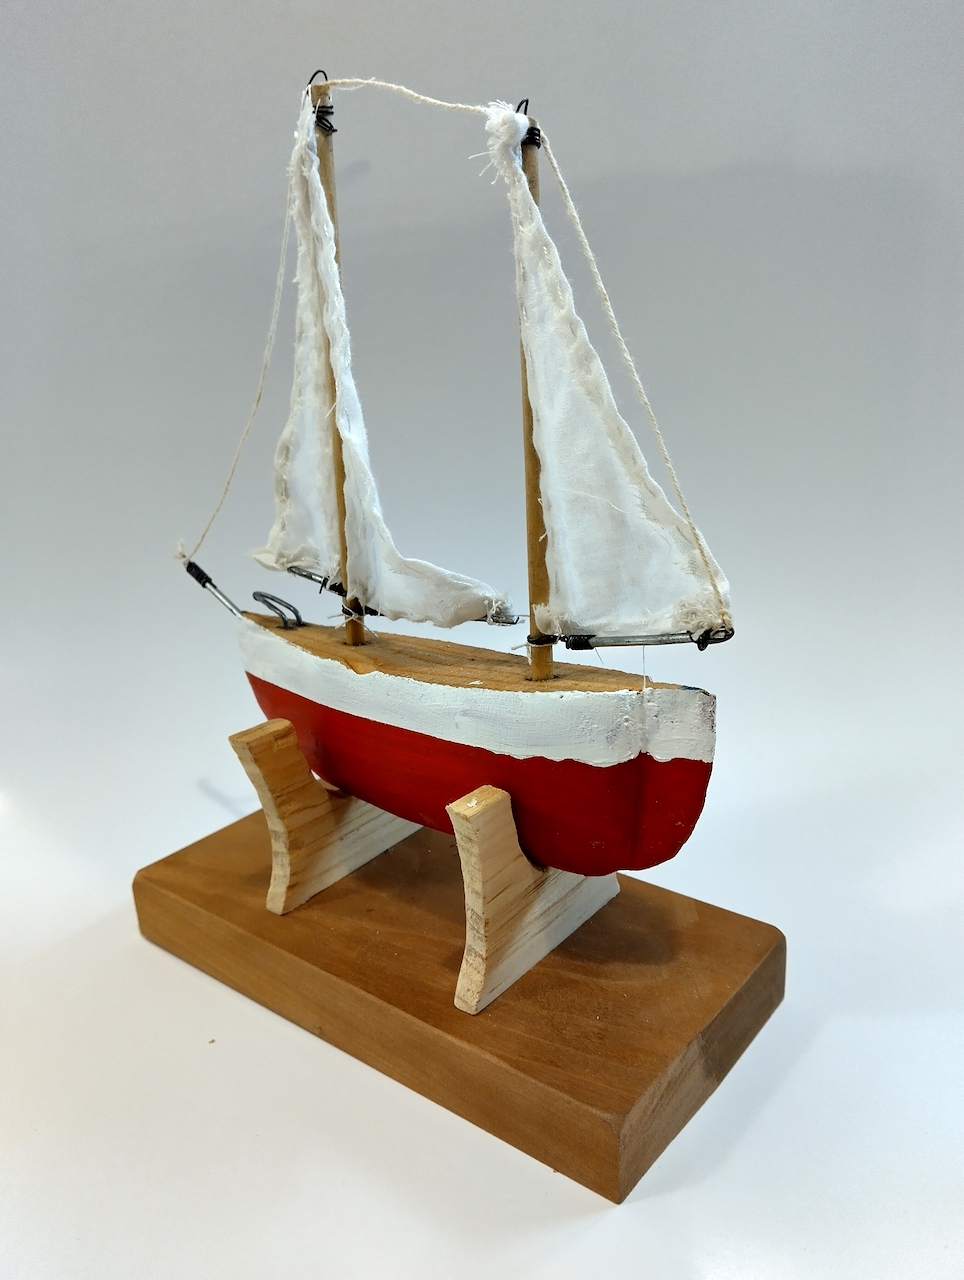
In the photos below, you’ll see one student’s boat painted in two colors. From waterline to deck, he chose white, creating a striking contrast. His project even included a handmade wooden stand—an additional challenge we may explore in a future blog.
With the rigging tightened, the sails stitched, and the hull painted, the boat is complete. What began as a simple 2×4 block has now become a small sailing vessel, filled with grace, color, and the spirit of craftsmanship.