We may receive a commission when you use our affiliate links. However, this does not impact our recommendations.

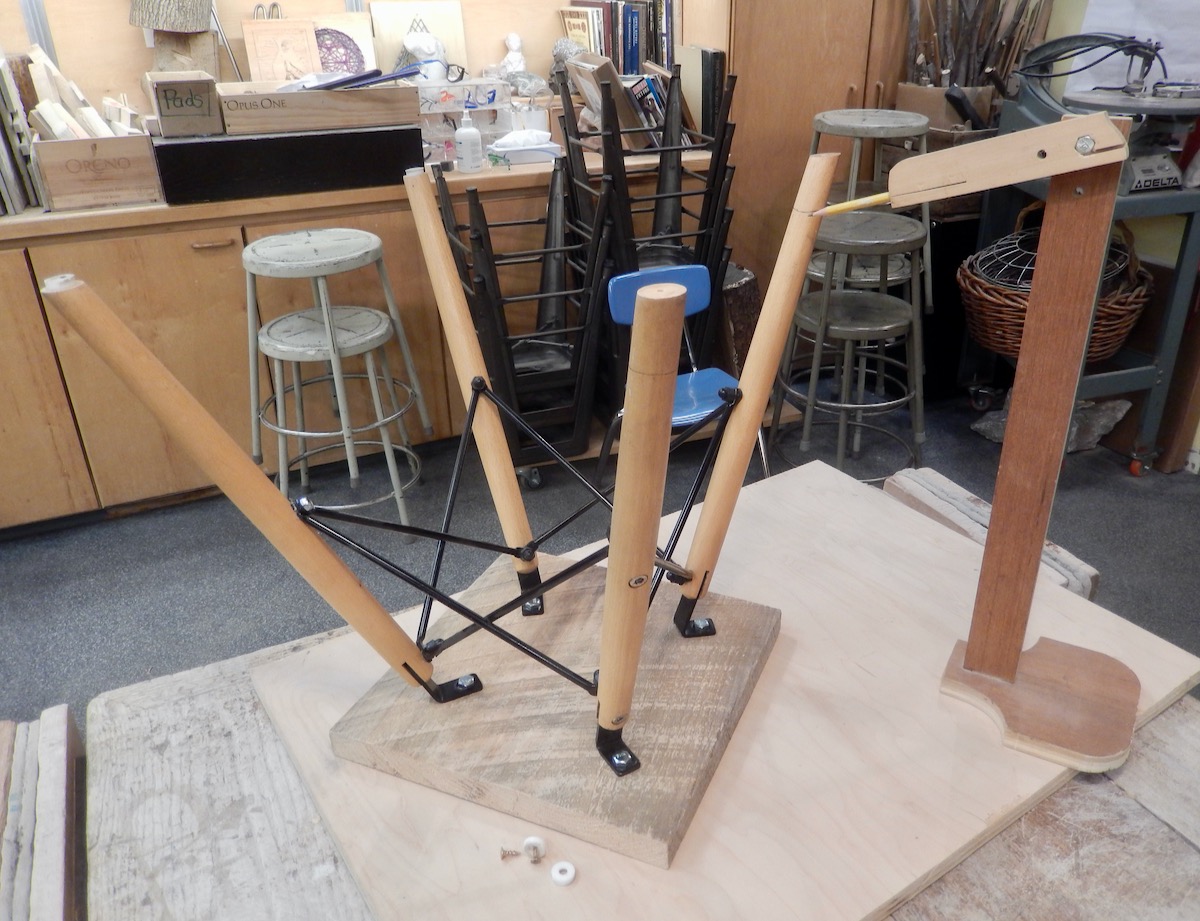
While this furniture isn’t one of the stools my students have built, it serves as an excellent demonstration of the gauge’s versatility. These legs were originally part of a production chair that one of my students reclaimed and transformed into a charming small side table
When I first started teaching the 8th-grade stool-making class, I needed to find an easy method for my students to mark the leg length accurately before trimming them to a parallel surface with the seat. While there are various techniques available, such as using wedges to level the seat and scribing a line on the legs with a cleat, I wanted to devise a simpler procedure specifically for our class.
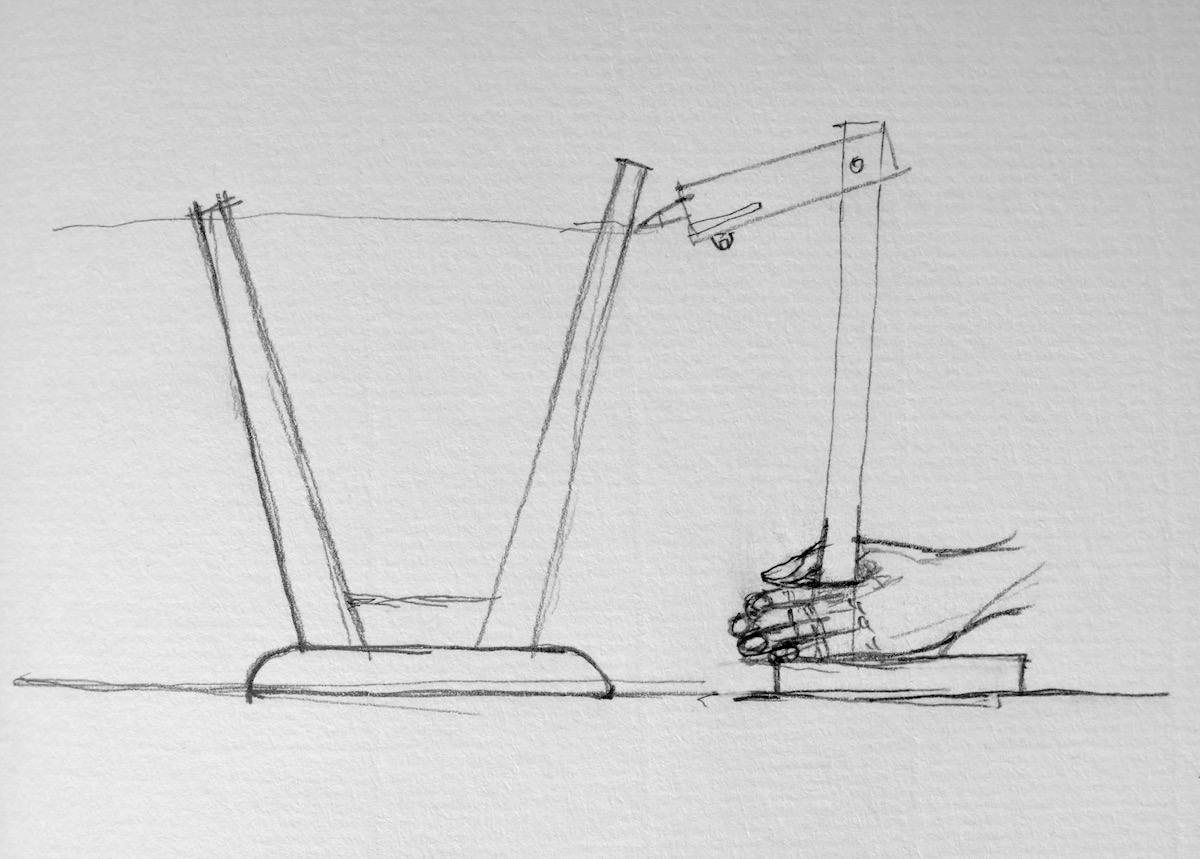
Introducing the legs gauge-length equating jig—a straightforward adjustable arm that holds a pencil connected to a small base. Utilizing this jig is incredibly easy. We place the stool seat flat on a reliable surface, like a clean benchtop or plywood platform. Then, we pivot the tip of the pencil arm until it reaches just short of the shortest leg, securing the arm’s bolt, and proceed to scribe around it. It is crucial to apply pressure on the base of the gauge to ensure consistent parallelism between the pencil tip and the benchtop. After scribing around the first leg, we repeat the process for the remaining legs. Finally, we trim the legs using a fine saw.


Constructing the gauge itself is a straightforward task. To start, prepare the arm by drilling a hole for the pencil and adding a kerf across it. Then, drill a hole for a screw that will fasten the two parts of the pencil sleeve. For connecting the arm to the post, you can use any suitable hardware available, although I opted for a bolt and a thumb nut. Similarly, building the base is a simple process. You can either mortise the base and insert the post or attach the post to the base using glue and two screws.


We have been using this gauge for over ten years now, and it has proven to be an invaluable companion in our stool-making class, as well as for other flat-top furniture projects that my students have undertaken.


Here are some supplies and tools we find essential in our everyday work around the shop. We may receive a commission from sales referred by our links; however, we have carefully selected these products for their usefulness and quality.


