We may receive a commission when you use our affiliate links. However, this does not impact our recommendations.
When a customer asked me to replicate the finish on her antique Stickley sideboard for the pieces she had commissioned, I grabbed my yellow dye and a few gel stains, because I knew that a layered finish was the only way to achieve the richness and depth of that old Arts and Crafts era finish.
I find layering colors much more rewarding than trying to mix a single stain to match a color. A “matched” stain never looks right, because it turns everything the same color. An old finish contains many different colors. That’s why layering works so well. I’ve also learned that colors applied separately in layers create a different appearance than when the same colors are combined and then applied.
It’s important to note that the grit you use to finish-sand the wood also affects the color of the finish. A rougher surface—sanded to 100 grit, for example—will absorb more color than a surface that’s sanded smoother. I sanded the frame shown here to 180 grit. Always test your stains on a sample board that’s sanded to the same grit as the piece you plan to finish.
Fig. A: The Layers
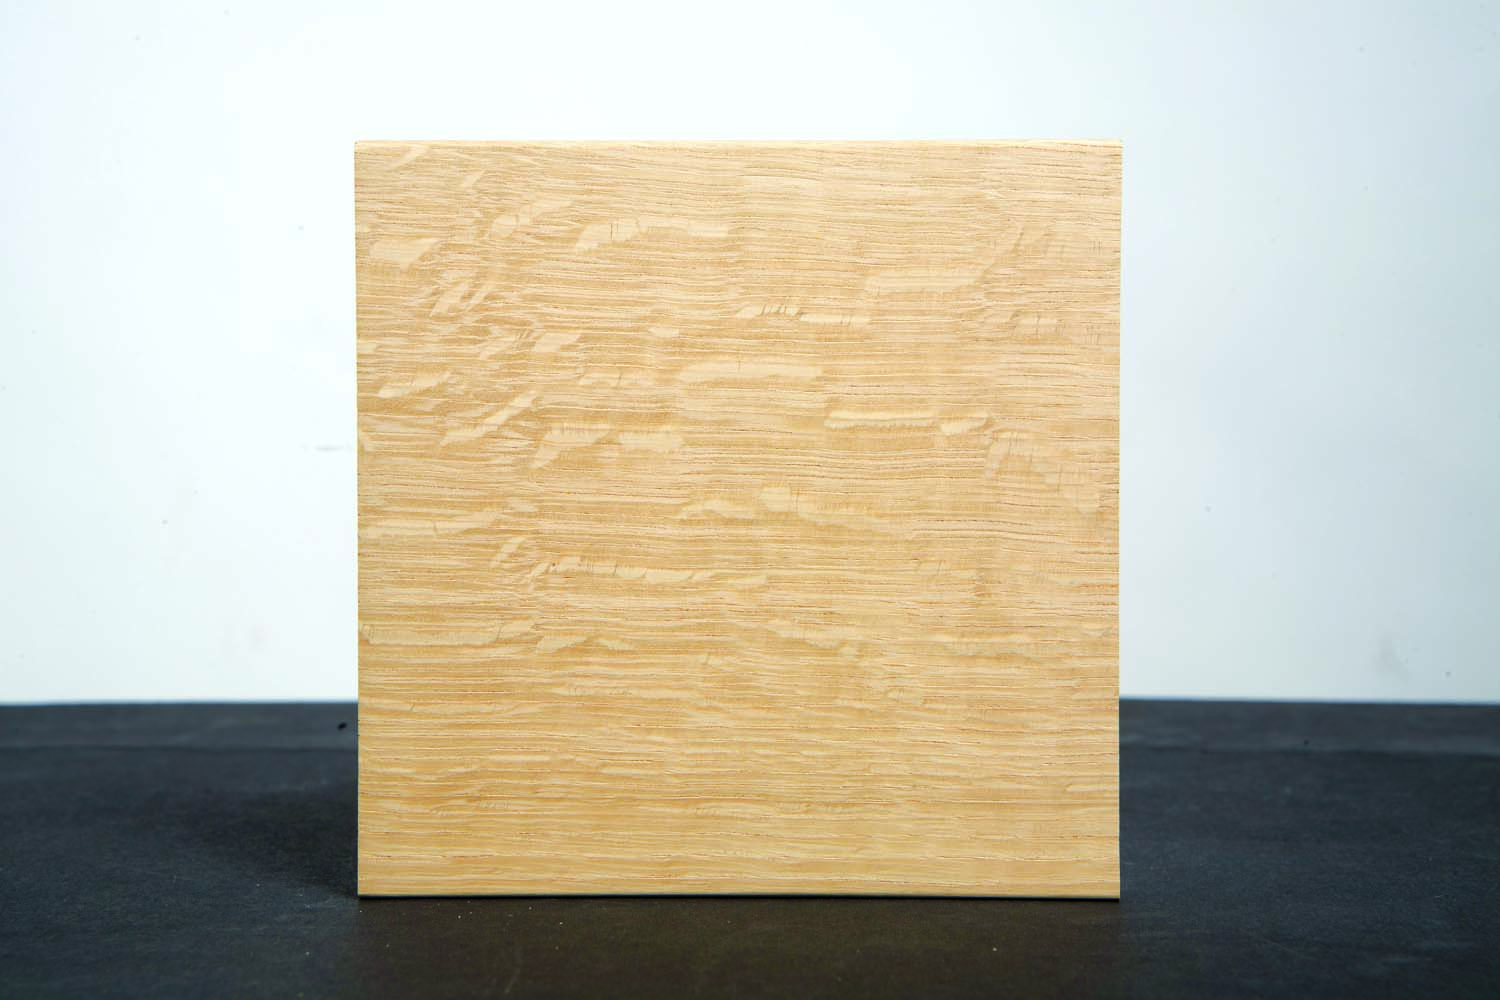
Raw Wood
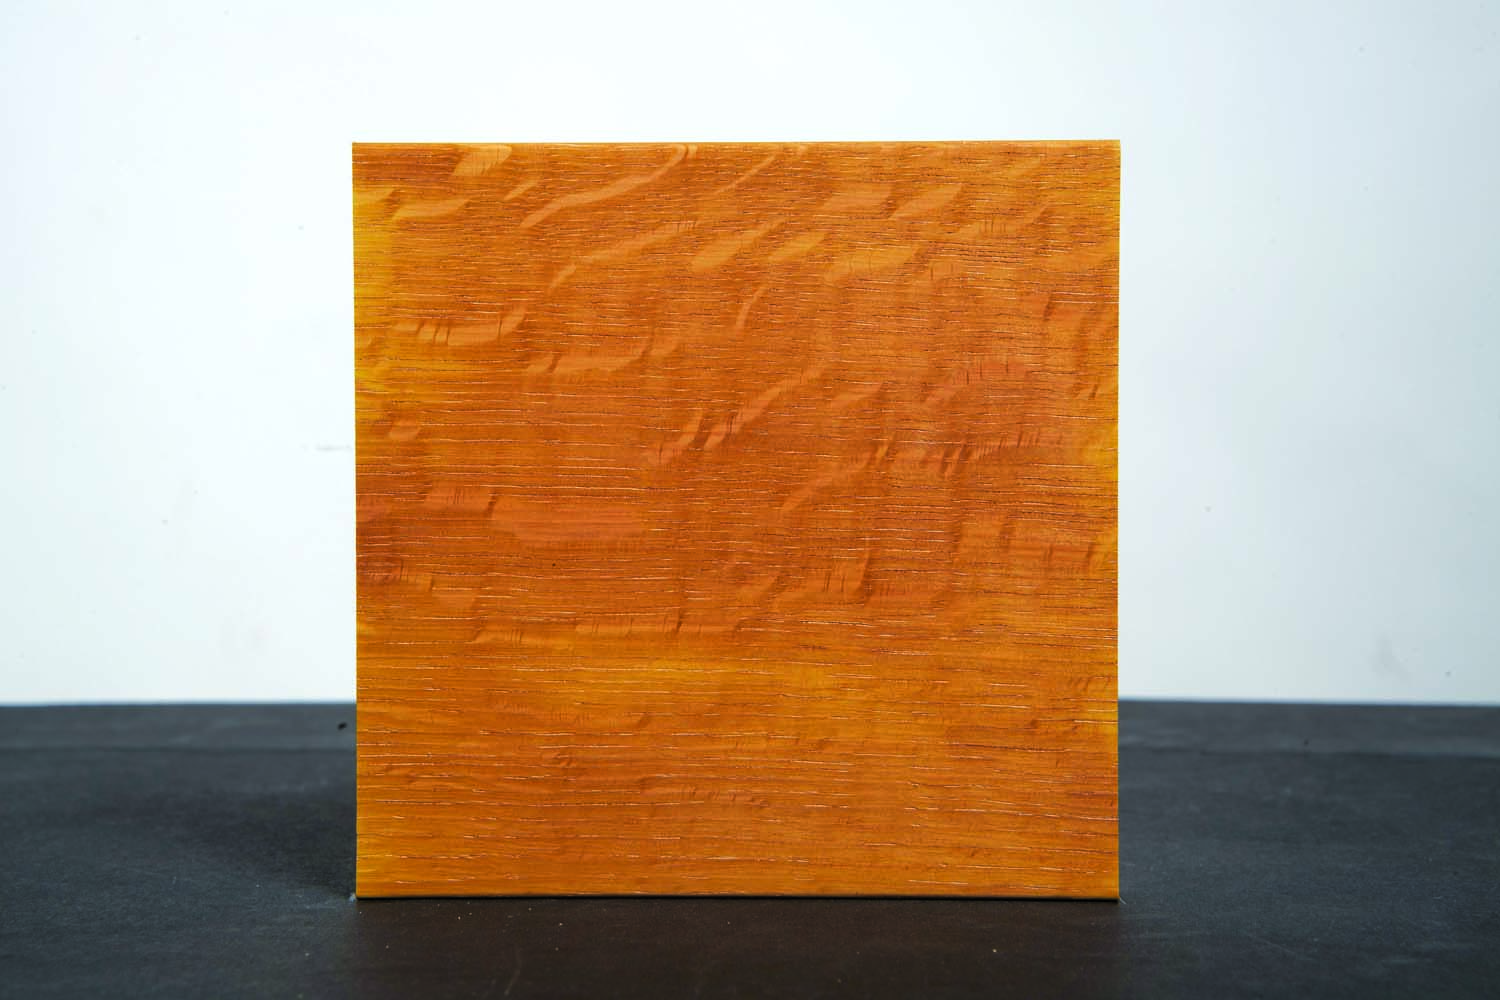
TransFast Light Oak Dye

TransFast Lemon Yellow Dye
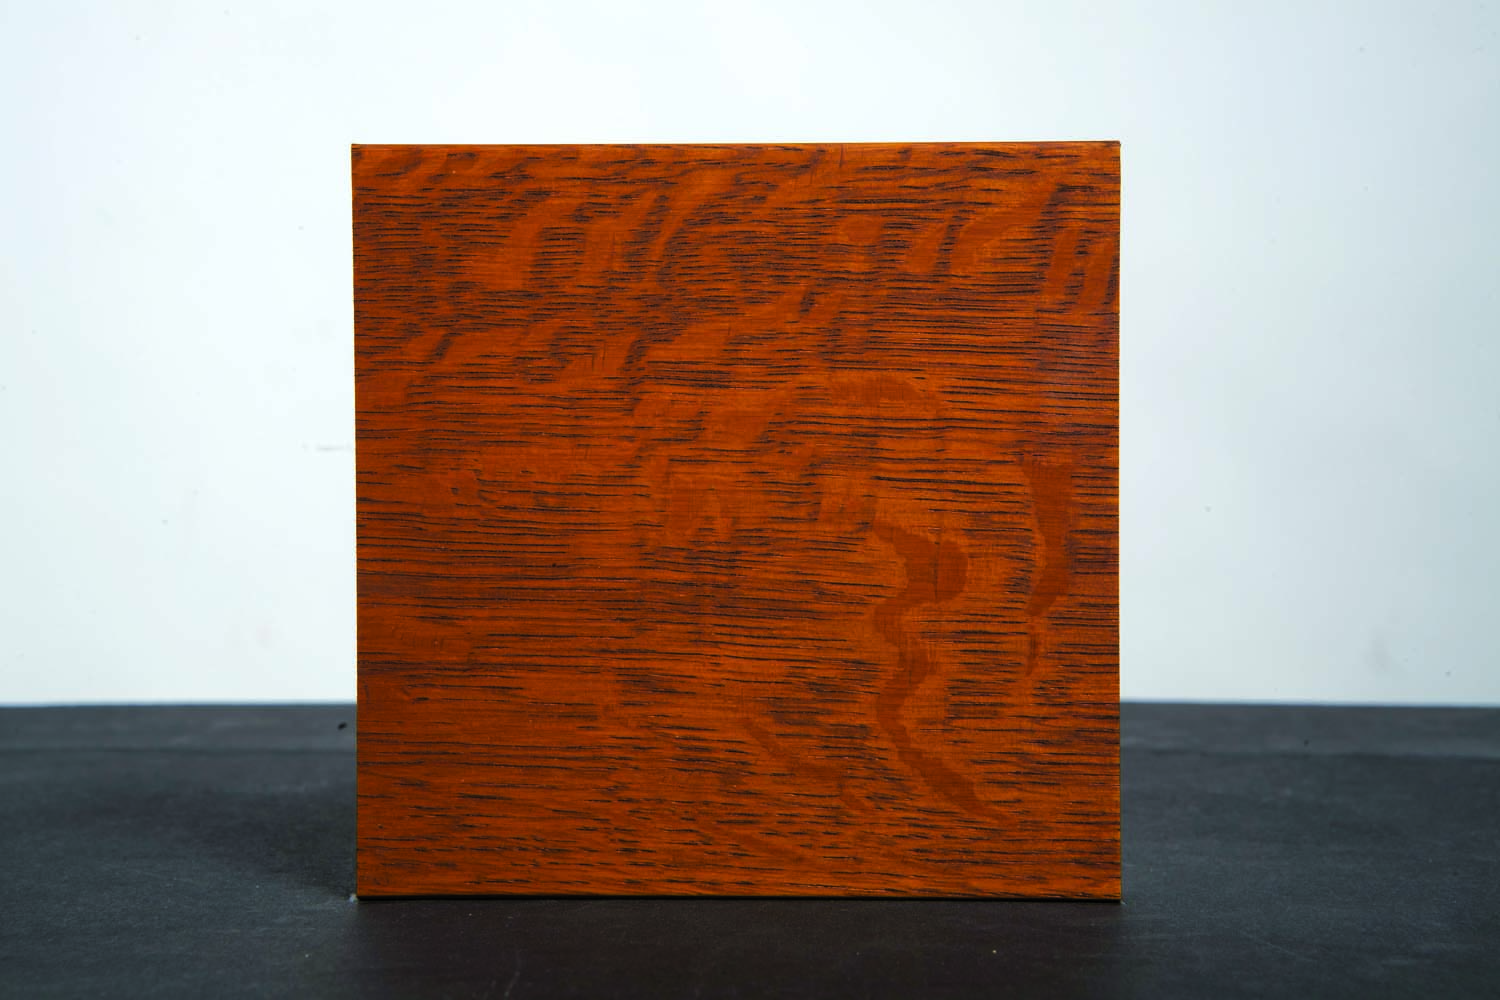
General Finishes Brown Mahogany Gel Stain
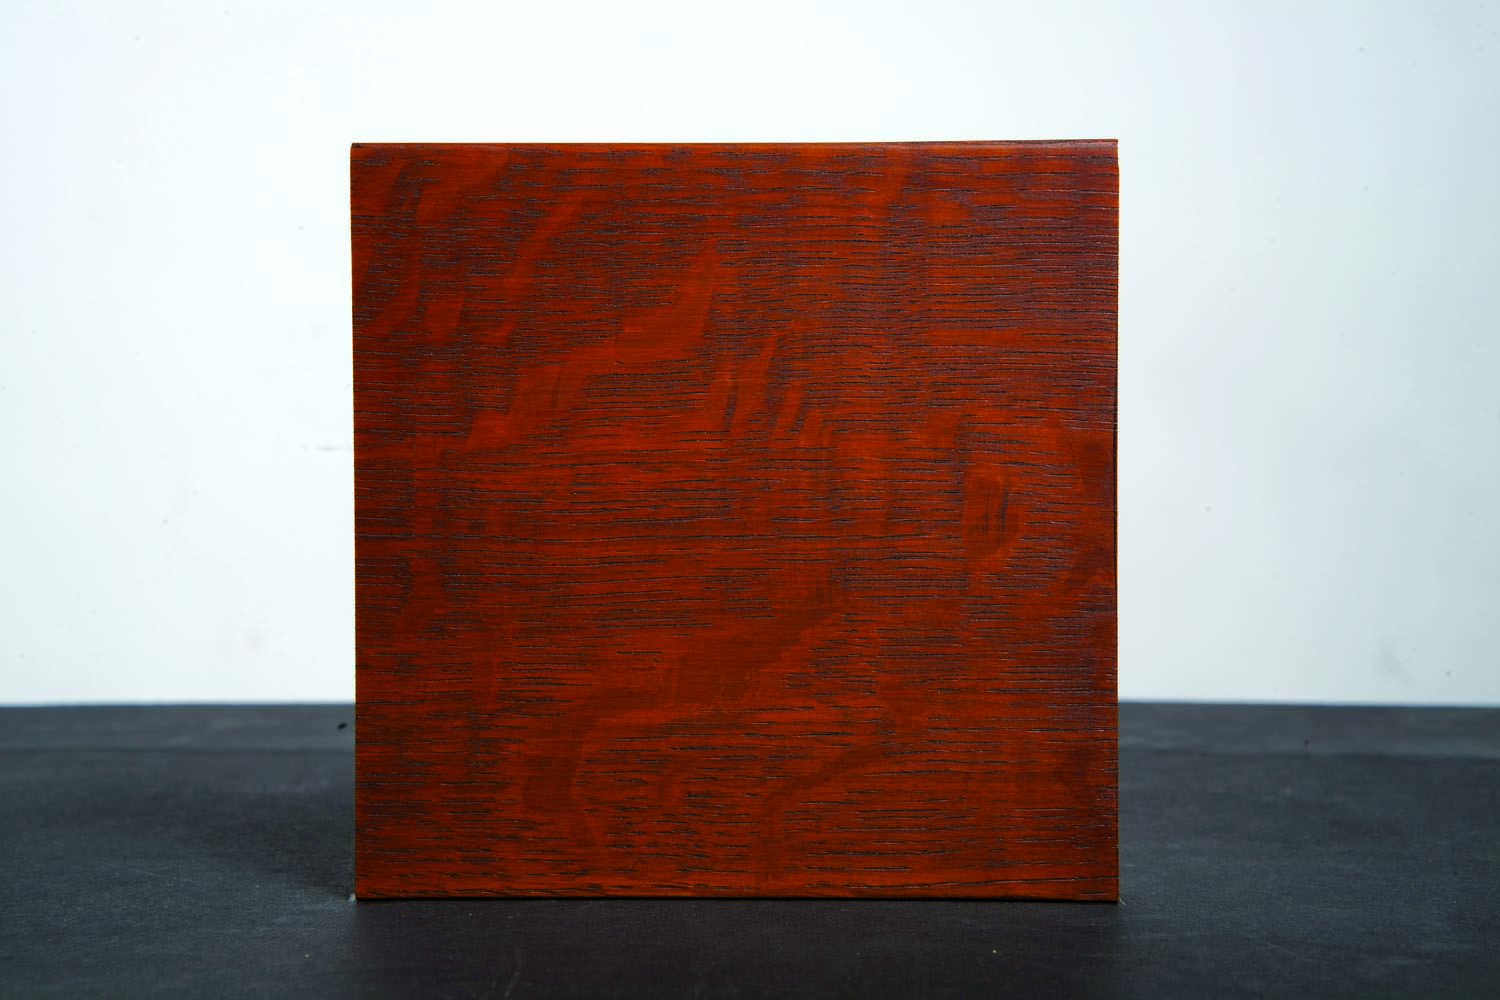
General Finishes Mission Cherry Gel Stain
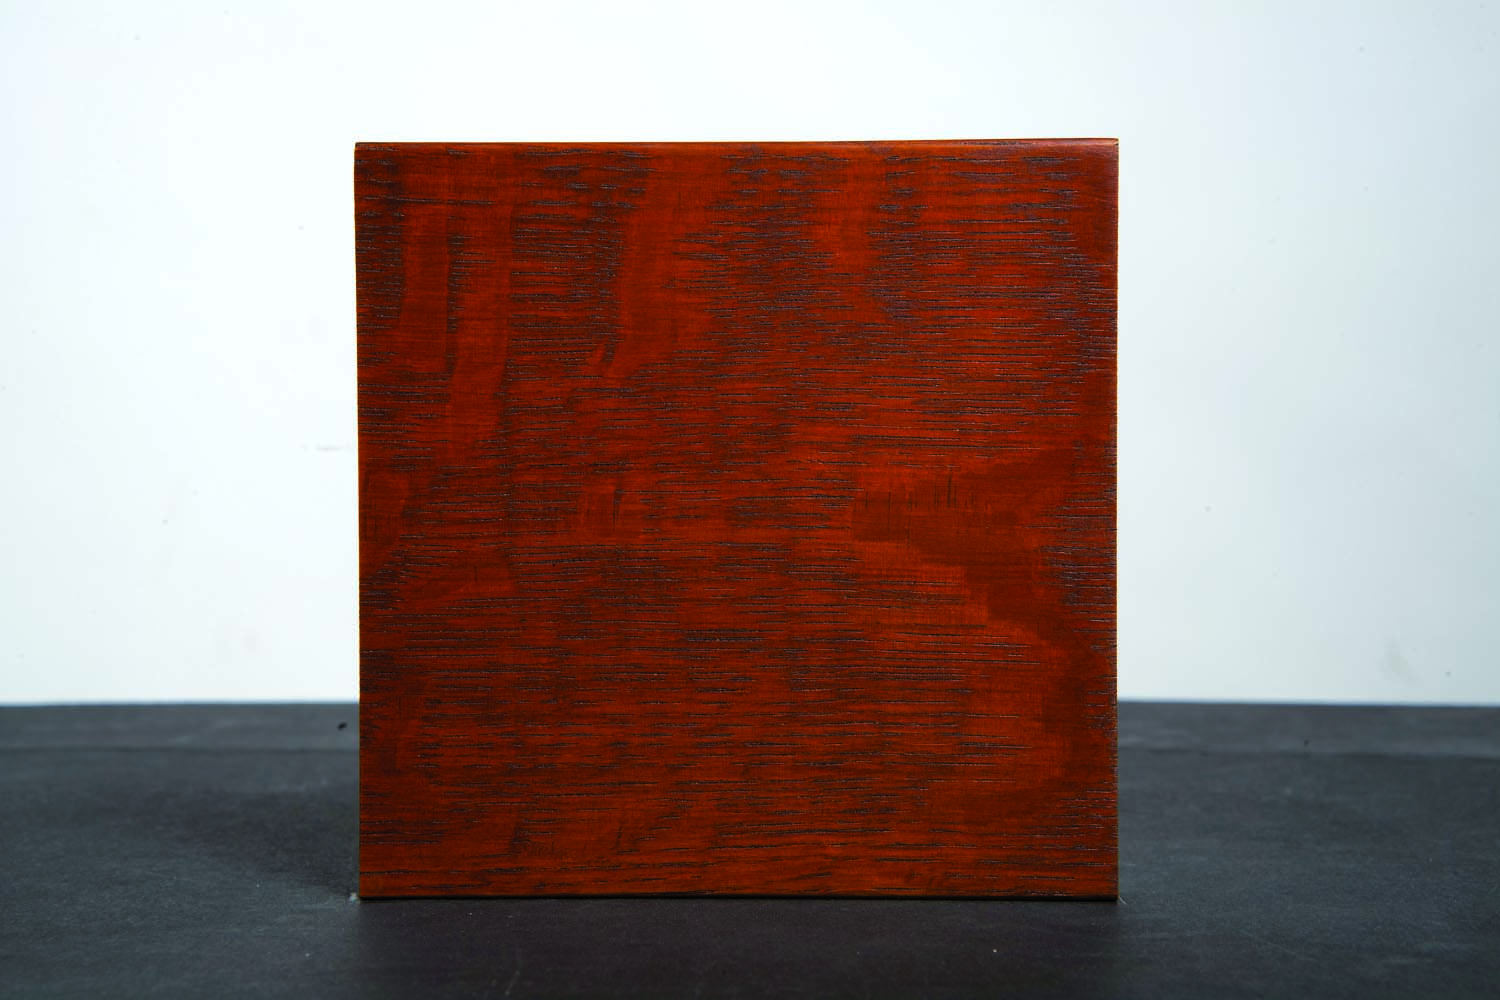
General Finishes Gel Topcoat
The Process
The first three finishing steps go quickly, so it’s nice to have the water base dye stains ready to go. Use distilled water to mix these stains. Oak contains tannins that can react to minerals in tap water and leave black flecks on the wood.
Step 1 Start by wetting the entire frame. Let the wood dry.

Step 2 Lightly sand the wood, just enough to remove the “fuzz.”

Step 3 Wipe on the light oak dye and let it soak in. Then wipe the entire frame with paper towels. Don’t worry about leaving a few streaks of color. The beauty of layering is that the color inconsistencies in each layer of actually enhance the final appearance. Let the wood dry. This usually takes 15 minutes or less.

Step 4 Apply the lemon yellow dye using the same method.

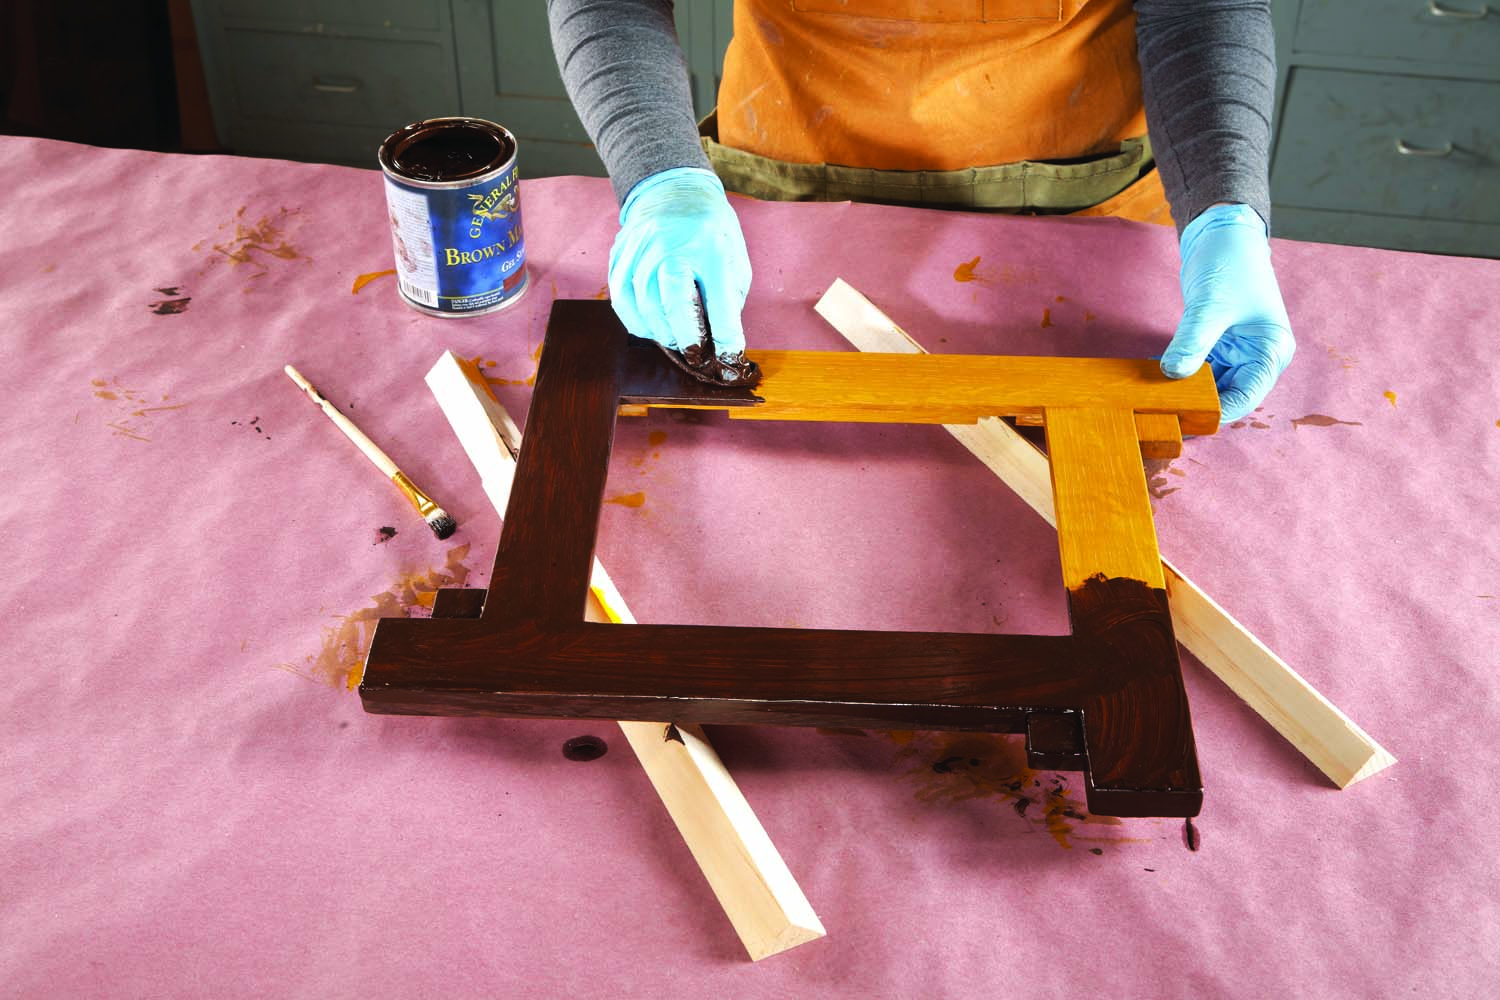
Step 5 Wipe on the brown mahogany gel stain, using a circular motion to rub it in and a small paint brush to work the stain into the corners. Make sure the stain covers all of the yellow dye—especially in the wood’s large pores. Wipe off the excess stain—wipe off the small brush, too, so you can use it to clean the corners. Let this coat of stain dry thoroughly.

Step 6 Apply the Mission cherry gel stain using the same method.

Step 7 Wipe on one or more top coats.

Bio

Laurie McKichan designs furniture to be “simple, honest and direct.” You can see more of her work at lauriemckichan.com.
Here are some supplies and tools we find essential in our everyday work around the shop. We may receive a commission from sales referred by our links; however, we have carefully selected these products for their usefulness and quality.