We may receive a commission when you use our affiliate links. However, this does not impact our recommendations.
Mechanical solutions for the formula-challenged woodworker.
There was a time when I was fairly good at math – but that was back when “personal” and “computer” were two words you’d never expect to see together. A few decades later, I often find it difficult to multi-task long enough to add two numbers together, while also remembering why I added them in the first place.
So even though I am still capable of most shop mathematics – at least briefly, after my sixth cup of coffee – I tend to opt for mechanical and visual solutions when they’re viable.
Fortunately for us muddle-headed sorts, there are methods for laying out curves that will more than adequately approximate the lovely forms generated by (admittedly awesome) higher-dimensional parabolic equations, as demonstrated by Bruce Winterbon in his “Bow Shelves” article.
Here are three I have made use of in my shop.
Bow Method
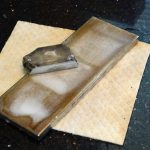
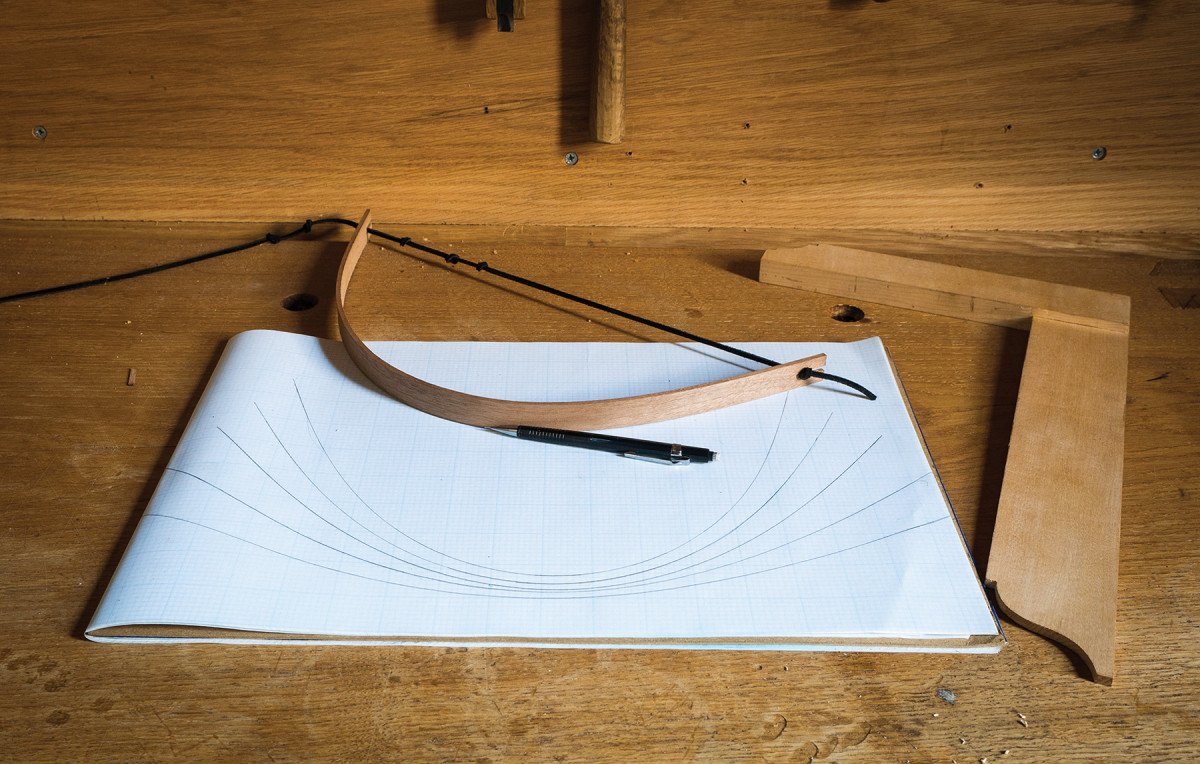
This method (shown in the opening photo) is probably the most commonly used technique for laying out fair curves on furniture. It’s certainly the one I use most often. The basics are simple: First, find a sturdy form that bends elastically (that is, it springs back when released). Fortunately for woodworkers, thin strips of wood fill the bill nicely.
I most often use 1⁄8” x 3⁄4” strips of straight-grained hardwood, anywhere from 18 ” to 48″ in length. At either end, I cut a small slit to fit a piece of string or twine, and knot the ends of the string to hold the curve I want.
Mathematically, these curves (called an “elastica”) are not at all simple, but Mother Nature does all the calculation, and the resulting curves are quite visually pleasing.
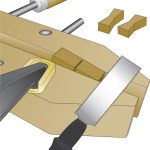
Be aware that variations in the thickness of the wood will alter the shape, which can be quite useful for varying the curves. By selectively thinning the wooden bow it’s easy to vary the rate of curvature fairly significantly. The thinner an area of the bow is, the more sharply it curves. Taper the bow from one end to the other, and you’ll shift the “peak” of the curve to get a beautifully faired non-symmetrical shape.
A few minutes of experimentation with a handplane are all it takes to be hooked on these devices and their flexibility (pun somewhat intended).
To best approximate the curve given by the “hyperparabolic” calculations to make the “Bow Shelves,” the bow should be tapered at either end, increasing the degree of curvature at the endpoints.
Jump-rope Method
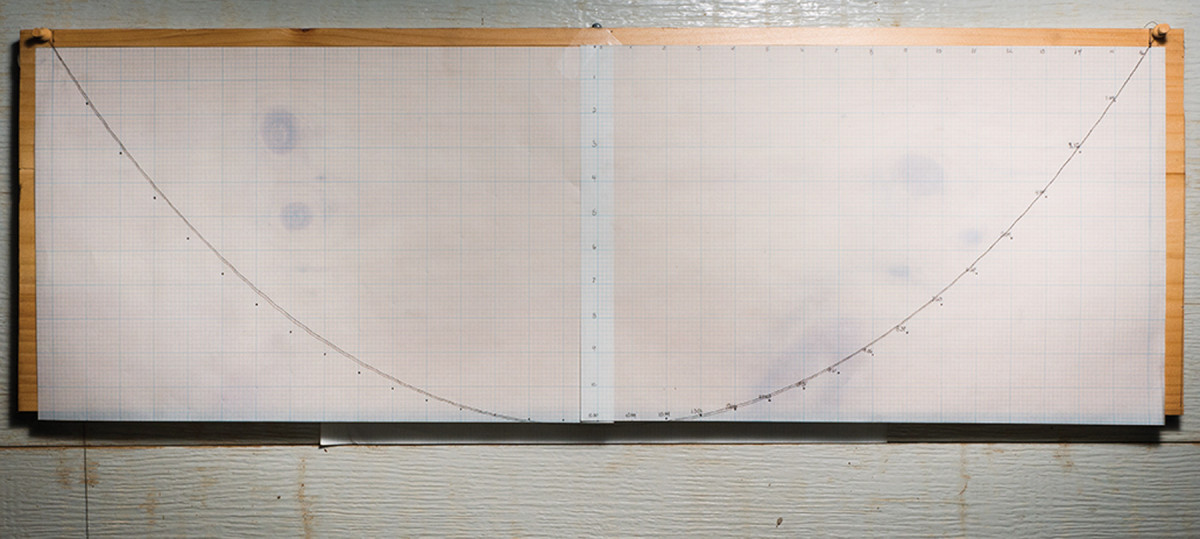
Strings attached. A jump rope or thread can be hung from two points to generate a catenary.
I don’t find this method quite as convenient as the bow because it can only be done vertically, but it’s as simple to do. Just hang a piece of rope or string between two posts and let it dangle. This is the shape seen in suspension bridges, jump-ropes and Christmas tree lights hanging from eaves. While the shape looks very much like a parabola (which you may remember from geometry class), it is technically known as a “catenary,” and it is a more complicated mechanical function. Still, visually it’s a very minor difference, and this is an excellent and simple way to generate a nice curve.
There are two things to be aware of when creating a catenary.
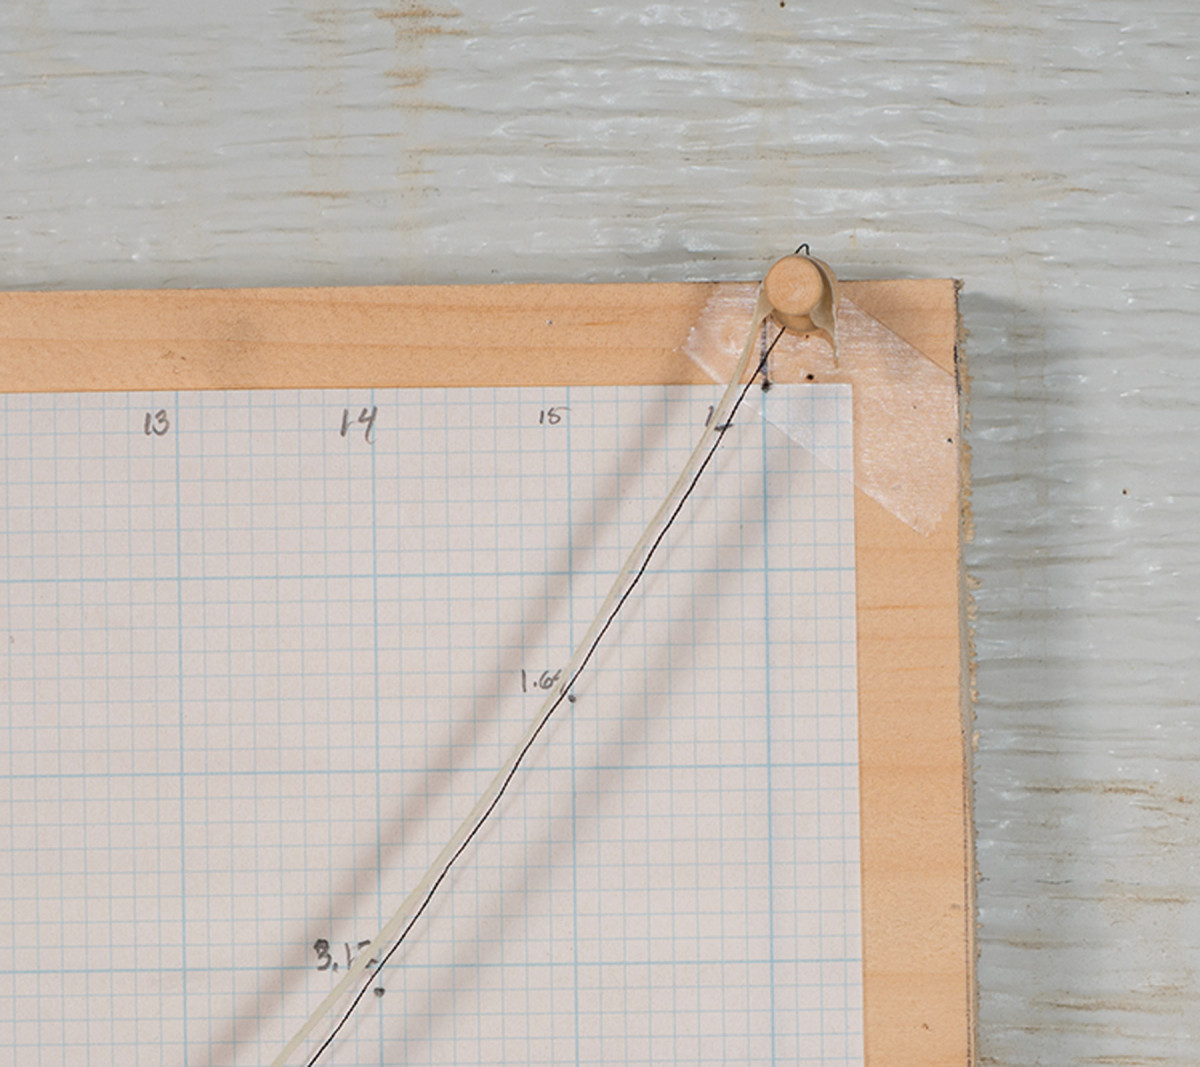
Note that the pins used here are located outside my working curve.
First, the string used needs to be as close to perfectly flexible as you can find. Strings with any “memory” at all (meaning they retain a bend) will not hang well. The two materials I’ve had the most success with are (of course) a good quality jump-rope and simple sewing thread. Both will give you quite good curves.
Second, there is inevitably some distortion of the curve near where it joins the post. This problem is most easily dealt with by making sure the posts themselves are outside the area of the curve.
As you can see in the photos on the previous page, the thread catenary I made is actually a fairly good approximation of the hyperparabolic curve. It’s not perfect, but it’s close enough that I was quite happy with the results. This is probably the method I’d use for this particular project.
Cone-of-light Method
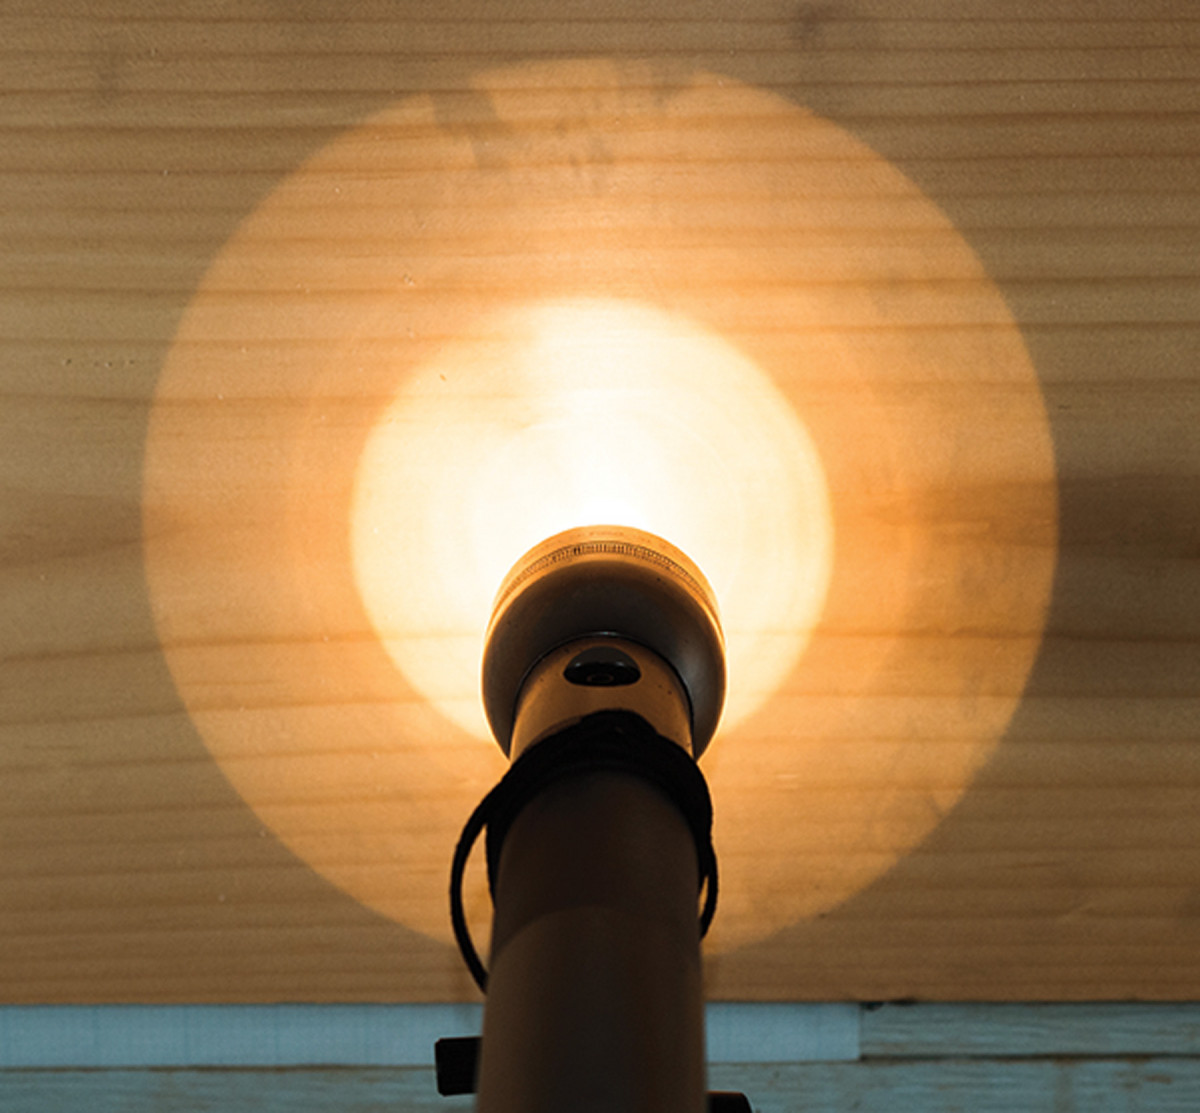
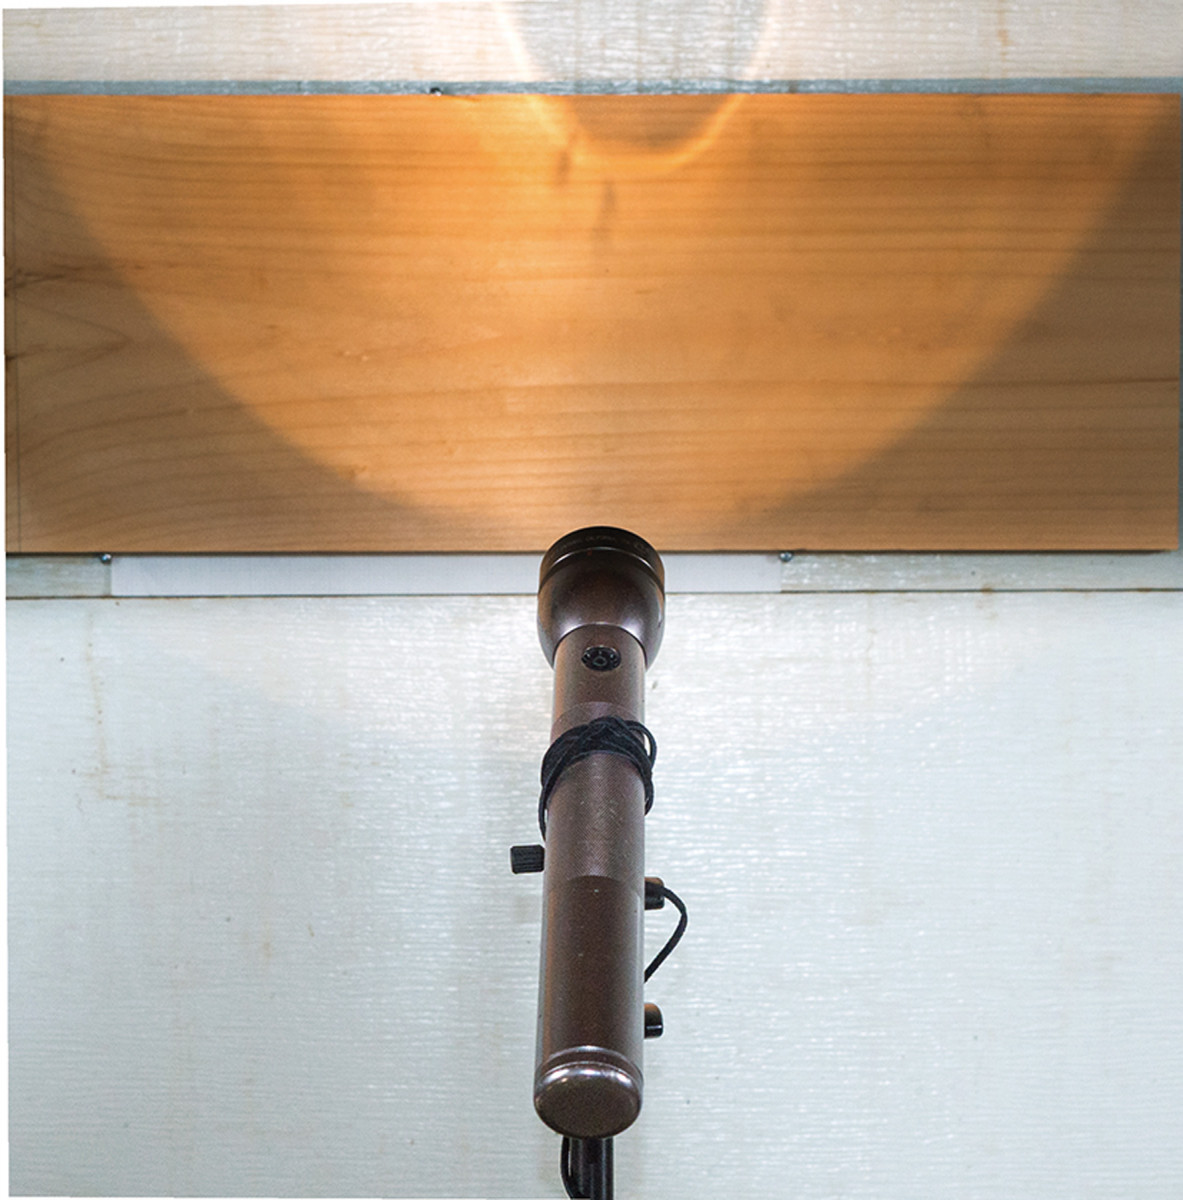
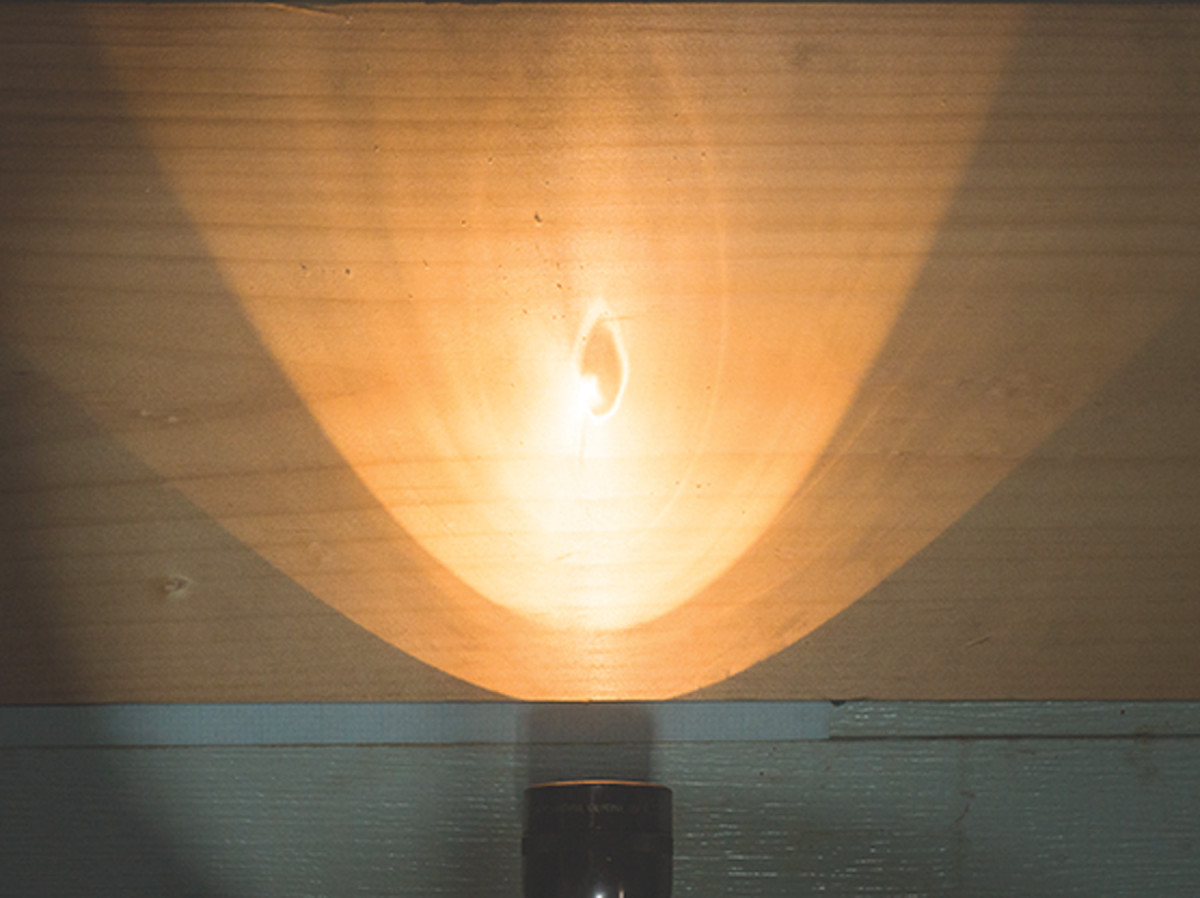
Conic sections. From a cone of light you can create (descending) an ellipse, circle, parabola and hyperbola.
 The four curves we probably see most often in woodworking – the ellipse, the circle, the parabola and the hyperbola – are collectively known as the “conic sections.” They earn this name because all four can be made by the intersection of a plane and a cone. Imagine, if you will, a samurai slicing a birthday hat (maybe he hates aging – I don’t know). If he slices the hat generally horizontally, the opening in the top will be an ellipse, or the special case known as a circle if the cut is exactly parallel to the hat’s base.
If the samurai cuts the hat in a generally vertical direction, though, he’ll produce either a hyperbola or a parabola (unless he splits in clean through the point, but we’ll ignore that possibility). A cut that’s exactly perpendicular to the hat’s base will result in a hyperbola. A cut that’s off-vertical will produce a parabola.
None of this really matters especially, unless you’re at a birthday party with samurai, but it does allow a very simple way to reproduce these curves in the shop. Rather than stock a supply of multiple-sizes of birthday hats, though, simply use a beam of light to make the cone. And rather than cut it with a sword (because you can’t, even with a katana), just use a convenient flat surface as a plane.
Simply take a flashlight (or any light source with a circular shield) and project it onto a wall. If you project it more or less straight at a wall, the beam of light will form an ellipse. If you aim it exactly perpendicular to the wall, the ellipse will be a perfect circle.
Now aim the light closer to parallel to the wall. As the beam glances off the wall, it will generate a parabola. If you place the light very close and aimed exactly parallel to the wall, it will generate a hyperbola.
Note that this method has one significant disadvantage: It’s tricky to hold a flashlight at a precise orientation and trace the resulting curve at the same time. When I’ve used this method, I do it with a flashlight mounted on a photographic tripod. If you don’t have a tripod, you can use an inexpensive clamp-on shop light instead of a flashlight. Just make sure it has a round surround.
One last bit of advice before you go out and generate a million curves: While all of these methods theoretically generate perfect forms, in the real world that is almost never the case. There are small variations in materials, positioning etc.
As a general rule, whenever I’m making a symmetric curve of any kind, I copy only half of the wood bend, catenary or light image. Then I copy that half of the curve to make a perfectly symmetrical other half.
See? Nothing to fear here. Other than samurai parties, anyway.
Here are some supplies and tools we find essential in our everyday work around the shop. We may receive a commission from sales referred by our links; however, we have carefully selected these products for their usefulness and quality.