We may receive a commission when you use our affiliate links. However, this does not impact our recommendations.
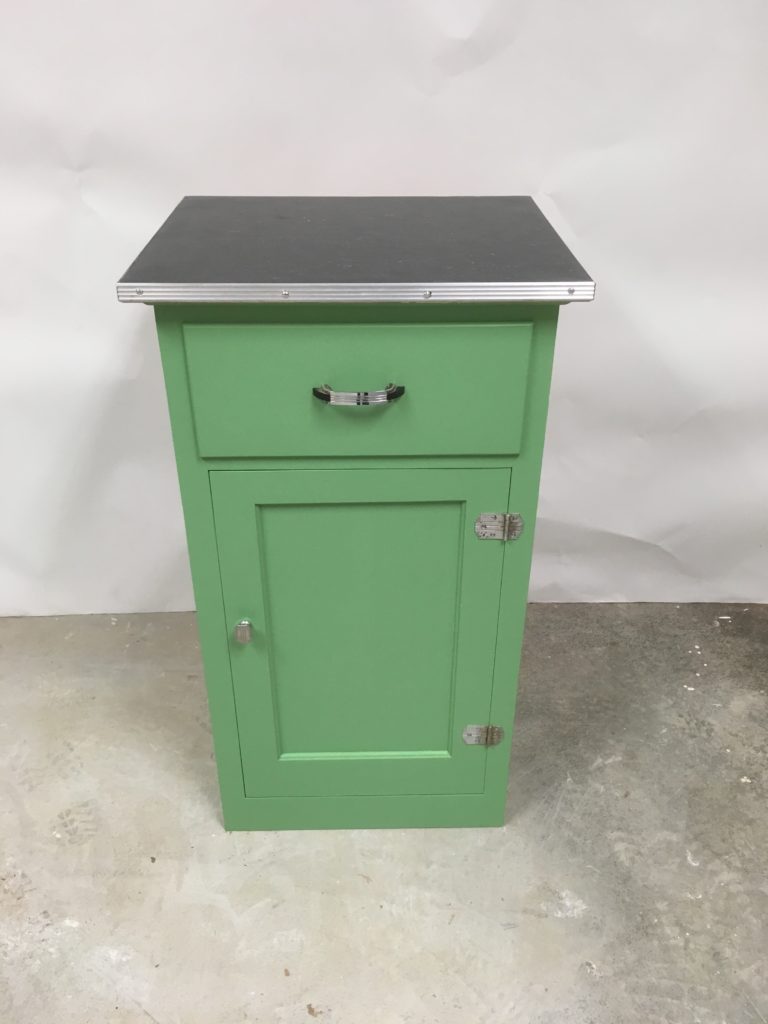
A quickly put-together retro-style cabinet with salvaged hardware and linoleum top.
Note: This is the second of a series. The third will deal with mitered and rounded corners.
Measure
Be sure you take into account any desired overhangs at the front or end of a cabinet run (or table base) as well as radiused corners, and be sure you note the farthest points in all cases (such as areas along the length of a wall where the wall dips in), to make sure you don’t cut your material too small.
Pro tip: Make a scrap piece at least 18″ x 6″ or so in size, performing all the following processes on it, so that you can test your set-ups. An accurate test piece is especially important when it comes to routing the slot for the metal edging.
Cut and scribe the substrate
Make a pattern for any parts that need to be scribed. You can make a pattern from 1/4″ or thicker scrap.
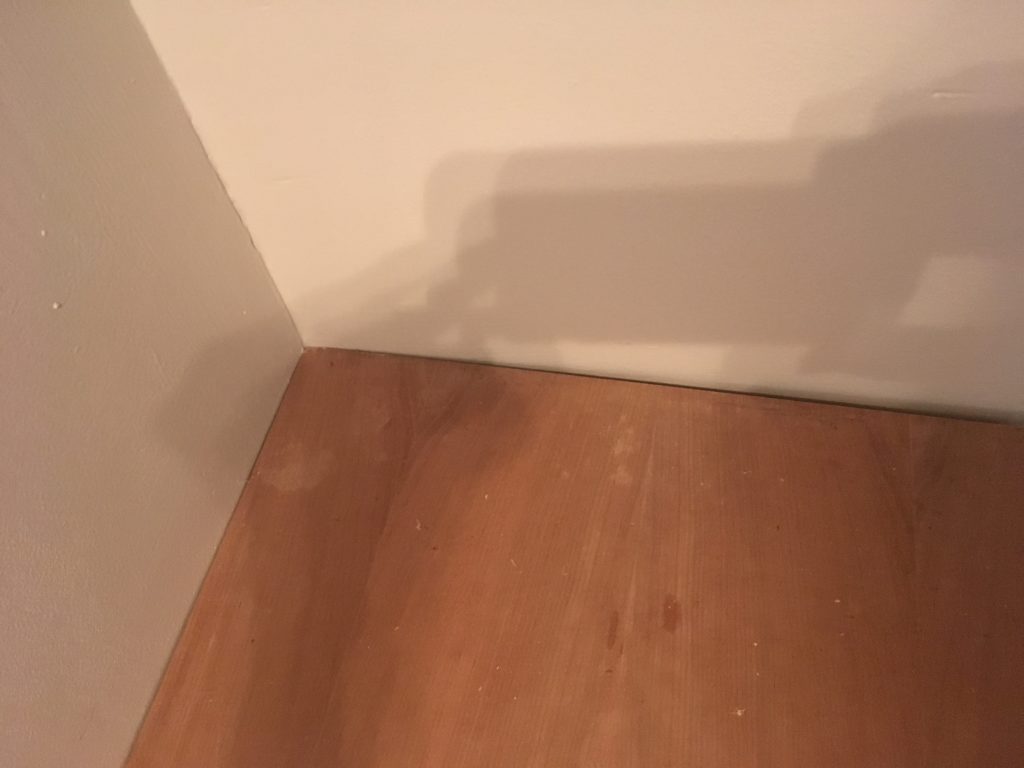
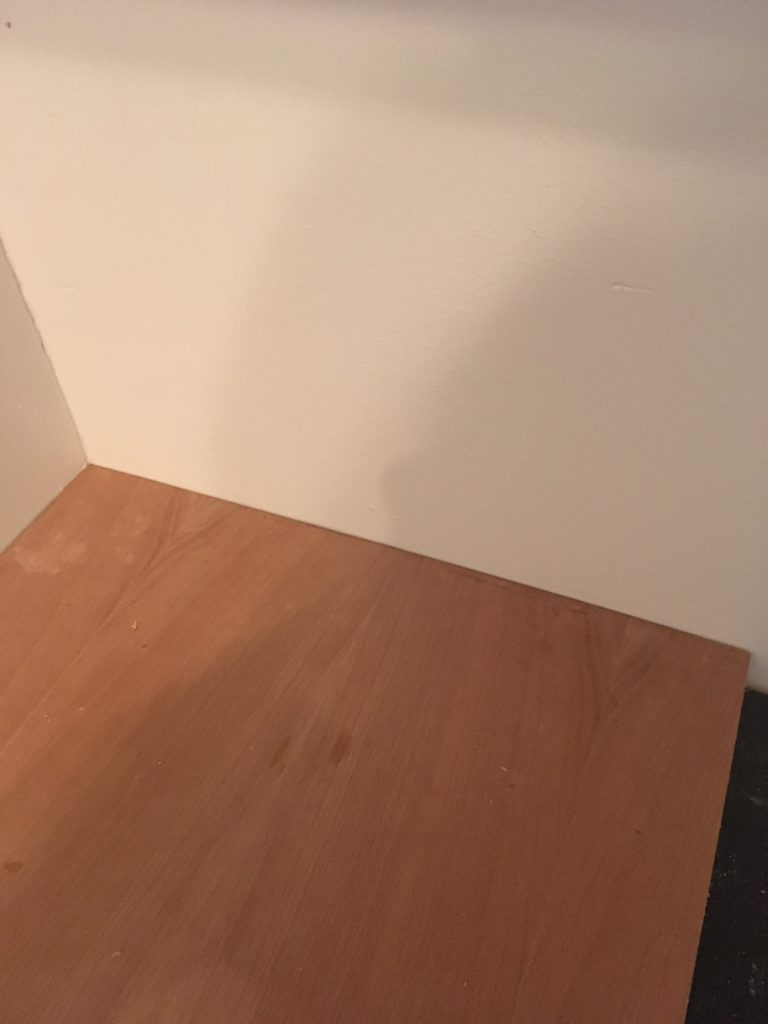
Lay your pattern material in position against the wall and note the size of the largest gap. Here, the pattern fits tightly into the corner at left, but a gap grows to almost 1/4″ wide at the right side of the shot. Cut a piece of thin scrap (or a contractor’s shim) to the thickness of the gap at its biggest point.
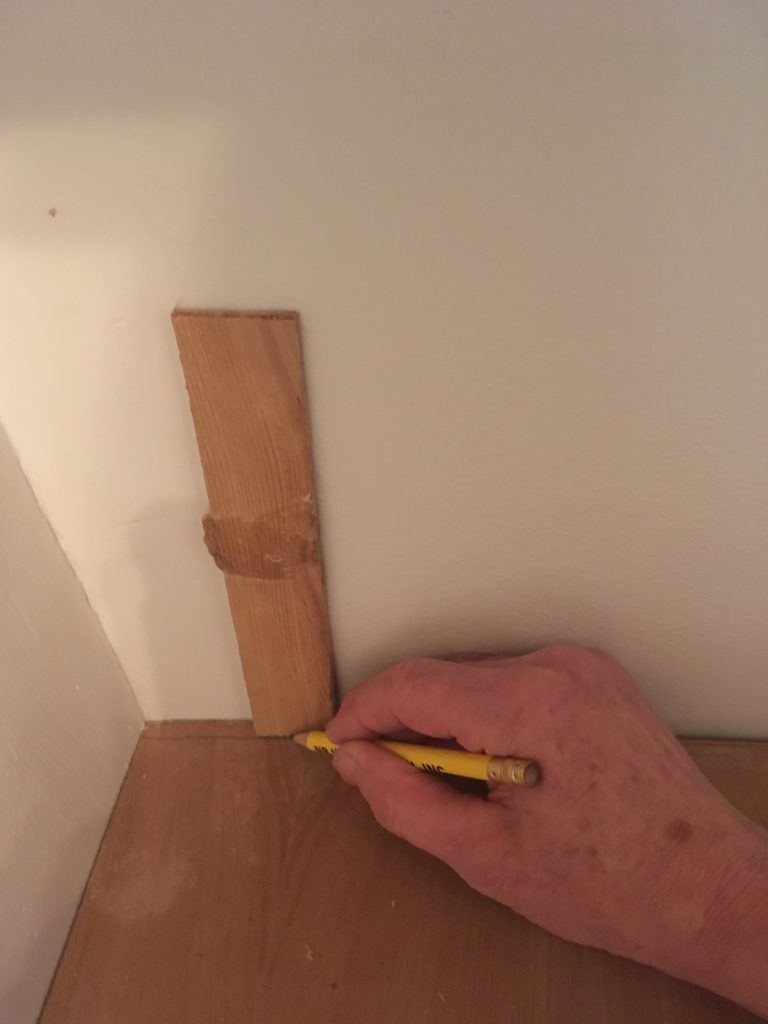
Using a section of a builder’s shim to trace the shape of the wall onto the pattern. The shim is the same thickness as the largest part of the gap; what I’m doing is extending that same distance across the surface of the pattern so that when I plane down to that line, the pattern will fit tightly against the wall for its entire length.
Cut and shape your pattern with hand tools, checking the fit against the walls as necessary. When the pattern fits well, clamp it to your counter substrate and rout using a pattern-cutting bit. Check the fit.
After scribing, the pattern should fit tightly against the wall.
Cut the linoleum roughly to size. You can do this with a utility knife. I find that turning the material upside down allows me to score the backing, then turn it right-side up and simply fold it over a table or bench edge to break it along the score line. Leave a little extra on every side for trimming.
Stick: Apply the adhesive and wait until it’s ready, as directed by the manufacturer. (See my previous post for useful tools, etc.) It’s invaluable to have another pair of hands when setting large pieces of linoleum because it’s critical to avoid trapping air that would form bubbles and keep the linoleum from lying flat.
Ideally, you should start by laying the linoleum down at one end, allowing it to overhang just a little all around, then ease it in place along its length, rolling as you go to work out any air. If you don’t have a helper, you can lay strips of wood across the surface of the substrate to keep the linoleum from touching it until you’re ready; just remove each strip of wood as you get to it, rolling the sections as you lay them in place. Roll as hard as you can, especially near the edges, to ensure a good bond.
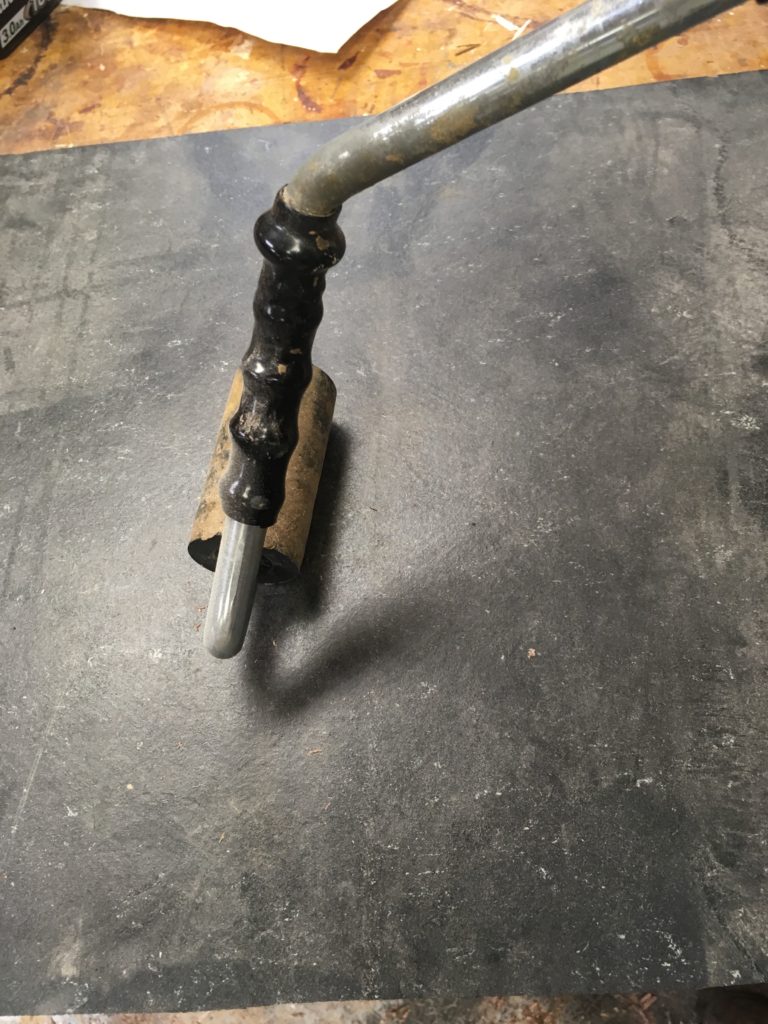
Press as hard as you can to ensure a good bond. Roll the entire surface, starting in the center and working toward the edges to force out air. Finally, roll the edges carefully to make sure they’re well sealed.
Leave the adhesive to dry for at least the minimum time specified by the manufacturer.
Trim
Trim off any excess more than 1/8″ with a utility knife, taking care to avoid cutting into the substrate or marring the edges of your workpiece.
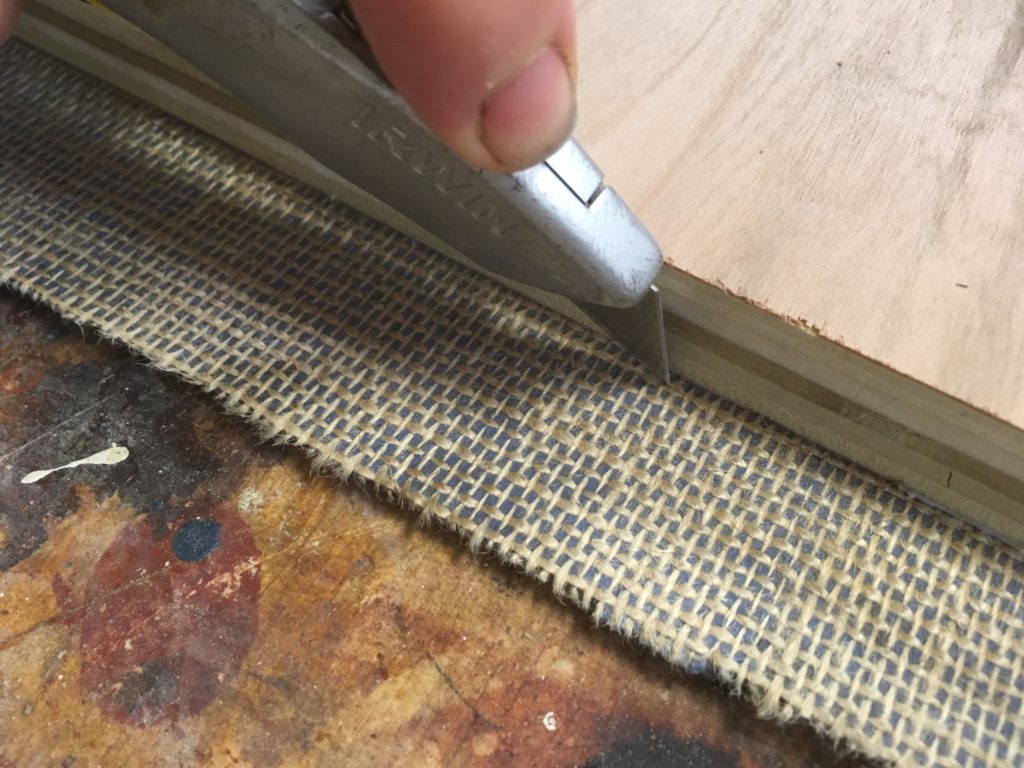
Trim upside-down so you can see the edge of the substrate. Stay away from those corners!
Then turn the workpiece over and rout the linoleum flush with a pattern-cutting bit. Alternatively, you can use a bottom-bearing flush-trim bit with the workpiece right side up if you prefer. Just be sure you don’t hold the router at an angle and cut into the linoleum.
Now clean up the sticky mess. (Sorry about that. I warned you in Part 1.)
Rout the slot
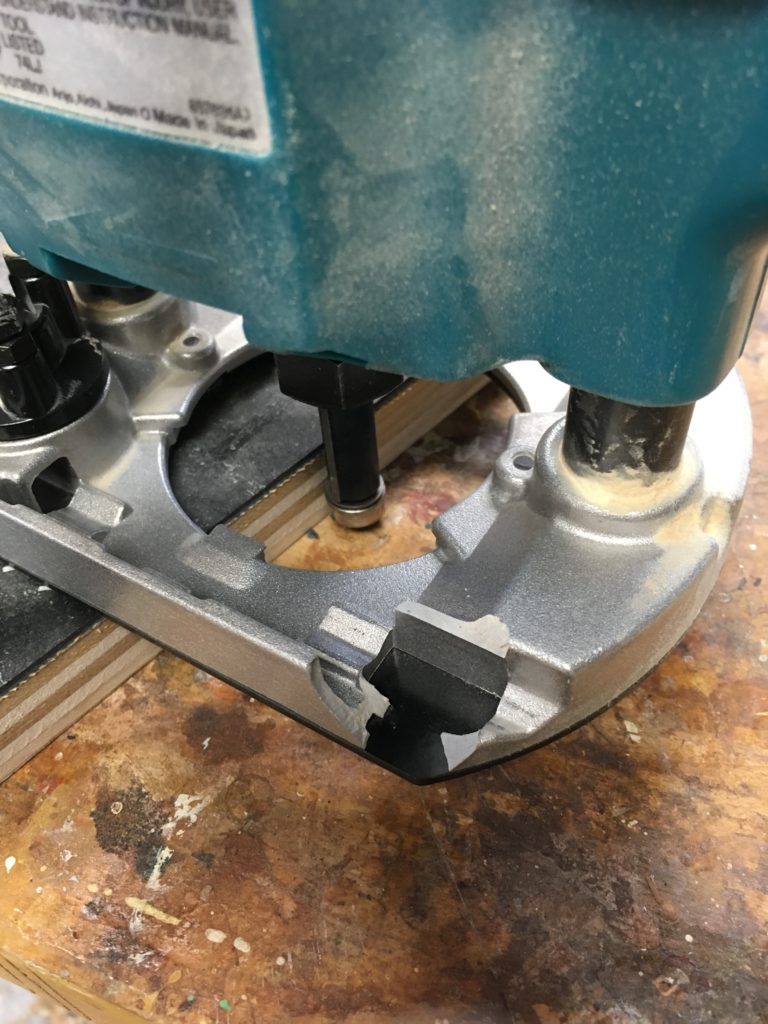
Set your router’s depth so that the top edge of the metal edging will be perfectly flush with the top surface of the linoleum or just a hair above it. This is where the linoleum-covered scrap piece really comes into its own. It may take a few tries. When you’ve got it, rout the slot for the metal edging.
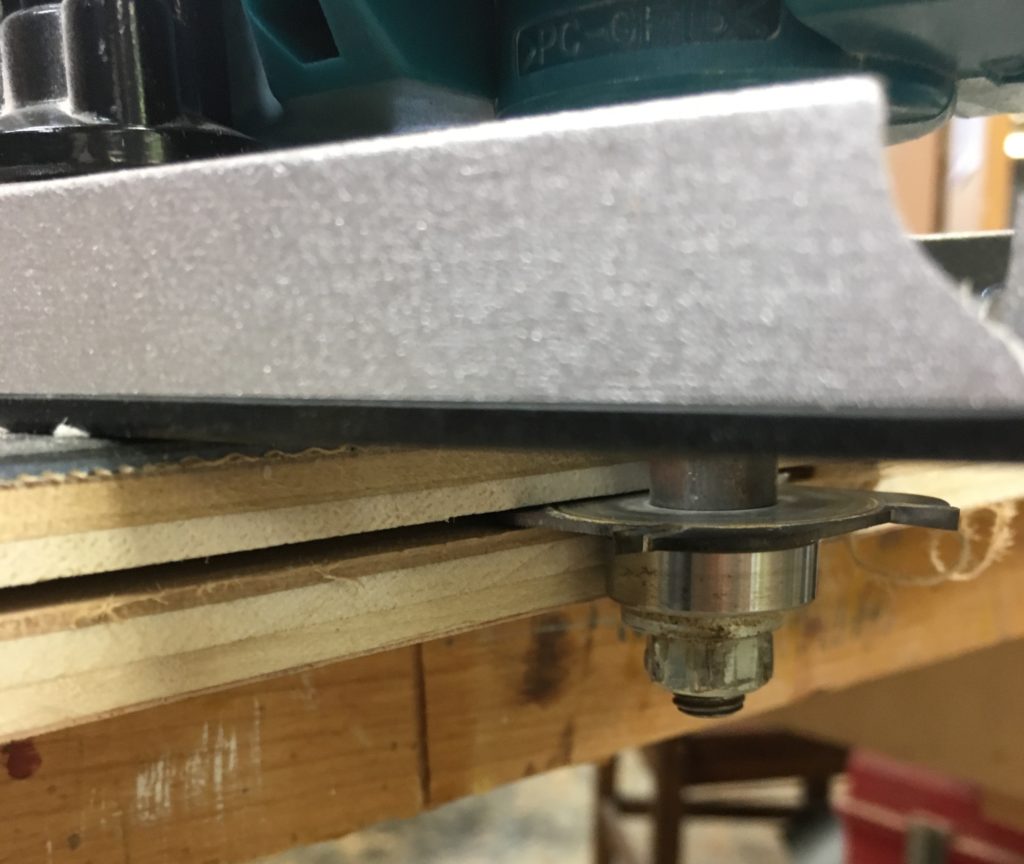
When setting the depth for the slot, be sure the collet nut won’t rub against the top corner of the linoleum, which would mar it.
Apply the edging
Cut the edging just a little over-length. If you don’t have any curves to negotiate, you’re set. Clamp the workpiece in a vise and start at one end, tapping the edging into the slot. I use a rubber mallet.
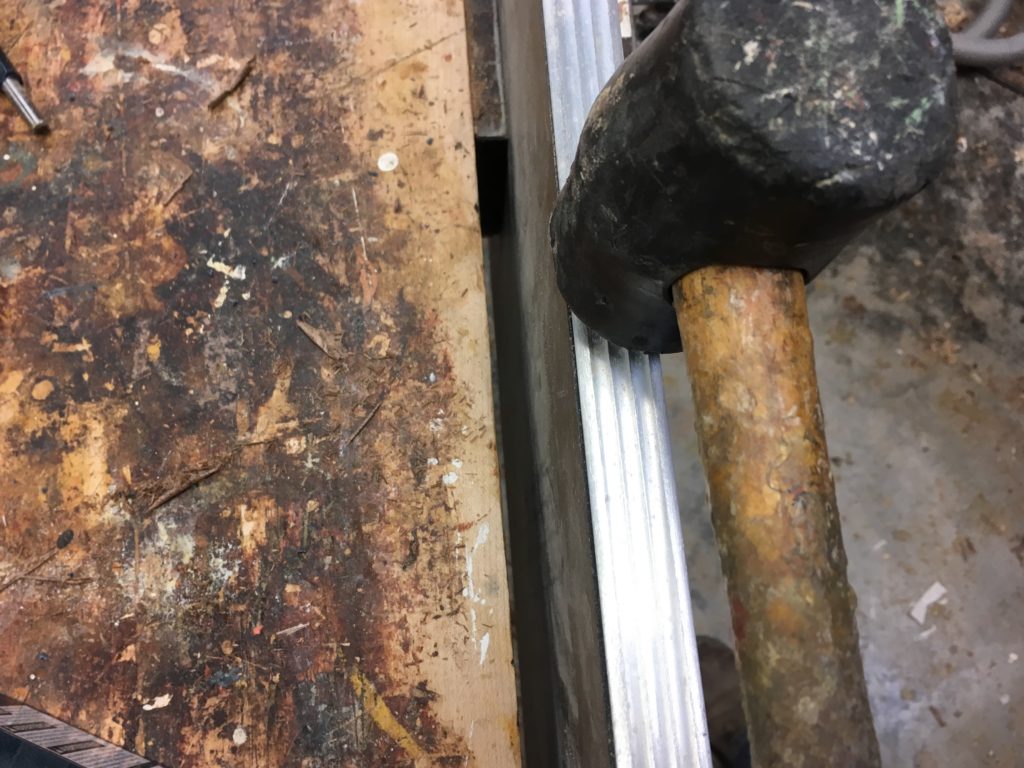
When applying the edging, start at one end and tap gently but firmly with a rubber mallet. Work your way along the piece; don’t jump around, or you may ruin the fit and cause kinks.
Tap gently to avoid distorting the profile, and work your way along the edge.
Reinforce
I like to use a few judiciously placed screws to help keep the edging firmly in place. I measure the positions for the holes carefully, then drill and countersink to fit an oval-head screw, lining up the slots.
If you have radiused corners, map out the approximate position of the radius on your length of metal edging, using a tape measure. Notch the tongue of the edging, extending the notches a little beyond the radius proper to help prevent kinking, then follow the same steps above. I’ll cover corners in the next post.
Here are some supplies and tools we find essential in our everyday work around the shop. We may receive a commission from sales referred by our links; however, we have carefully selected these products for their usefulness and quality.