We may receive a commission when you use our affiliate links. However, this does not impact our recommendations.
Back in business, fast.
Last Wednesday morning I was making good progress on a bathroom vanity I’d just started. The carcase was glued together and I was ready to make the face frame, which would take just a few minutes. Before milling the cherry I did a quick check with a tape measure just to make sure everything was OK; I’ve learned (the hard way) to check things at every step, before investing further time. And sure enough, thanks to my distraction by a couple of other matters, I found I hadn’t allowed for the protruding scribe rail and had made the cabinet too long.
This kind of discovery is always annoying, but it was not my first rodeo. I have a way of quickly fixing such goof-ups (after kicking myself). Here’s how.
1. Remove one side
In some cases you may need to keep the side for reuse. In this case I didn’t have to, and I had another use for the plywood I was about to cut away.
Before you take a saw to your work piece, consider any critical interior dimensions and determine which end you should shorten.
If you can remove the side while keeping it intact, so much the better. I could not. Removing the bottom was a simple matter of taking out the screws and hitting the side with a mallet until it came loose, the top joints took more work. To attach the top strips of base cabinets I use biscuits, glue, and screws. I removed the screws, but hitting the side with a mallet would not break the joint; even with prefinished plywood, which prevents glue from bonding the end of the top to the cabinet side, the glued biscuits were solid. I used a jigsaw to cut the side close to the top but far enough away not to damage it. Then I used a combination of prying with an old chisel, hand sawing, and planing to remove the rest.
2. Cut the top and bottom close to (the *correct*) length
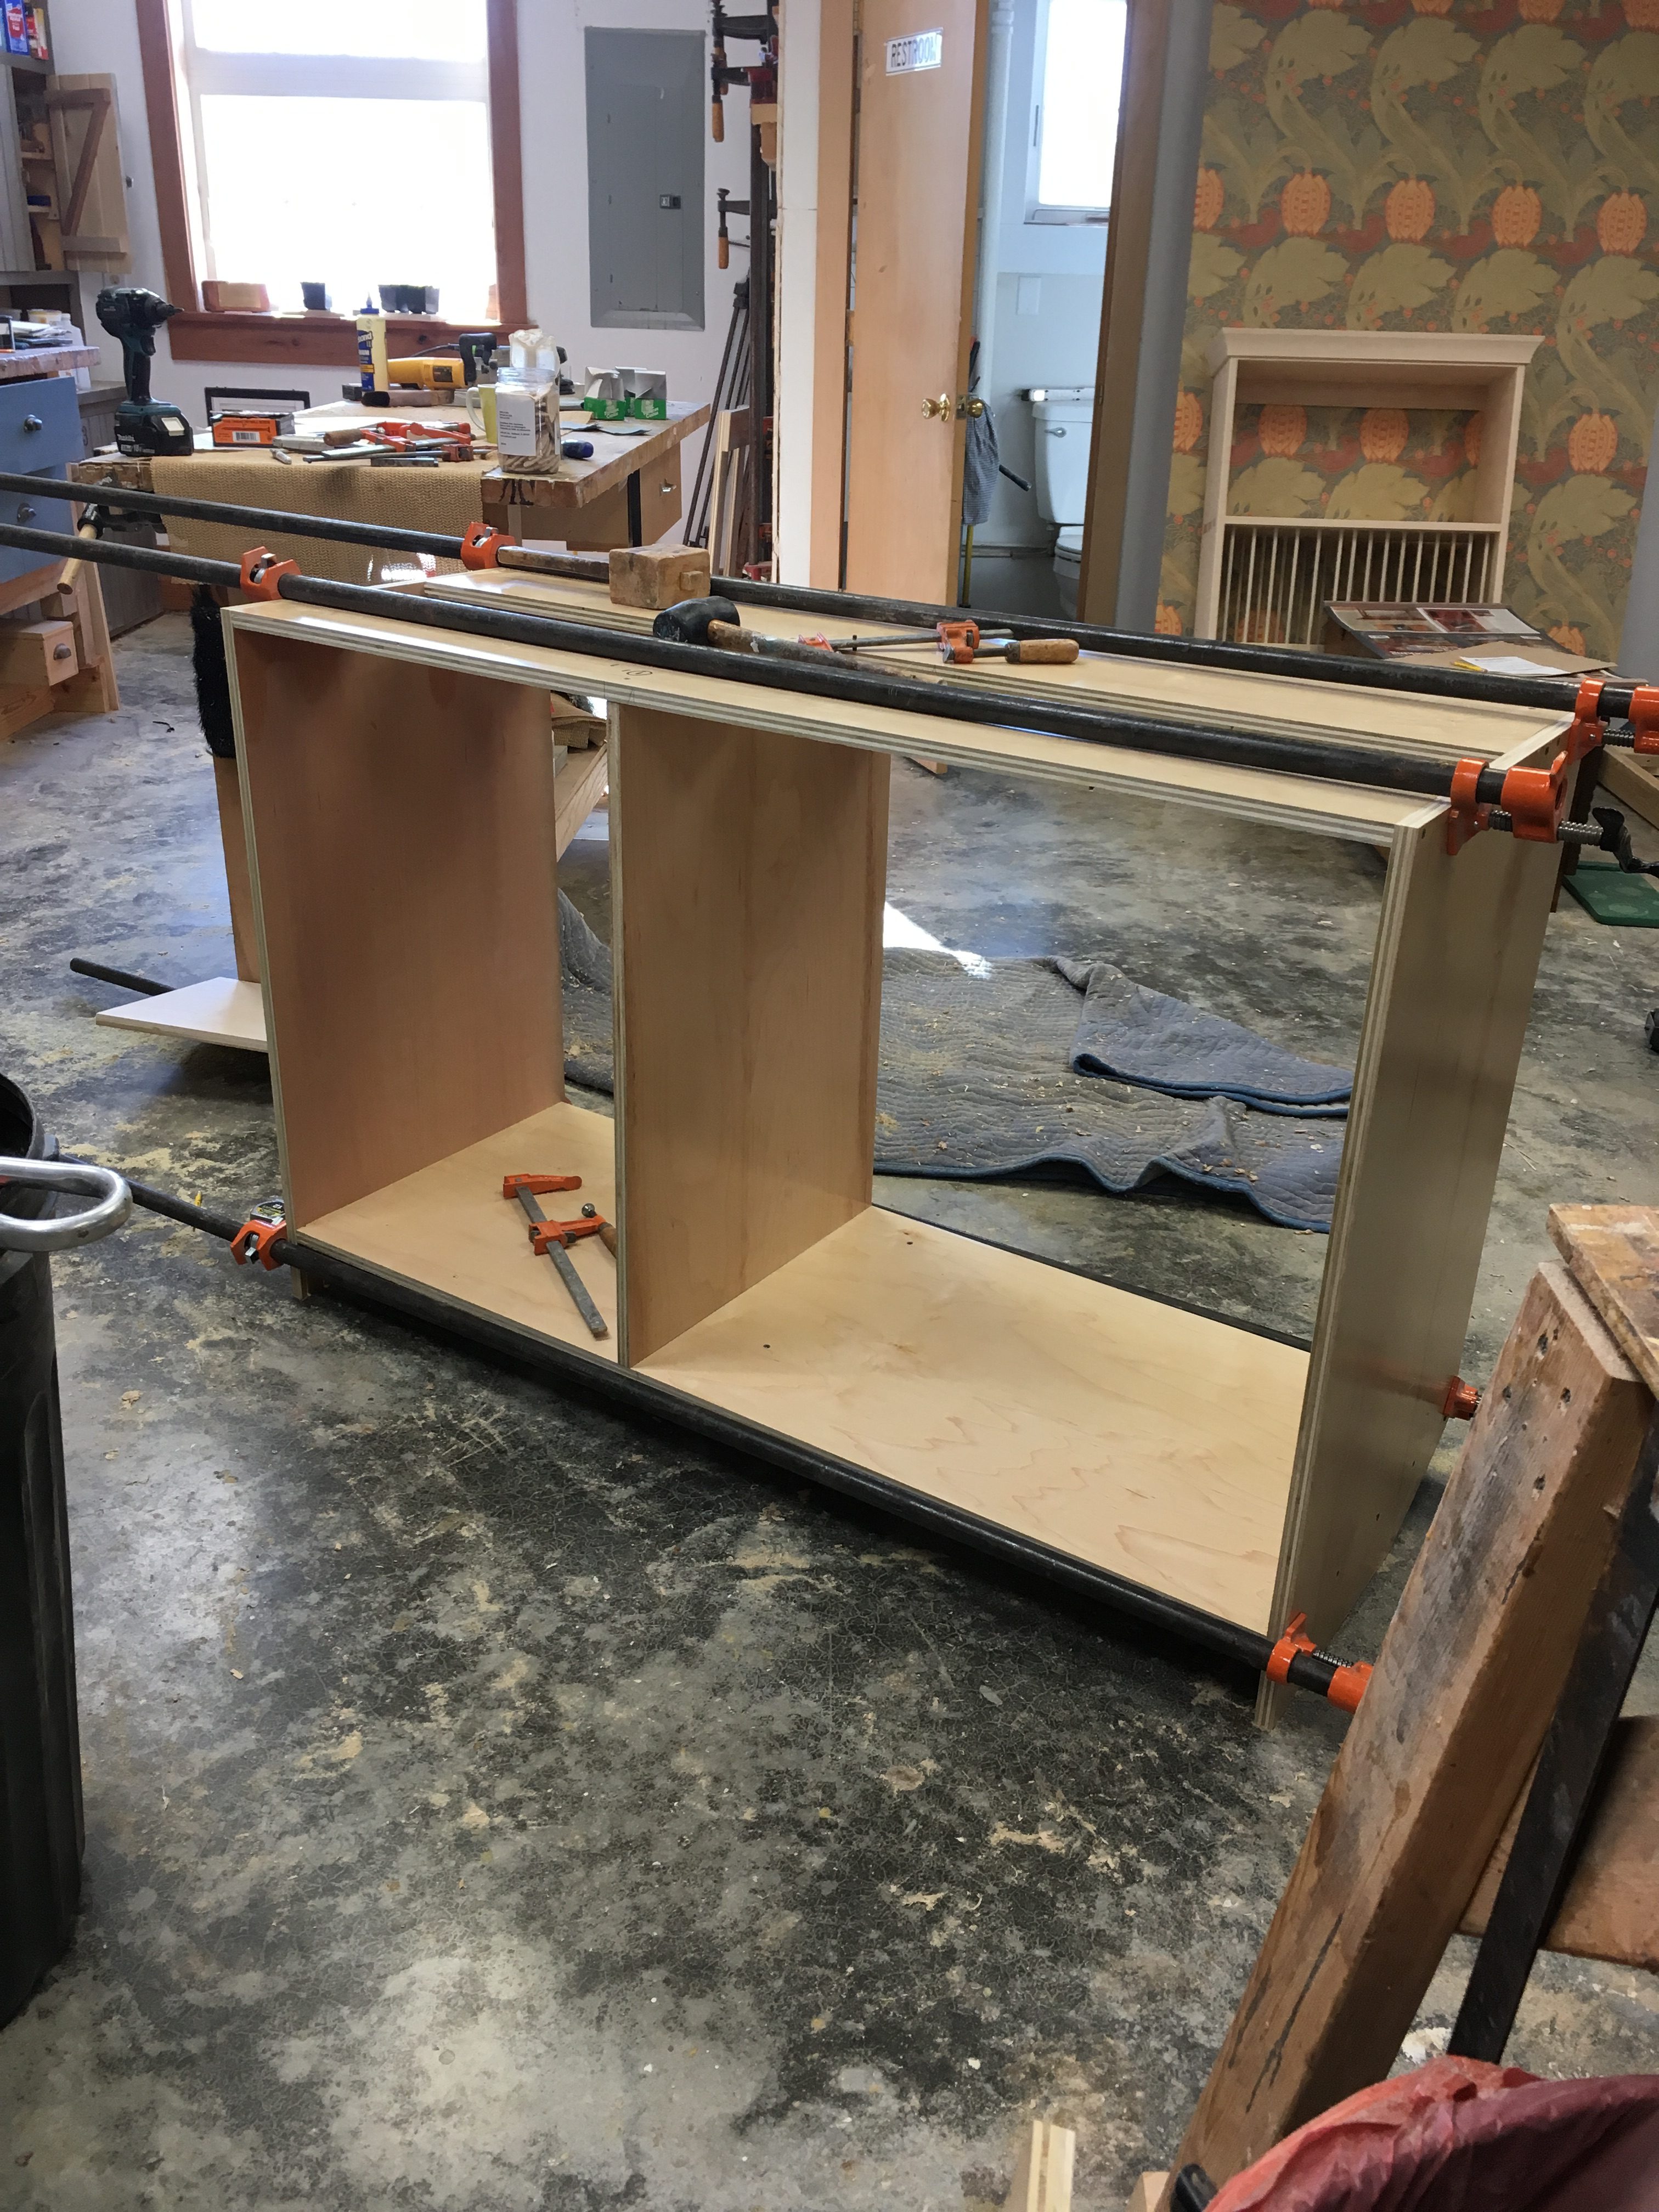
First, support is critical. I used a block of plywood the same height as the space beneath the cabinet floor to support the floor for jigsawing roughly to length, then routing. This block kept the whole carcase rigid while I clamped the pattern to the top.
My go-to method employs a jigsaw to cut the parts close to final length, then a router with a pattern cutting bit. I cut a scrap of plywood to the distance I required from the vertical divider to the end of the top strips and cabinet floor, clamped it firmly in place, and used it as a pattern to guide the bearing for a clean, accurate cut.
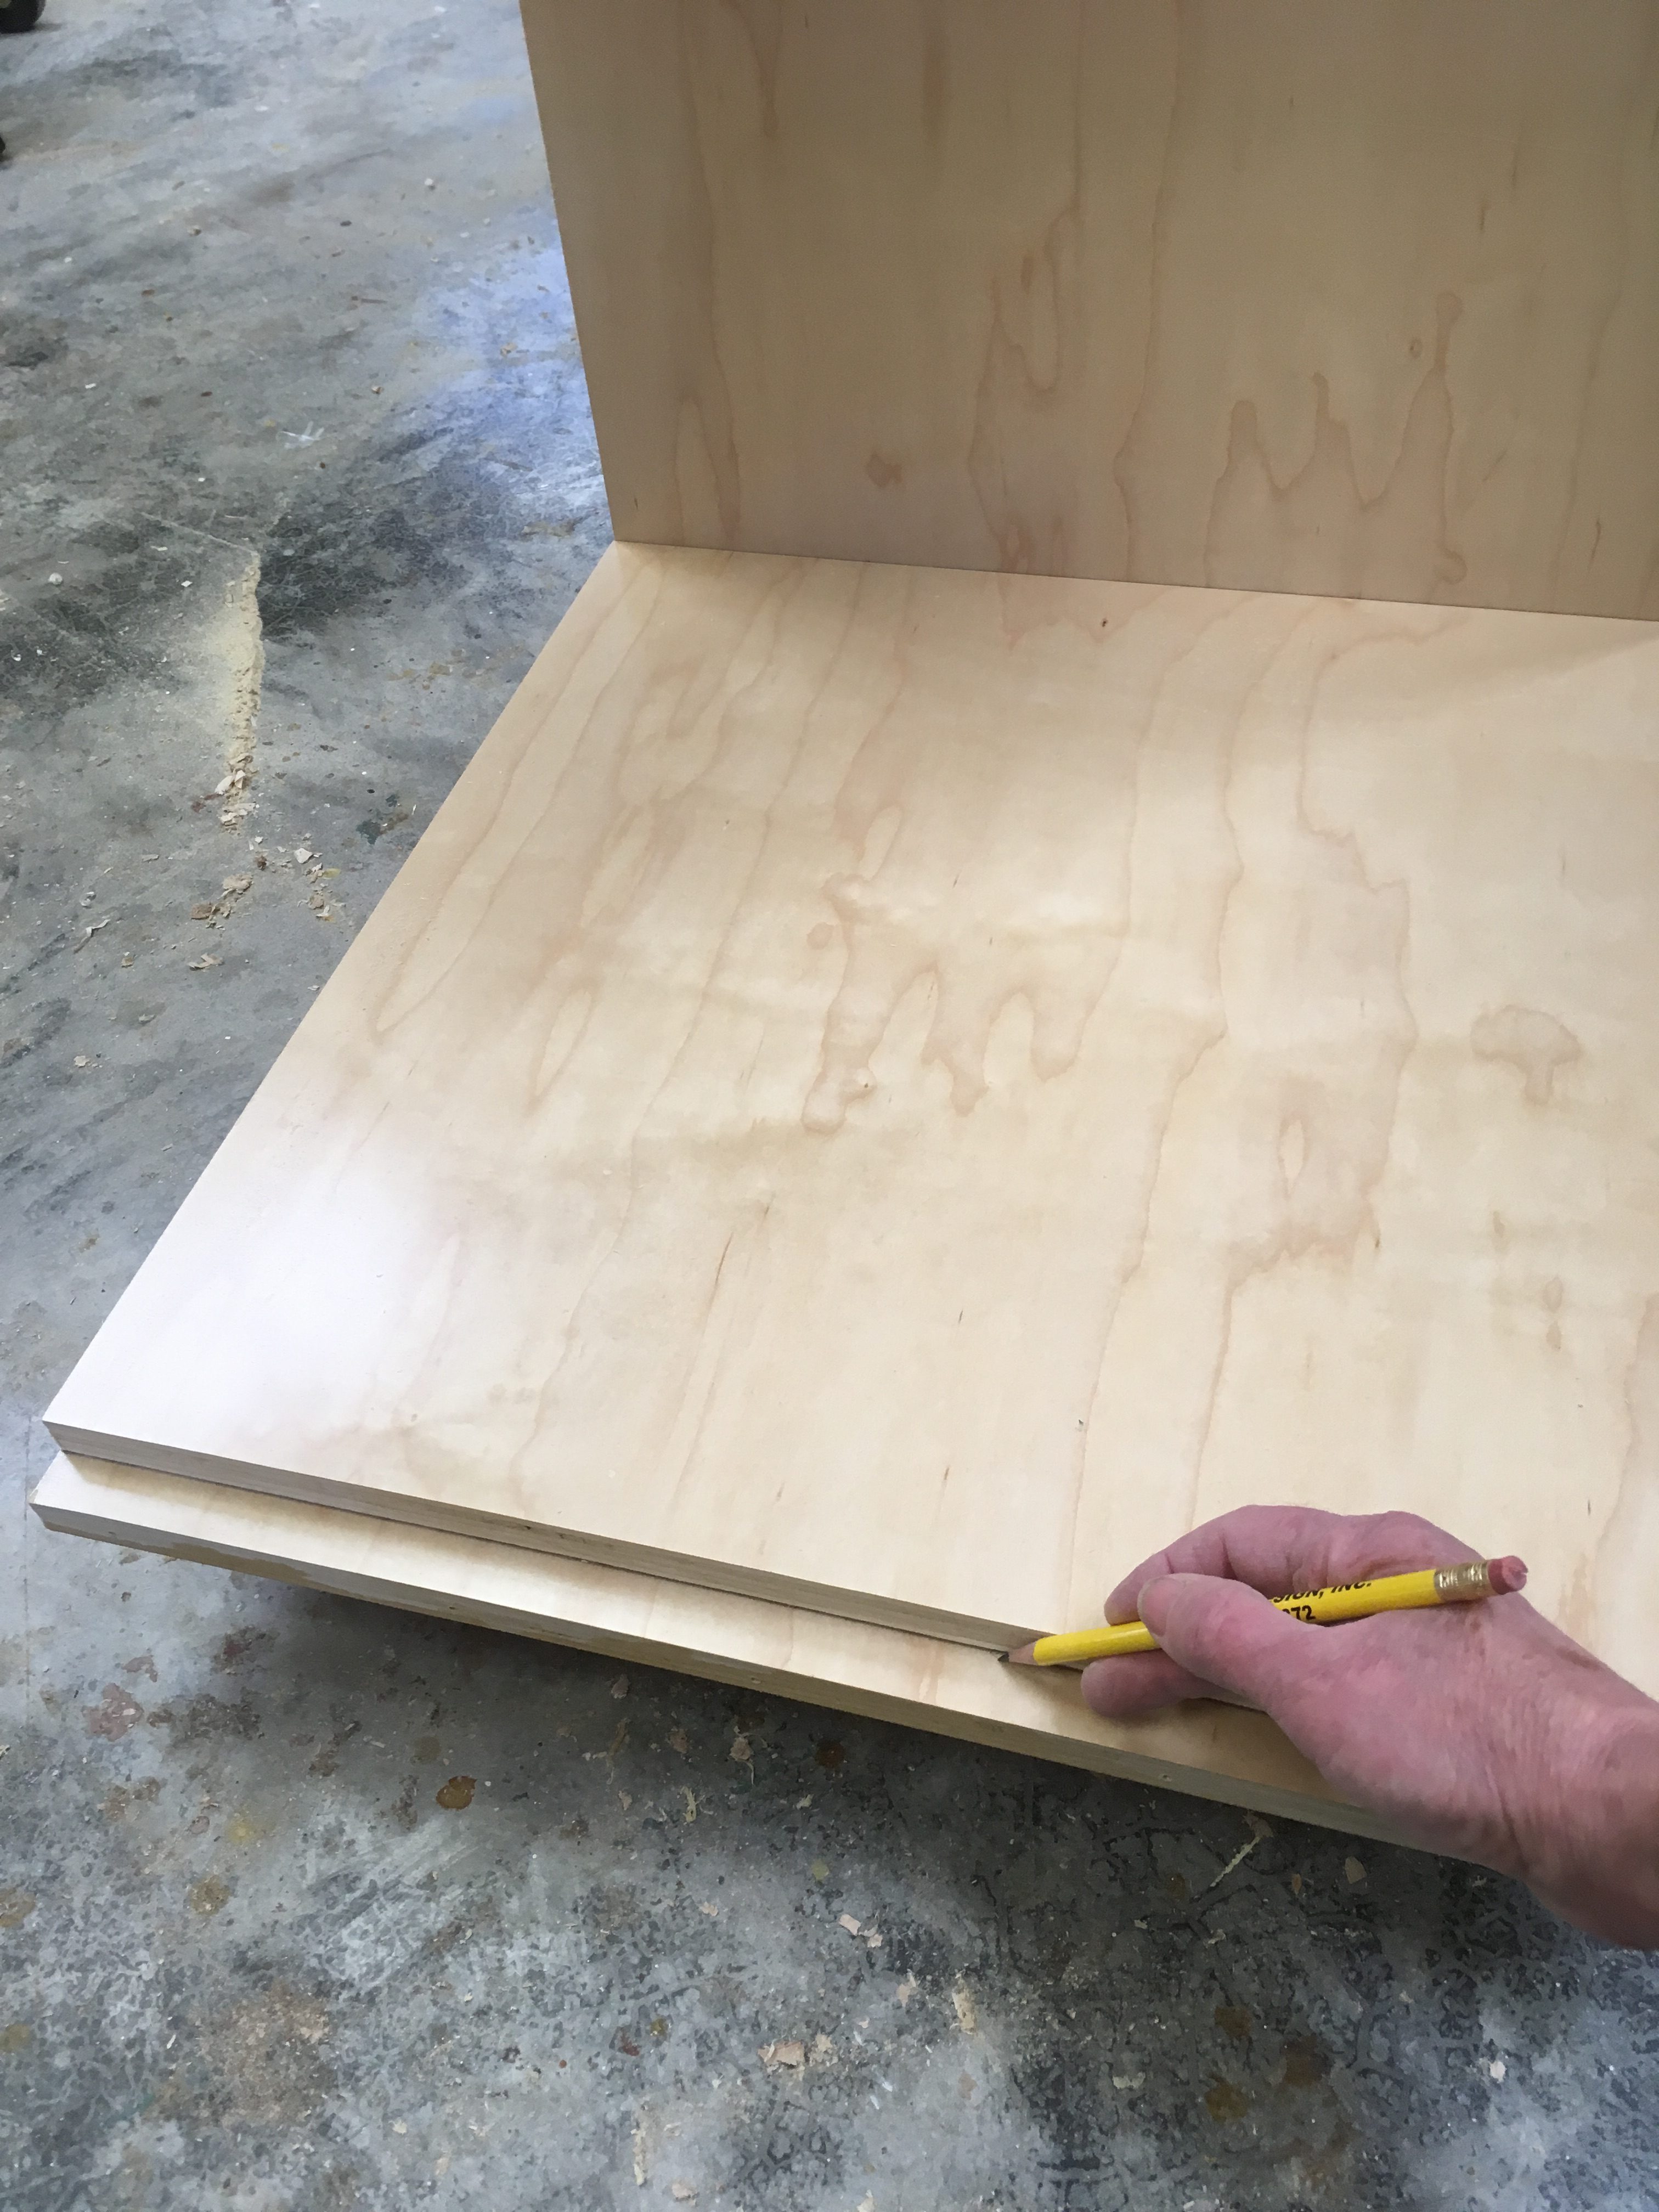
A pattern makes for a foolproof cut.

On the road to recovery.
Next, rout, using the pattern as a guide.
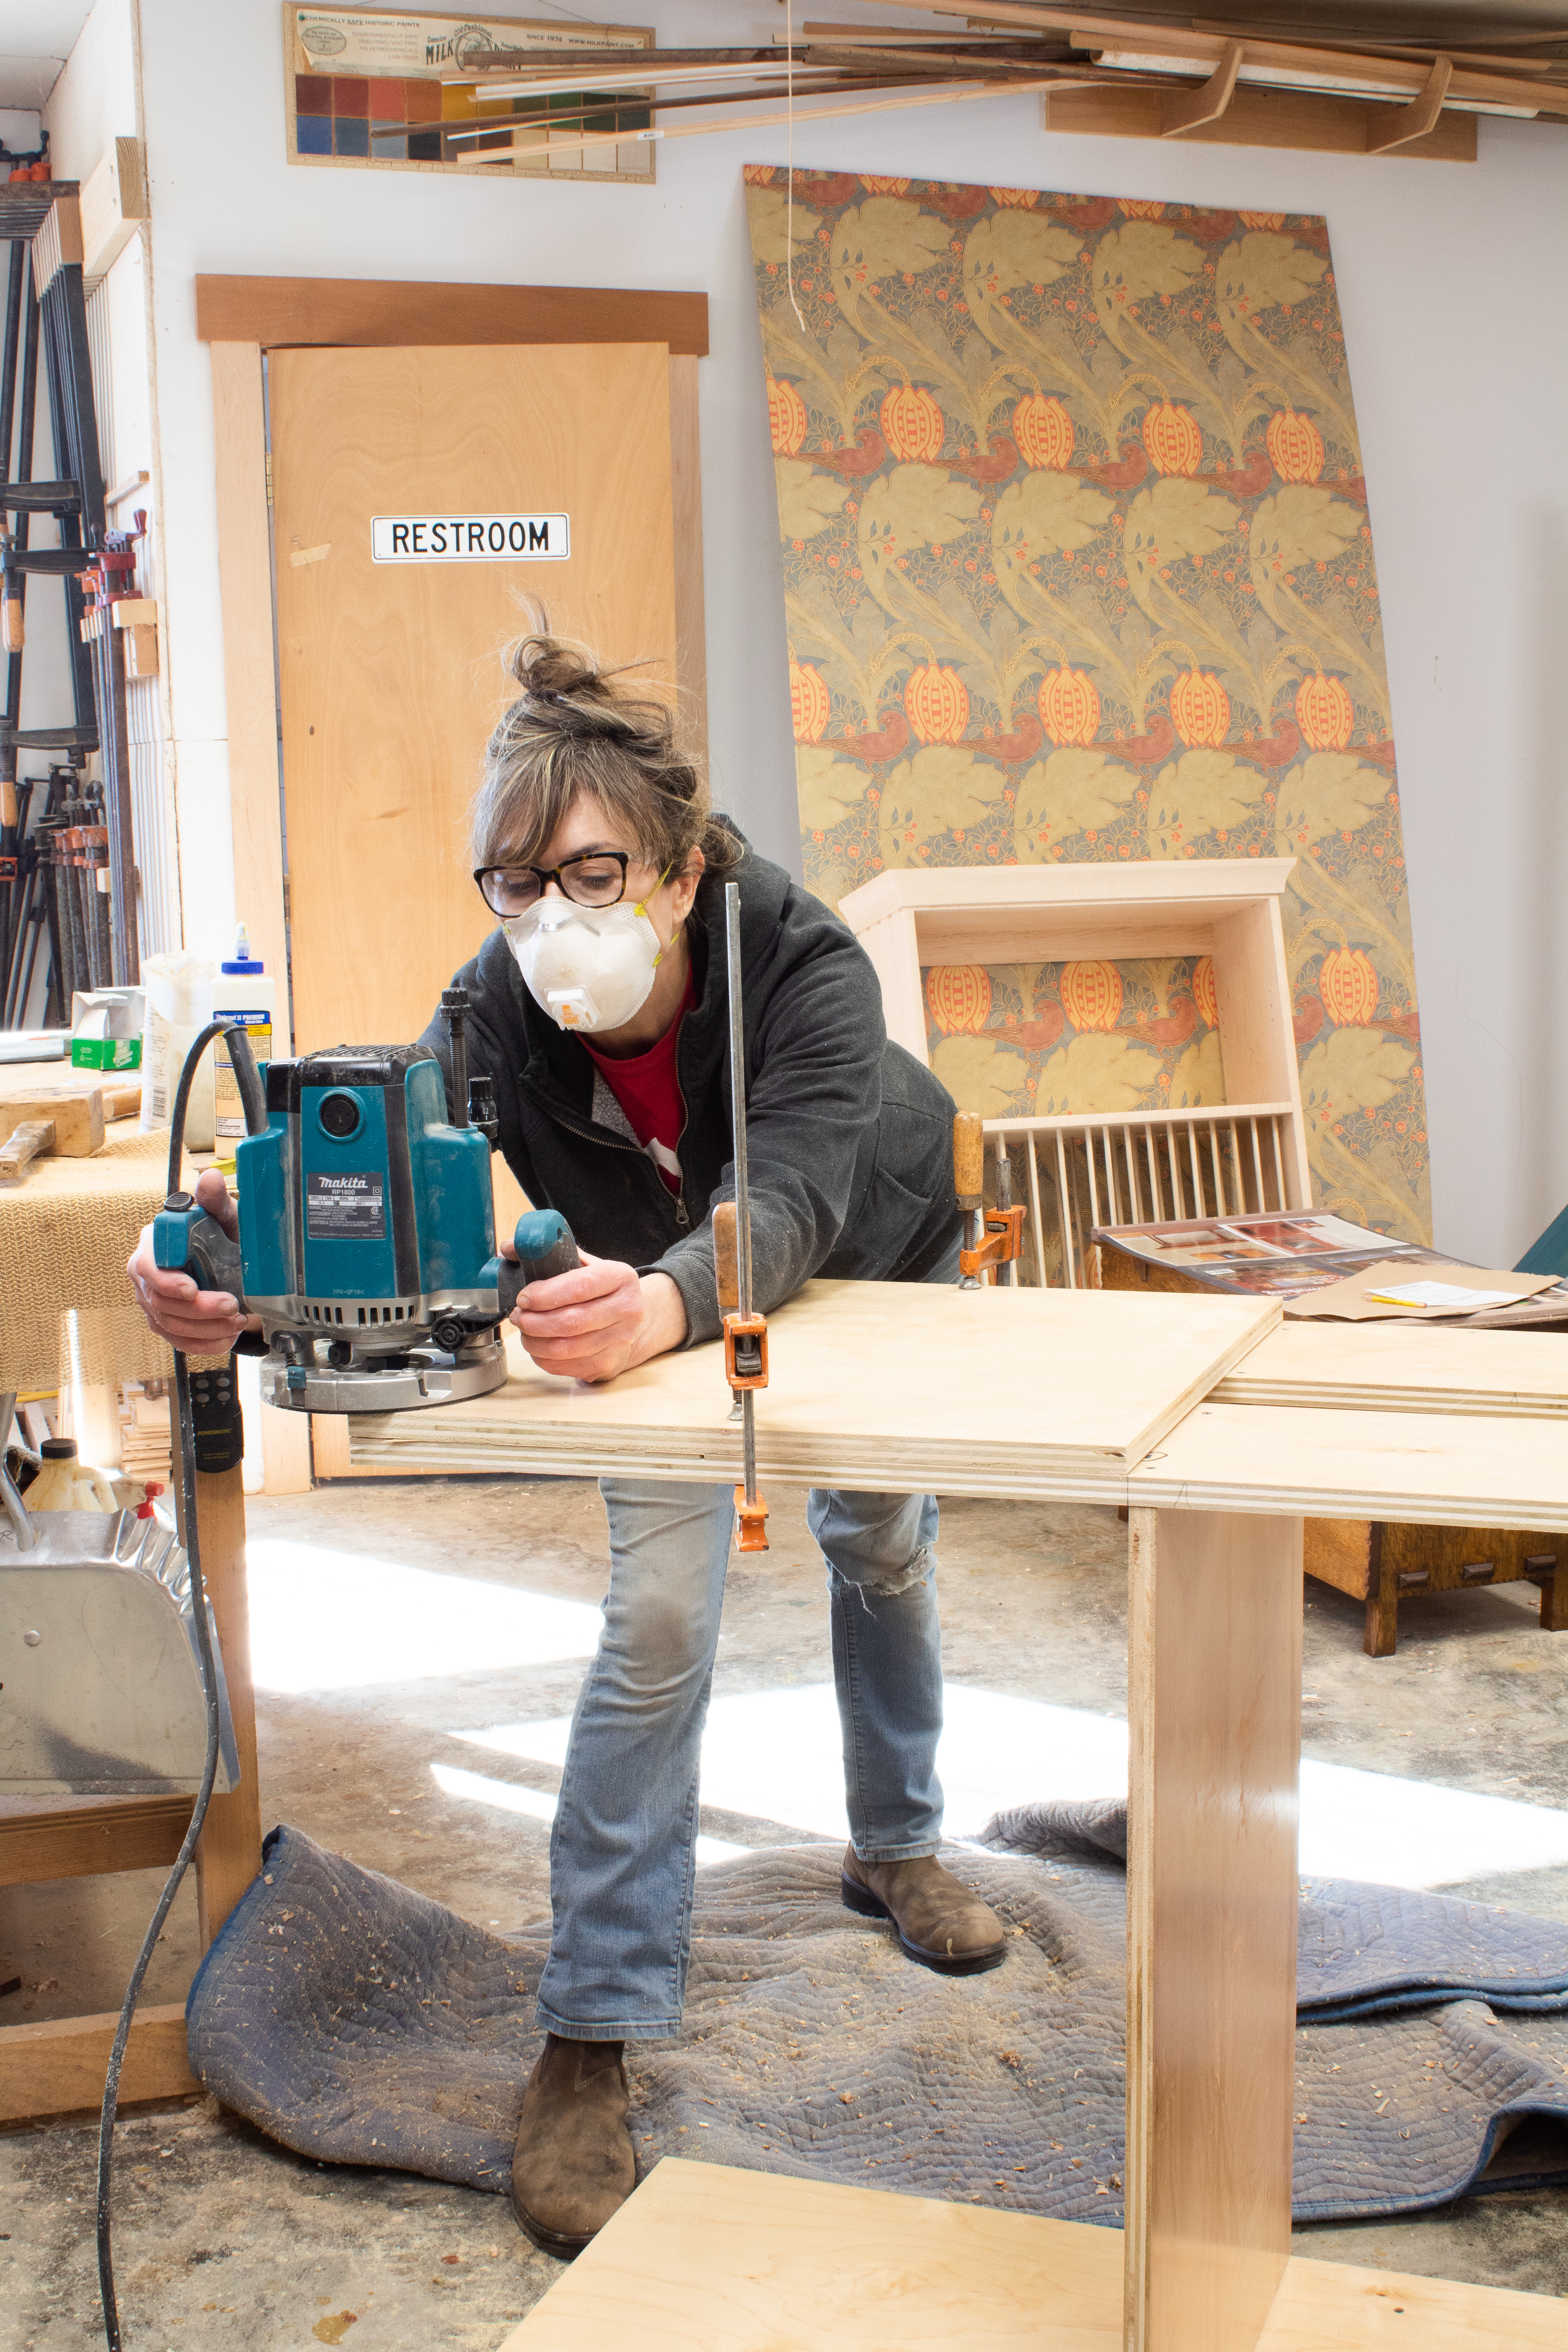
Clamping the “pattern” to the top strips provided adequate support to keep the work piece from shaking while I routed.
3. Start again
Now your parts are the correct length, so rework the original joinery for this end of the carcase. I cut biscuit slots in the top strips and mating slots at the top of the side, then attached a support block at the bottom of the side, predrilled for all the screws, and reassembled the cabinet with glue and clamps. When the glue was dry, I inserted the screws.
It’s always annoying to make a mistake, but knowing how to fix it efficiently is golden.
Here are some supplies and tools we find essential in our everyday work around the shop. We may receive a commission from sales referred by our links; however, we have carefully selected these products for their usefulness and quality.