


We may receive a commission when you use our affiliate links. However, this does not impact our recommendations.
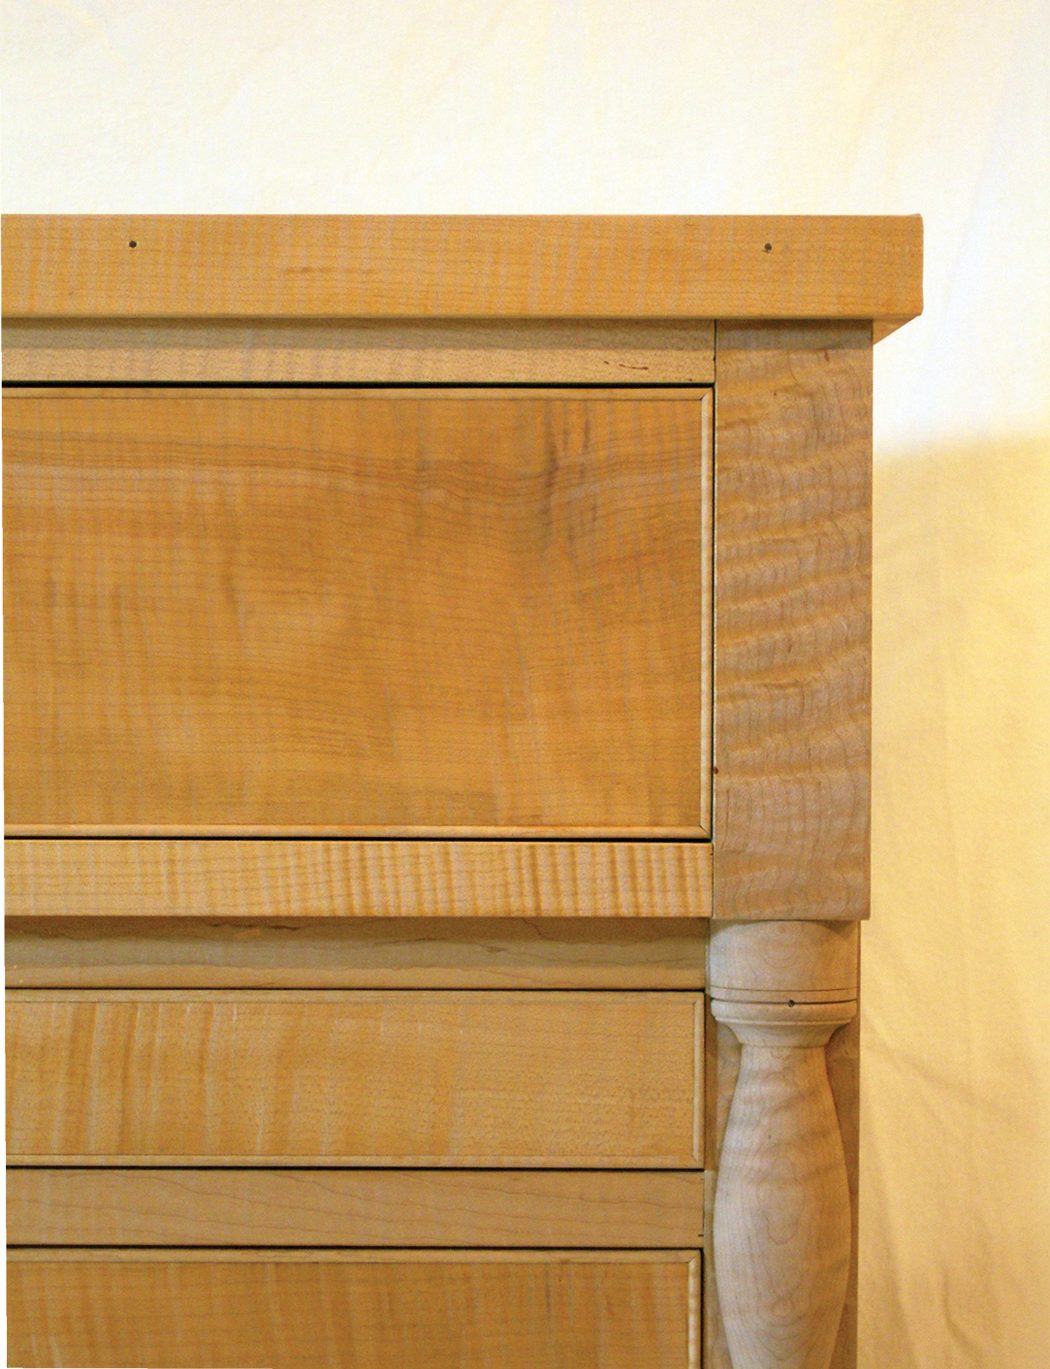
A top with purpose. This unfinished cabinet has minimal overhang to showcase the figured drawers below. The top employs an applied strip on its perimeter to bring it more in scale with the robust structure below.
Let function and proportion be your guide when designing a top.
Growing up, I was never one for wearing hats – that was until fresh out of high school when I headed west to work on a cattle ranch high in the mountains of Montana. My brother looked me over the first day and said, “Where’s your hat?” He tossed me a baseball cap emblazoned with a red-and-white checkered Purina Feeds logo. “Tomorrow we go to town and you can pick up your own hat.”
Ten hours of being perched on a tractor seat (under a blazing sun and thin mountain air) turned my pasty white Eastern skin lobster red. Needless to say, I was motivated to buy a proper hat the next day and looked at those wide-brimmed cowboy hats with new eyes (not to mention blistered ears).
The Proper Hat for a Cabinet
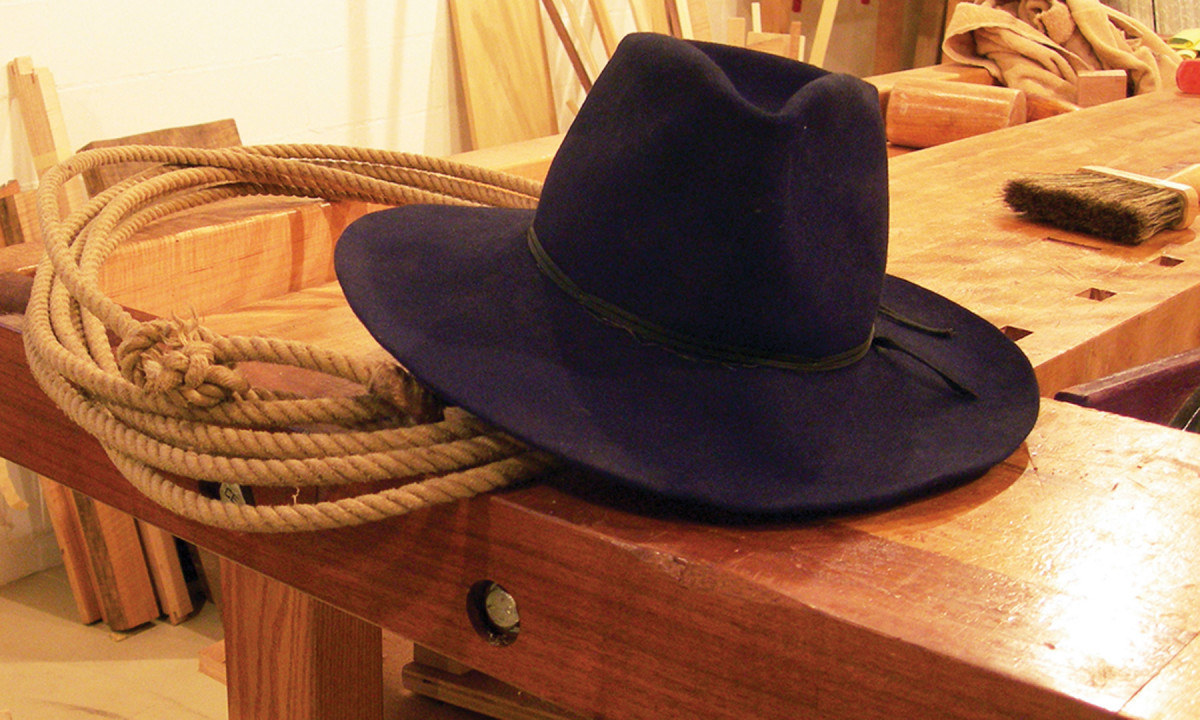
Tip of the top. A hat, good or bad, is the first thing we notice. You can say the same thing about a top on a small table or chest.
But what does a hat have to do with designing a top for a cabinet or table? Besides the obvious of topping off the design, it’s always a mixture of beauty and function. From a functional standpoint, not just any hat will do (as my ball cap proved). A tabletop or cabinet top is meant to set things on and often needs to shoehorn next to an easy chair.
Early in the process, the overall dimensions of the project are established based on things such as a comfortable height to reach over to set down a mug or a favorite book. Usually at this stage, some general width and depth dimensions are worked up based on the space it must occupy.
My wife, Barb, often gives me her input, holding her hands spaced apart. It’s not very scientific but she’s usually spot-on. I say this to stress that the overall boundary dimensions are based on function and pleasing my favorite person in the whole world. That’s the easy stuff.
Trickier decisions involve such things as “How thick should the top be? How much should it overhang?” Because we are not resting engine blocks on our top, thickness and overhang are not a question of strength, rather they are a function of beauty. Is that top the right hat? Does it complement the overall design?
Points of View
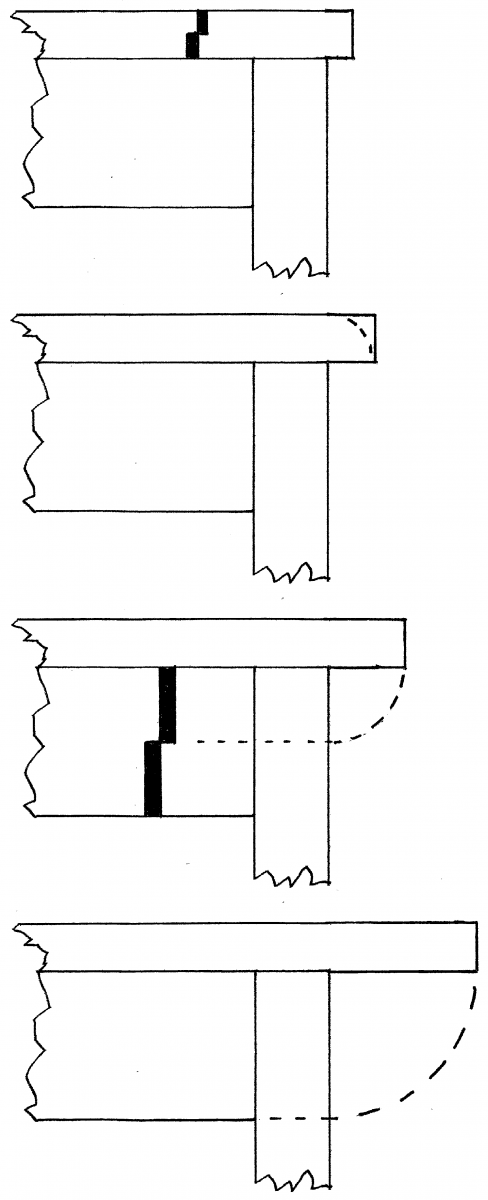
Half-measures. For a minimal overhang, extend a top by half its thickness. Bump it out in proportional increments from there. Which looks right to your eye?
Top thickness and overhang is a bit of a chicken-and-egg question, so it might be best to step back and consider a few things. On a low table meant to sit by a chair or a bed, a deep overhanging top will hide the structure below. That’s neither good nor bad; it’s just a function of our vantage point.
Avoid making design judgments on a low table while it’s up on a workbench or sawhorses. This eye-level view can give a skewed impression. It’s best when working with a mock-up or an actual project to make important aesthetic calls based on a normal viewpoint. Place the piece on the floor and view it from a standing, then a seated, vantage point. That said, we may not be concerned if the overhang hides the structure below, instead opting to emphasize some great figure in the top. It might be a great time to use that special wood you’ve been holding back. If we want the cabinet or table apron to show or want to give easy access to a drawer, we should steer toward a minimal overhang.
Regardless of which direction you go, the overhang will have a major impact on the character of the piece. Just think of all the people you’ve seen wearing awful hats.
I like to judge the overhang by linking it proportionally to other elements close by in the design. I also like to pick an arbitrary starting point and bump it one way until it looks “too much,” then in the opposite direction until it looks “too little.” Somewhere in between is the sweet spot my eye is searching for.
I find it helpful to have some proportional increments to use when adjusting the top overhang. Let’s start with the range of what we might consider. At a minimum, we might build a top that’s flush with the structure below with zero overhang. From there we can extend our top out indefinitely, but it doesn’t have to extend far until it starts to feel unbalanced. Starting with a flush top, I can bump it out slightly by extending the overhang equal to half the top thickness; my next bump is equal to a whole top thickness.
Those first few proportional bumps cover an overhang that is slight. If more overhang is called for, I pull a proportion from an adjacent element, such as a table apron directly below the top. Try extending the top by half the height of the apron. Or you could select half the height of the upper door rail on a cabinet. If you still need to push it further, try the full height of the apron or rail.
Using this approach does two things. First, it actually ties the overhang directly to something adjacent. Second, it forces you to take a focused look at the overhang in relation to nearby parts. If you make an effort to do this, very quickly you will find your eye doing this almost automatically.
Fine-tune the Thickness
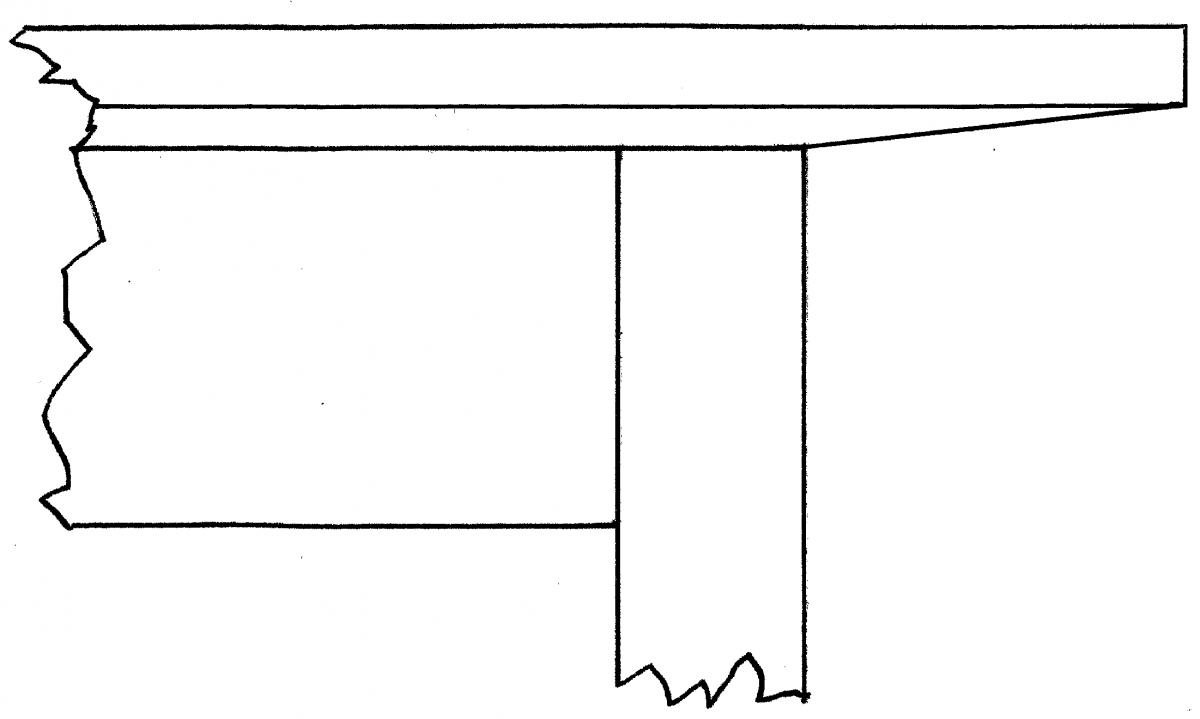
Edge relief. A heavy-looking top is easily thinned by relieving the bottom edge with a chamfer.
Let’s turn our attention to top thickness. This may have to bounce back and forth while determining overhang. Once we begin zeroing in on overhang, the top may appear too thick or thin. After we adjust the thickness we may feel we need to adjust the overhang again. Each iteration pulls us closer to the result we are seeking.
My general approach is to get in the ballpark by thinking about the overall character as well as any adjoining structure near the top. Does this design have an overall delicate character calling for a thinner top, or is it robust with strong-looking architectural structure beneath it?
Also remember that a top can be made to appear more delicate by chamfering the underside of the edge.
Confidence Builder
You’ll find that using this approach will help you quickly size an appropriate top to your next project. Along the way, you will also begin to internalize this way of thinking and train your eye to make judgments based on the overall design as well as smaller details within the design.
And don’t forget your hat.


