We may receive a commission when you use our affiliate links. However, this does not impact our recommendations.
A couple new techniques with non-traditional tools and you’re ready to explore free-form sculpting. And that increases the design possibilities in your woodworking.
With a couple simple techniques you’ll augment your design skills and flexibility.
What woodworker hasn’t dreamed of wielding sharp gouges and chisels, effortlessly transforming a giant, lifeless chunk of wood into a one-of-a-kind masterpiece? Perhaps even creating a life-sized bust of yourself in exquisitely painful detail. What? Just me? Well maybe so, but there isn’t a woodworker out there who wouldn’t benefit from adding carving to their toolbox of tricks. While I don’t delve too far into the world of artistic carving, I do try to incorporate free-form sculpting into my work whenever possible.
To understand what I mean, think about a situation when you needed to shape something and your normal power tools just could not provide the solution. Perhaps it’s a wide cove that none of your router bits is capable of producing. Or maybe you need to make a simple scooped-out chair seat. Should we let the limitations of our everyday power tools limit our design possibilities? No way!
So at some point, you’ll be presented with the challenge of creating shapes, curves and accents with little more than a few pencil lines to guide you. Initially, this may sound a little scary since most of us can’t even draw a uniform curve on paper (at least not on purpose), let alone create one in wood. But as someone who is admittedly “non-artistic,” I found the process to be much easier when I broke it down into a series of steps.
Learning these steps, as well as which tools to use, will give you a sense of freedom and control over your work and help you put the “hand” back into handcrafted.
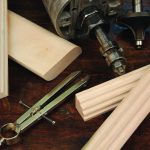
So let’s take a look at some of my favorite sculpting tools. My arsenal consists of a cabinetmaker’s rasp, several card scrapers, a die grinder with various profile bits, a grinder outfitted with a carving blade, a 7″ polisher for rough leveling and a random-orbit sander for final smoothing.
There are many ways you can use these tools to arrive at your final goal, and as far as I’m concerned, there are no rules. Just use whatever combination of tools gets you from point A to point B. But in my experience, I’ve found that certain combinations of tools work very well for specific tasks.
Cove Profiles
There may come a day when your creative designs exceed the capabilities of your router-bit collection. Or perhaps you are working on wood that is prone to tear-out and you just know that your big cove bit is going to make your life miserable in short order.
Whatever the reason, it’s good to know how to make a cove of any shape or size by hand. Start by making a simple pattern of the desired profile, then transfer the profile to each end of the board. Then draw lines on both the face and the side of the board that correspond to the top and bottom of the cove and serve as a reminder of the “no carve zone.”
Because there is a significant amount of material in the cove, I suggest making several passes on the table saw to remove the bulk. Once the workpiece is clamped in the bench, it’s time to start carving. My tool of choice is an electric die grinder outfitted with a 1″ ball mill. Rub the surface with the spinning ball mill from side to side to begin shaping the cove. Try to make the entire length of the cove look uniform from one side to the other and never stay in one place too long. (The kerf cuts from the table saw really help in visualizing your progress.)
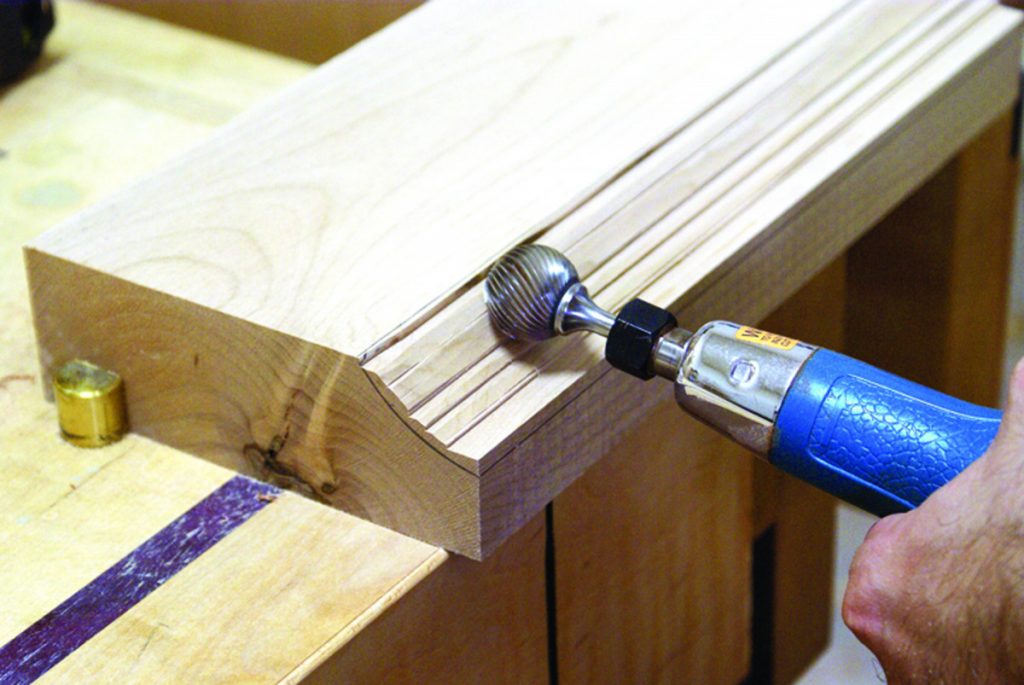
A hand-held die grinder with a ball mill is the tool of choice for creating large coves.
Don’t forget to continually monitor your overall progress by looking at the template lines on the sides. Once you hit your pencil lines at the sides, the rest of the cove should be done as well. The surface will be relatively rough at this point and will need further smoothing. I usually use a gooseneck scraper or one of the sanding spindles from my oscillating-spindle sander. A dowel wrapped in sandpaper would do the trick, too. Just work the whole cove until the surface is regular and smooth.
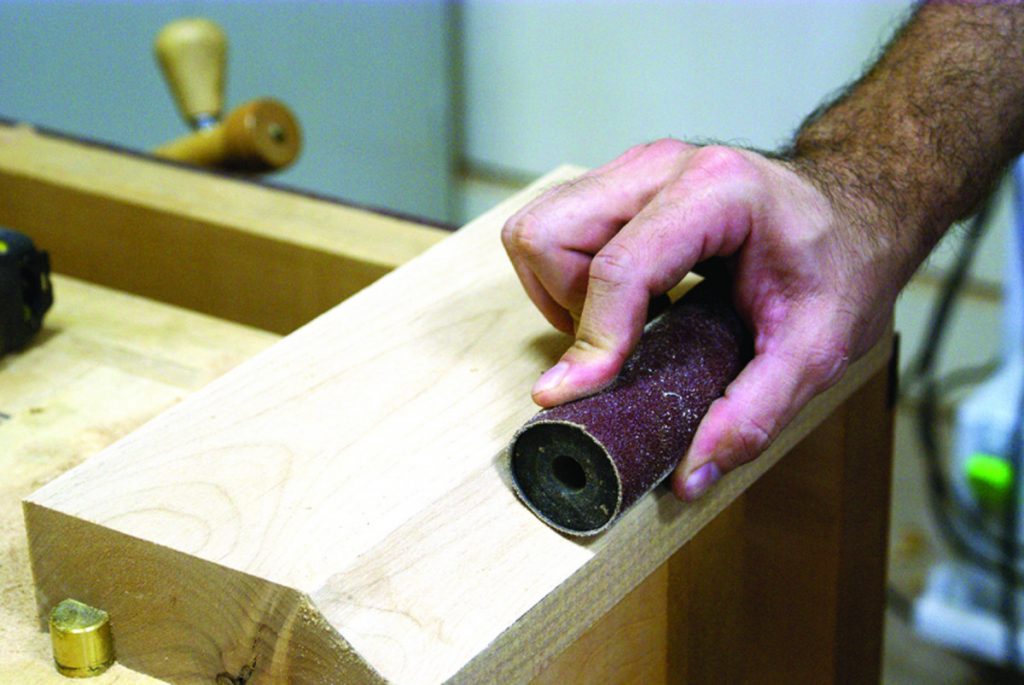
. A great way to clean up a sculpted cove is with a sanding sleeve and rubber spindle from a spindle sander.
Large Curves
Creating large complex curves is another area where hand-sculpting comes in handy (chair seats come to mind). Here is a simple example that establishes the principals of this process. Start by tracing the desired curve onto both edges of a board with a template. In the example shown below, I am just doing a simple curve.
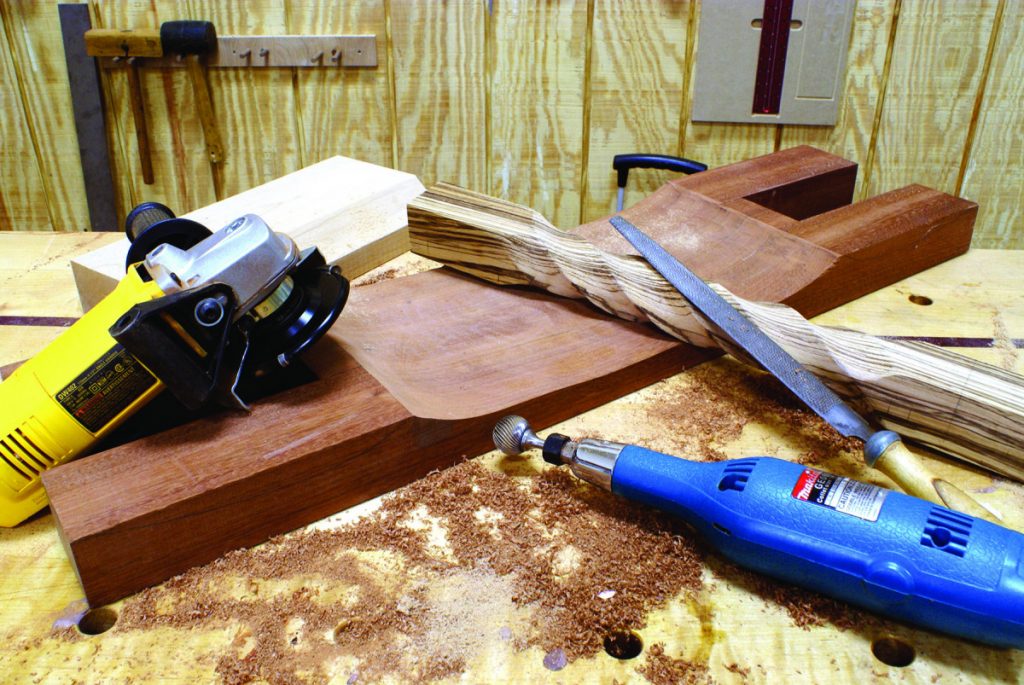
I start removing the bulk of the material with an angle grinder outfitted with a carving blade. Keep in mind that this tool demands your respect in every possible way! A full face shield is recommended.
Take your time with this tool and make very light passes from right to left with the blade in a near-horizontal position. You can carve with the blade in a vertical position, but if you do, you’ll most likely create a deep gouge. Again, try to be consistent as you work your way from one side to the other, and try to avoid going right up to the edges at the ends of the curve. (This tool is for rough stock removal only.)

An angle grinder and a carving blade make one powerful combination! Hold the tool close to horizontal to avoid sculpting deep gouges.
Continually monitor your progress by looking at the template lines on both edges. When you are as close to the lines as you dare, it’s time to switch to the polisher.
Outfitting a polisher with a sanding pad makes it quite the formidable leveling tool. Simply make numerous passes from one side of the curve to the other, in a smooth sweeping motion. The flexible pad follows the curve, but not the small hills and valleys created by the carving blade. Eventually, the surface will be consistent and smooth. At this point, I like to do my final smoothing with a random-orbit sander.
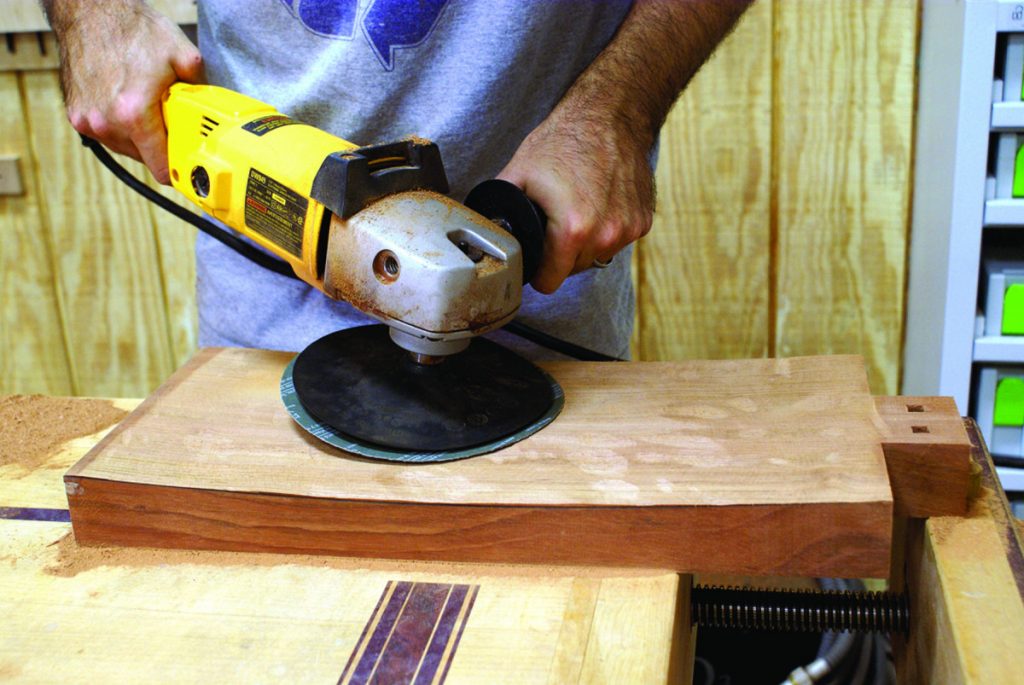
A polisher makes quick work of leveling the surface.
Although these are just two very simple examples, you can see the potential power and flexibility these tools and techniques provide. Most of the tools we use tend to take the human element out of the equation. Whether it’s a fence, stop, guide rail or bearing, each seems to stop us from doing what our bodies and reflexes apparently want us to do. Although this makes perfect sense in most cases and is completely necessary, I sometimes feel like I am missing out on something. And that’s why these techniques are so gratifying. I can walk into the shop, fire up the tool, stare that wood in face and say, “It’s just you and me today, Woody!”
Now don’t expect perfection right out of the gate. These techniques take a little practice. But bear this in mind: The human eye is much better at recognizing errors and inconsistencies when viewing straight lines and 90º angles. Curves, on the other hand, are much more forgiving. So just relax and enjoy the process. After a few “man-vs.-wood” bouts, you too will be on the lookout for excuses to include these techniques in many of your projects.
Bonus video:
Marc is a professional woodworker as well as the creator and host of The Wood Whisperer.
Here are some supplies and tools we find essential in our everyday work around the shop. We may receive a commission from sales referred by our links; however, we have carefully selected these products for their usefulness and quality.