We may receive a commission when you use our affiliate links. However, this does not impact our recommendations.
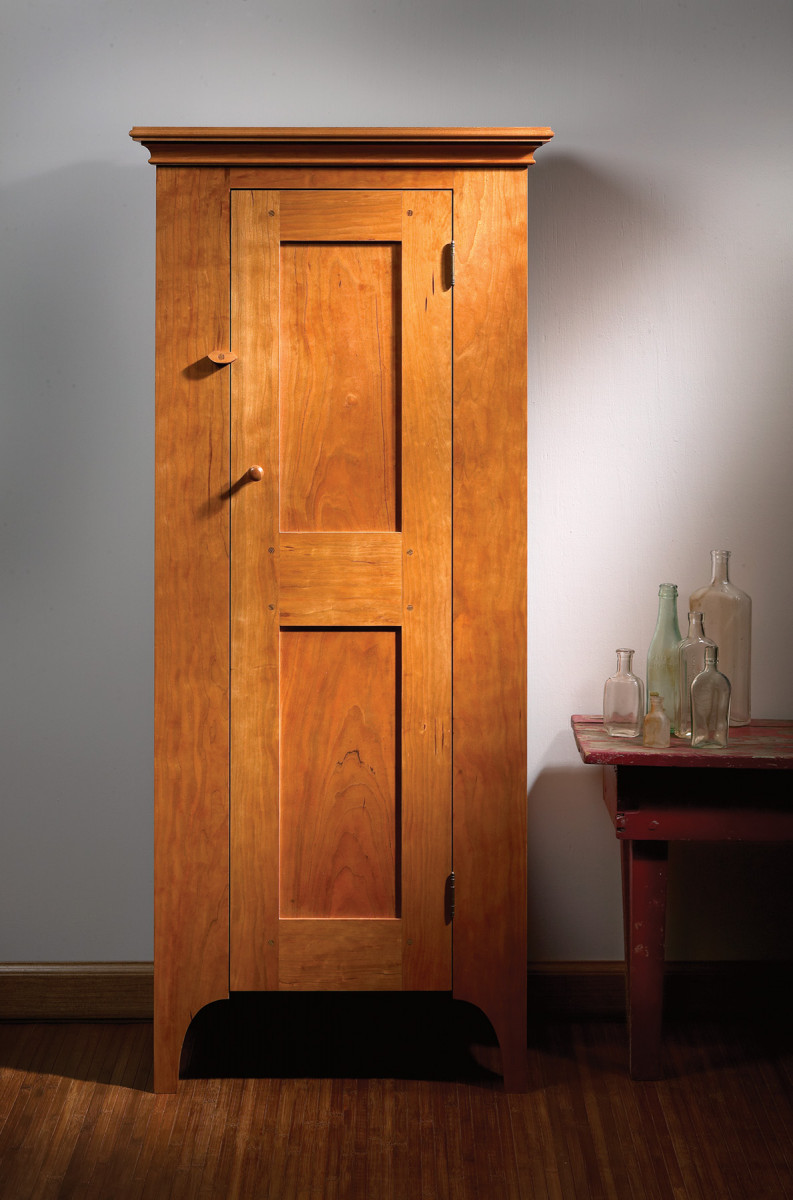
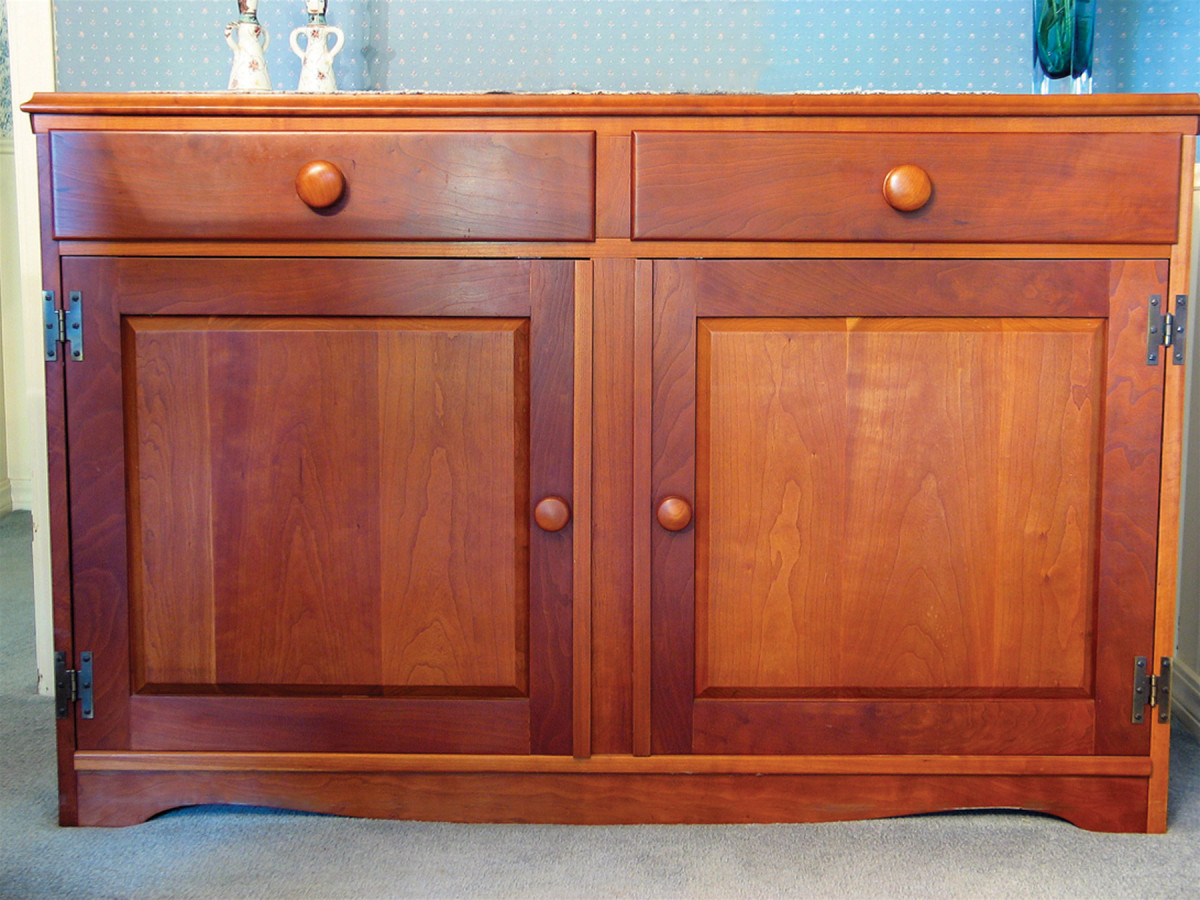
Cherry blotches. All clear finishes cause blotching in cherry. The finish on this cupboard is boiled linseed oil topped with lacquer. The linseed oil darkens as it ages, so the color of the cherry will deepen more quickly than with other finishes. The lacquer provides better protection and shine. If you combine linseed oil with another finish, including lacquer, be sure to let the linseed oil cure thoroughly before applying the other finish – at least a week in a warm room.
Some straight talk about cherry and blotching.
When I opened my furniture-making and restoration shop in 1976, the woods considered best for high-end furniture were walnut and mahogany. Of course, oak and maple were also used, and sometimes cherry.
As had been the case through the previous three centuries, cherry was still thought of as the poor man’s substitute for mahogany. The coloring is similar, but mahogany had always been considered the higher quality wood. A large part of the reason is that mahogany colors evenly and cherry blotches.
Blotching is uneven coloring caused especially by stain penetrating deeper in some areas and leaving more color when the excess stain is wiped off the surface.
Times have changed, and cherry is now the favored wood with a great many woodworkers. Mahogany is hardly even considered for use anymore, and neither is walnut very popular. But cherry still has the blotching problem and everyone wants to know how to deal with it.
The Solution Problem
Washcoats. The left side of this cherry panel was washcoated, then Minwax cherry stain was applied to both sides (there is no stain on the middle stripe). Notice that the washcoat reduced the intensity of the blotching a little but didn’t totally eliminate it. The washcoat also prevented the stain from coloring the wood as much.
Magazine editors like to please their readers, so you see lots of articles addressing the question of how to avoid blotching in cherry.
The method for reducing blotching under a stain is widely understood. Simply apply a washcoat before applying the stain. A washcoat is any finish thinned to about 10 percent solids: that is, varnish thinned with about two parts paint thinner, shellac thinned to a 3⁄4 pound cut, or lacquer thinned with about 11⁄2 parts lacquer thinner.
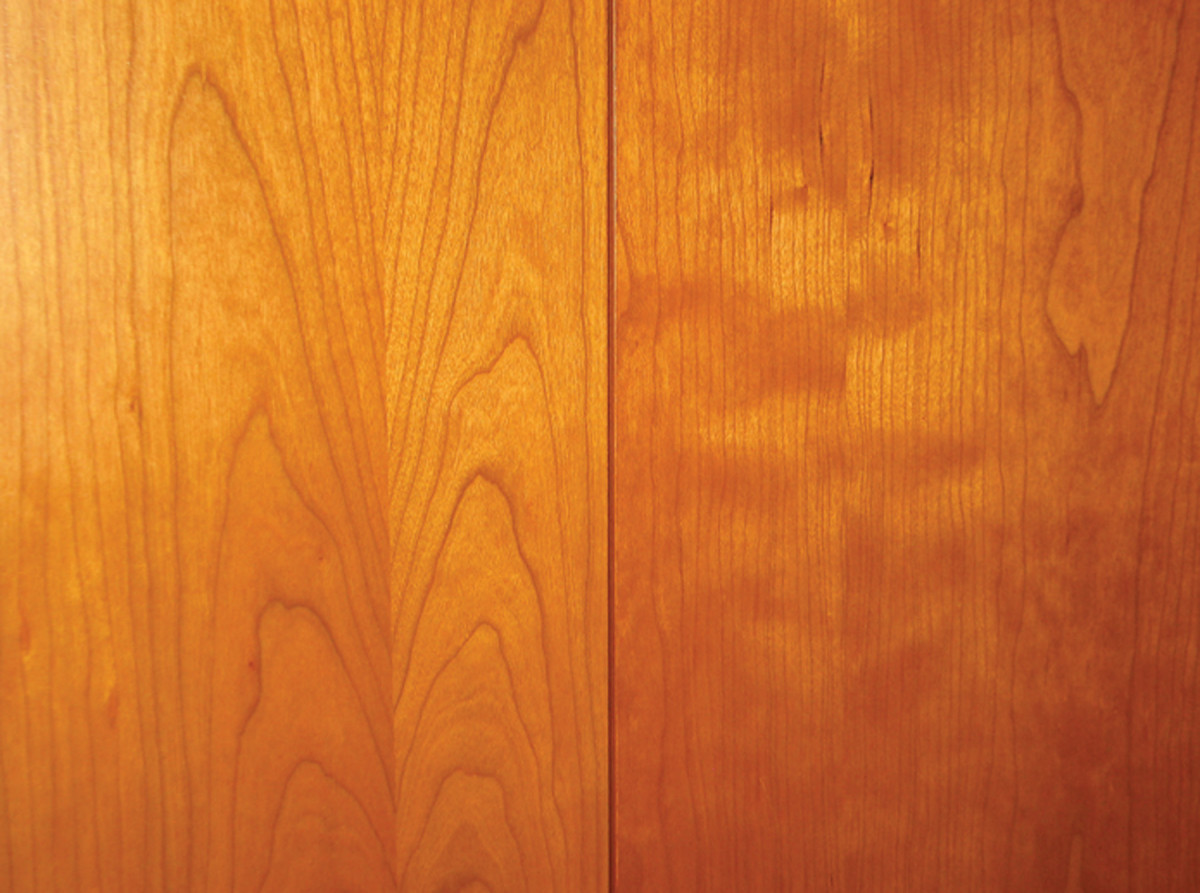
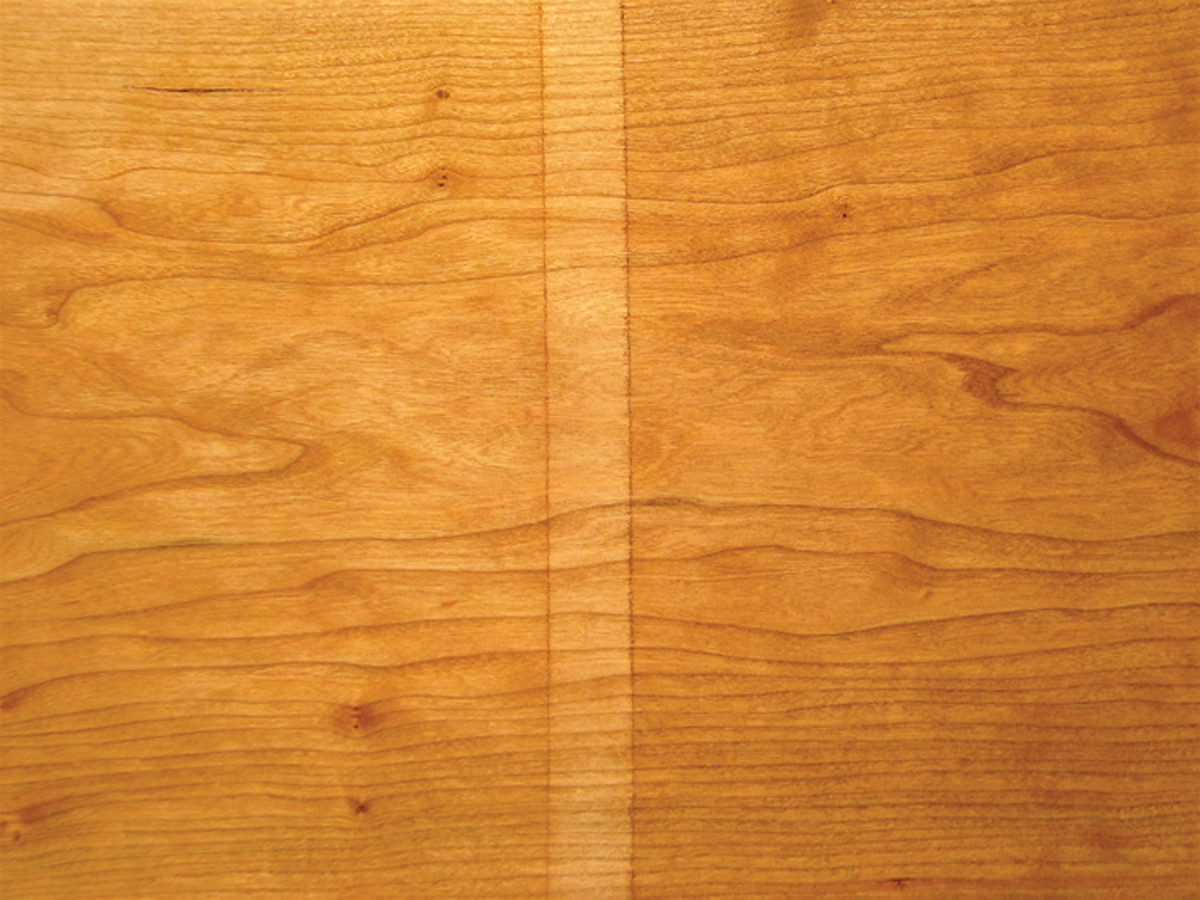
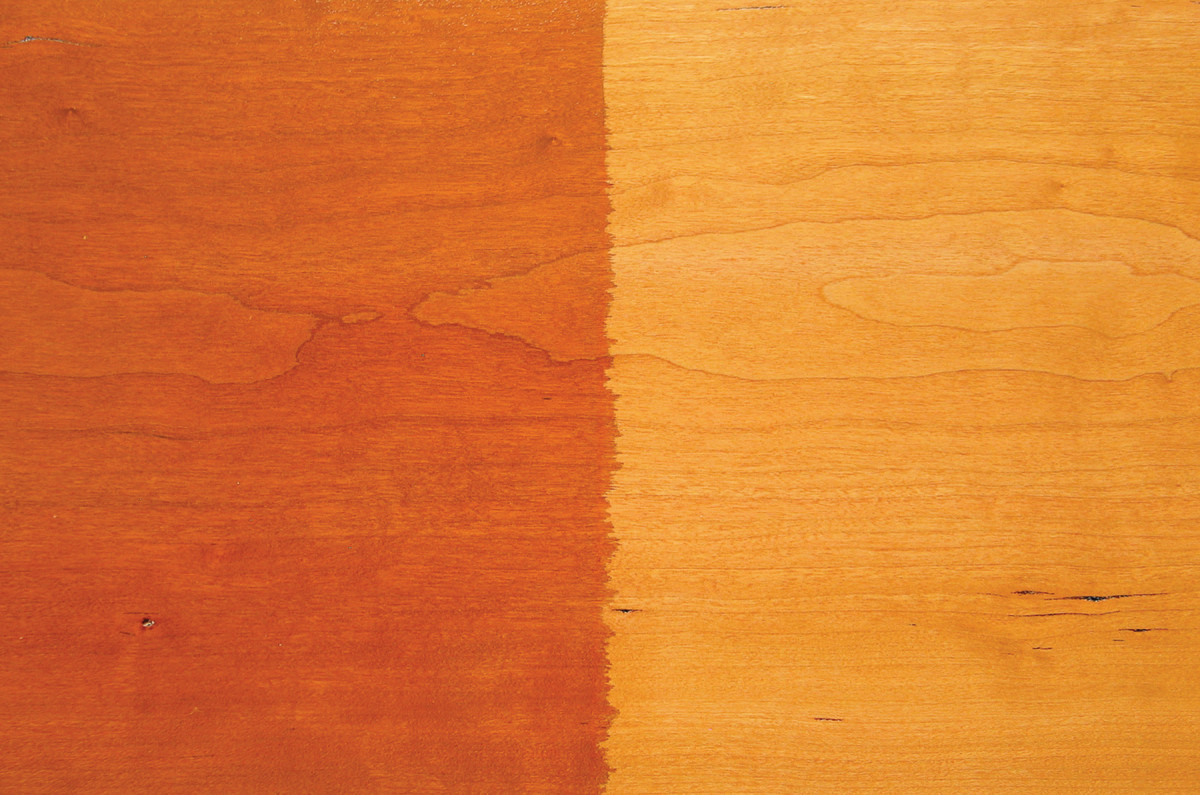
Cherry variations. Cherry doesn’t always blotch. It depends on each specific board. Both of these panels were finished with a clear finish – no stain. The left panel didn’t blotch and the right blotched severely.
Once you have allowed the washcoat to dry thoroughly (especially critical when using a slow-drying varnish washcoat commonly sold as “wood conditioner”), a stain penetrates very little so blotching is reduced. Less penetration limits the darkening of the wood, however, so there’s a trade off. Staining is less effective.
But cherry blotches even without a stain. All clear finishes (even shellac, which is often promoted as an exception) blotch cherry and, of course, so does a washcoat. It seems there’s no way to totally avoid the blotching.
This hasn’t, however, stopped magazines over the years from keeping the possibility alive, hinting that there might be a secret method somewhere.
Not Always

Test for blotching. The easy way to test for blotching is to wipe the surface of unfinished cherry with a liquid. Any liquid will work, but solvents such as alcohol, mineral spirits and lacquer thinner are best because they don’t raise the grain like water does. It’s much easier to see if a board will blotch when the test is done on surfaced cherry than on raw, unsurfaced cherry.
One of the joys of woodworking is that we get to work with so many different woods, each of which has its own special characteristics – some of which we like and some we don’t. Cherry machines very nicely and has an especially pleasant aroma, but it blotches.
At least it usually blotches. Just as with pine and birch, which are also notorious for blotching, the blotching in cherry and whether it looks nice or not depends on the particular board. Some boards blotch in a particularly ugly way. Some blotch in a beautiful way – often referred to as curly or mottled. And some don’t blotch at all.
Unfortunately, no wood supplier grades cherry (or any other wood for that matter) by its blotching characteristics (though veneers are graded for curly and mottled). Wood suppliers grade wood for the number and size of its knots.
So you have to figure out for yourself how the cherry you are using will finish. This is much easier to do with surfaced cherry than with rough lumber.
With both situations, the easiest way to see how a finish will look on the wood is to wet the wood. Wetting gives almost the same appearance as a finish does, the difference being that the wetting evaporates and a finish turns to a solid making the coloring permanent.
You can use any liquid, but non-grain-raising liquids such as mineral spirits, alcohol and lacquer thinner are usually best, especially on surfaced wood.
Aging and Darkening
Natural darkening. Cherry darkens as it ages due to exposure to oxygen and light. This 60-year-old chest has taken on the rich rust-red color typical of old cherry. Notice that the darkening has served to mute and disguise the darker blotching somewhat as the lighter colors have darkened to blend.
Besides blotching, another quality of cherry is the tendency of its heartwood to darken as it ages. The darkening is brought about by exposure to oxygen and light. Light accelerates the process, especially UV light, such as sunlight and fluorescent.
As cherry darkens, the blotching becomes muted – that is, the lighter non-blotchy areas darken to the color of the darker blotchy areas. So time does a pretty good job of disguising blotching in cherry. This is the reason I’ve always believed that the best way to finish cherry, if your goal is to make it look like old cherry, is to let it get there naturally.
You can always accelerate the darkening a little by placing the ready-to-finish or already finished wood in the sunlight for a few days. This will darken the heartwood a little, but it will still take years to reach the rust red color of old cherry.
If you want to achieve the rust-red color immediately, and are using non-blotchy cherry or are willing to live with the blotching, the most accurate way to do so is to stain the wood with a cherry dye stain. But keep in mind that the wood will still darken under the stain, giving you a result you, or your customers or descendents, may not be so pleased with after several decades.
How Factories Do It
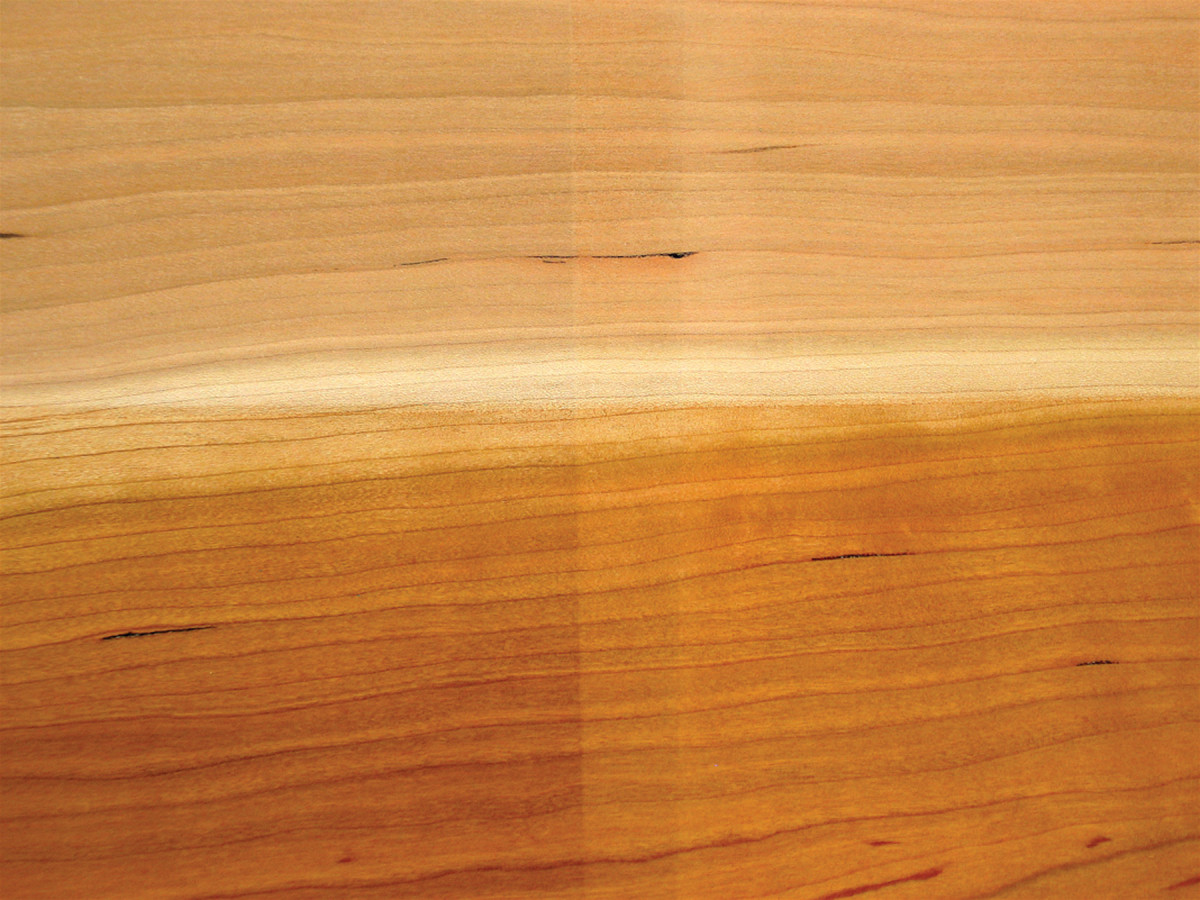
Running start. Because the darkening of cherry is accelerated by light, you can place your sanded parts in sunlight for a couple of days (as I did with the left half of this panel) and achieve some degree of darkening to begin the process. The bottom half has a clear finish applied. The middle stripe is where some of the UV passed through the masking tape.
If you’ve ever looked at factory-finished cherry furniture, you’ve surely noticed that it doesn’t look like old cherry. It’s usually considerably darker, sometimes so dark and opaque it’s even difficult to see that the wood is cherry. But it’s not very blotchy.
Cherry furniture manufacturers solve the blotching problem by putting most of the color on top of the wood rather than in it. Instead of using stains, they get the color with glazes and toners. Glazes are thickened stain applied in between coats of finish. Toners are the finish itself with the color (usually dye) added. Toners are always sprayed.
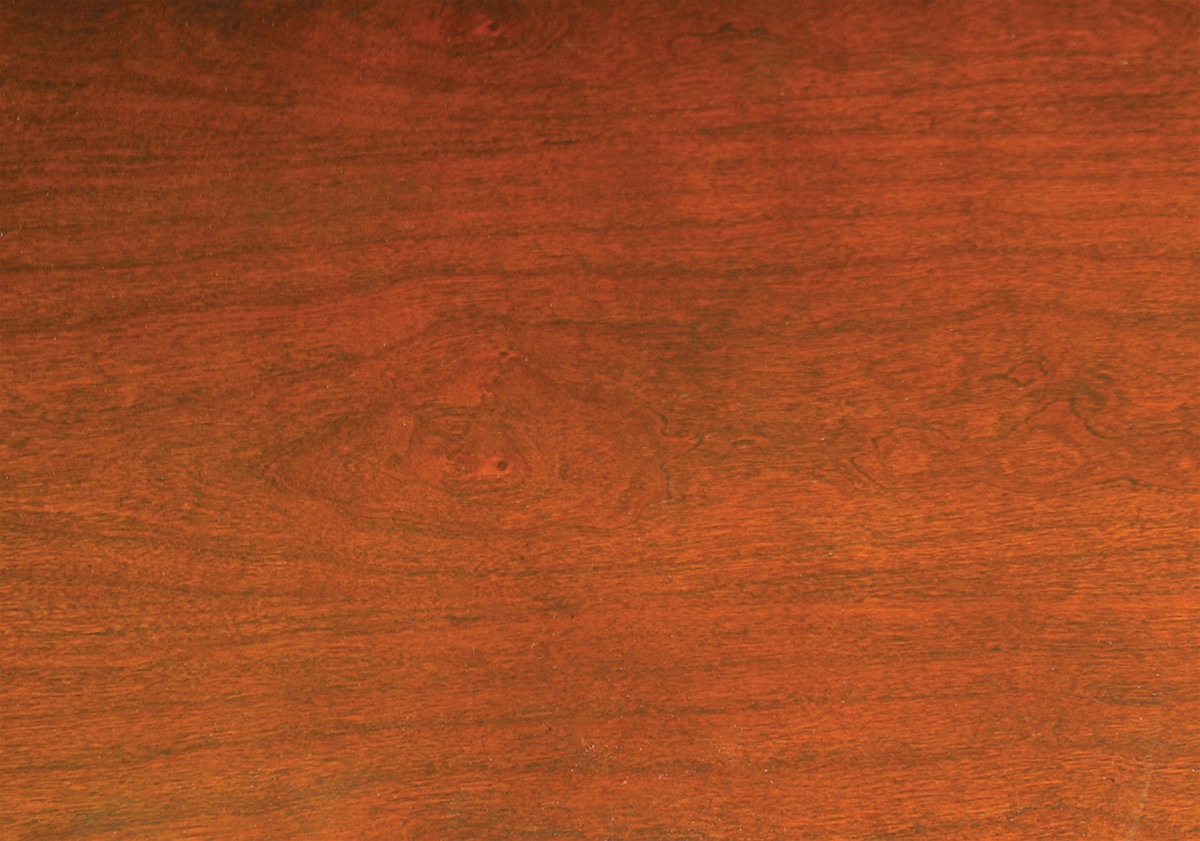
Factory finish. Furniture factories disguise blotching by using glazes and toners to put most or all of the color in the finish rather than in the wood. This creates a different appearance than naturally aged cherry.
The end result is reduced blotching because it is covered over. Though there’s no reason you couldn’t finish cherry in this manner yourself, the look attained is not what most woodworkers want.
Conclusion
Dying cherry. If you are using relatively non-blotchy wood or are willing to live with the blotching, you can achieve a color very close to aged cherry immediately by using a cherry dye stain (left). Lockwood natural antique cherry water-soluble dye (also sold as Moser natural antique cherry) provides the most accurate coloring in my experience. These dyes are available by mail order from many suppliers. But keep in mind that the color of the wood under the dye will still darken and result in a much darker coloring after a number of years than you may want.
Here’s the bottom line on cherry: Most boards blotch when stained, and also when finished without a stain. There’s no way to avoid this, other than finding boards (or veneer) that don’t have the tendency.
Over time the blotching is muted as the heartwood darkens naturally to a rust-red color. If you choose, you can get to this color immediately by staining with a cherry-colored dye stain. But in time the wood will darken further underneath the dye.
You can also add color and disguise the blotching with glazes and toners, but you can’t achieve the rich, transparent rust-red look of old cherry this way.
The only way to get the old cherry look is to finish with just a clear finish, any clear finish, and let the wood age naturally.
Here are some supplies and tools we find essential in our everyday work around the shop. We may receive a commission from sales referred by our links; however, we have carefully selected these products for their usefulness and quality.