We may receive a commission when you use our affiliate links. However, this does not impact our recommendations.

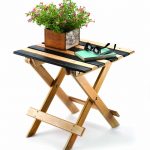
Milk & eggs. A message center in the kitchen is handy and useful for any family. While you’re at it, make one for the shop, too!
A low-tech solution for a family on the go.
The kitchen is the crossroads for today’s busy family. And while we have high-tech gadgets to text messages, take notes and keep a calendar, I’ve found a kitchen message board has helped to keep my family organized for 30 years. Three decades ago, I made several message centers as gifts and can report that some are still in use – a testament to their utility.
My concession to “high-tech” materials and woodworking methods for this updated version are a dry-erase writing surface instead of chalkboard, and pocket screws instead of dowel joints. Both make an easy project even easier.
And as with all I Can Do That projects, the materials come from your local home center and the tools used are all from the modest I Can Do That kit.
Round up Your Materials
I found 1 ⁄ 8″-thick dry-erase board in the paneling section of the store. It was offered in 32″ x 48″ for just more than $10. That’s worth mentioning because you could make two message boards from this one piece of dry-erase board. The other materials needed, an 8′ length of 1×2 pine and an 8′ length of half-round pine moulding, came to another $7. If you buy one more length of 1×2, you’ll have enough material to make two message boards with a total outlay of about $28.
Take your time and select your 1×2 pine carefully. Look for pieces that have few large or loose knots (or better yet, none). If there are knots, you can cut around them and get clear workpieces. Also, check that the wood is reasonably straight and flat.
The Importance of Square
In woodworking, the principle of “square” is fundamental to satisfactory results. Slight deviations, even one degree, can play havoc with your results and leave a twisted mess. Keep this principle in mind while building. Use your combination square to check the setup of your miter saw and circular saw. Check your 1×2 pine. Are the faces and edges square? Make sure your crosscuts are square to both the width and thickness of your workpieces.Get in the habit of “working square” and your projects will have fewer problems.
Cut Parts to Size
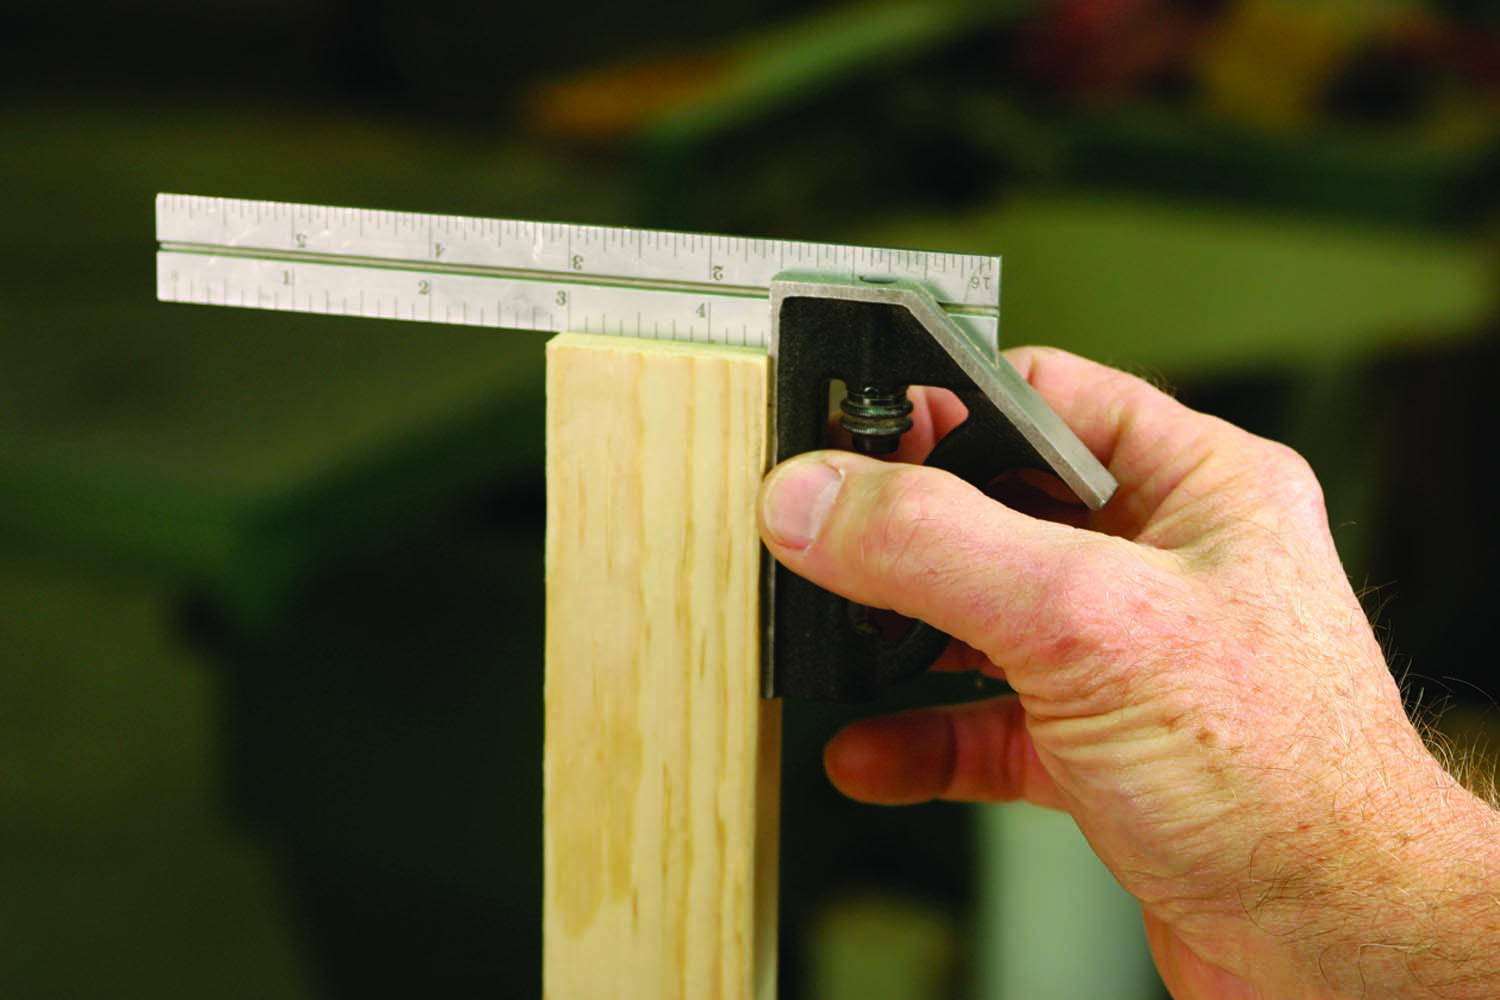
Square is a must. In any project, parts must be square or problems will arise. Use a combination square to check all perpendicular faces.
Cut the two vertical pieces, called stiles, to length using your miter saw. If you’re starting from the end of the board as it came from the store, first trim off the end. Cut the top horizontal piece (the rail). Cut the bottom piece as well. Again, make sure your cuts are square.
You can arrange these pieces and verify that your dimensions are accurate. Then go ahead and cut the dry-erase board. To make this cut, use a circular saw and a straightedge jig to guide the saw (more information on this jig is available in the I Can Do That manual, which is free online at PopularWoodworking.com/ICanDoThat). For support, set up a pair of sawhorses and place a couple plywood strips across the horses to support the dry-erase board. Mark the panel to width and set the jig so the saw cuts to the mark. Now clamp the jig to the plywood strips and check to be sure nothing has moved. Set your depth of cut so you barely cut into the plywood strips, then make your cut. Repeat the process to cut the panel to length.
Assemble the Frame
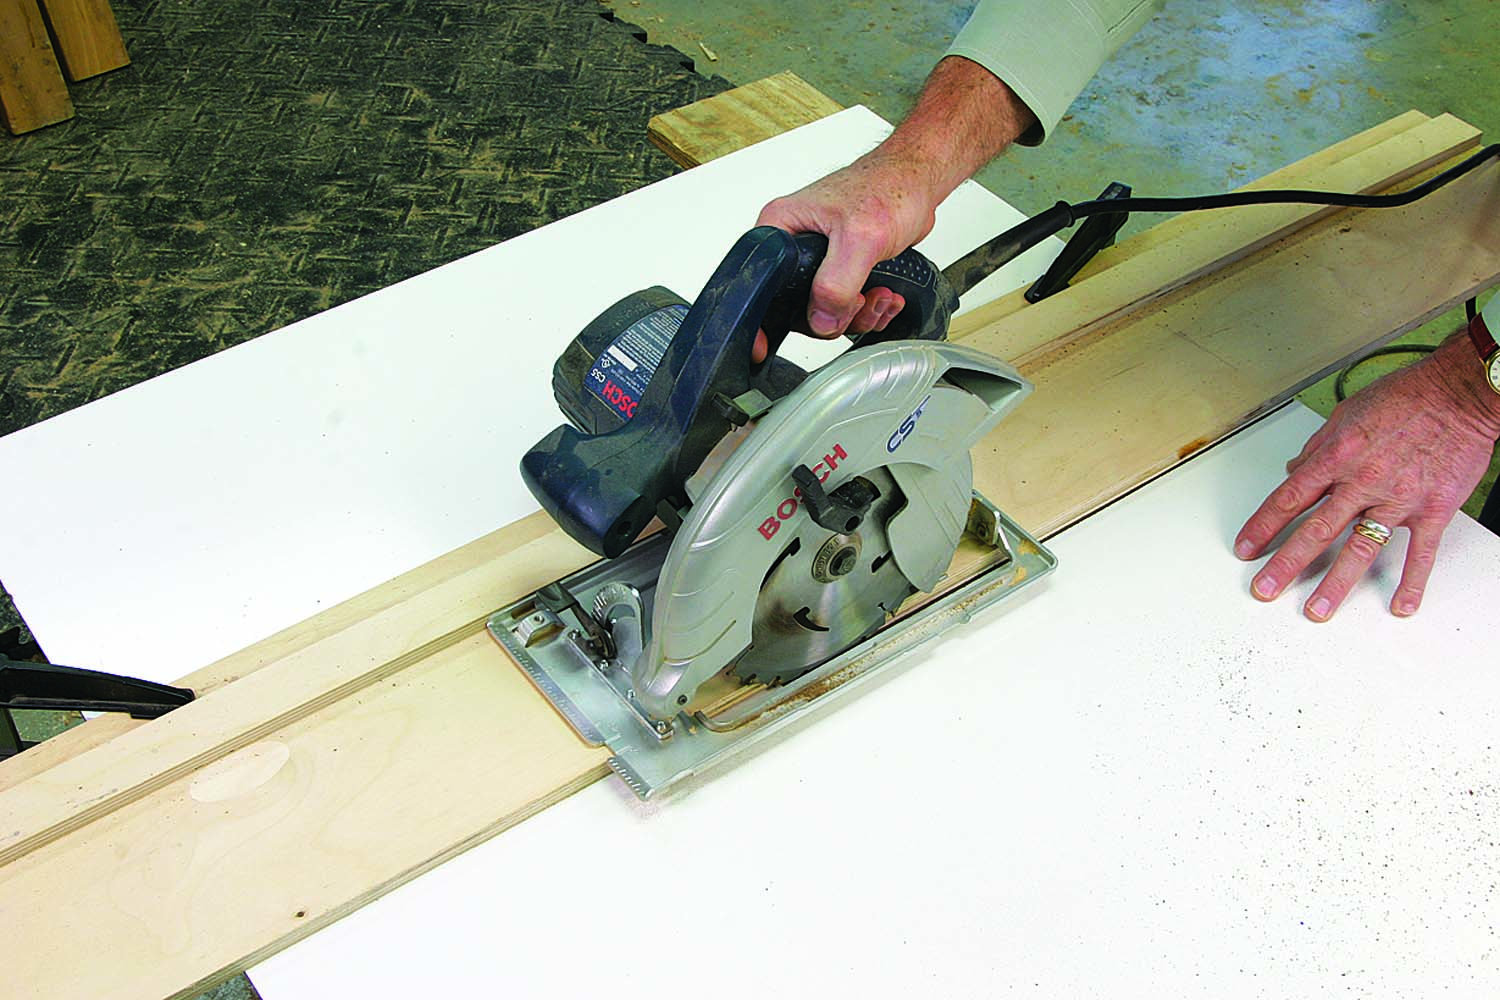
Cut it straight. Use a straightedge guide with your circular saw to guarantee an accurate, straight cut. You’ll use this jig over and over in future projects.
The upper rail is joined to the stiles using two pocket screws at each joint. Remember, the rail goes between the stiles. After checking the drill depth on your pockethole jig, space the pocket holes in about 1/2″ from the edge of your 1×2 and drill them. When done, screw the three parts together. Keep the top edge of the stiles flush to the top edge of the rail.
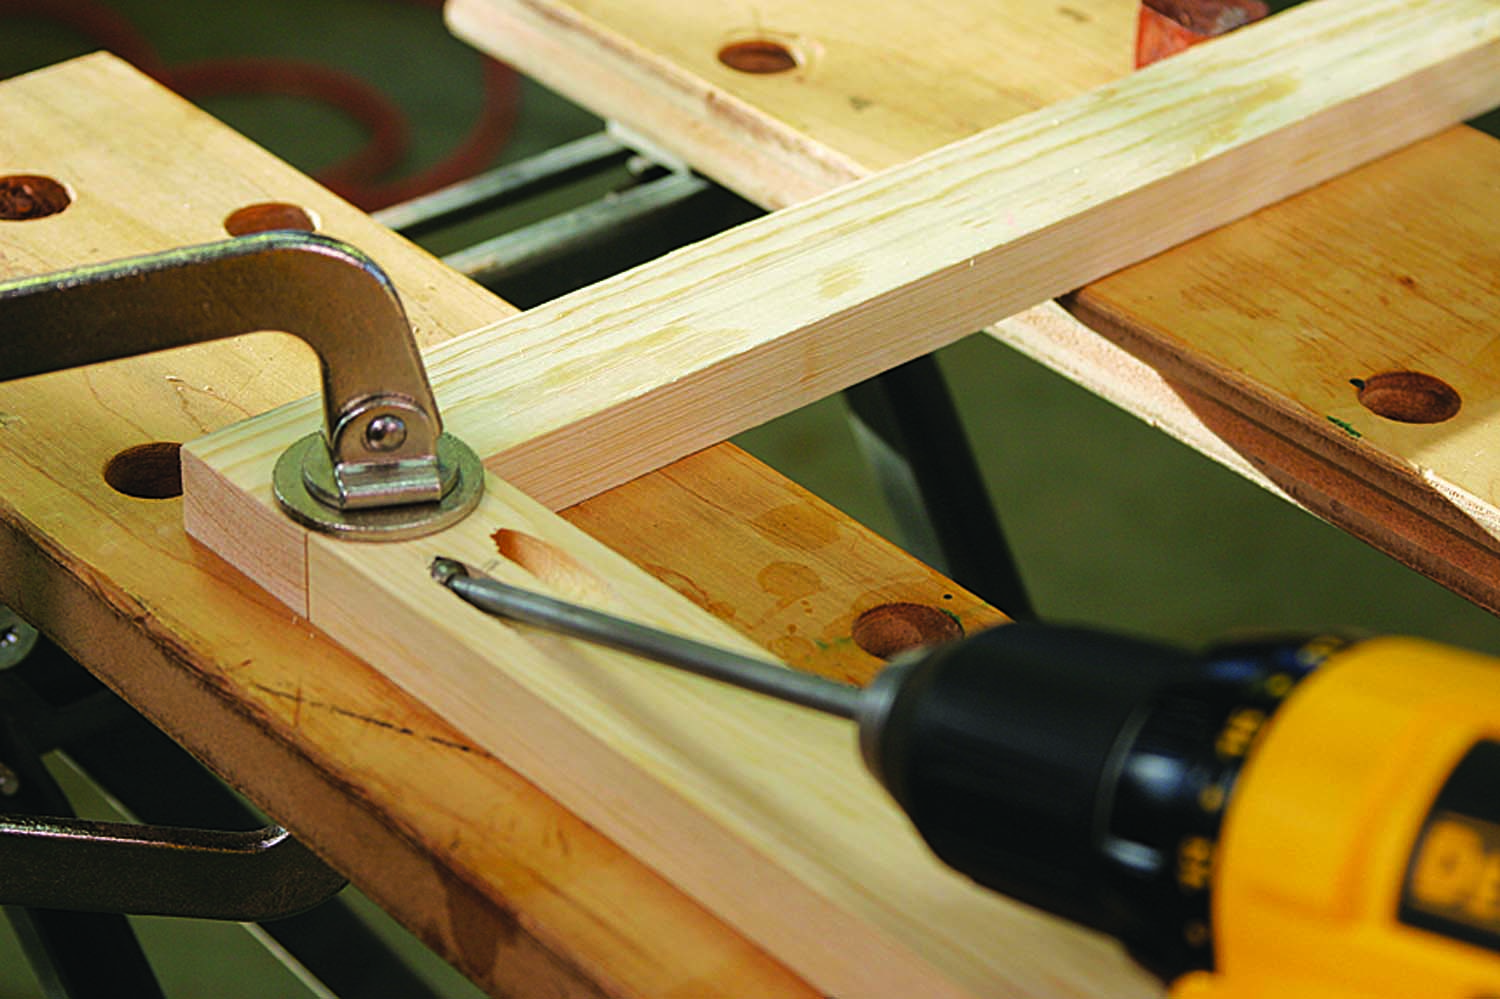
The bottom is screwed on to the ends of the stiles from below, with one #8 x 1 -5/8″ screw at each side. Drill and countersink a hole that’s 1-1/4″ in from the ends and 5/16″ in from the back edge. Now clamp your three-sided frame upside-down in your Workmate. Position the bottom piece and check that it overhangs the outside edge of the stiles 1/2″ on each side. Drill a pilot hole in the end grain of the stile so the part doesn’t split when screwed. To mark the hole location, push the point of a screw though the bottom holes to make a mark, then drill the hole. Set the bottom in place and screw it to the frame.
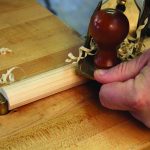
Now remove the bottom piece because there’s a bit more work on the three-sided frame. Use your router and a 1/4″ roundover bit to ease the frame’s edges. Rout this profile on all long edges on the face side of the frame. Clamp the work to the bench while routing and move the clamps as needed. On my router setup, the bottom of the bit was above the surface of the benchtop.
Two screws in the corner pocket. You can fit two pocket screws in each corner of the stile-to-rail joints. Snug the screws tight – but be gentle because pine is soft.
The half-round moulding is glued to the top surface of the bottom piece; it keeps your markers and eraser from falling off the ledge. Carefully cut the moulding to the same length as your bottom piece. Apply glue to the moulding and lightly clamp for 45 minutes. Wipe off any glue squeeze-out with a wet rag. After the glue has set, reattach the bottom to the frame.
Before screwing the dry-erase board to the frame, sand and finish the pine. I used a random-orbit sander and #120-, then #150-grit sandpaper. Next, I sprayed a clear lacquer finish from an aerosol can. Spray only in a well-ventilated space and away from open flames – think water heater and furnace! 

The dry-erase board is easily attached to the back of the frame with countersunk flat-head screws. When you decide where you want to install your message board, use picture hanging hardware.
I Can Do That “Message Center” PDF
MODEL: Click here for the SketchUp model of the Message Center.
Here are some supplies and tools we find essential in our everyday work around the shop. We may receive a commission from sales referred by our links; however, we have carefully selected these products for their usefulness and quality.