We may receive a commission when you use our affiliate links. However, this does not impact our recommendations.
I love to use pencil compasses in my woodshop. Unlike regular drafting compasses, which are fitted with fragile lead that tends to break easily, pencil compass are just very easy to work with. You can fit the pencil with ease, sharpen it with no problem, and the lid, secured and cushioned by the pencil's wooden body, will not break on you. About twelve years ago I bought a compass from Lee Valley tools. The compass' features were very promising: steel body and brass parts, rapid opening mechanism, nice pencil socket.
For twelve years my compass worked very well, and then something has happened. The compass knob got broke off (I don't remember how or when). When I inspected it I understood why. It was riveted to the compass crown spring in a very weak way. A tiny cylindrical protrusion was formed at the stem of the knob, then inserted into the hole in the crown and was hammered down to create a securing mushroom like rivet head. It appeared that the mushroom head did not have enough "meat" to support the knob and simply broke at some point.
I knew I could fix it and decided to do this: I would shape a longer stem at the base of the broken knob, thread the stem, insert it into the old hole and secure it with a nut.
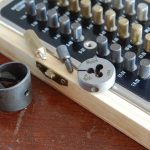
Image 1.The broken knob, the hole and the orphaned compass crown.
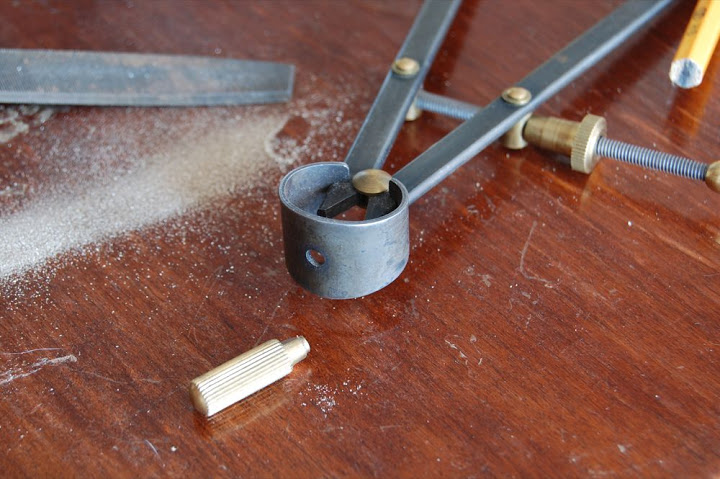
Image 2. Restoration begins: Shaping a cylinder on the base of the brass knob.
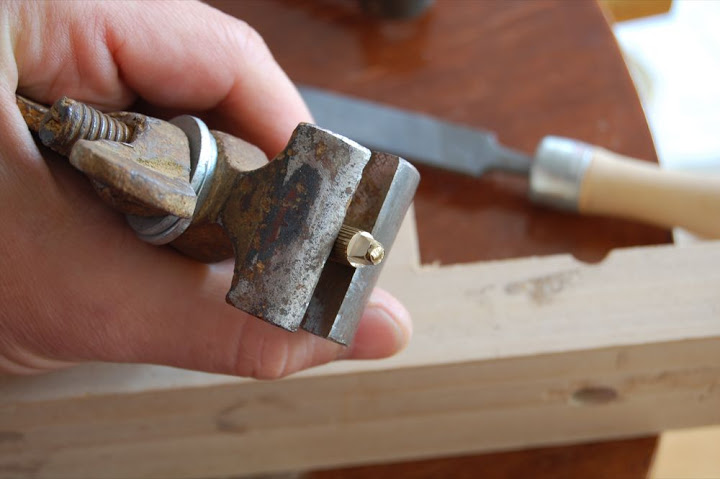
Image 3.The steps of forming a cylinder are: Shaping four initial facets then adding four additional facets on the corners of the first ones, lastly rounding over the facets. By following this method you will ensure that the cylinder will be as accurate as possible. Working with brass is something I like to do and I like to see brass in furniture design and in woodworking tools. Brass is a great metal. It is easy to file and machine, it will not rust and it is pretty to look at.
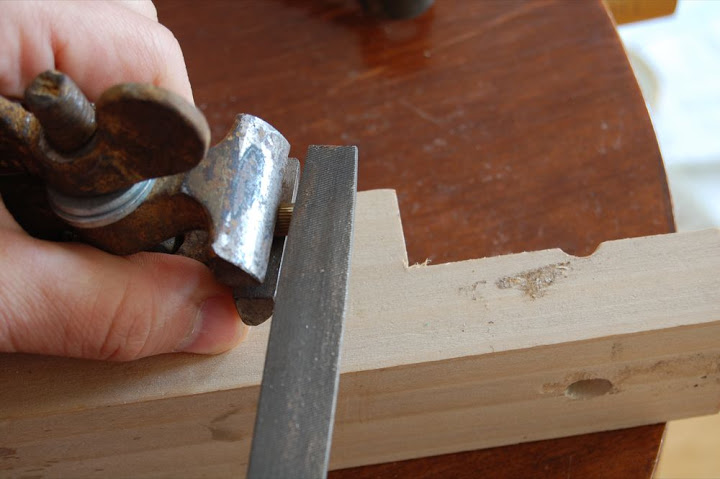
Image 4. The initial facets are complete and matches the diameter of the hole.
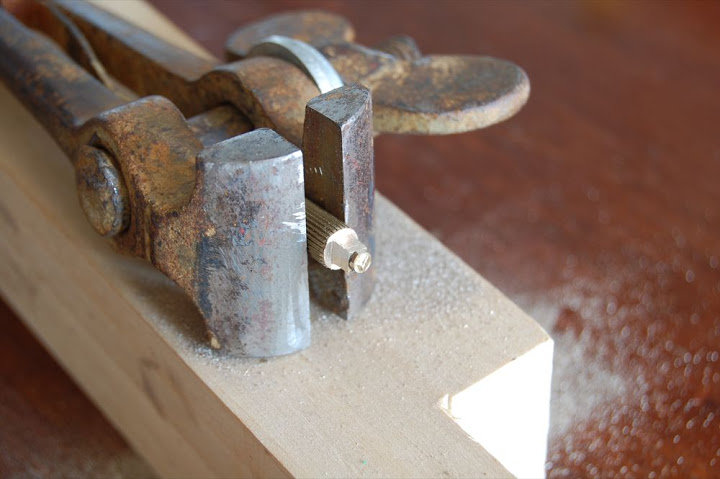
Image 5. Adding the additional facets.
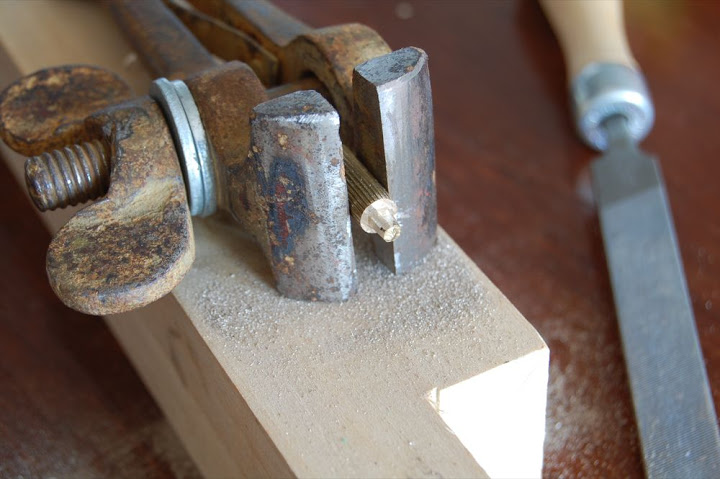
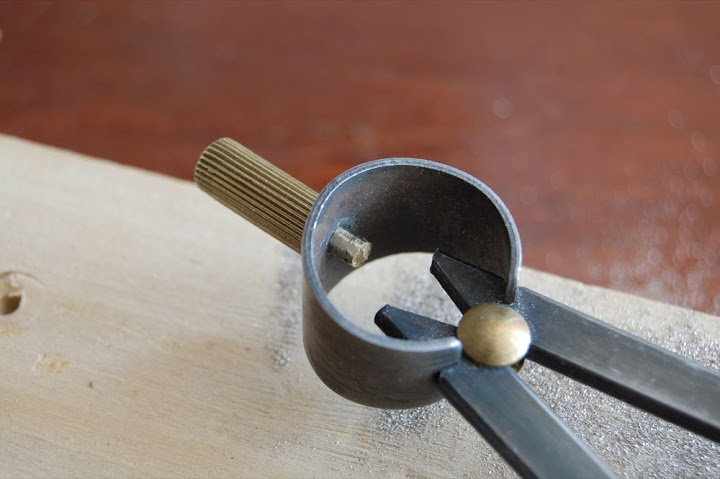
Image 6. Fitting the new cylindrical stem in the hole.
Next time I will show how I tapered the brass stem.
Here are some supplies and tools we find essential in our everyday work around the shop. We may receive a commission from sales referred by our links; however, we have carefully selected these products for their usefulness and quality.