


We may receive a commission when you use our affiliate links. However, this does not impact our recommendations.
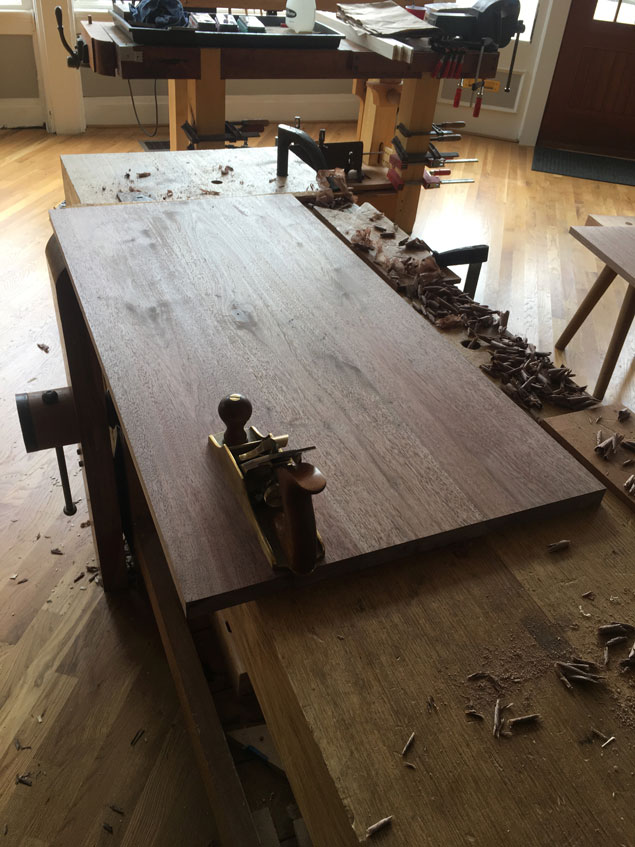
One of the most frustrating parts of using a smooth plane is when you have a low spot on your board that simply refuses to be planed out. There are several strategies. Here are just a few:
- Just keep planing as usual until you are an old man or woman.
- Drop down to a coarser plane (such as the jointer). But this could introduce tear-out.
- Increase the depth of cut. This could introduce plane tracks.
- Put a shaving under the low spot between the board and the benchtop. This works only sometimes.
- Change your frequency, Kenneth.
What I mean by “frequency” is how closely spaced each pass with your plane is to your previous pass. Some drawings might help explain this better than words.
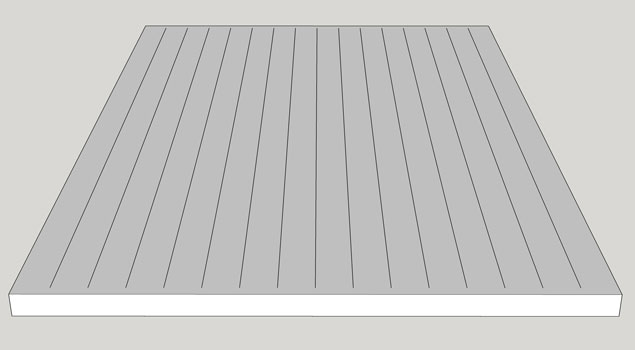
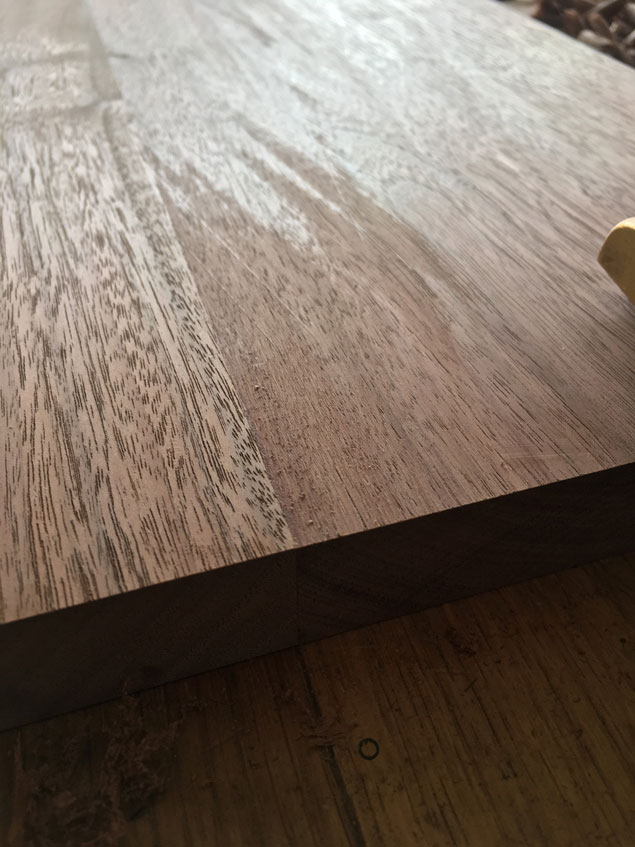
So here’s a panel that I’m planing with my No. 3, which has an iron that is 1-3/4” wide. When I begin to plane the board, I’ll stagger each pass about 1-1/2” from my last pass to ensure every bit of the panel gets to see the plane iron. In the drawing, each line on the panel represents the center of my plane’s iron.
After I plane the panel a couple times, I might notice there’s a low spot in the middle, which is very typical.
What beginners do is try to plane the low spot to remove it. This doesn’t really do anything (unless you switch to a much shorter plane) because it’s the wood that surrounds the low spot that is preventing the plane from cutting the low spot.
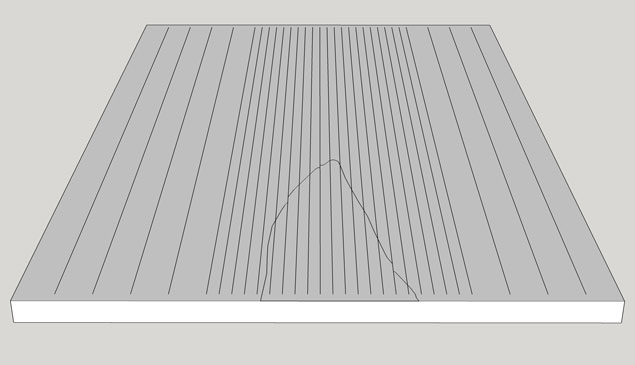
So here’s what I do. Instead of staggering each pass of the plane 1-1/2” inches from the previous, I’ll stagger it 1/2” or 3/8” as I get close to the low spot. Changing up the spacing of your passes will help remove high spots left by previous passes and allow you to access the low spot faster.
Yes, this can introduce a shallow cupping on the face of the board, but it is insignificant in my experience. A machine planer and sander will leave a surface that is more irregular that the approach described above (and is still a surface that is perfectly flat enough).
— Christopher Schwarz
Shameless plug: For more handplane tricks, check out my book “Handplane Essentials Revised Edition,” which is a massive brain dump on these essential tools.
Here are some supplies and tools we find essential in our everyday work around the shop. We may receive a commission from sales referred by our links; however, we have carefully selected these products for their usefulness and quality.


Or you can just stop worrying about it and leave the low spot alone…
Leaving alone a low spot in the middle of a (big) panel – provided it’s not greatly obvious of course – is perfectly fine. This will, after all, not interfere with joinery, gluing, and won’t introduce any miss-alignment of parts (like racking in a chair or table). Nobody will probably notice it, and it might just add to the “hand made” character of the piece.
it seems as if the grain on the two boards run in opposite directions. ‘even if that’s not the case, do you try to have the grain of all boards (in an edge-glue-up) run in same direction so u minimize cross-grain issues when thickness/smooth-planing ?
Great post. Btw I was watching some of your posts and videos on blog and youtube. And I would like to ask you one ‘special’ question: “Hand Plane Restoration: Flattening, from the Chris Schwarz Blog” video (and several others) starts with nice guitar background. Could you say what it is? Who is playing? Or name of composition?
Thanx 🙂
Great advice, Chris! I would just add that I have found drastically skewing the plane can sometimes get at small low spots. It “shortens” the plane length.
This post and the last one on wide panels have been very helpful, since I’m processing a couple 28″ x 36″ panels now. My process started with rough 4/4 poplar, which I planed to remove warp and cup, but left relatively rough. I then jointed the edges to be glued, and glued up the panels (three boards each). After the glue dried, I then planed one side flat, then the other side to final 3/4″ thickness. Smooth planing will come after joinery is finished and just before assembly.
Do others follow a similar process, or do boards get planed to final thickness before glue-up? One board stays pretty flat, without cupping, but the other one moves a lot. I’m depending on the case assembly to keep it flat, and hoping this doesn’t end in disaster.
The reason I read this blog is illustrated best by this post. I only have experience with #1. For all my life it is all I have known. Now… 2 new methods. Only two because numbers 2 and 3 ALWAYS induce tear-out and tracks for this old man.