


We may receive a commission when you use our affiliate links. However, this does not impact our recommendations.
 Click here for Part 1 of the frame saw build, and here for Part 2.
The central (compression) beam tenons are 5/8” long and 1-3/4” wide (see enlarged drawing at the bottom of this post). The thickness of the tenons, as well as their centric (or in the case of a mistake, off-centric) location should be traced from the mortise it will be housed in.
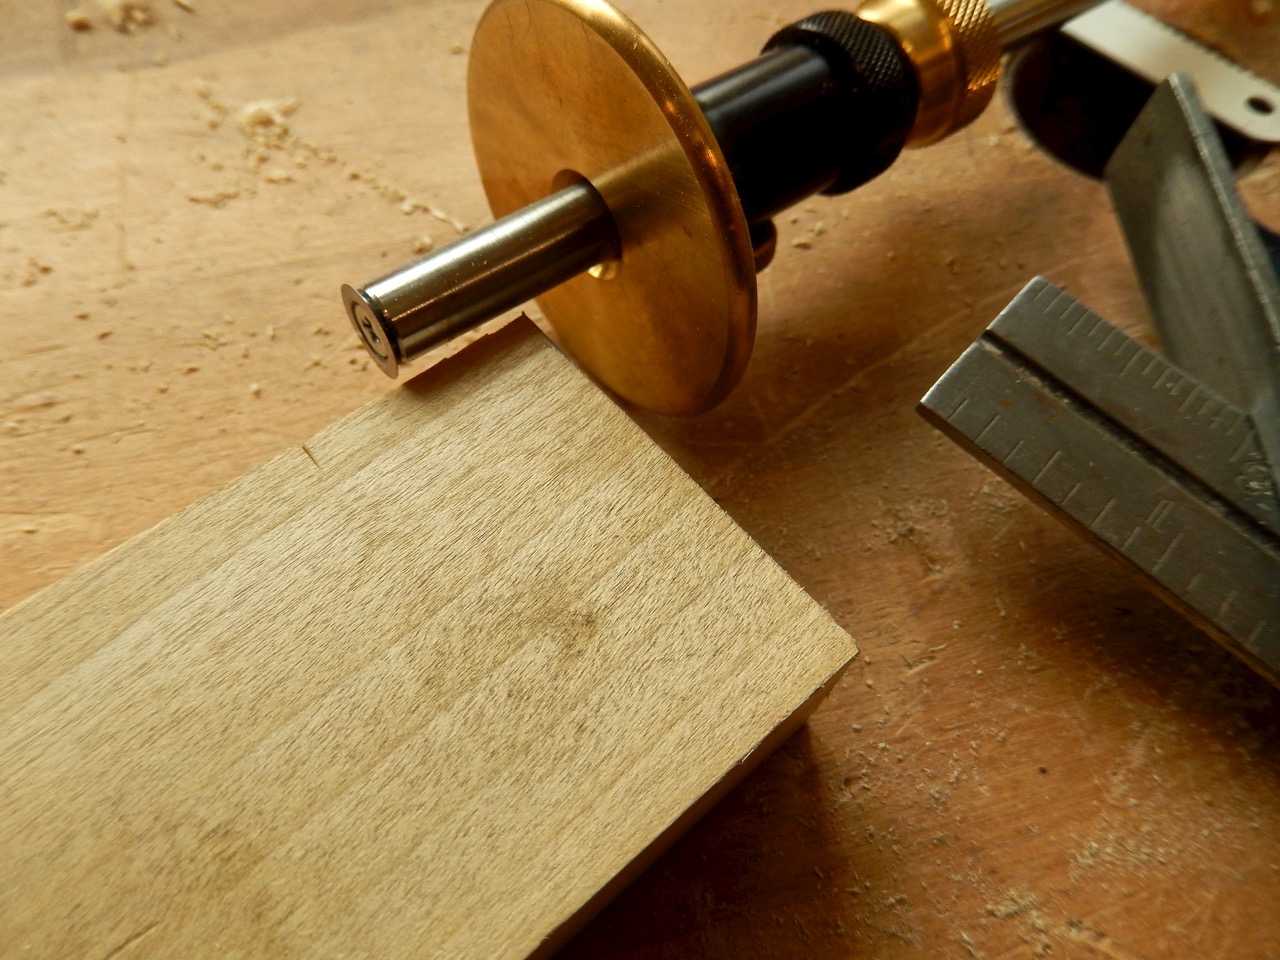
The layout work begins when you set your cutting gauge to a 5/8” opening. Tuck your gauge against the end grain and prick the beam. Then place your marking knife in the indentation and use a square to score all around the beam’s face.

The Knife wall
The key to successful crosscut sawing is a good knife wall. A knife wall is a “V” dado or a ramp that nests the saw blade to guide it during the first few strokes. Make the knife wall by paring with a chisel at an acute angle toward the tenon’s scored lines that you just made. Form the two knife walls on each side of the beam’s brand faces.

 To transfer the thickness and centric location of the tenons, place the end of the central beam flush with the corresponding mortise. Then tuck a marking knife or a carving knife into the mortise, flush with the inner walls, and prick the end grain corners of the central beam.


Next open a cutting gauge from the face of the beam to the pricked mark and score the beam’s end grain. Then roll over the corners and score the side faces, too.

Now you are ready to saw. If you have a backsaw — that is great. If not, you can use a common saw, as long as you guide it into the knife walls.

After you cut the two cross-grain tenon kerfs, you can saw off the tenon cheeks or pare down with a chisel to the destination lines (the shoulders). I show my students the chisel technique because it gives them the necessary chiseling practice they need, plus it reduces (to some extent) the risks of catastrophic sawing mistakes, which are very common when an inexperienced student tries to rip down from the end grain.

It is important to pare away small flakes and be attentive to the grain orientation. Pay special attention not to plunge in and chip off chunks of wood in a situation where the grain dives in toward the tenon shoulders. In this case, you need to change tactics by directing the chisel to pare across the grain.
After the tenon cheeks had been pared down, just a tad shy of the destination lines, you should try to pare the remaining fibers across the grain with a chisel or with a shoulder plane. Now try to fit them into the mortises. Keep shaving away until they slide smoothly into the mortises. If the tenons are so well fitted that they refuse to pivot laterally, you have to taper their narrow faces. Next time I will show how we shape the saw’s arms to look and feel elegant.


After the tenon cheeks are pared down, just a tad shy of the destination lines, you should try to pare the remaining fibers across the grain with a chisel.

Click here to download the frame saw drawing…
Here are some supplies and tools we find essential in our everyday work around the shop. We may receive a commission from sales referred by our links; however, we have carefully selected these products for their usefulness and quality.


The pictures in Parts 1 & 2 don’t seem to load up properly. Can they be re-input somehow so that I may download the complete article?